Welcome to the fourth and final week of the Lined Drawstring Bag Sew Along!
I'll be updating the Sew Along Page each week with all the posts so that you can easily catch up or reference these posts after the sew along ends!
I hope you'll sew along with us! Sew from the tutorial or the patterns:
Lined Drawstring Bag Tutorial
Lined Drawstring Bag Pattern
Lined Drawstring Bag Expansion Pattern
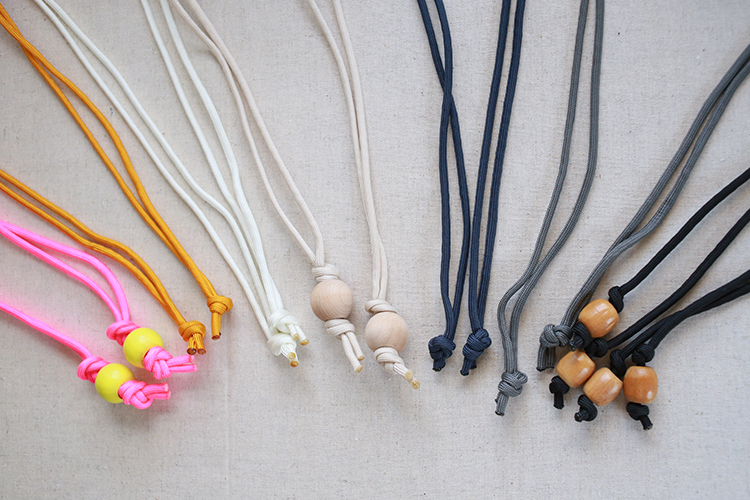
This week's task is finishing our bags! Tackle those drawstring casings, make fabric ties or prep twill/paracord ties. Pull ties through the bags and finish them off with a simple knot or some fun beads! A few posts you might find helpful this week:
- Marking the drawstring casings can be time consuming, especially if you're making a lot of bags. I have a video tutorial for an alternative marking technique that is my go-to method. Find it here: Alternative Method for Marking the Drawstring Casing
- If you're like me and you don't have a free-arm on your sewing machine, I have a video tutorial for how to sew the drawstring casings. Find it here: How to Sew a Drawstring Casing Without a Free-Arm Sewing Machine
- Using beads and want to take them to the next level? I have a tutorial all about how to customize unfinished wooden beads. Find it here: How to Customize Wooden Beads with Paint, Stain, and Dye
- You've made your bags and now you're ready to gift them, why not use some reusable gift tags too! I share five different ideas for tagging your bags in this post: Reusable Gift Tag Ideas for Drawstring Bags
- Working with Paracord can be intimidating if you've never used it before, I've got a post that breaks down the basics for you: Tips for Working with Paracord
- I also have a similar post for using cotton twill tape for ties: All About Cotton Twill Tape and How to Use it for Drawstring Bags
- Dress up plain cotton twill tape with some dye: Tie-Dye Twill Tape Tutorial

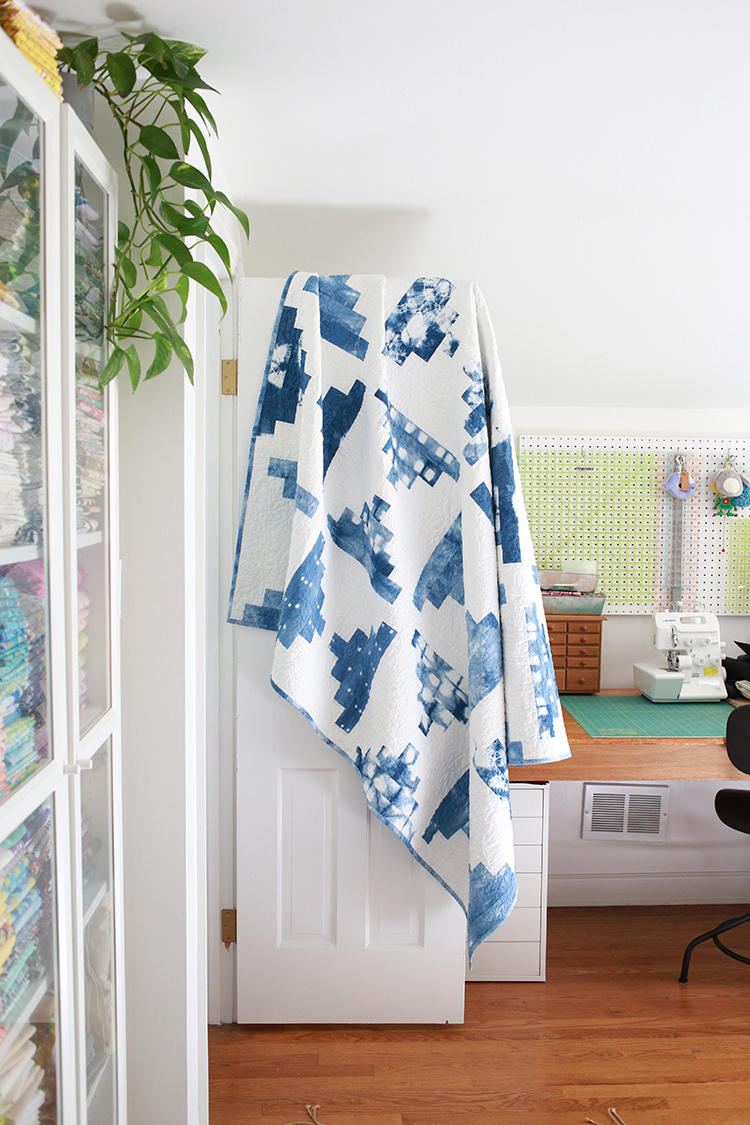
Today I have a new bag size to share with you, to finish off the sew along! This is a flat bag without any gussets, which means it comes together really fast. This bag uses up one (or two) leftover 12" quilt blocks. Most of us have a few kicking around our stash, so I thought it would be fun to make a bag that uses those up! Especially if you're making bags for wrapping gifts, it can be nice to have a few flat bags on hand.

Sewing Level: Beginner Friendly
Finished Size: Approx. 16.5" tall by 12" wide
Materials:
- 12.5"x12.5" unfinished quilt block
- 1 fat quarter for exterior main (or a second quilt block for the back!)
- 1/4 yard for accent (or fat quarter)
- 1/2 yard for interior
- 1/8 yard fabric or 2 yards of twill tape for ties
- Coordinating thread
Cutting:
From Exterior Main Fabric:
- Cut (1) 12.5"x12.5" piece
From Exterior Accent Fabric:
- Cut (2) 5"x12.5" pieces
From Interior Fabric:
- Cut (2) 17"x12.5"
If using fabric for ties:
- Cut (2) 36”x2” strips
If using twill for ties:
- Cut (2) 36" pieces

For bag construction, refer to the free tutorial or the lined drawstring bag pattern. You'll be using the quilt block as an Exterior Main piece.
The depth for these bags is 0, so you can skip steps 6-8 and proceed to step 9. If you need extra guidance on the construction, please refer to the video tutorial.


The other side of this bag is totally different! I combined this week's tutorial with the Scrappy Color Blocked Lined Drawstring Bag Tutorial I shared last week. All the canvas I used for the back and the accents was from my scrap bin, yay!


Here is another block bag I made when I was testing this idea, this one is made with all fabrics from my Curiosities collection.
I hope you've enjoyed this post! I can't wait to see your bags! Please share them with me on instagram @jenib320 or via email (jenib320 @ gmail.com)!

Happy Sewing!