November Monthly Report

Friday, December 17, 2021


We're more than halfway through December, so I think we better finally get to the November monthly report. See past reports here.


I actually sewed a lot this month! Almost all of it was drawstring bags for the sew along. I won't chat too much about each bag I made since I talked about them in other posts. I do love this one I made for the annoucement post. I just love navy background prints. They really make the other colors pop!


This is the tiny bag I made to announce the sew along schedule. I'd been saving this liberty of london quilting cotton print for years. I love it in this small scale project.


Easily my favorite bag I made for the sew along! It turned out exactly how I wanted it to, and I love the color combination. Even more satisfying is that the present print was in my "not sure if I'll keep this" bin. So it felt really good to turn it into something adorable. Find the tutorial for this bag here.


I made a bunch of Christmas bags for gift wrapping. I actually just chatted all about them in this post.


My only non-bag sewing of November was two sets of placemats. I needed a few other colors to coordinate with my stash of tablecloths. It was nice to use up some of my home dec fabric stash to make these. And now I'll be able to enjoy these precious fabrics as everyday objects rather than having them collect dust on my fabric shelves!


To keep myself accountable for my stash goals, I track my yardage for fabric and yarn each month. Read more about how I track here. Here is how I did in November:

November Fabric
Used up: 9.25 yard
Brought in: 0 yards
Net: -9.25 yards
Year to date: -68.5 yards

November Yarn
Used up: 0 yards
Brought in: 0 yards
Net: 0 yards
Year to date: -2319 yards

I made a lot of small projects this month so not a ton of yardage useage. But I didn't buy any fabric. No activity on the yarn front this month.


I did quite a bit of crafting this month! Including making around 40 paper snowflakes for our front windows. I haven't made any in years, but it was really relaxing and fun. I didn't use any templates or guides, just made them up as I went. Just used regular printer paper and my best pair of scissors.


We had a quiet Thanksgiving, just Michael and I. Made all our favorite dishes and had our traditional Lord of the Rings movie marathon. I'm actually reading the books for the first time, finally! Almost done with the first book and loving it.

Have a Great Month!

Sew Along: Gift Bags I've Made This Season

Wednesday, December 15, 2021


Happy Wednesday! We're done with the tutorial posts for the Lined Drawstring Bag Sew Along, but I'm back this week it share some of the bags I've been making! The Sew Along Page is all up to date with both this year's and last year's sew along posts, so that you can easily catch up!

I hope you'll sew along with us! Sew from the tutorial or the patterns:
Lined Drawstring Bag Tutorial
Lined Drawstring Bag Pattern
Lined Drawstring Bag Expansion Pattern


As I mentioned in this post about my plans, I wanted to focus on larger bag sizes this year to fill out my stash of gift bags. I plan on using these bags just amongst family, so they'll get reused each year.

On that note, I started by making two Laundry size bags, whcih is the largest size in the pattern. I used this sweet turquoise print from Flurry by Ruby Star Society* and paired it with a print from Tinsel by Cotton and Steel*. It's finished off with some navy nylon paracord.


The second Laundry size bag features this adorable ornament print from Holiday by Alison Glass*. I paired it with a print from one of Alison's Sunprint collections for the accent. It's finished up with gray nylon paracord.


This might be my favorite bag of the bunch! These prints from Christmas Classics by Rifle Paper Co* are so cute! The metallic accents take it over the top. This is the Artist size, which I honestly forgot how much I like! I don't have too many bags made in this size, I think I need to make it more often. This bag is finished with white nylon paracord.


Last but not least, I made a Project size bag. For this one I used the peek-a-boo lining variation from the expansion pattern. I love this vintage tree print from Peppermint by Dana Willard*. I paired it with this great blue plaid print from Daisy Chain by Annabel Wrigley* and a hot pink lining fabric from Add-it Up by Cotton and Steel*. It's finished up with mustard yellow nylon paracord.


I've already made a bunch of other bags, I'll share those soon. I can't wait to see the bags you make! Please share them with me on instagram @jenib320 + #lineddrawstringbag or via email (jenib320 @ gmail.com).

Happy Sewing!

*Note: Any links marked with an asterisk in this post are affiliate links. This means if you click through and buy something, I make a small commission, at no extra cost to you.

How to Use Trim or Ribbon to Embellish Your Drawstring Bags

Wednesday, December 8, 2021


Happy Wednesday, and welcome to the fourth week of the Lined Drawstring Bag Sew Along! This week I'm very excited to share and instructions for a few different ways to embellish your bags with trim/ribbon! I'll be updating the Sew Along Page each week with all the posts so that you can easily catch up or reference these posts after the sew along ends!

I hope you'll sew along with us! Sew from the tutorial or the patterns:
Lined Drawstring Bag Tutorial
Lined Drawstring Bag Pattern
Lined Drawstring Bag Expansion Pattern


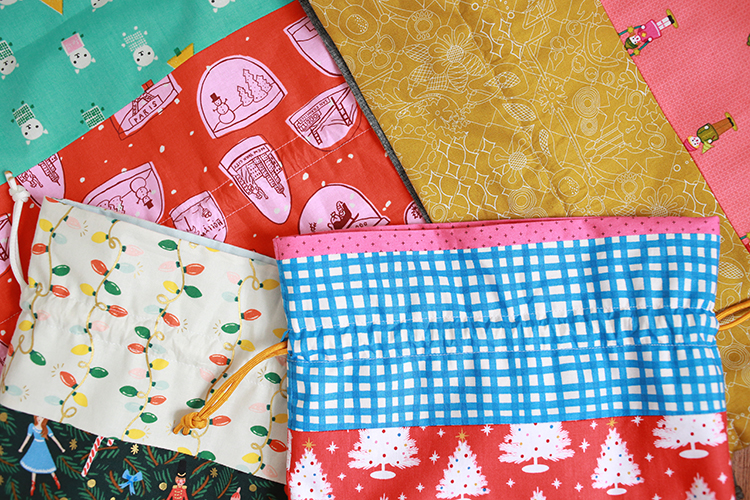
It's officially the last week of tutorial/how to posts for the sew along! I do plan to continue to post about the drawstring bags I've made during the sew along for the next two Wednesdays, so there is that to look forward to! This post is all about embellishing your drawstring bags with different trims. I'm going to be using twill tape, woven ribbon and pom-pom trim for my bags, but you could go far beyond that! Ric-rac, fringe, and all sorts of other trims would work with these techniques.

Before we jump in, here is the yardage you'll need for the different bag sizes in my Lined Drawstring Bag Pattern, for any of these techniques:


Trim Yardage Needed
Tiny Bag*
3/8 yard
Snack Bag
1/2 yard
Everything Bag
5/8 yard
Project Bag
3/4
Artist Bag
1 yard
Laundry Bag
1 1/8 yards
CD Bag
1/2 yard
DVD Bag
1/2 yard
*I'm including yardage for the Tiny Bag on here, but I wouldn't necessarily reccomend these ideas for this size bag. Since the accent on this bag is so short, there isn't a ton of room to work with. I think the first technique (woven ribbon on drawstring casing) would be the most suitable for this size!

If you're using the pattern to create a custom size, multiply the bag pieces width by 2. That's how many inches you'll need!

Applying Woven Ribbon to the Drawstring Casing

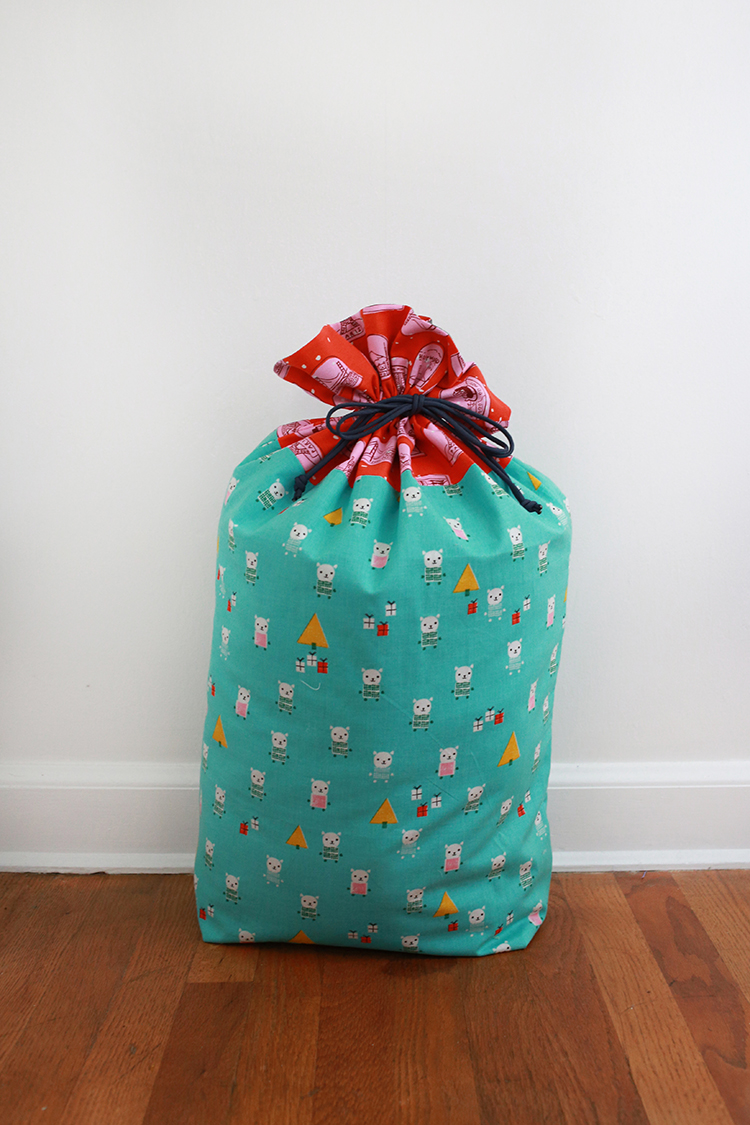
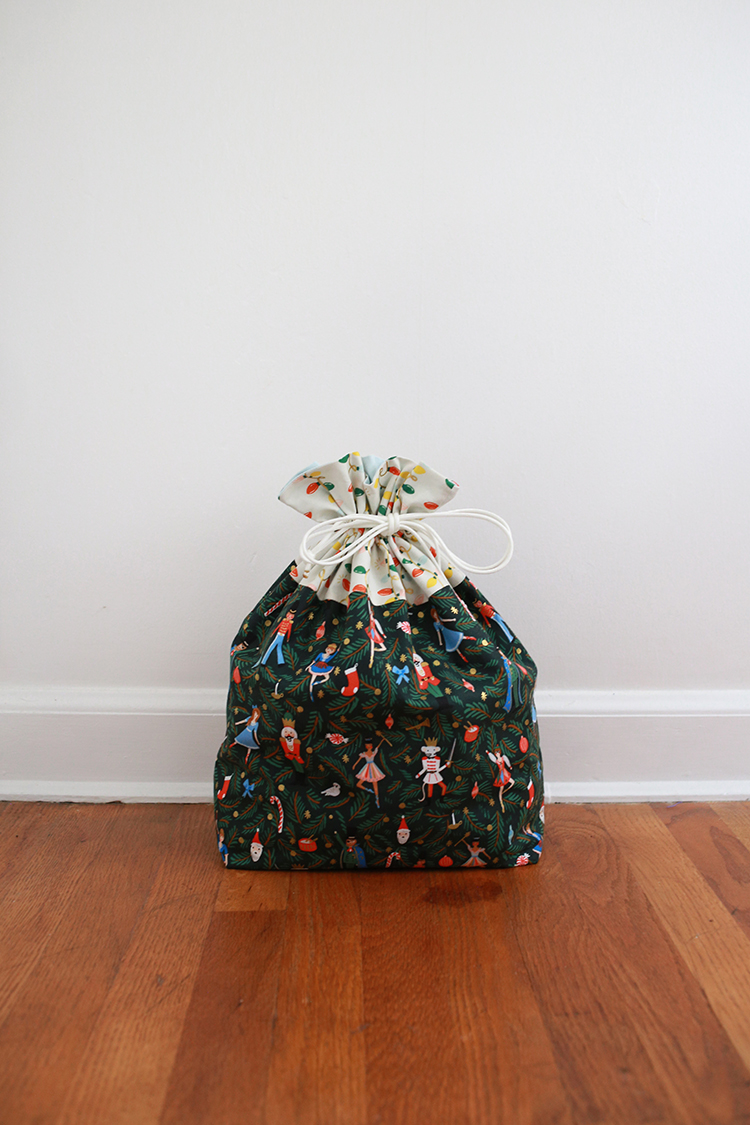
This is a great way to use up your stash of pretty woven ribbons. I don't often know what to do with these, so I'm excited to have found a really cute use for them. For these projects a 1" wide ribbon is ideal, since that is the height of our drawstring casing! For this bag I'm using woven ribbon from my stash on an Everything bag (tutorial size).


Mark the drawstring opening on an Exterior Accent piece as you typically would in step 4 of the tutorial or pattern. Find the center of the Exterior Accent's height and mark a line 1/2" on either side of the center.


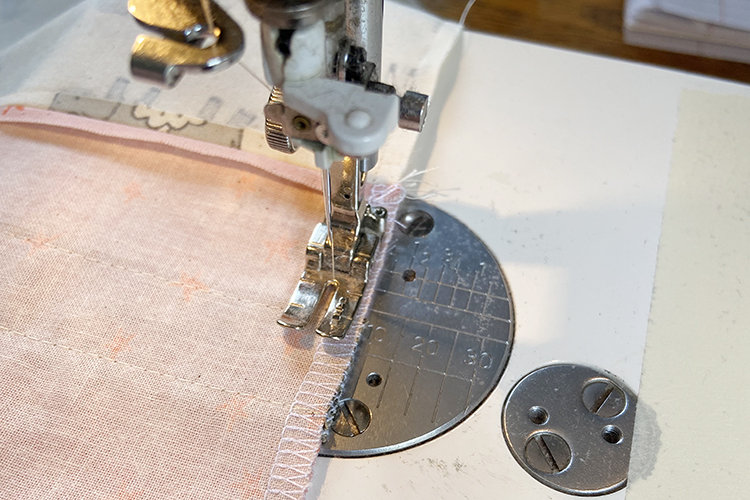
Arrange the 1" ribbon between these lines, so that it's right on top of the future drawstring casing. Trim to size, giving yourself a little extra on either side and pin in place.


Topstitch ribbon in place on the top and bottom edges using an 1/8 seam allowance. Trim away excess ribbon.


I recommend finishing the short edges of the Exterior Accent pieces either with a Serger or a zig-zag stitch on your sewing machine. This will help ensure that the edge of the ribbon is tacked down and keep it from fraying.

Repeat this process with the remaining Exterior Accent piece.


Follow steps 1-3 of the tutorial or pattern to begin constructing the bag. In step 5, rather than markings to show you where the drawstring casing is, you'll be able to see your topstitching lines. Use these as a guide, leaving the casings unsewn. Continue following steps 6-10 in the tutorial or pattern.


Now it's time to stitch the drawstring casing. You'll follow step 12 in the tutorial or pattern, but you'll have the edges of the ribbon to guide you, rather than markings. Stitch as close to the edge of the ribbon as you can.


Follow the remaining steps in the tutorial or pattern to finish the bag.

Applying Twill Tape to Cover Seams

This is a much simpler way to use ribbon or twill in my case to dress up your bag. You could use just about any width twill, as long as it's not so big that it enters the space of the drawstring casing. I'm using 
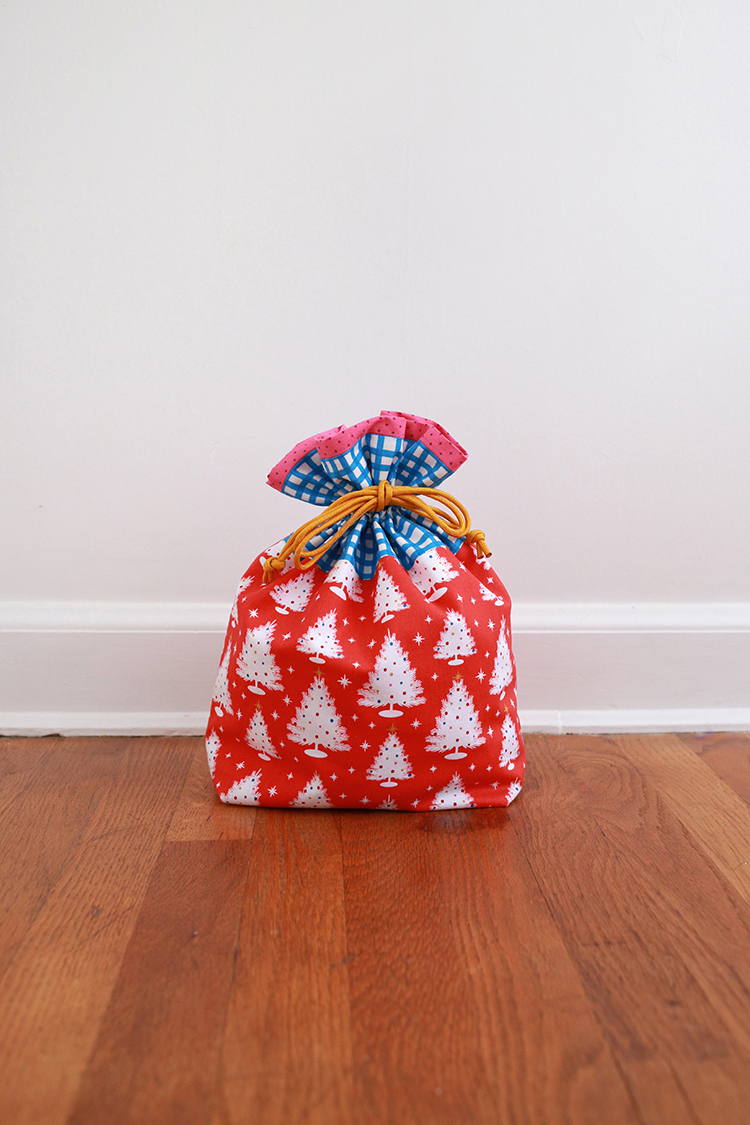
1/2" antique ruler twill tape (which I carry in my online shop) on a Project size bag.

Start following steps 1-2 of the tutorial or pattern.


Once you have the Exterior Accent and Exterior Main pieces sewn together, press that seam. Lay your twill on top of the seam on the right side of the fabric. Arrange the twill between these lines, so that it's right on top of the future drawstring casing. Trim to size, giving yourself a little extra on either side and pin in place.


Topstitch twill in place on the top and bottom edges using an 1/8 seam allowance. Trim away excess twill.

Repeat this process with the remaining Exterior Accent/Exterior Main seam.


Follow steps 3-20 in the tutorial or pattern to finish constructing your bag.

Using Pom-Pom Trim on the Exterior Accent

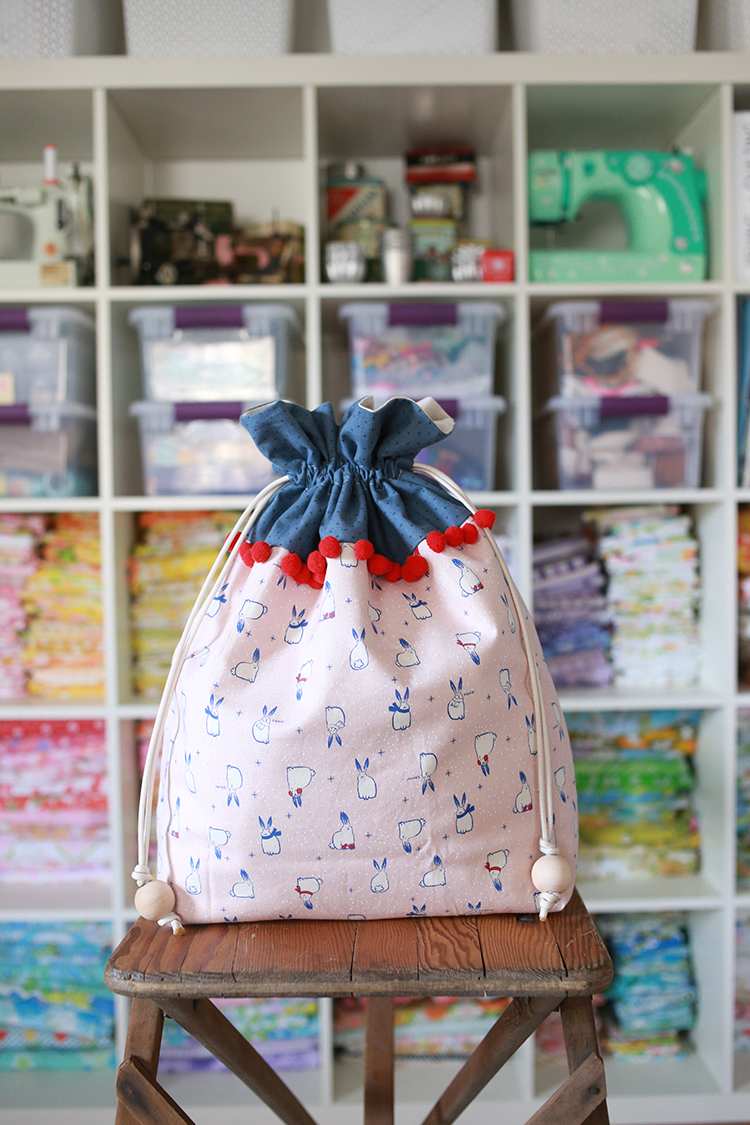
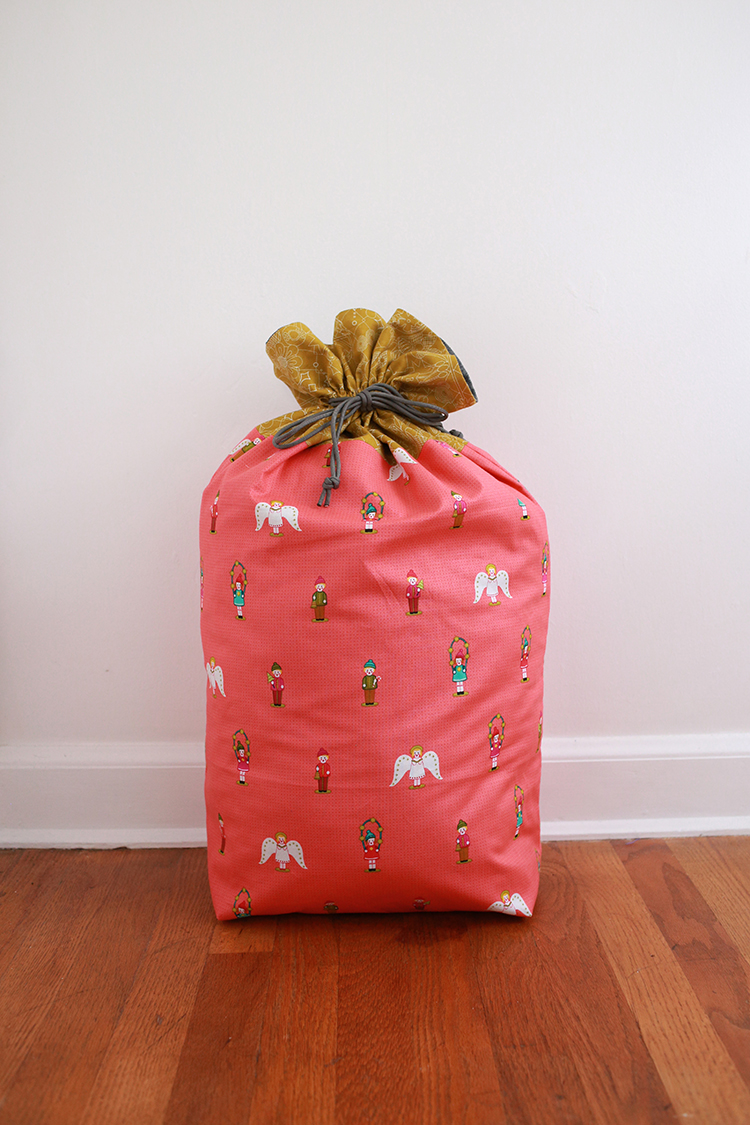
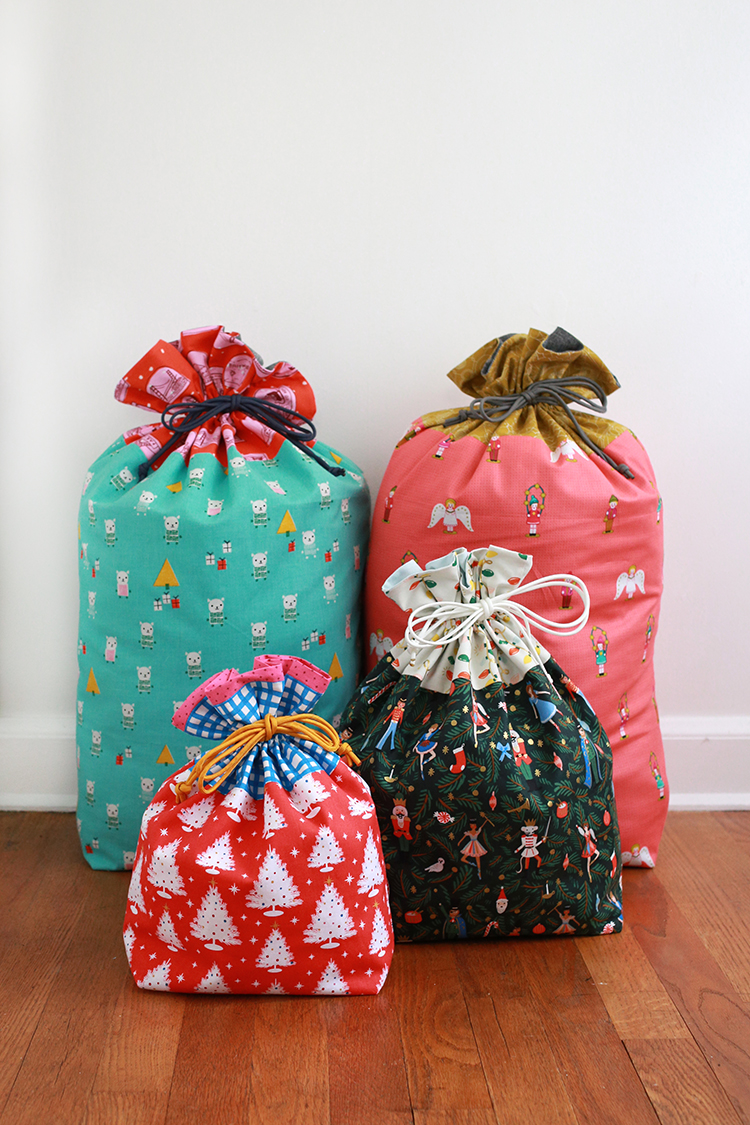
This is such a cheerful way to add pom pom trim to your bags! In this technique we'll end up with pom poms between the Exterior Accent and the Exterior Main on the finished bag. I'm using pom pom trim from my stash on an Artist size bag.

Refer to step 1 in the tutorial or pattern to arrange your pieces. These next steps will be done as a part of step 2.


Lay your pom pom trim against the top edge of your Exterior Main piece. Trim to size, giving yourself a little extra on either side and pin in place. Trim away any pom poms that are within 3/8” - 1/2” of the sides, so that they don’t get in the way. Pin or clip trim in place.


Using a zipper foot, baste trim in place using an 1/8” seam allowance.


Place Exterior Main piece right sides together with an Exterior Accent Piece, sandwiching the pom poms in between the two layers. Start by clipping at each side, pushing the pom poms out of the way as needed. I like to use clips for this instead of pins because the clips help push the pom poms away from the seam. Next, clip in the center. Then clip in the center between the clips, and continue on in this way until the edge has been properly clipped. I find this method helps ease the layers together evenly.


Using a zipper foot, sew through all three layers, back stitching at the beginning and end. Typically I use a seam allowance closer to 3/8" in order to catch the trim completely in the seam. Take your time and gently push the pom poms away from the needle as you go to avoid stitching into them.


Open right sides out and check trim, make any adjustments to the seam if need be. Press well. Once you're done, measure your seam allowance. If it's more than a scant 1/4", you may want to trim down your lining piece by the same amount that it's over. For example, I used a 3/8" seam allowance on my bag. So I trimmed a healthy 1/8" off the end of my lining pieces. Not totally necessary though!


Repeat this process for the second Exterior Main and Exterior Accent pieces. Follow steps 3-20 in the tutorial or pattern to finish constructing your bag.

Using Pom-Pom Trim on a Bottom Accent
This bag uses the same as the previous technique for adding pom poms. I just wanted to show how cute it looks on a bag with a bottom accent! I'm using pom pom trim from my stash on an Artist size bag with a bottom accent variation.


The bottom accent variation is part of my Lined Drawstring Bag Expansion Pattern. The steps are the same as above, you'll just be attaching the pom pom trim to the botton edge of the Exterior Main, then attaching the Bottom Exterior Accent.


I hope this tutorial gave you some ideas for tagging your gifts, whether they're wrapped in a drawstring bag or not! Personally, I think it feels good to reuse things, so this is another way to make my holiday gift giving more eco-friendly. I can't wait to see the bags you make! Please share them with me on instagram @jenib320 + #lineddrawstringbag or via email (jenib320 @ gmail.com).

Happy Sewing!

Reusable Gift Tag Ideas for Drawstring Bags

Wednesday, December 1, 2021


Happy Wednesday, and welcome to the third week of the Lined Drawstring Bag Sew Along! This week I'm very excited to share ideas for how to tag your drawstring bag wrapped gifts! I'll be updating the Sew Along Page each week with all the posts so that you can easily catch up or reference these posts after the sew along ends!

I hope you'll sew along with us! Sew from the tutorial or the patterns:
Lined Drawstring Bag Tutorial
Lined Drawstring Bag Pattern
Lined Drawstring Bag Expansion Pattern


As we've shifted more of our holiday gift wrapping to reusable drawstring bags, I quickly realized I needed some different options for marking the gifts. I could put a sticker gift tag directly on the fabric, but sometimes they don't like to stick very well.

I also felt like since I was going through the trouble of making a reusable bag, it would be nice to have a reusable tag option too! Not only is it better for the environment to avoid something single-use, it saves money over the long run. Some of these ideas cost more than others, but there is a good mix, and I bet you have some of these things in your craft supplies already.

Plain Paper Gift Tags


Let's start with the simplest idea, plain paper gift tags! This is what I used last Christmas for our gifts. I wrote the names on the tag and safety pinned the tags directly to the drawstring bags. They didn't see much wear, so I saved them to use again. Any tags will do!

DIY Paper Gift Tags


A great way to use what you already have on hand is to make paper tags! I made mine with my Cricut Maker* and some double-sided scrapbook paper. You could make a template and cut them out by hand, or invest in a tag punch. I was pretty tempted by this one: Fiskars Tag Maker*.

Laminated Paper Gift Tags

If you want to take your paper tags up a notch and make them a bit sturdier, you can laminate them before writing on them. This adds versatility too, since you're not permanently writing on the tag. I found these tags at Marshalls.


If you have a laminating machine or have access to one, use that! I don't, so I tried out these self-sealing laminating sheets by Scotch*. I think the results are great! It didn't take much effort, and I was able to cut the sheet down before using it, so the waste was minimal.


Follow the instructions included with the sheets to laminate. I went slowly and used a square ruler to press out any bubbles as I went. Afterwards I used a bone folder to go around all the edges and make sure they were all sealed up.


Once the tags are laminated, you'll need to use a hole punch (I used one that is slightly smaller than standard size) to make a new hole. I trimmed away the extra laminated material with a rotary cutter (my dedicated craft/paper one), but a pair of scissors works well too. Then attach your string or a safety pin.


Now you can write on them with dry erase marker and wipe it away when you're done!

Chalkboard Gift Tags


Another similar idea is to use little chalkboard tags! I found these particular ones at JoAnn fabrics in the woodcraft section, but I've seen them at other craft stores, and I think Target. You could also make some of your own using chalkboard paint. I wrote on mine with a bistro chalk marker*, but regular chalk works great too! I was a little skeptical that the pen would erase well, but it came right off with a damp cloth.

Ornament Gift Tags


If you're planning to use your bags just amongst your family and don't need specific to/from tags, consider a cute little object to mark your bags. You could use small ornaments, charms, buttons, etc. I picked up a box of small plastic ornaments in a variety of colors. I can assign each family member a color and use those ornaments to mark their gifts!

Growing up we often had special wrapping paper that was used for one specific person at the holidays. You could do something similar with the bags, assigning each person a different fabric or color. This would be a great choice if you happen to have yardage of a few prints.


To attach the tags to each bag, I used either a safety pin or string. You could even attach a safety pin to the string! For tags with just string I put it onto one of the drawstrings before tying them up in a bow. A safety pin could be pinned anywhere on the fabric or ties.

I hope this tutorial gave you some ideas for tagging your gifts, whether they're wrapped in a drawstring bag or not! Personally, I think it feels good to reuse things, so this is another way to make my holiday gift giving more eco-friendly. I can't wait to see the bags you make! Please share them with me on instagram @jenib320 + #lineddrawstringbag or via email (jenib320 @ gmail.com).

Happy Sewing!

*Note: Any links marked with an asterisk in this post are affiliate links. This means if you click through and buy something, I make a small commission, at no extra cost to you.