Friday Favorites 17

Friday, April 29, 2022

Happy Friday! It's time for another Friday Favorites post!

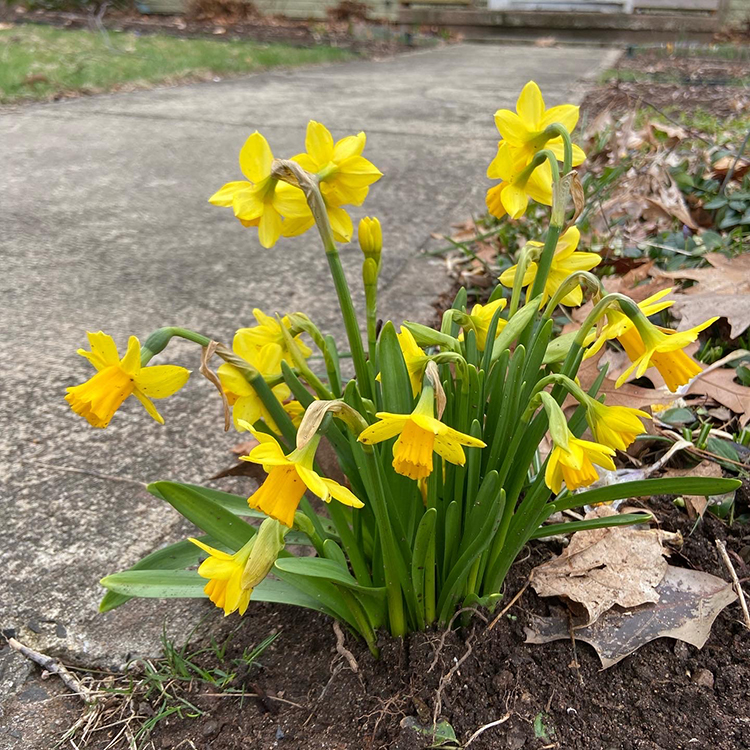
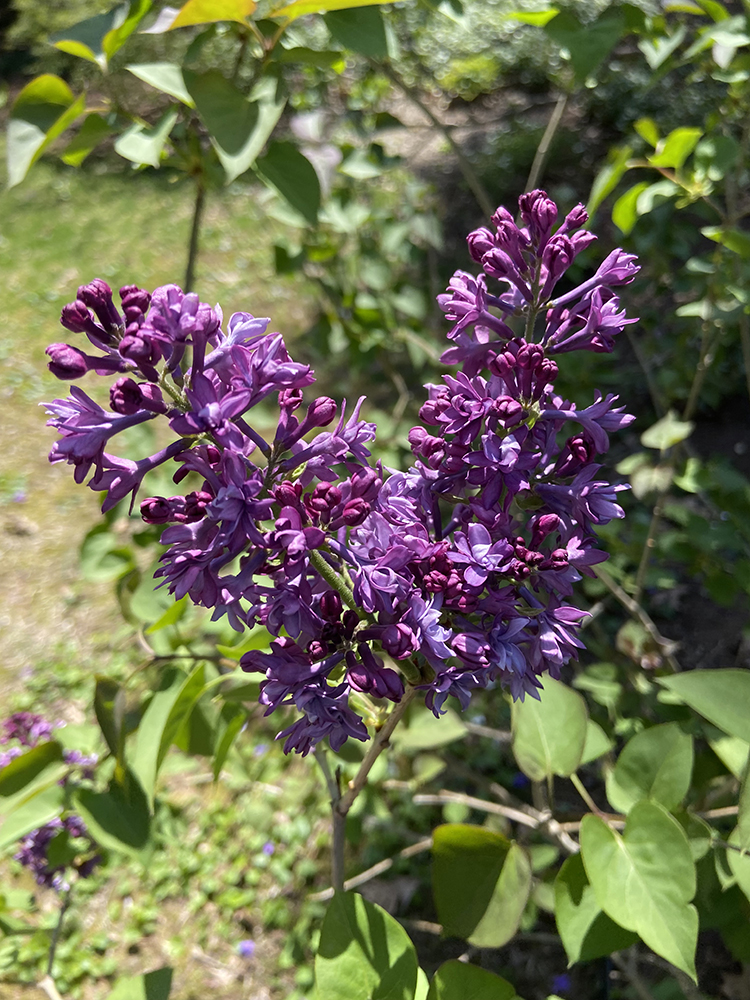
- The lilacs are starting to bloom! It's one of my favorite smells and colors.

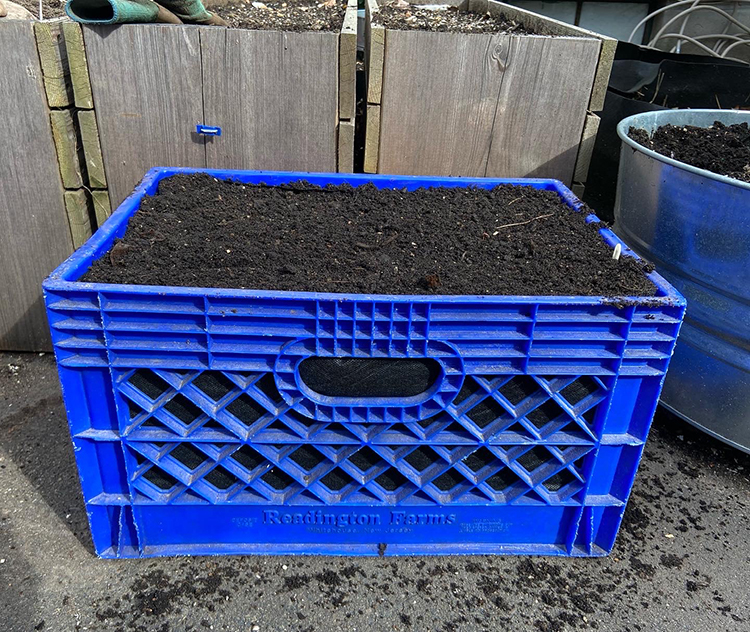
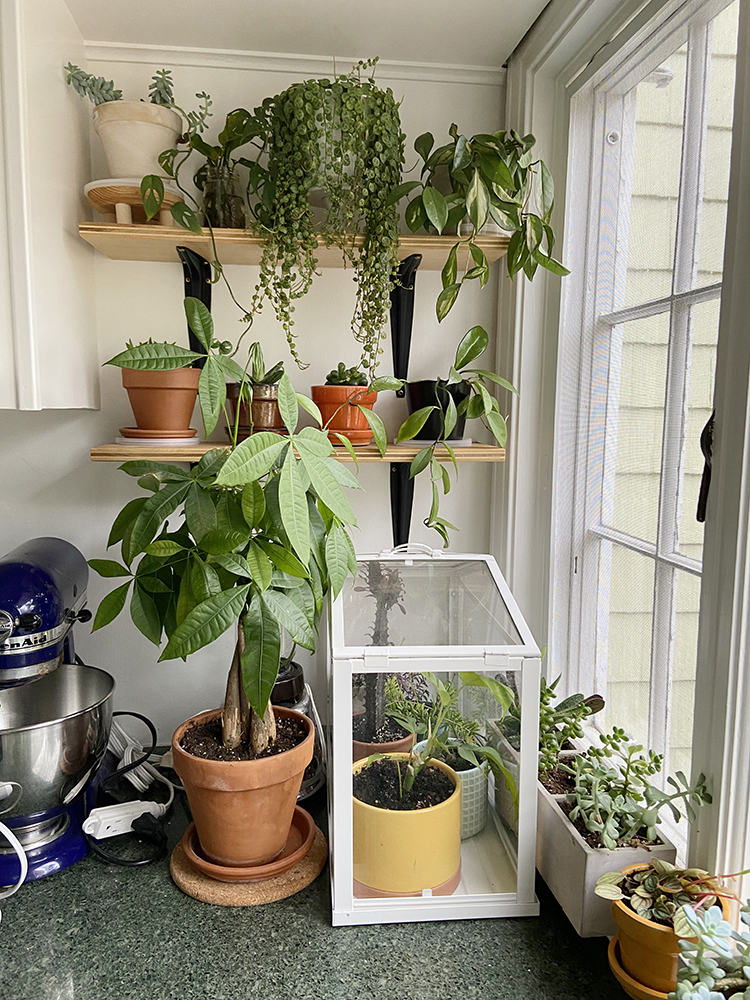
- Speaking of plants, I made a trip down to Terrain in Westport, CT this week to ooh and ahh at all the plants. I picked up a hoya* on my wishlist!

- Came upon this meme this week, and it perfectly illustrates what I've done this winter!


- I ordered new bookmarks and they arrived this week! I had bookmarks made when my book came out years ago and have been wanting to have some printed again ever since. These ones will double as the notes I put into physical orders, so if you order a paper pattern, book, twill tape, beads, etc. from my shop, you'll get one of these in your order!

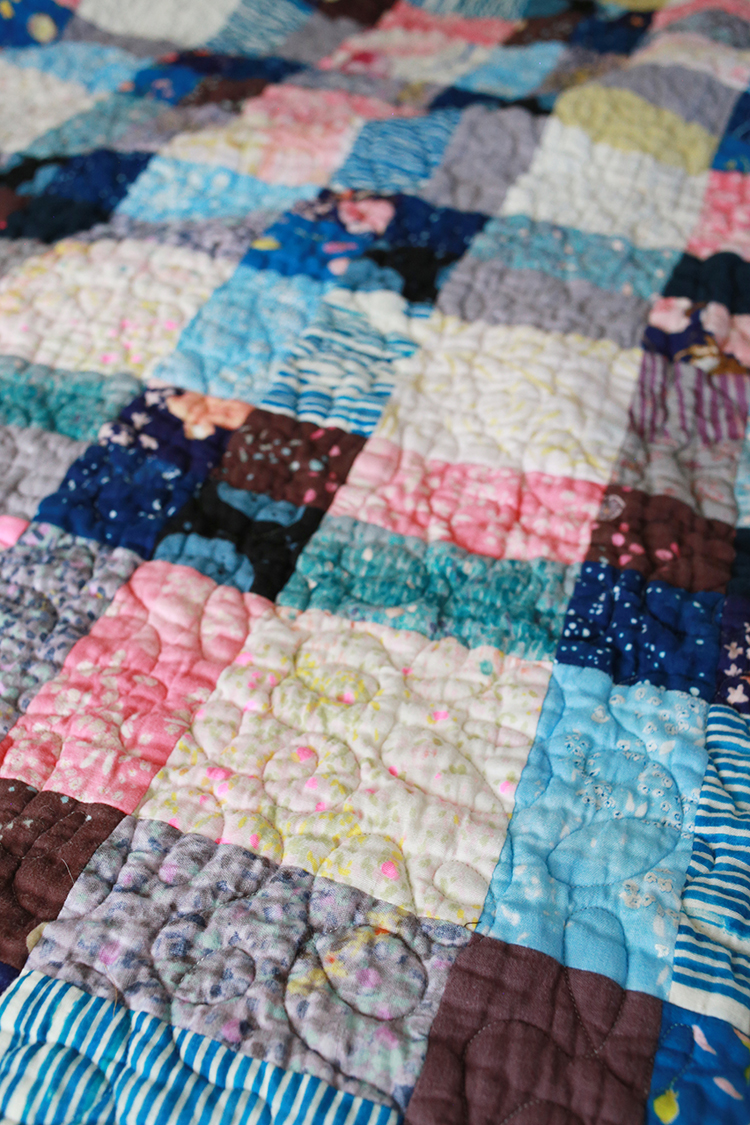
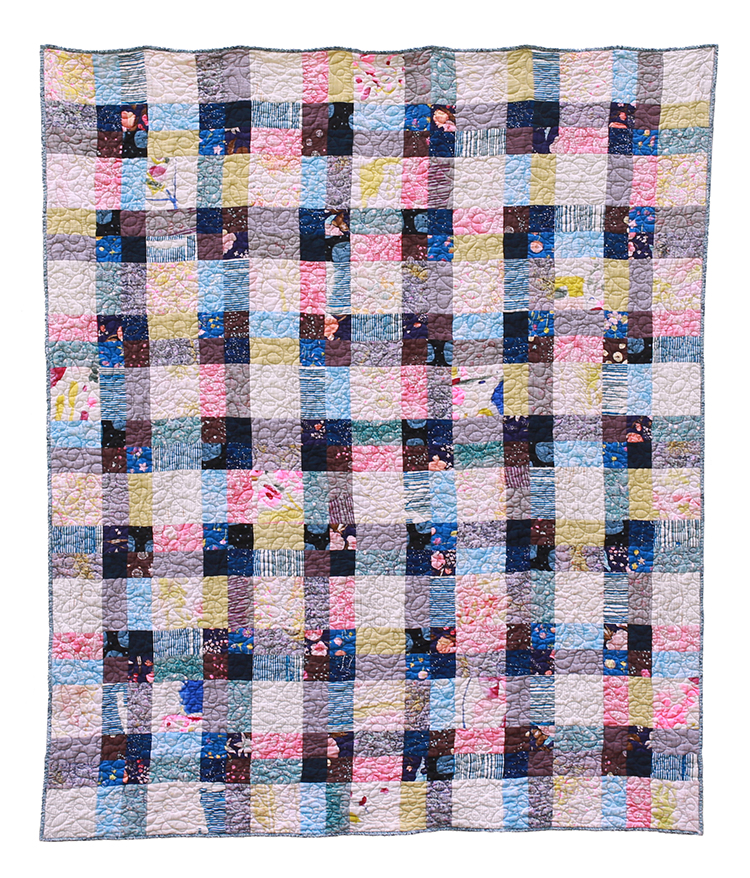
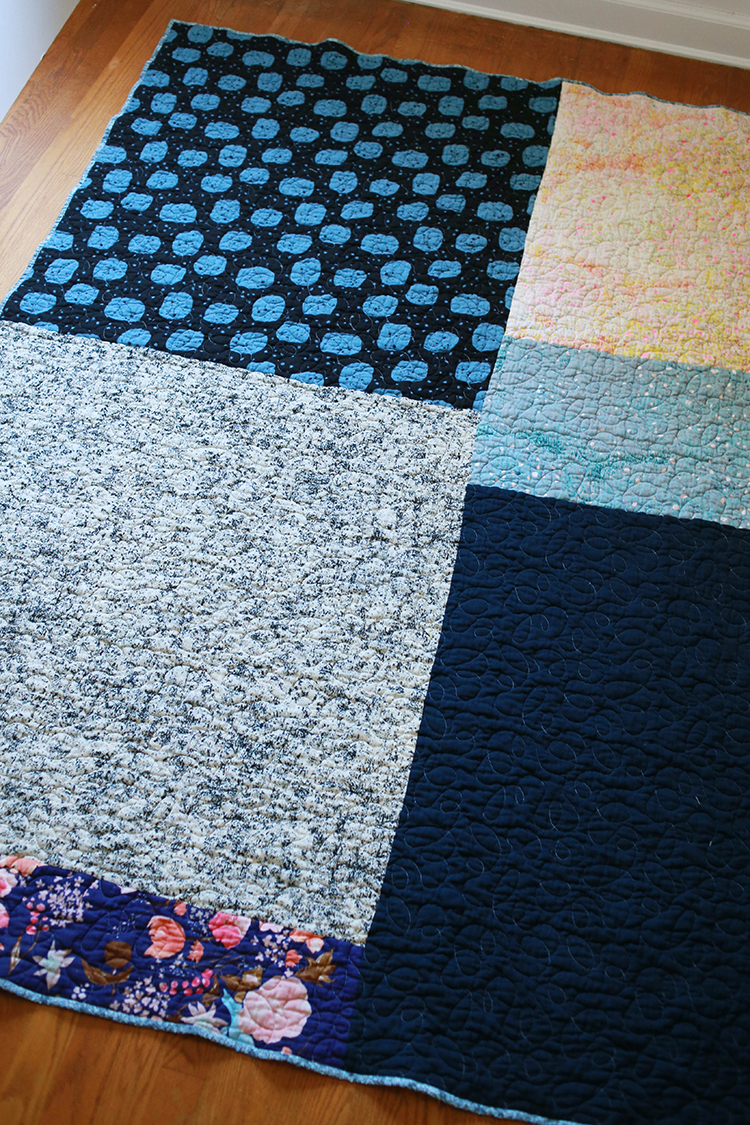
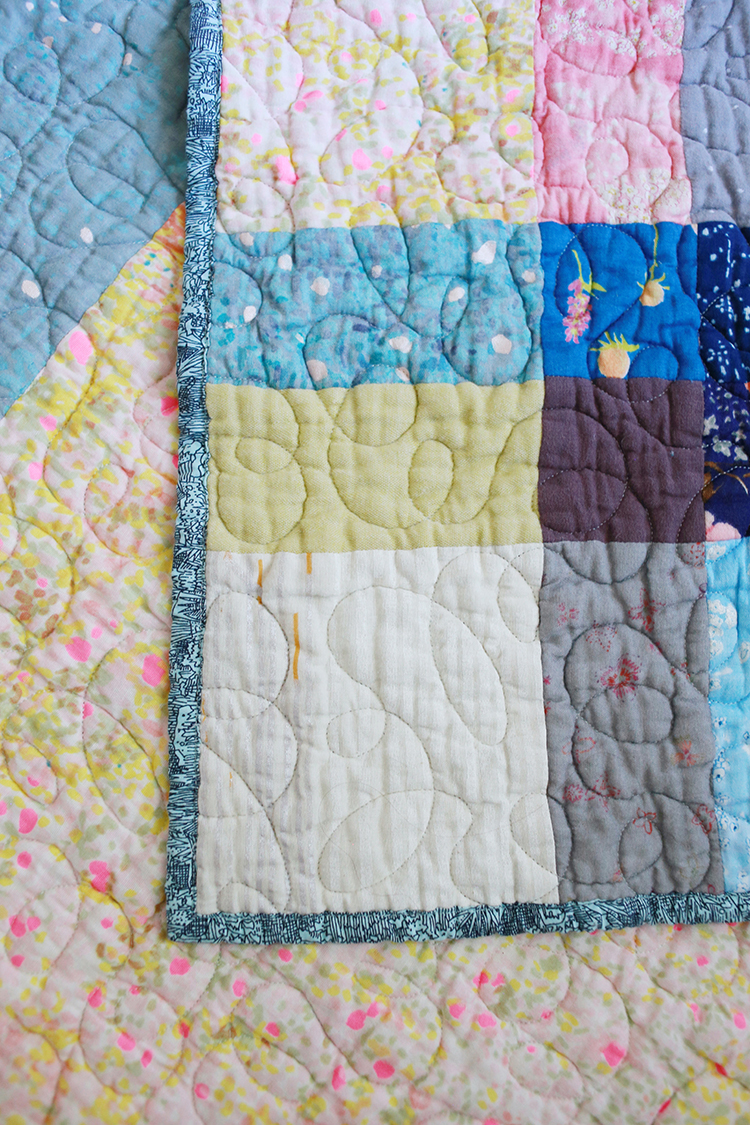
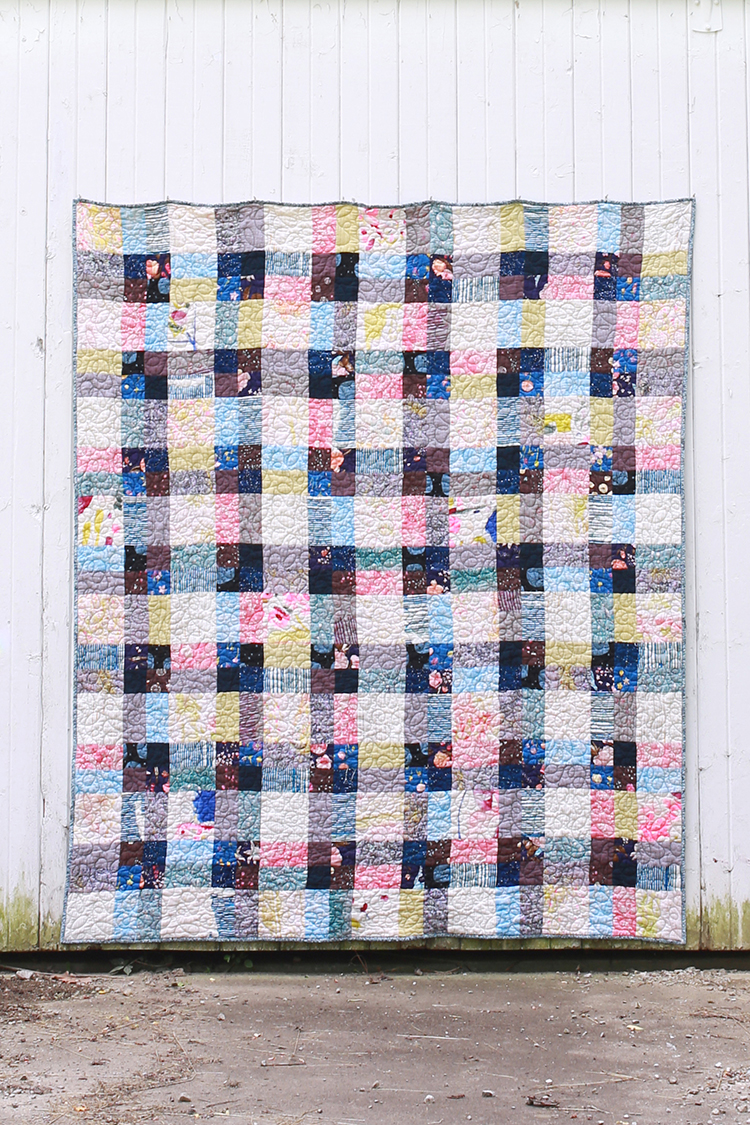
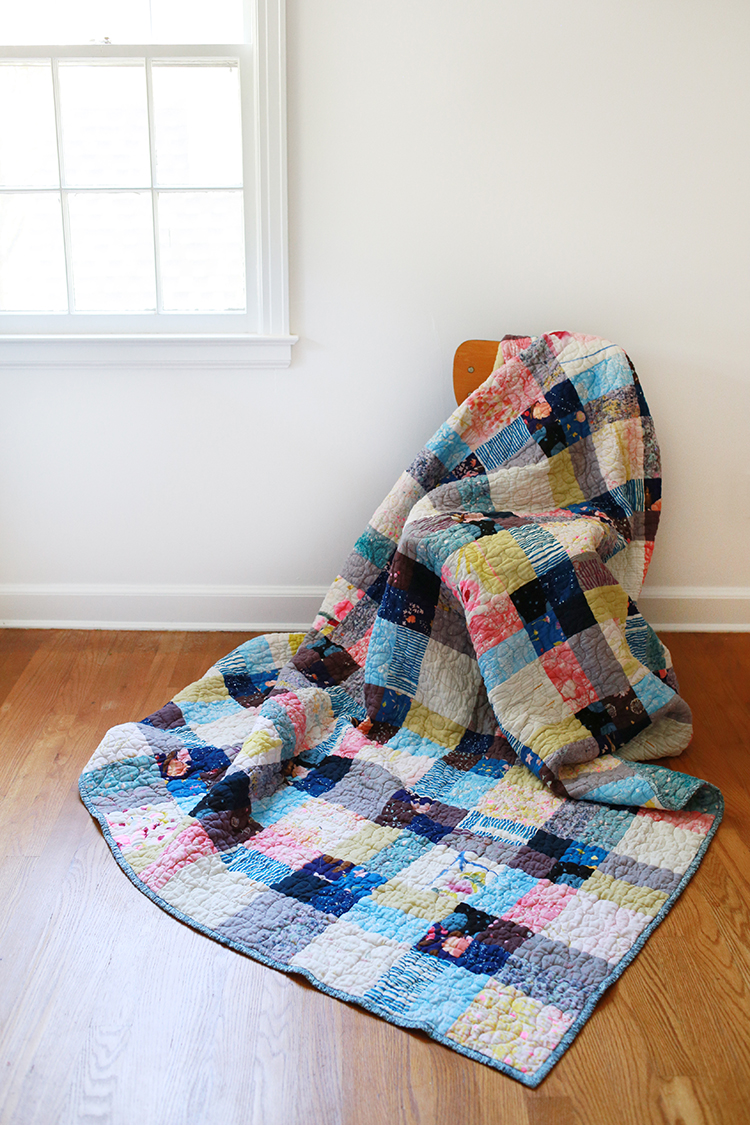
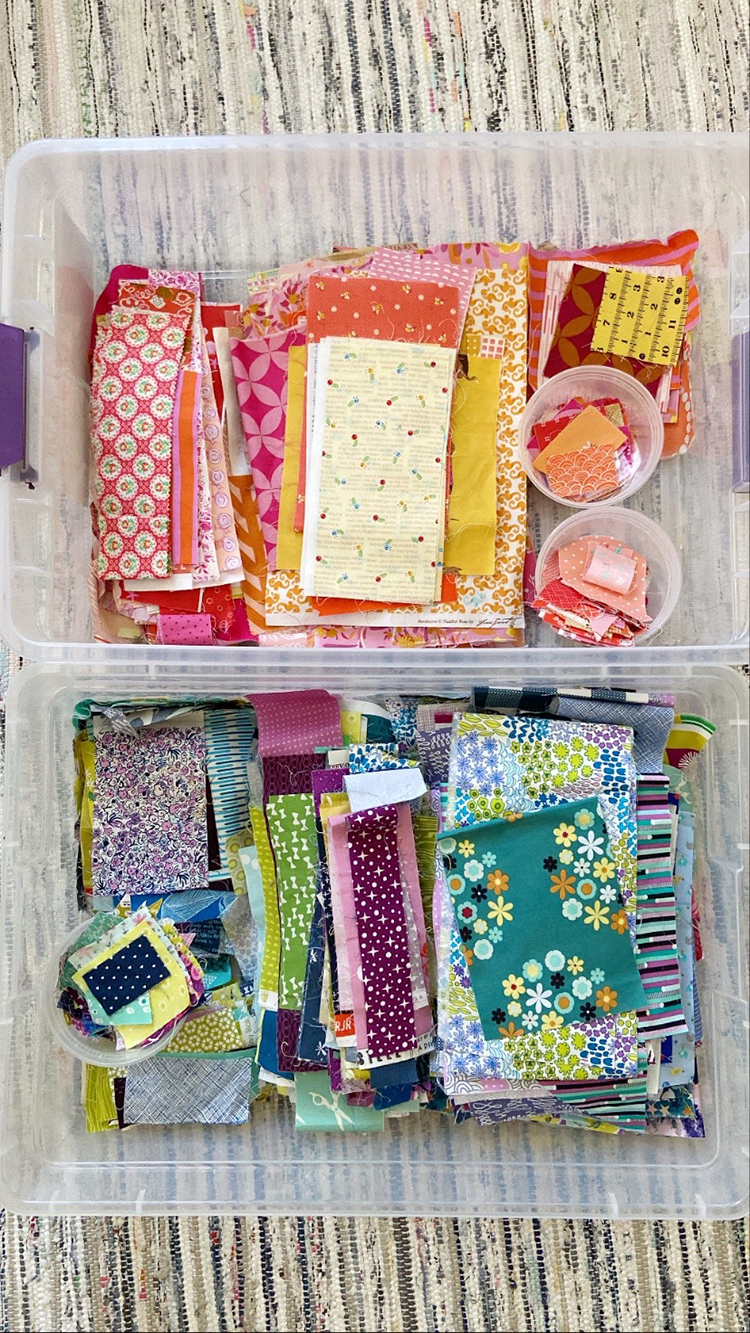
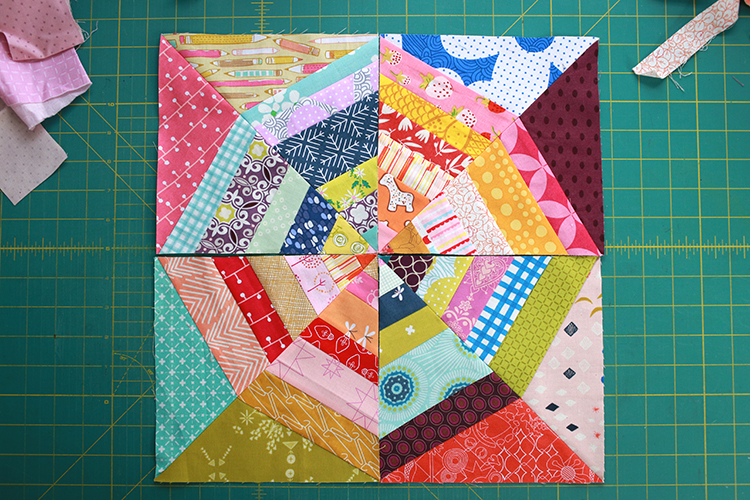
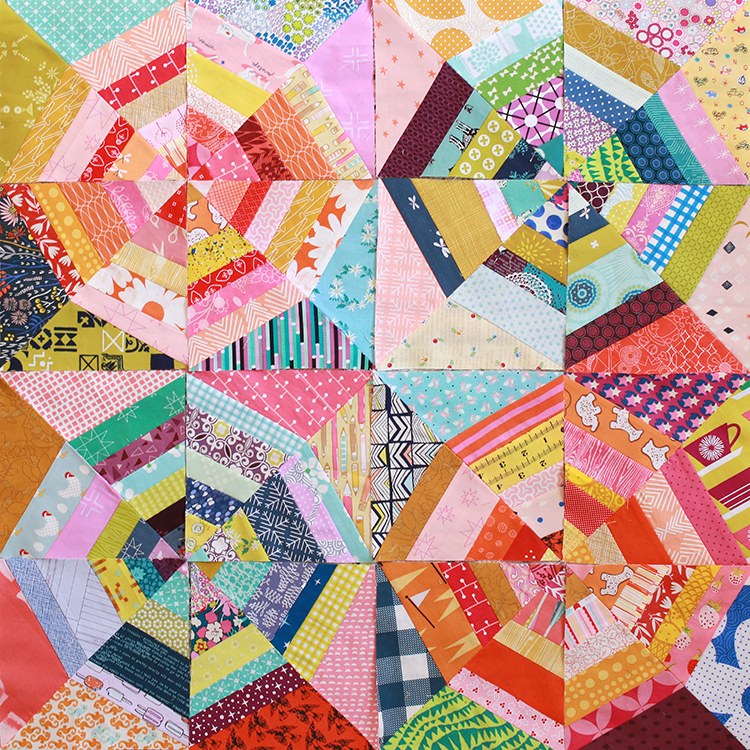
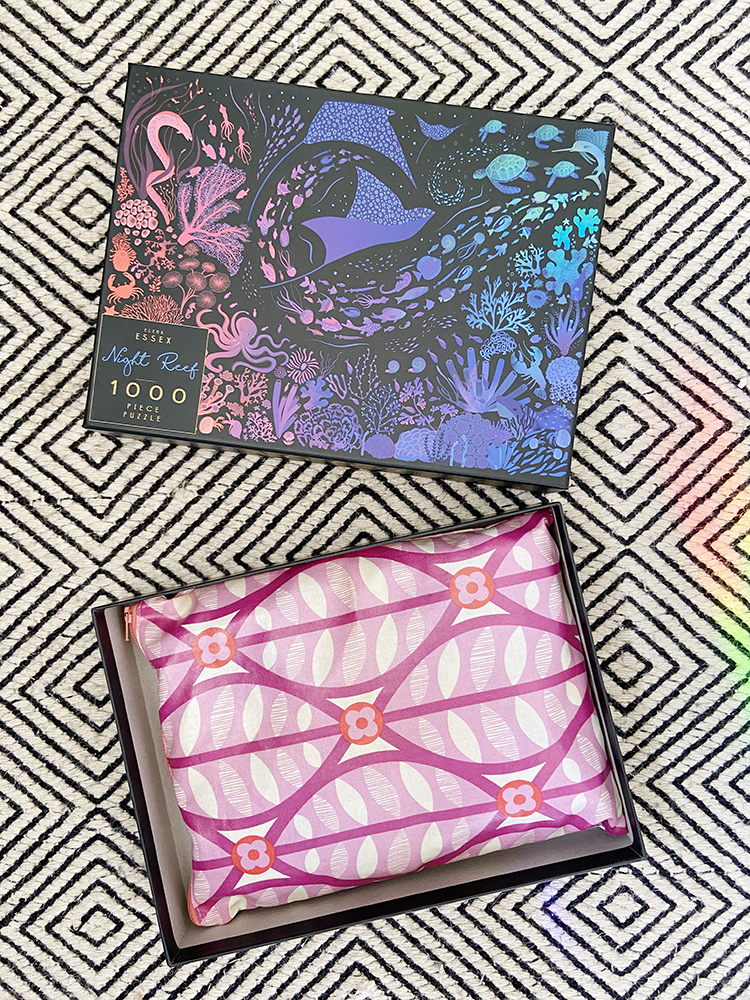
- I've taken a break from updating old blog post this week to put together a Pinterest board with all the quilts I've made! I have a few years left, but it's been fun to revisit the quilts I've made.


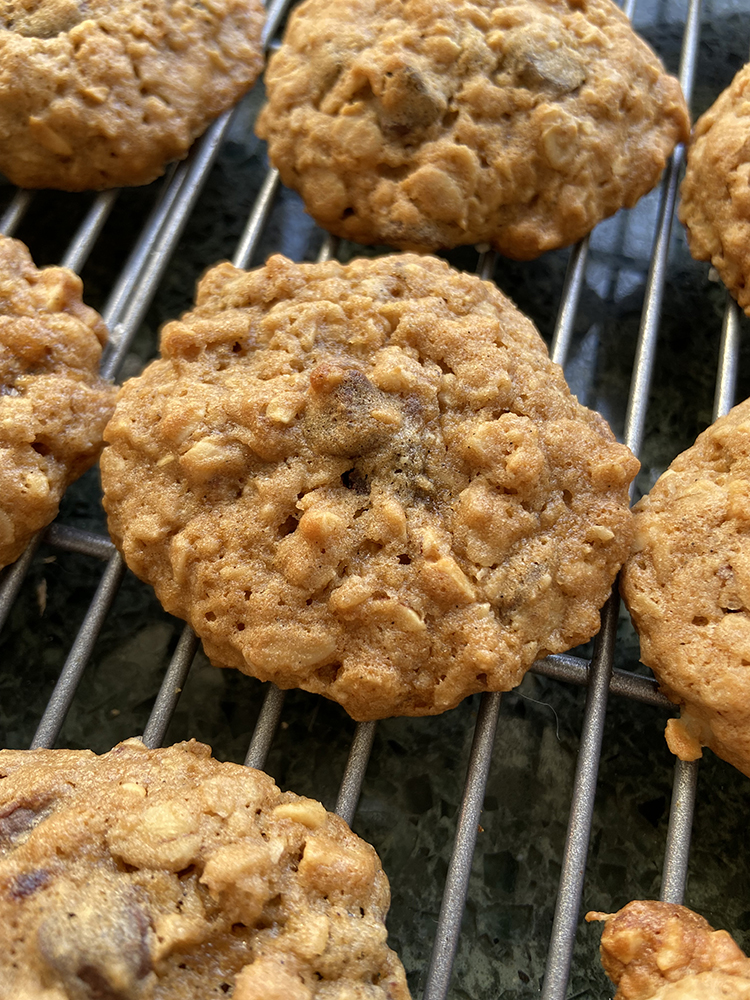
- I made one of my favorite cookie recipes, Chocolate-malted Oatmeal Cookies, from the book Homemade Decadence*.

- This cardboard house being built by Ann Wood is just too sweet.

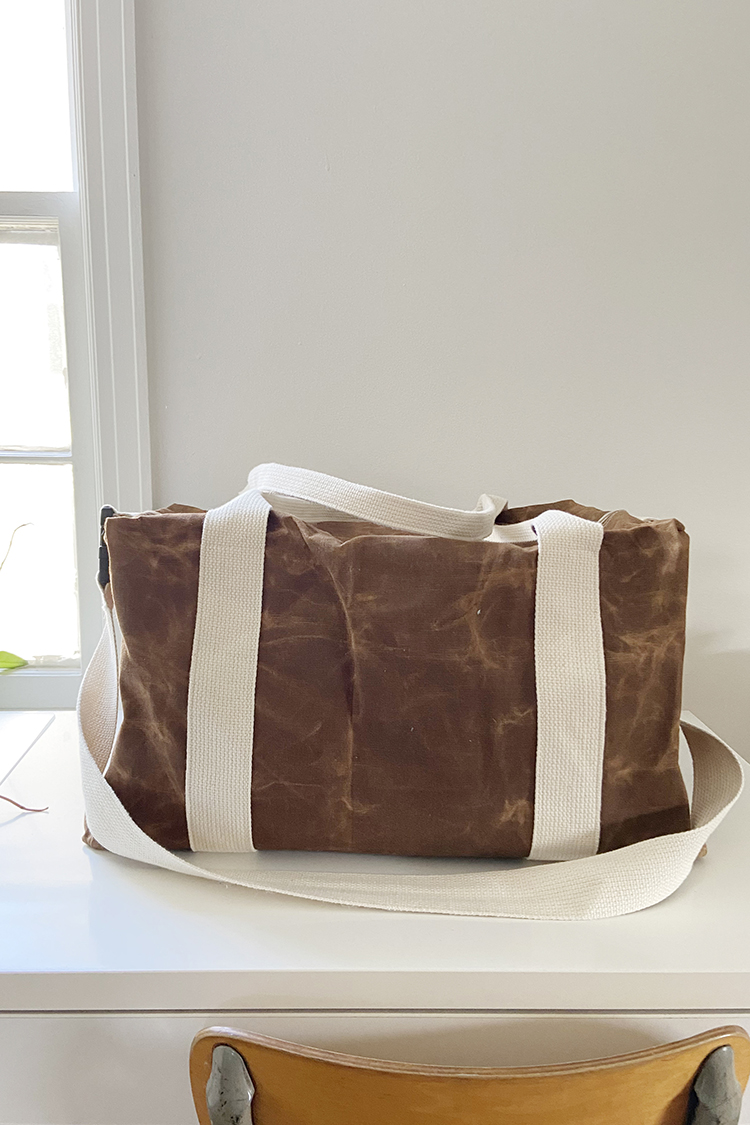
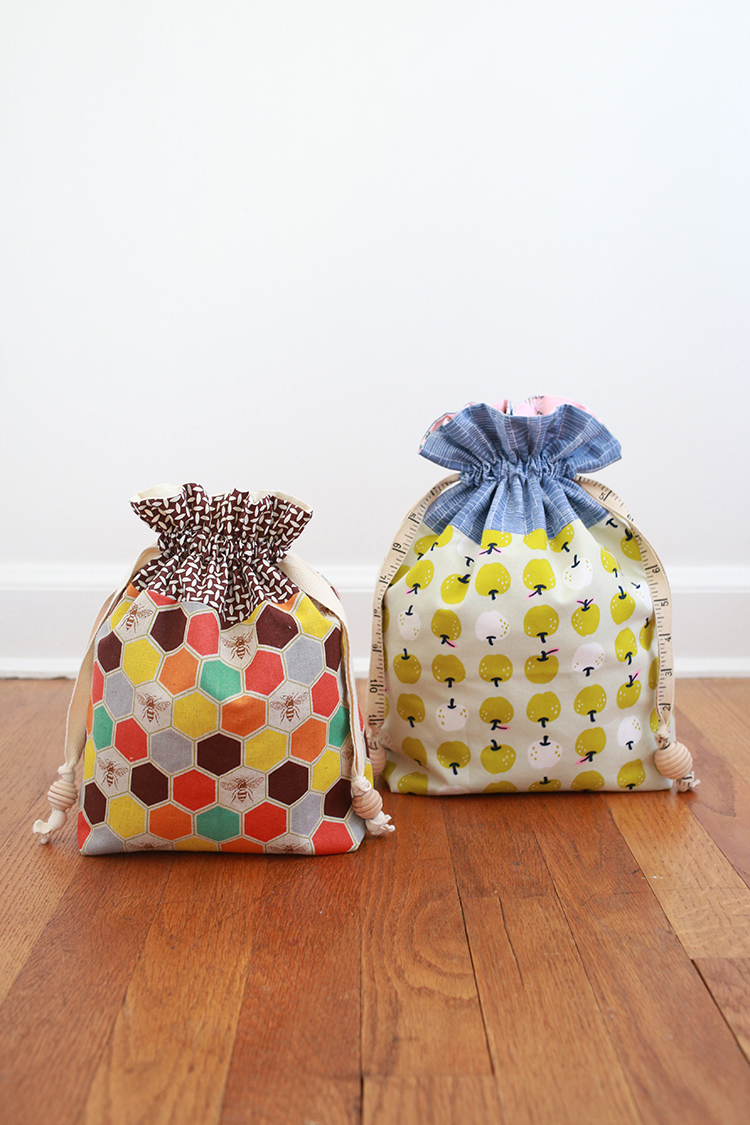
- How cute is this bag made from my lined drawstring bag pattern that Aubrey made?

- We recently binged Mare of Easttown on HBO Max. We absolutely loved it. Can't wait to watch it again.


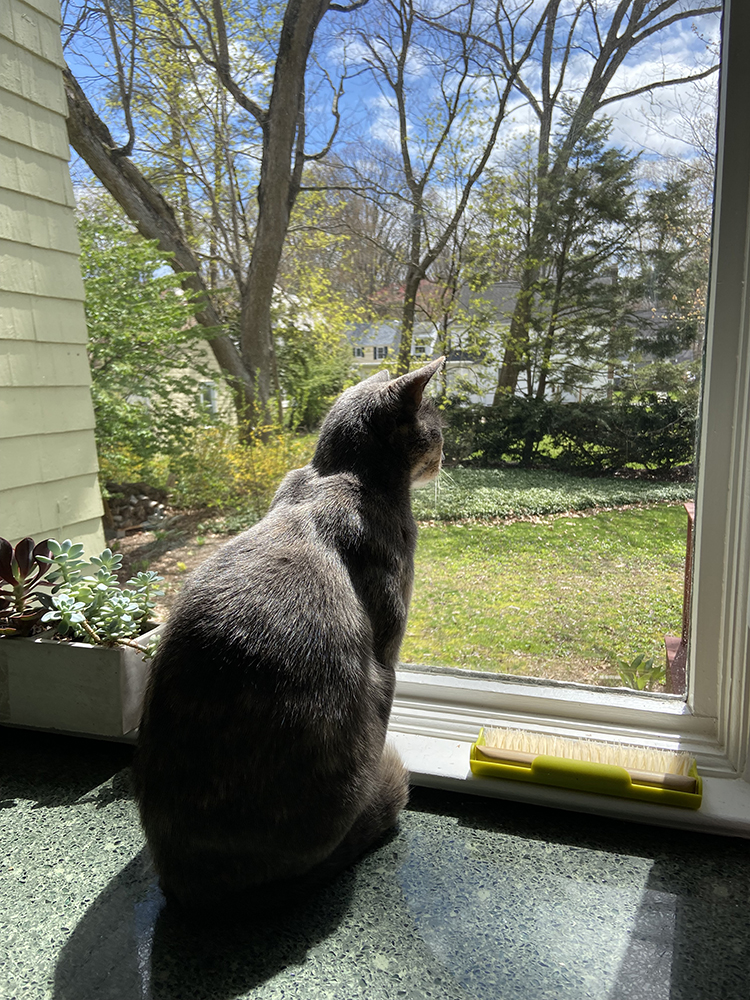
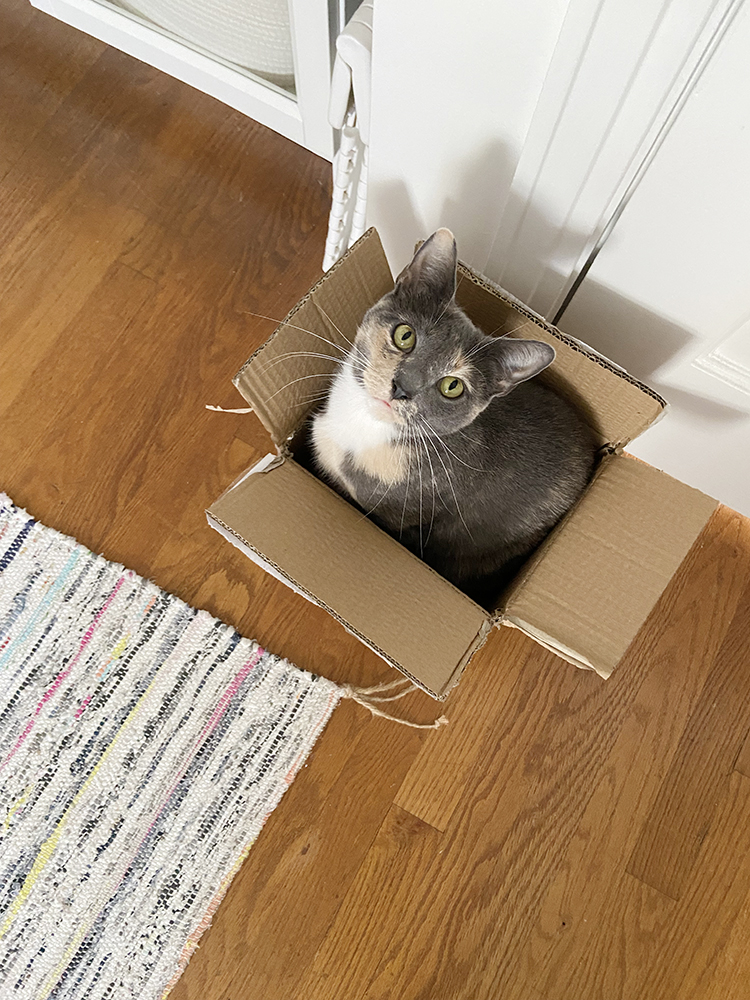
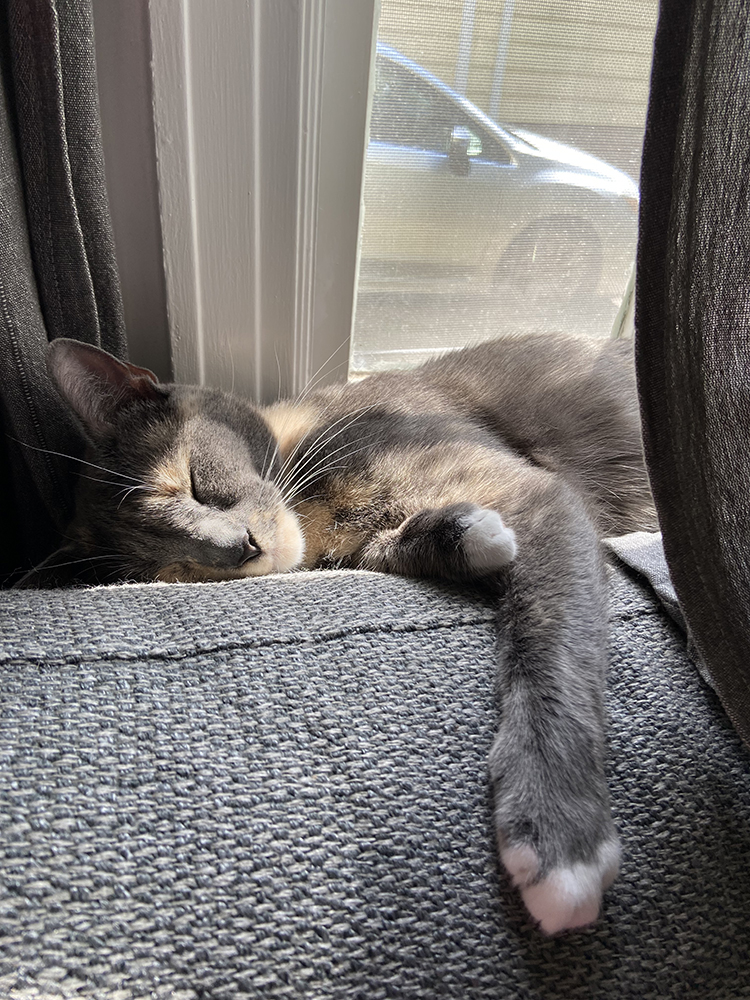
- Dusty enjoying the beautiful day through the kitchen window.

Have a Great Weekend!

*Note: Any links marked with an asterisk in this post are affiliate links. This means if you click through and buy something, I make a small commission, at no extra cost to you.

Double Gauze Gingham Quilt

Wednesday, April 27, 2022


Happy Wednesday! Today I have a finished quilt to share, my Double Gauze Gingham Quilt!


I started this quilt in 2020 and finished it in June 2021. I really love to work with double gauze, and I was able to make this quilt just from my stash. Many of the prints in this quilt have shown up in my other two all double gauze quilts, which you can see more of here: Nani Iro Dreams Quilt and Double Gauze Plus Quilt

Most of the fabrics I used in this quilt were designed by Nani Iro*. There are also a few Kobayashi solids* and some that were given to me that I don't know the designer/manufacturer for. I had no reason for making this quilt, other than wanting to play with these fabrics again! They make me so happy and I do love the resulting texture and weight that they give a quilt.


Used with permission from Quilts and More™ magazine. ©2018 Meredith Corporation. All rights reserved.

For the quilt design, I wanted to revisit a design I published as a table runner in the Spring 2018 issue of Quilts and More Magazine. I realized while writing this post that I never shared that project, so I'm sharing a photo of it now! I've had it displayed in our dining room since then, but just never got around to sharing it!


This was one of those projects where partway through I decided to make it bigger! I really don't like finishing a quilt and wishing I had made it bigger. So I ended up cutting more fabrics halfway through and added more rows to it. Easy fix since I was just working with my stash!


I am not afraid to admit that I love how this quilt turned out! I had a vision for how it would look in double gauze and it turned out exactly how I though it would. Love when that happens! I held back on sharing it because I wasn't sure if I wanted to write up a full pattern for it or not. I decided to just go ahead and share it anyways. I could still do that if I want to in the future. In the mean time my stack of finished by unshared quilts is getting too big!


For the back I again used pieces from my stash. A few larger pieces to start with and then a bit of patchwork to get it to the proper size. For quilting, I sent it off to Melissa of Sew Shabby Quilting. I went with a loopy design called "scribble" for the stitching and paired it with wool batting. My favorite.


For binding I used a lawn print by Carolyn Friedlander*. I love using lawn or voile fabrics to bind quilts made with double gauze or flannel. The contrast in textures is really satisfying.


I hope to get through sharing my other finished quilts from the last year (yikes!), in the next month or so. After looking at photos of this quilt, I'm itching to make another double gauze quilt. If you are interested in quilting with double gauze, I'd recommend checking out this post: Tips for Quilting with Double Gauze


Pattern: Currently no pattern available for this quilt.
Fabrics: Nani Iro double gauze*, Kobayashi solid double gauze*, Carolyn Friedlander lawn*

Happy Quilting!

*Note: Any links marked with an asterisk in this post are affiliate links. This means if you click through and buy something, I make a small commission, at no extra cost to you.

Friday Favorites 16

Friday, April 22, 2022


Happy Friday! It's time for another Friday Favorites post!

- I put on my walking foot to do some wavy quilting this week. I was reminded how fun it is to quilt this design!

- I'm really excited for this fabric collection* to arrive. I'm very tempted by a number of prints!

- Would love to wear this handmade jacket made by Biggie Handmade.

- This past weekend we made Falafel for the first time using this recipe from Spoon Fork Bacon. We cooked them in our air fryer and they got super crispy. We already made them again this week!


- The thrift stores finally delivered on vintage sheet front, and this one was new in the package. I haven't found a sheet at the thrift in months!

- I got one of these candle lighters* for Christmas and finally ordered a second one to keep upstairs. They're so convenient.

- I've been listening to the Creative Pep Talk Podcast by Andy J. Pizza quite a bit. It's really hitting the spot!

- My friend Jacey sent me a link to this amazing doormat* this week, I don't think I could bear to put it outside, it's so cute!

- I loved watching this short documentary on one of my favorite flower farms to follow (and buy dahlia tubers from), Fivefork Farms.


- Dusty found a box! :)

Have a Great Weekend!

*Note: Any links marked with an asterisk in this post are affiliate links. This means if you click through and buy something, I make a small commission, at no extra cost to you.

New: Candyweb Quilt Block Pattern

Wednesday, April 20, 2022


Happy Wednesday! Today I want to officially introduce you to my newest pattern, the Candyweb Quilt Block Pattern. It's only $5!


This pattern is a bit different for me! Rather than publishing a full blown quilt pattern for this design, I've instead decided to release it as a block pattern. What you'll find in this pattern is detailed instructions for my favorite method of paper piecing (with step by step photos!), block layout ideas, some blank blocks for planning your project as well as the printable block templates. The blocks finish at 14" square, and the paper piecing templates are designed to be printed on regular 8.5"x11" copy paper.


I spent a good chuck of January organzing and processing my scraps as well as designing this quilt block. One of my goals for 2022 is to make an entire quilt from scraps and this is the project I'm dedicating to that goal. I pressed and organized my scraps by size and into warm and cool color groups. I knew pretty early in the process that I wanted to make a quilt from strips, and I played around with a bunch of ideas. I landed on this twist on the traditional spiderweb quilt block!


There are so many different projects you could make with this quilt block pattern. I am planning to make a throw size quilt, but you could also turn a single block into a pillow, sew a few in a long strip to make a table runner, put a block on the side of a tote bag, or make a quilt too!


One of the fun things about the Candyweb Quilt Block is that there are tons of possibilities in terms of block layout. Your choices can give you many different looking quilts. Here are a few of the ways you can make this design your own:
- Changing up where you place color.
- Using a single background fabric vs. multiple.
- Using scraps in all colors or a more strict color palette.
- Turning the block quarters differently. (see photos above!)


If you'd like to make blocks that look similar to mine, here is what you need to know! I am making two different blocks. For half the blocks I'm using warm colors (pinks, reds, oranges, yellows) for the strip sections and cool colors (greens, blues, purples) for the background sections. For the other half of the blocks I'm doing the oposite, so cool colors for the background sections and warm colors for the strip sections.


I hope this pattern might tempt you into tackling your scrap bin this year! I know mine desperately needs using!

Pattern: Candyweb Quilt Block Pattern
Recommended Tools: Add-a-Quarter Ruler*

Happy Sewing!

*Note: Any links marked with an asterisk in this post are affiliate links. This means if you click through and buy something, I make a small commission, at no extra cost to you.

Friday Favorites 15

Friday, April 15, 2022


Happy Friday! It's time for another Friday Favorites post!

- So in love with my friend Amanda Jean's hexagon quilt.

- How cute are these tiny patchwork star pins by Kate?

- Loving these plaid patchwork pieces by Xanthe!


- I've added a few spots of miniature daffodils (variety is called 'Tete a Tete') to our yard this year. They're so cheerful!

- One of my favorite notions* to use when paper piecing!

- This week's blog post refresh was my Half-Square Triangle Potholder Tutorial. I can hardly believe it's now 10 years old! It was desperately in need of updating!

- I'm very excited to start composting this month. We ordered an outdoor composter through our city, and I ordered this indoor bin* to keep under our sink.


- I sowed my carrots seeds this weekend! I am using this extra wide crate that I thrifted. I made a simple liner with landscape fabric to help hold the dirt in.

- I put this book* on hold at the library after discovering the author's instagram. I'm excited for it to come in!


- Dusty has discovered the joys of sleeping on the back of our couch. It gets nice late morning sun. (I swear she does more than just sleep all day!!)

Have a Great Weekend!

*Note: Any links marked with an asterisk in this post are affiliate links. This means if you click through and buy something, I make a small commission, at no extra cost to you.

March Monthly Report

Wednesday, April 13, 2022


Happy Wednesday! It's time for the March monthly report. See past reports here.


One of the projects I worked on in March was preparing pattern for my scrap quilt! I'll do a proper post about it soon, but for now, you can find the Candyweb Quilt Block Pattern in my shop now! It's a paper pieced block pattern that includes detailed instructions for my favorite method of paper piecing along with block layout ideas, some blank blocks for planning your project as well as the printable block templates.


Michael had his first in-person conference in two years last week. This of course meant he needed a new travel bag! I knew his old small one was falling apart, but a few days before he left I realized he really needed an upgrade! So I whipped up this duffel for him. I used Simplicity 2274*, which I’ve now made six times in the last 10 years (see a full pattern review and most of those bags here)! For this one I made a really simplified version, with waxed canvas (from A.L. Frances Textiles*), no pockets and no lining. Used 2” cotton webbing for the handles and added a removable shoulder strap. A piece of binder's board* in the bottom gives it some added strength!


I dug into my stash of laminated cottons to make a bunch of simple bags to hold some of my favorite puzzles! I dont' like to use too many ziploc bags, but I also don't want my puzzle pieces to get lost. So I've been cutting up my laminted cottons to make unlined zipper bags that fit different brand puzzles. If there is interest, I can put together a quick tutorial! This puzzle by Elena Essex* is one of my very favorites.

drawstring-bags
I made two lined drawstring bags, which I shared about in this post.

fabric-artwork
March was busy! I also made a new piece of fabric artwork to go over our mantle. I shared about it in this post.

To keep myself accountable for my stash goals, I track my yardage for fabric and yarn each month. Read more about how I track here. Here is how I did in March:

March Fabric
Used up: 6 yard
Brought in: 0 yards
Net: -6 yards
Year to date: -15.5 yards

March Yarn
Used up: 0 yards
Brought in: 0 yards
Net: 0 yards
Year to date: 0 yards

Pretty quiet on the yardage tracking this month. Didn't add any fabric or yarn to my stash. Considering I didn't finish any huge project, I feel good about using up 6 yards worth between small projects. No yarn finished this month.


Time to check in my with 2022 crafty goals. This month I:
- Worked on my scrap quilt!
- Made a piece of fabric artwork!
- Started a new weaving project!
- Made progress on my yardage goal!


Miss Dusty, sleeping in the library window while I work. What company she brings me!

Have a Great Month!

*Note: Any links marked with an asterisk in this post are affiliate links. This means if you click through and buy something, I make a small commission, at no extra cost to you.

Tips for Dyeing Raw Eggs

Monday, April 11, 2022


Happy Monday! I have a crafty how-to post to share today!


I really enjoy dyeing eggs every Spring, but we don't eat a lot of hardboiled eggs. So a few years ago I tried dyeing raw eggs, and it worked great! Just a little extra care when dyeing and I've got a fridge full of colorful eggs to use for baking and breakfast for dinner! I took some photos while I dyed this year so I could share with you all. Let's dive in!


I like to use the simple egg dyeing kits from the grocery store (or Target). Some years I've found a kit that has purple, but this year I picked up just a standard color kit. The kit I used was just the dye tablets, egg dipper and some stickers, so I used my own containers to dye the eggs. One of these days I'm going to try dyeing them with food coloring, but I also love to buy the kits!


I find wide mouth mason jars work nicely, since they're tall and not too wide at the base. Follow the instructions for disolving the dye tablets with vinegar and then diluting with water.


There is no prep needed for working with raw eggs! You just need to be extra careful when lowering the eggs into the dye cups as well as removing them. I wouldn't necessarily recommend dyeing raw eggs with small children, I think it would most likely result in some broken eggs!


I used one dye kit (6 tablets) to dye two dozen eggs. First I dyed a dozen white eggs! These get nice and bright. I let them sit in the dye for five mintues each. After I lower the eggs into the cups, I like to add an extra splash of water if needed to cover them completely to help avoid undyed spots.


To keep the colors from getting muddy, I keep a small dish of clean water and a paper towel at the ready. I quickly rinse the egg dipper after each dip into dye and blot it on the paper towel.


I dry the wet eggs right in the cardboard carton. Make sure to let the extra water drip off into the cup after lifting it out of the dye. It doesn't take too long for them to dry, and I find it easier than using the cardboard container that the dye kit came in!


Here are the white eggs all dyed up! I dyed these first, and I did each egg for 5 minutes in the dye cup.

After I'm done dyeing white eggs, I love to dye a dozen brown eggs too, right in the same dye liquid. These I let sit in the dye cup for 10 minutes each.


The two different eggs take the color so differently! Hard to believe these two sets of eggs were dyed with the same kit, right? Now I will smile every time I crack an egg until these are gone! Do you prefer the bright white eggs or the muted brown eggs? I think I like the brown a little bit more!


I hope you've enjoyed this little how-to! I have lots of other tutorials for everything from quilts, pillows, bags, and holiday items to informational series and techniques. Find all my tutorials here: Tutorials. My online shop is filled with patterns for quilts and bags. Find my patterns here: Jeni Baker Patterns

If you make something using one of my tutorials or patterns, I hope you'll tag me @jenib320 and use my hashtag #jenibaker on instagram!

Happy Crafting!