Showing posts with label Indigo. Show all posts

Hand Dyed Lawn On Point Quilt

Friday, August 30, 2024


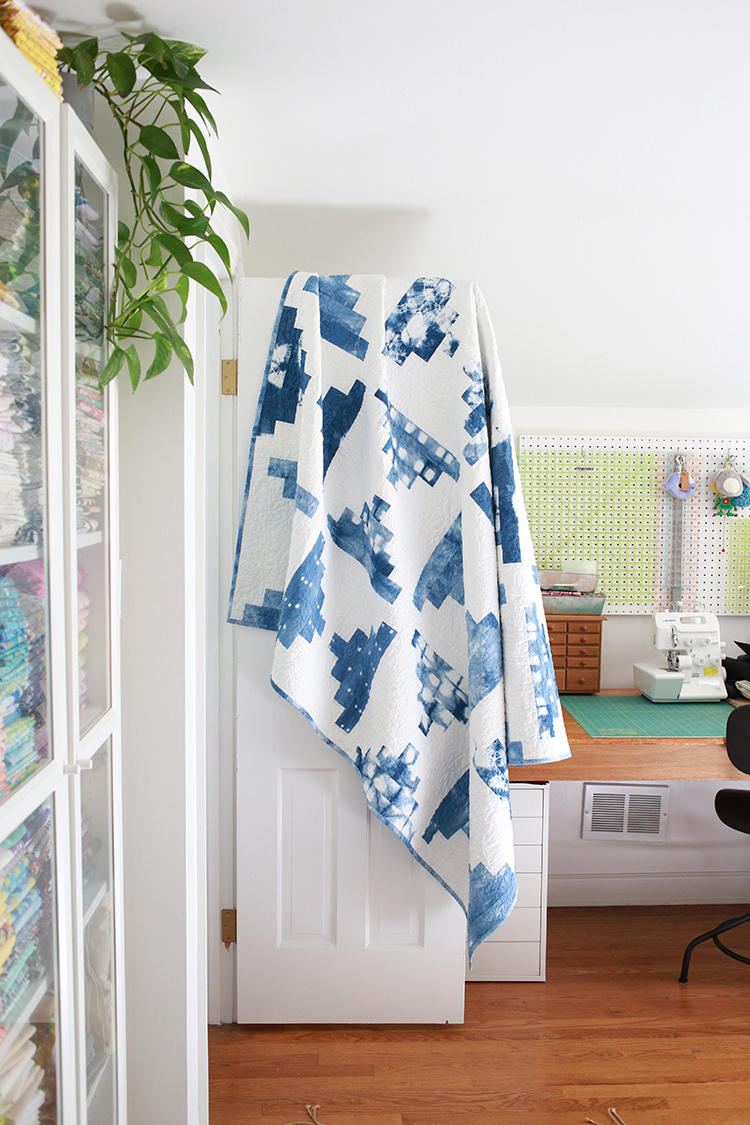
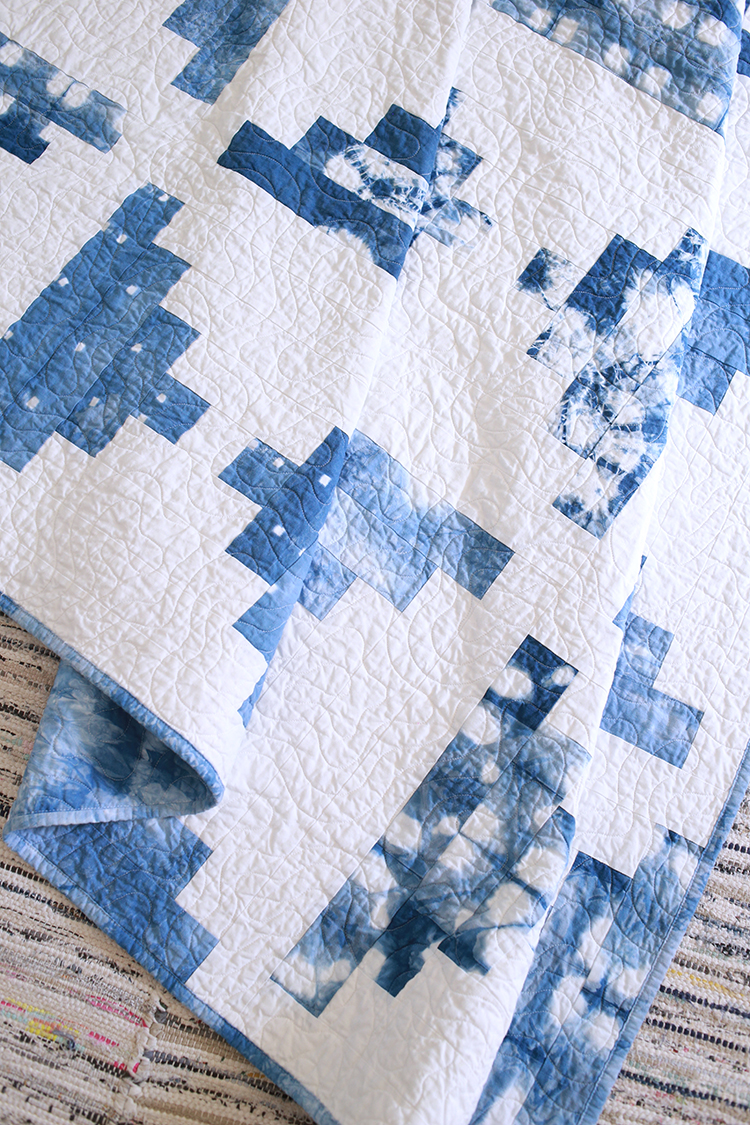
Happy Friday! I have a finished quilt to share today!! This one has been done for a while (Spring 2023), but I only managed to take photographs of it last month, so here we are!


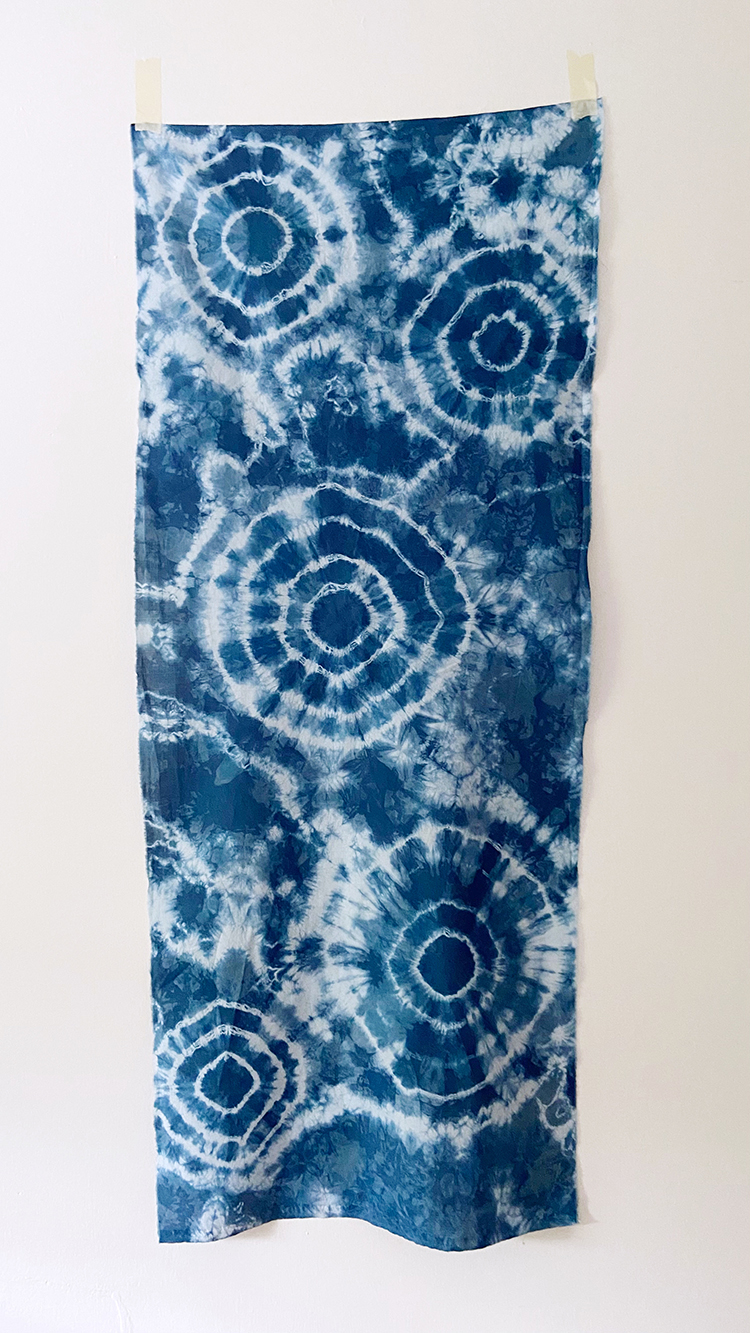
I started this quilt in late 2022 in an effort to use up some of my hand dyed indigo fabric stash. Specifically I wanted to make a quilt with all of the lawn that I had dyed over the years. I thought I would make a lot more garments with it, so I would dye a yard or two of lawn almost every time I mixed up a vat of indigo dye. In the end, I only made two garments, a tank and a beach cover up. The tank was given to a friend since I didn't wear it, and the beach cover up was way too big. So I started by harvesting the fabric from the cover up and then collecting all the dyed lawns together. I dyed a little more to have enough for a backing too. All the lawn used in this quilt is Cambridge Cotton Lawn* by Robert Kaufman, which is my favorite lawn for dyeing!

If you're interested in learning about indigo dyeing, or just seeing some of the prints I dyed for this quilt in their entirety, see this post: DIY Indigo Fabric Dyeing Tutorial


Like with most of my other indigo quilts I knew I wanted to keep the design simple. I usually stick with large pieces so you can really appreciate the fabrics. I played around with a lot of ideas but ended up deciding on a simple on point quilt. It has a bit of a woven look and uses nice big squares.


This quilt came together fast! The cutting and piecing were both quick, I remember that!


It was so fun to revisit all these fabrics. Many of them were dyed at retreats with friends, or with family and neighbors. I dyed some at cabins, in our apartment backyard, and in our backyard here in CT. I've just looked back, I've been playing around with indigo dyeing since 2013, so more than 10 years! Great times.


This is a big quilt, it finishes at 66"x88" after a run through the washer and dryer. I used Quilter's Dream Bamboo batting* (bamboo, silk, tencel and cotton blend), which is lightweight and so lovely with lawn. It makes for a quilt with beautiful drape, perfect for summer. This is my third lightweight lawn (voile) quilt, see the other two here: Little Folks Voile Summer Quilt and Liberty Lawn Giant Vintage Star Quilt.


The quilting was done by Katie of Autumn Moon Quilting, who did such a nice job. I love this "Rosemary" quilting design in her library, I'll definitely be using it again on a future quilt! Katie is really great about helping you determine the right quilting design size/density. In my opinion, for a lawn quilt this is especially important because you don't want the quilting to be too dense and compromise the texture/drape of the lawn.


The entire quilt is lawn from the top to the backing and binding. I didn't have enough of a single piece to use for the binding, so it ended up scrappy!


Between this quilt and my recent indigo baby quilt, I have greatly depleted my stash of indigo fabrics! Which just means I get to dye more!! :) I already had one dye session this summer, but I am hoping to squeeze in one more while the weather is still nice. If you've never tried it and are at all interested, I highly recommend it. Grab a friend (or two) and make a dye date!

Happy Quilting!

*Note: Any links marked with an asterisk in this post are affiliate links. This means if you click through and buy something, I make a small commission, at no extra cost to you.

Summer Indigo Dyeing

Wednesday, September 14, 2022


I mentioned in my last post that I had done some indigo dyeing recently and I thought I'd share more of that dye session today. I wasn't originally intending to, but I've always documented all my dyeing here, so it didn't seem right to gloss over it without a proper post! Especially since I haven't done much dyeing the last few years!

The main reason I wanted to dye this summer was to dye some pieces of lawn fabric for a quilt. I used Cambridge Cotton Lawn* for these pieces. I've dyed lawn many times over the years, but have used very little of it. They are some of my favorite pieces I've made, the lawn takes the dye so well! I originally meant to use it for clothing, but that just never happened. So now my plan is to make an all lawn indigo quilt! I only needed to dye about 2 yards worth to have enough for the quilt.

If you're interested in trying out indigo dyeing check out my tutorial: DIY Indigo Dyeing


If you've ever dyed with indigo, you'll know it's more fun with friends! Last year I did some ice dyeing with our neighbor and her daughter so I thought they might be game to try indigo, and they were! We made a day of it and dyed all kinds of things: fabric, tea towels, t-shirts, and even a sweatshirt and jeans. A big thanks to my neighbor for most of the in-action photos in this post! :)

We used these indigo dyeing kits*. They make it so easy!


Introducing people to indigo dyeing in particular is so fun because it's a pretty magical experience. When you first pull the pieces from the dye vat, they're neon green! Slowly over about 20 mintues the dye oxidizes and turns deep blue.


Unwrapping the resisted pieces is like opening little presents. You don't know what you're going to get! Still so fun, even though I've been doing this for about 10 years!


It was a very successful dye day! The weather was perfect and we all came away with pieces we liked.


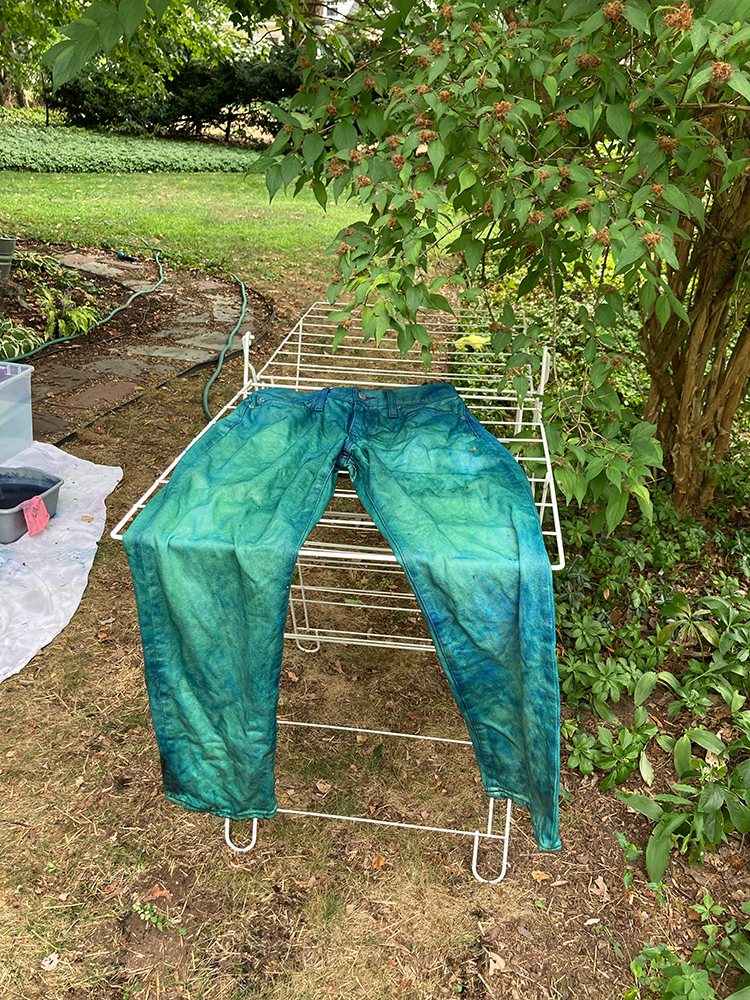
I tried dyeing a pair of really light wash jeans that I had picked up on clearance last month. I couldn't get them quite dark enough for my taste (even after a few dips), so I did end up overdyeing them with RIT dye. But it was a fun experiment!


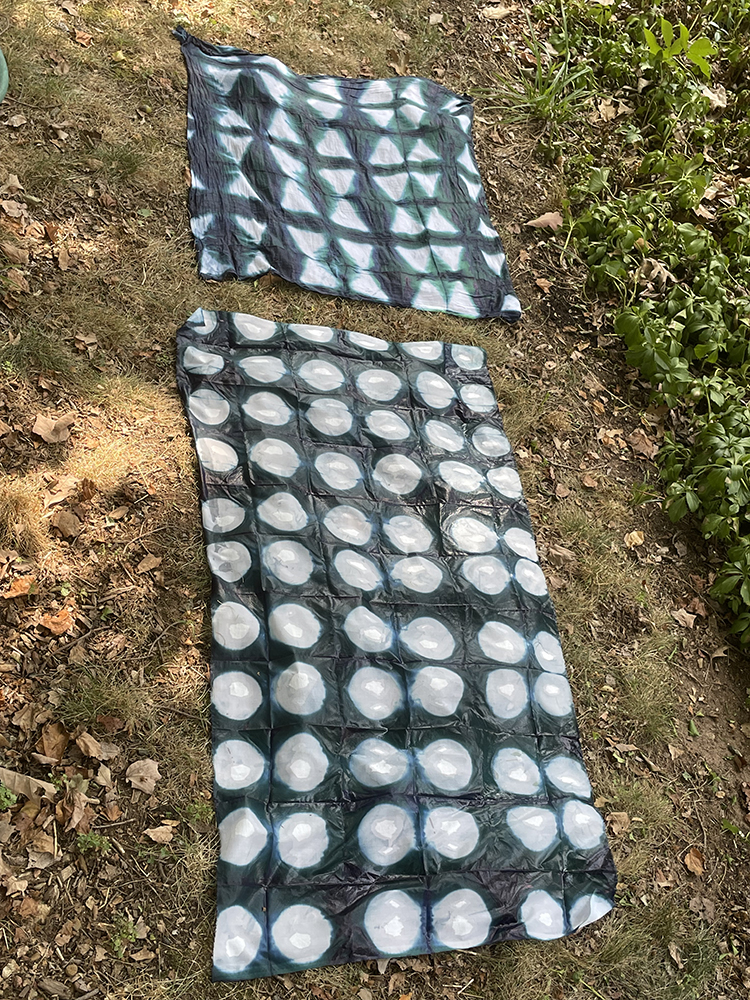
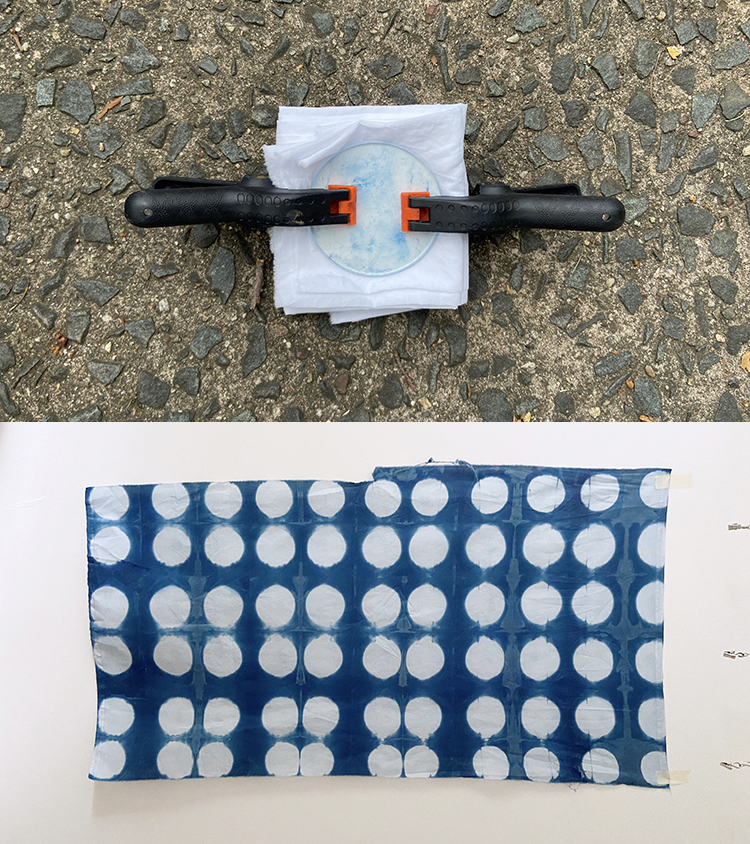
Here are the pieces we made with shape resists! The one with the circles was made with plexi circles* by Rossie Hutchinson.. Rossie created a coupon code (Jeni20) to use through the end of September to save 20% off her itajme shapes in her shop*.

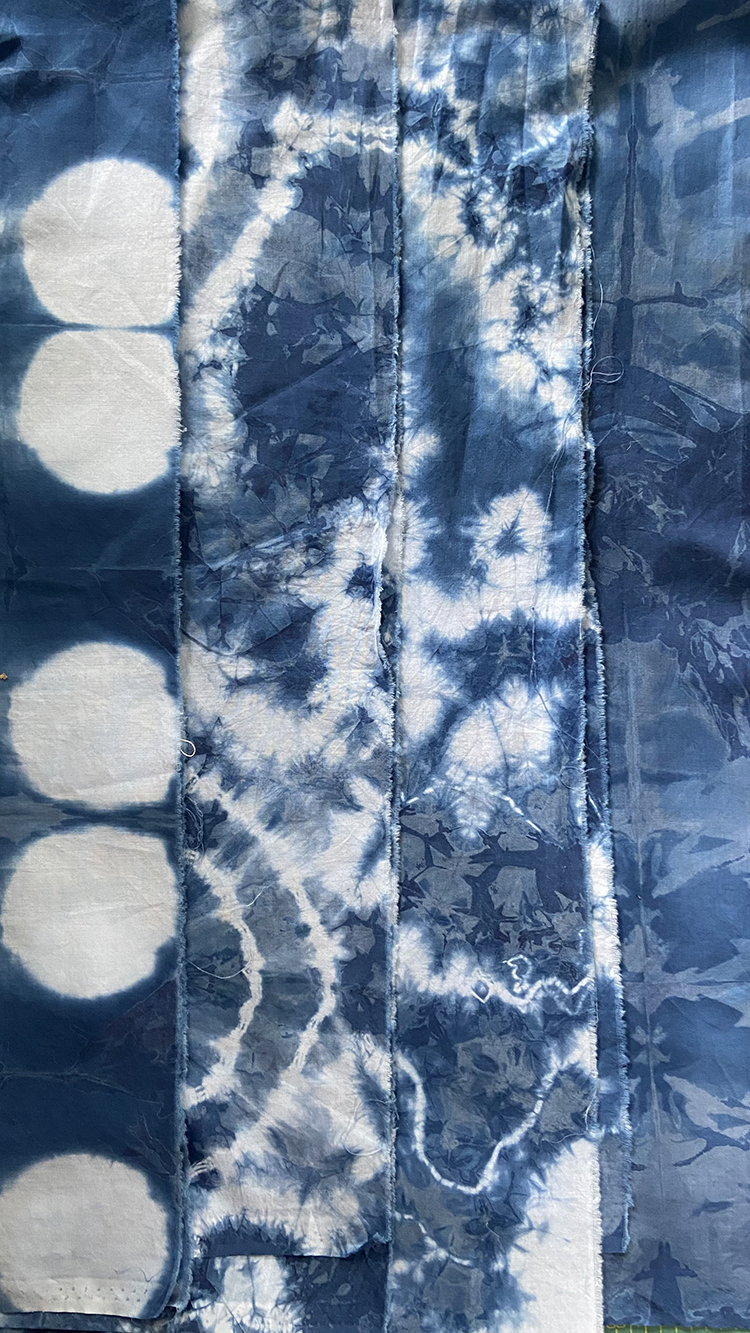
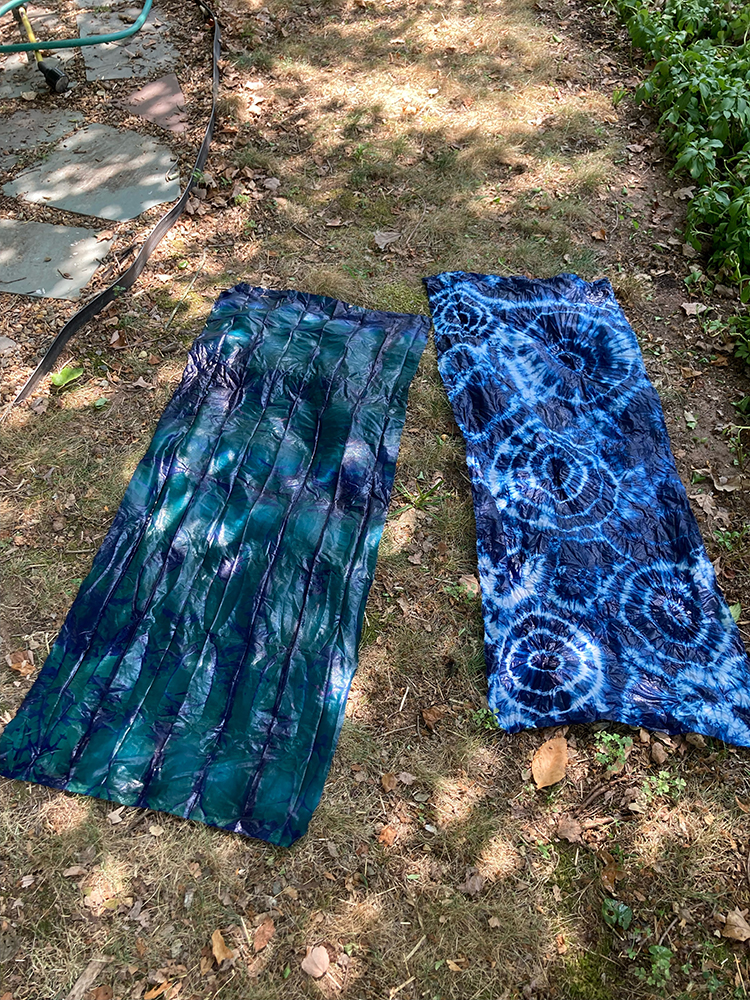
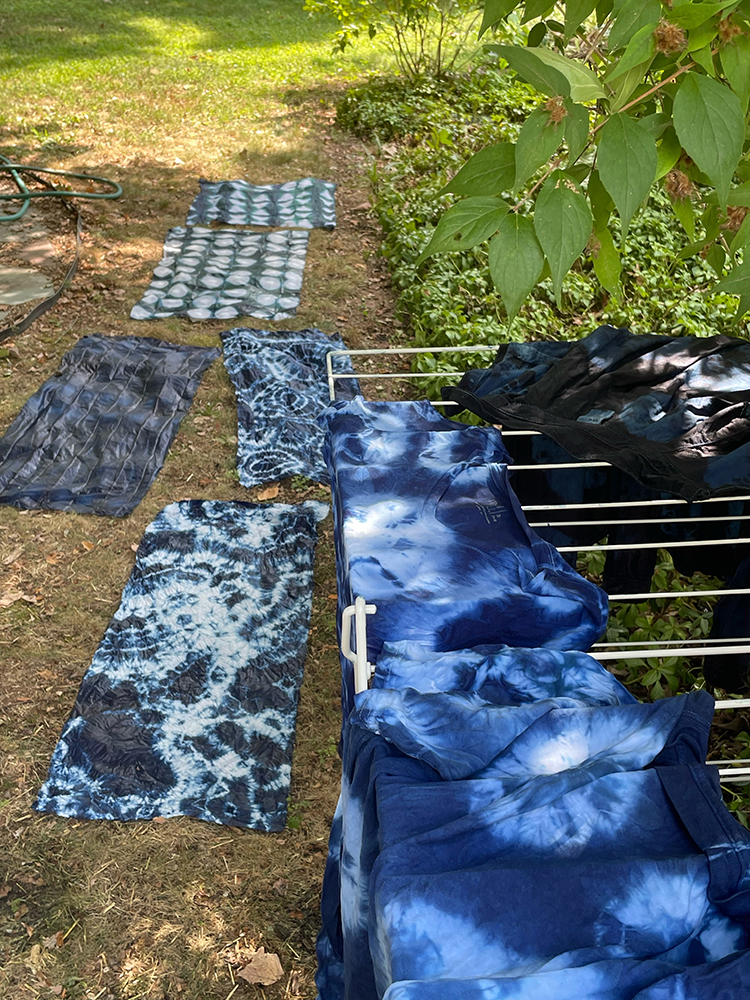
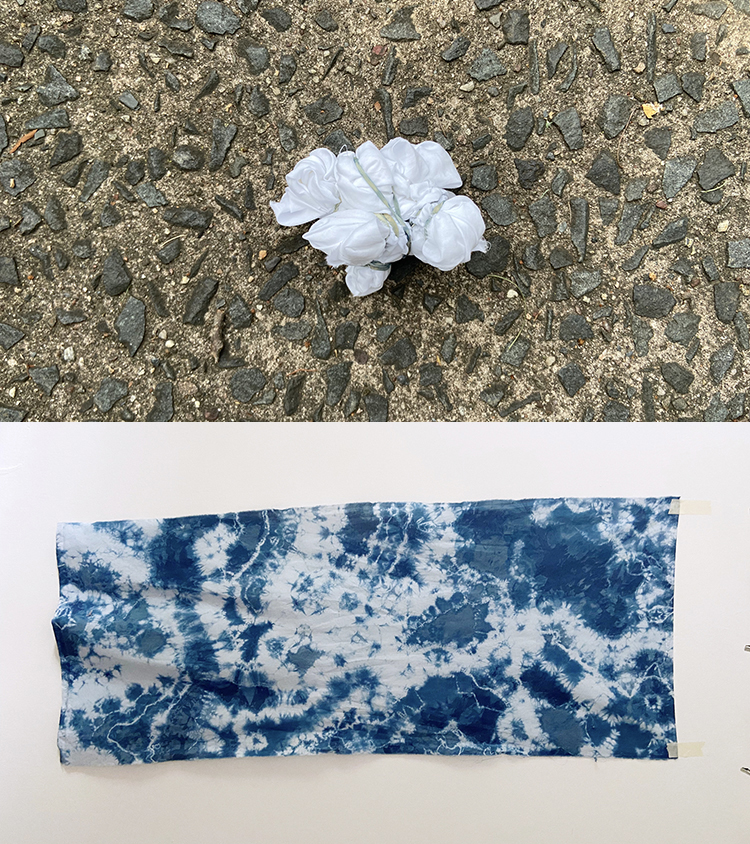
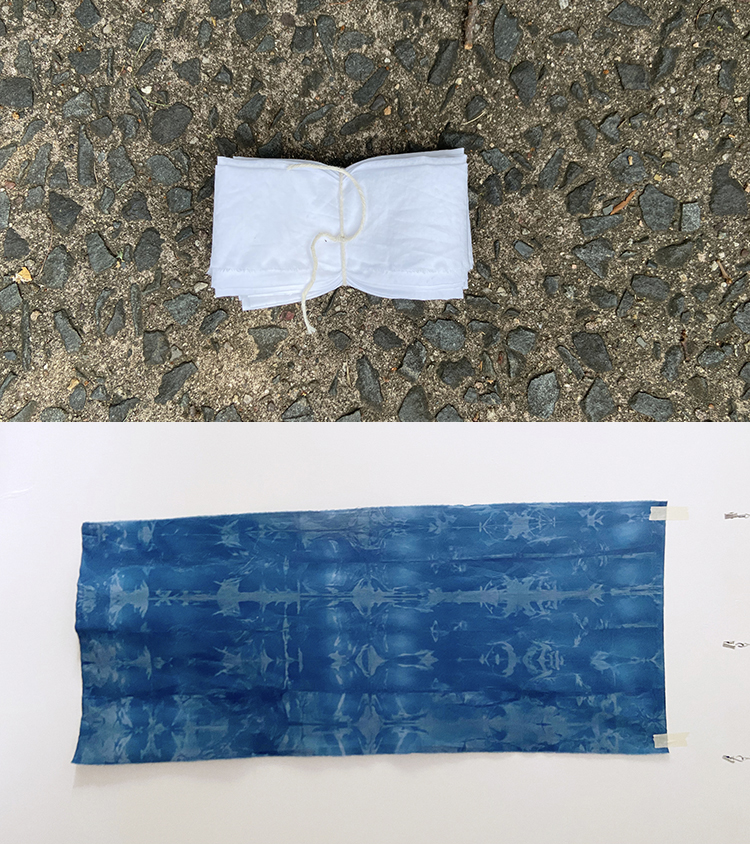
Here are my four pieces of lawn, and after you can see them each alonside the resisted fabric:


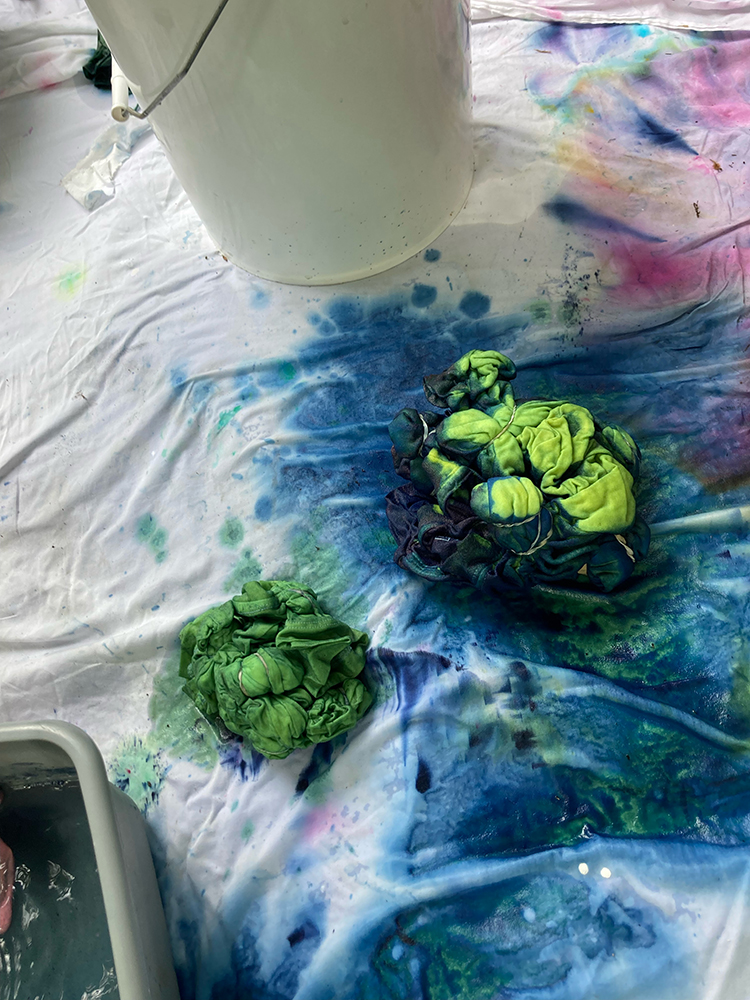
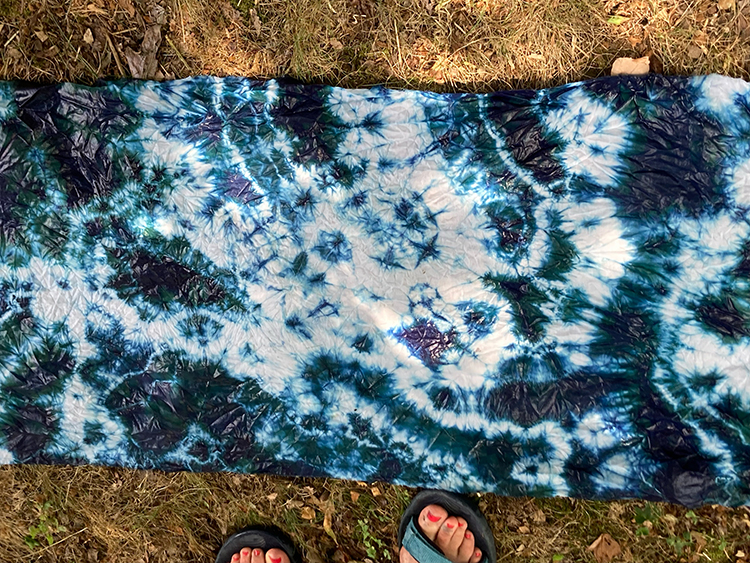
Fabric was scrunched into big messy balls and then resisted with rubber bands.


Accordion folded into a square and secured with circle resists and clamps.


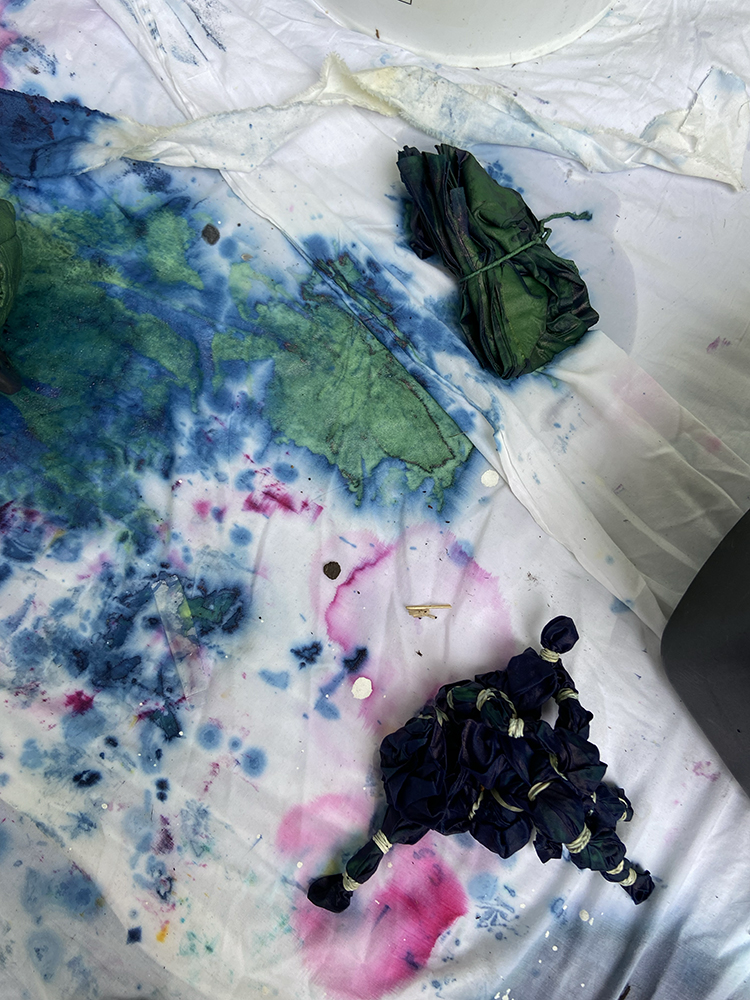
Long skinny tucks of different sizes tucks secured with several rubber bands each.


Accordion folded into a rectangle and secured loosely with twine.


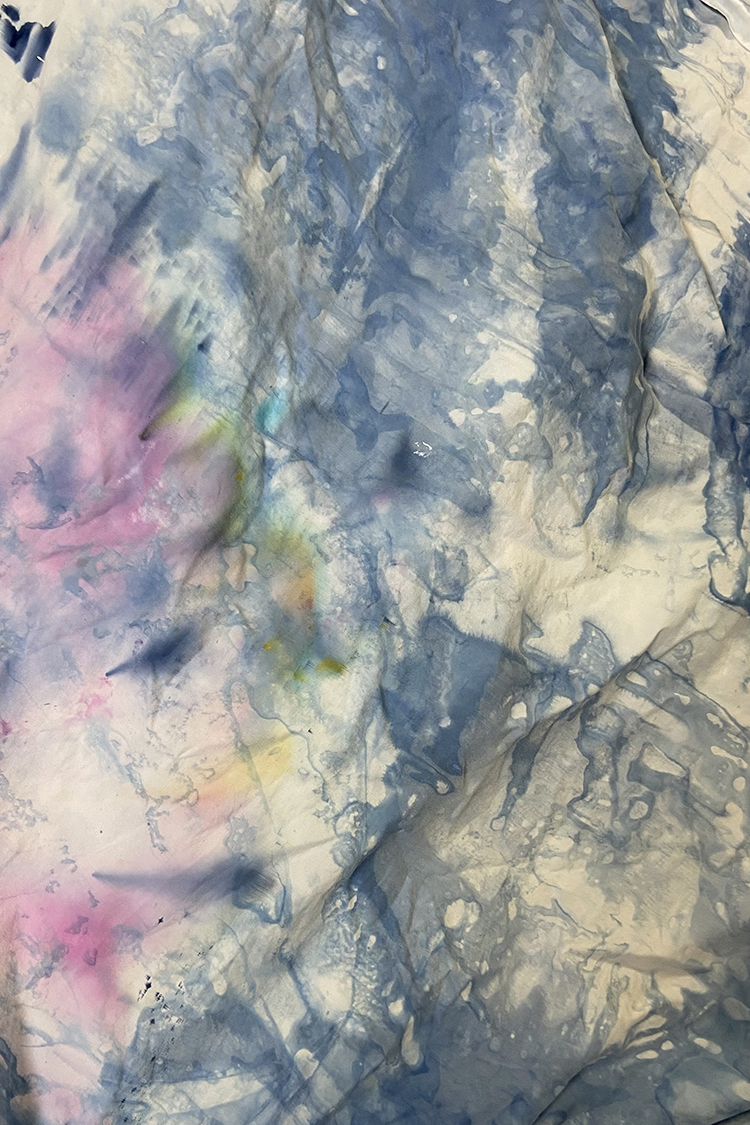
I love to use white sheets as drop cloths when dyeing because then they become a bit of a magical dyed piece too! This sheet has seen some ice dyeing and some indigo!

Happy Making!

*Note: Any links marked with an asterisk in this post are affiliate links. This means if you click through and buy something, I make a small commission, at no extra cost to you.

Indigo Courthouse Steps Free Quilt Pattern

Wednesday, May 18, 2022


Happy Wednesday! Today I have a finished quilt to share, plus a tutorial for it!


If you’d rather have this tutorial in downloadable form that you can print out (plus other sizes!), check out my Indigo Steps Quilt Pattern. It features five different quilt sizes including: Baby (36"x36"), Small Throw (54"x72"), Square Throw (72"x72"), Large (72"x90"), Extra Large (90"x108")

Find the pattern in my online shop here: Indigo Steps Quilt Pattern.
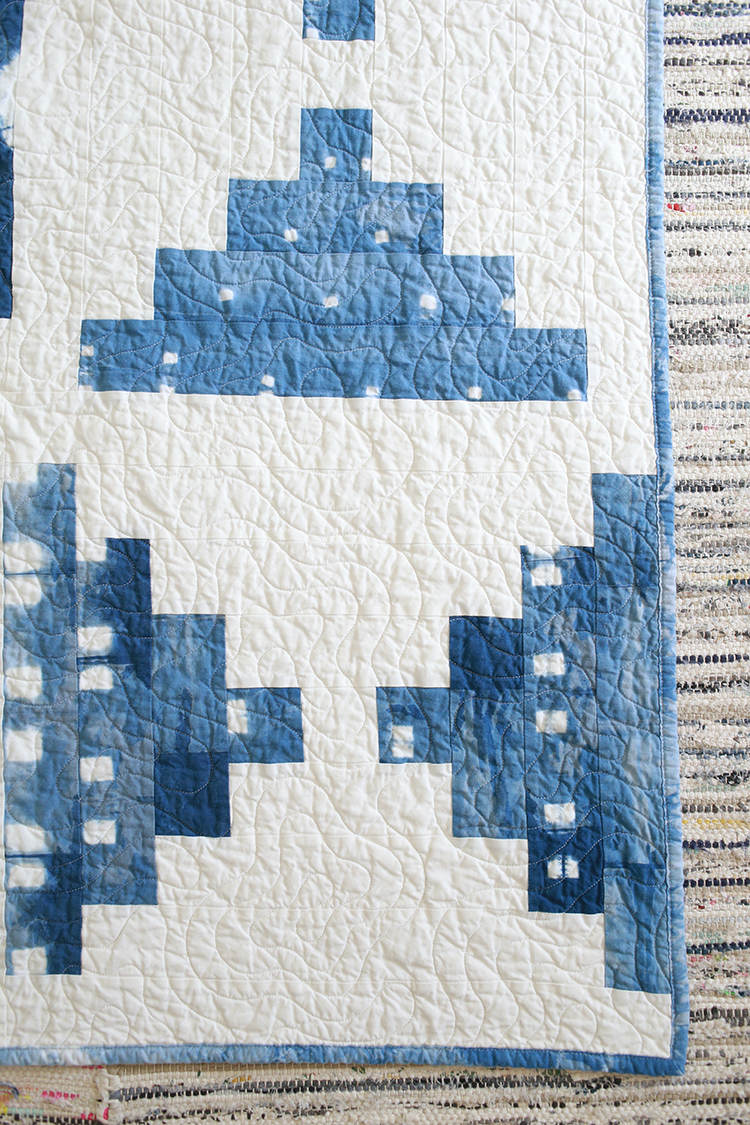

This quilt has been a few years in the making! I've made a few really simple quilts from my hand-dyed indigo fabrics, but I was craving something with a bit more piecing for this quilt. Most of my hand-dyed fabric stash is fat quarters, so I knew I wanted to come up with a design that would take advantage of fat quarters. I ended up choosing 8 different indigo fat quarters for this quilt, and immediately cut them all up into 2.5" strips.
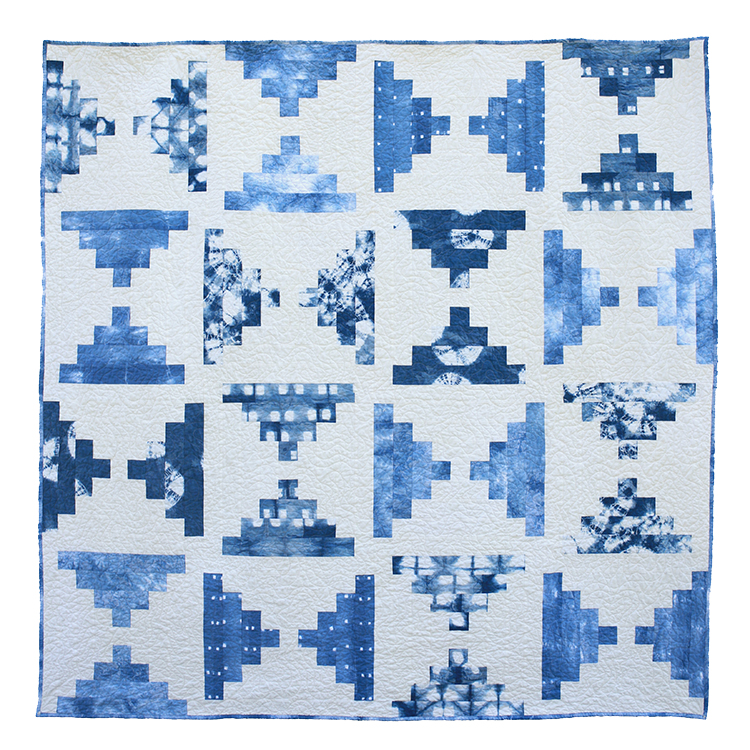

I've never made a courthouse steps quilt before, and I liked the idea of making essentially two color blocks and playing with the arrangement to almost create the look of half-square triangles. Lucky for me, the resulting quilt turned out just as I had envisioned it! I like how even though the fabrics have been cut up, you can still get a sense for the dye pattern within each block.


This entire quilt is made from white Kona Cotton*. The dyed prints were indigo dyed by me over the course of a few summers. For more information on indigo dyeing, check out my Indigo Dyeing Tutorial.


The backing is pieced together with some pieces of white fabric and hand dyed pieces. I repurposed a shower curtain I dyed and made a few years ago. It didn't fit with our new shower here, so I thought it would be more useful to revert it back to fabric!


For the quilting, I sent the quilt to Melissa Kelley of Sew Shabby Quilting. The quilt design is called Malachite. The quilt is bound up in more indgo fabric!

There are so many ways you could customize this design. I kept my quilt really simple, only using a single print and background fabric for each block. You could use as many or as few fabrics as you want for yours! The tutorial is written to be fat quarter friendly, but I think it would look really good done up in scraps. Or you could take advantage of a couple jelly rolls! I've included a table with all the piece totals if you'd rather cut from scraps or other yardage.

Indigo Courthouse Steps Quilt Tutorial by Jeni Baker
Sewing Level: Beginner Friendly
Finished Size: 72"x72"
Finished Block Size: 18" square

Materials:
- 8 print fat quarters
- 3 yards of background fabric
- 80"x80" quilt batting
- 4 1/2 yards of backing fabric
- 5/8 yard of binding fabric

Cutting:
From each print fat quarter:
Cut (7) 2.5"x21" strips


Using the graphic above for reference, subcut the strips into the following:
- (4) 14.5"x2.5" strips
- (4) 6.5"x2.5" strips
- (4) 10.5"x2.5" strips
- (4) 2.5" squares

From background fabric:
Cut (16) 2.5"xWOF strips:
- Subcut each strip into (2) 18.5"x2.5" strips

Cut (8) 2.5"xWOF strips:
- Subcut each strip into (4) 10.5"x2.5" strips

Cut (16) 2.5"xWOF strips:
- Subcut each strip into (2) 14.5"x2.5" strips and (2) 6.5"x2.5" strips

Cut (1) 2.5"xWOF strip:
- Subcut strip into (16) 2.5" squares

Piece Totals
If you'd rather cut from stash or scraps, here is how many of each piece you'll need to make this quilt!

2.5"x2.5" 6.5"x2.5" 10.5"x2.5" 14.5"x2.5" 18.5"x2.5"
Print fabric 32 32 32 32 0
Background fabric 16 32 32 32 32

Indigo Courthouse Steps Quilt Instructions:

*Use a 1/4” seam allowance unless otherwise noted.*

Block Construction:
Each block is made from a single print fabric and background fabric. For a scrappy look, feel free to use a mix of prints in each block.


1. Sew a 2.5" print square to both sides of a 2.5" background square. Press seams away from center.

2. Sew a 6.5"x2.5" background strip to both the top and bottom of the center block. Press seams away from center.


3. Sew a 6.5"x2.5" print strip to both sides of the center block. Press seams away from center.

4. Sew a 10.5"x2.5" background strip to both the top and bottom of the center block. Press seams away from center.


5. Sew a 10.5"x2.5" print strip to both sides of the center block. Press seams away from center.

6. Sew a 14.5"x2.5" background strip to both the top and bottom of the center block. Press seams away from center.


7. Sew a 14.5"x2.5" print strip to both sides of the center block. Press seams away from center.

8. Sew an 18.5"x2.5" background strip to both the top and bottom of the center block. Press seams away from center.

Trim block to 18.5" square if necessary. Repeat steps 1-8 to create a total of 16 blocks.

Quilt Top Construction:

1. Arrange blocks into four rows of four blocks each. Sew blocks together in each row. Press seams in one direction, alternating direction every other row. Sew rows together, press seams open. Press top well from the right side.

Quilt Assembly and Finishing:
1. Making Backing: Cut backing yardage in half. Press. Trim off the selvedge and sew your pieces together lengthwise. Press seam open.

2. Basting: Using masking or painter’s tape, tape the backing to a clean, hard surface, right side down. Spread out your batting on top of the backing. Smooth out any wrinkles. Carefully spread out your quilt top on top of the batting, right side up. Pin your top, I like to use curved safety pins, spacing the pins a few inches apart. Make sure that your pins are going through all three layers.

3. Quilting: Quilt as desired, by machine or by hand. Trim away excess batting and backing fabric.

4. Binding: Cut yardage listed for binding into 2.5” strips. Trim off selvedges and sew your strips together to form one long strip, press seams open. Fold in half lengthwise, pressing with your iron as you fold. Attach binding using your preferred method. For a detailed tutorial on attaching your binding to both sides by machine: Machine Quilt Binding Tutorial.


I hope you've enjoyed this tutorial! I have lots of other tutorials for everything from quilts, pillows, bags, and holiday items to informational series and techniques. Find all my tutorials here: Tutorials. My online shop is filled with patterns for quilts and bags. Find my patterns here: Jeni Baker Patterns

Tag me @jenib320 and use my hashtag #jenibaker on instagram if you make something from this tutorial!


If you’d rather have this tutorial in downloadable form that you can print out (plus other sizes!), check out my Indigo Steps Quilt Pattern. It features five different quilt sizes including: Baby (36"x36"), Small Throw (54"x72"), Square Throw (72"x72"), Large (72"x90"), Extra Large (90"x108")

Find the pattern in my online shop here: Indigo Steps Quilt Pattern.

Happy Quilting!

*Note: Any links marked with an asterisk in this post are affiliate links. This means if you click through and buy something, I make a small commission, at no extra cost to you.

February Monthly Report

Thursday, March 5, 2020


Happy March! It's time for February's monthly report. See past reports here.


February was a bit of a strange month over here! I came down with a cold around Valentine's Day that really wore me out. The tail end of it turned into an ear infection, which was not super fun. So, I didn't do much sewing this month. I did bring my singer featherweight downstairs so I could sew in the sunny library while Michael worked on his computer. I think I may keep it downstairs, it's nice to be able to sew on the main level sometimes.


I started a new workshop tote with linen and canvas scraps! This was going to be my scrap project for February but I only got as far as trimming all the half-square triangles. It's at the top of my to do list for March.


I also pulled out my indigo stash and made four blocks for a new courthouse steps quilt. I like how it's coming together so far!


To keep myself accountable for my stash goals, I track my yardage for fabric and yarn each month. Read more about how I track here. Here is how I did in February:

February Fabric
Used up: 0 yards
Brought in: 11 yards
Net: +11 yards
Year to date: +10 yards

February Yarn
Used up: 0 yards
Brought in: 0 yards
Net: 0 yards
Year to date: 0 yards

Yikes! I did not finish any projects this month. The only other month that I've finished nothing since I started tracking was when we moved to CT two years ago. I also had my first big fabric splurge in a long time. I picked up some old favorites, including a backing. At first I felt guilty, but I honestly feel okay about it. I've been so good about limiting purchases the last six months, I was due a little fabric shopping! Plus it was on leap day, so does it even really count? :)


This past weekend I traveled to Houston to visit with my friends Jacey and Amanda. It was so nice to spend time with them (and Jacey's husband too). We usually only see each other once a year, so this was a treat. Plus the weather was incredible!


We got up to all kinds of fun stuff, including some t-shirt dyeing. I have been trying to achieve purple ice dye for a long time and I finally succeeded!


A non-sewing project I worked on recently was a little phase two update to our little pantry. It's at the top of the basement stairs, so we need to make every nook and cranny work for us. First, I added a set of these shoe storage cabinets (trones from Ikea). They're lightweight and nice for storing snacks, noodles, crackers, etc. I cut and finished a piece of plywood for the top to dress it up a little. We now have a chalkboard hanging above it instead of the mini quilt.

I also made a peg shelf for this tall awkward spot at the top of the stairs. It was totally unused space before and it's great for holding cleaning supplies. I roughly followed this tutorial to make the shelf. I customized the dimensions to fit my space and needs. The grocery bag holder is a tutorial here on my blog, find it here: Quilted Grocery Bag Holder Tutorial


George bunny! He is munching away as I type this, he has been doing well.

Have a Great Month!