Showing posts with label Gardening. Show all posts

My 2025 Garden and 2026 Garden Plans

Tuesday, January 13, 2026


Happy Tuesday! Today I wanted to spend some time looking back on my 2025 garden and looking forward to my 2026 garden plans! See past gardening posts here.


Before the season really started (end of March) we found out we'd be moving at the end of 2025, so I knew going into this season that it would be our last in CT. I'm grateful we had one more full season in our garden. I took it as an opportunity to try out some new-to-me things and use up old seeds. One thing I finally had success with this year was sugar snap peas! I had tried growing them before, but always in containers that would go on to have tomatoes in them, so I would have to pull them out to make room for those before they really had a chance. I only had a few plants in a small pot, but they did great! And I loved how cute the flowers were, they took me be surprise. Will definitely grow some again!


A last hurrah for our container driveway garden. It served us well for many years! We skipped the peppers this year and did less tomatoes than usual since we wouldn't be freezing any. We grew sungold, chocolate pear, and patio choice yellow bush cherry. We tried to grow golden jubilee tomatoes, but ended up with a red roma tomato, must have been an error when they were packing the seeds! This year I'd really like to branch out from the cherry varieties and grow a slicer. We were able to enjoy some of our neighbors heirloom slicers when they were on vacation and they were delicious. I haven't decided on a variety yet, but I'm excited!


I grew green beans for the first time! I planted them on a whim in amongst our tomatoes that were growing in galvanized tubs. I really didn't expect much, but we got a couple of great harvests! I'm really excited to grow green beans again.


Last in the veg category was pumpkins! I grew a few different small pumpkin varieties this year. Some in ground and some in containers. They did okay. I got maybe six pumpkins? Not sure how I feel about doing them again to be honest. They just take up so much room!


Something I will definitely be growing again are nasturtiums. I've had pretty mixed luck with them in the past, but always tried growing them in containers. This year I grew this trailing variety in ground as a border. They were SO vigorous! I still can't believe how well they did. I was able to collect a ton of seeds from them to stash away and share.


On the note of sharing, that was one of the great joys of our garden in 2025. At the beginning of the season and towards the end, I collected and shared tons of seeds through our little free library. It was so fun and even our 2 year old got excited to help collect seeds. At least one person in our neighborhood said they grew something from seed for the first time from our library, which made me so happy. I look forward to our library going up here in our new home so that I can keep filling it with fun stuff like seeds.


Onto perennials! I finally got a lupine to bloom and thrive! I had tried in the past, but didn't give it enough sun. I think I got 4 or 5 spikes off of this small plant this year? I was thrilled. And the color, so pretty! I saved seeds from this and brought them with me, I hope I can have success again!


Our front yard perennial patch has really established over the years. The echinacea kind of took over, but that's okay. I slowly moved other things out of this space and just let it run wild. I'm happy to say it has become a goldfinch haven!! It was also a great year for the hydrangeas. So blue! I am curious to see what color the hydrangeas will be here. In seven years I never amended ours in CT, they were that blue with the native soil, which is so cool.


I really love how this little shade garden came together in the backyard. Over the course of the season it changed as I dug plants out to take with us and moved plants from other parts of the yard to fill it back in. It won't look like this again, but I hope it will still look good for the new owners of our house.


On that note, early in the season I dug up all the mini hostas I knew I'd want to take and arranged them into three big pots. I love collecting the minis and they can be difficult to find (beyond the classic mouse ear). I did it for practical reasons, but they really were so adorable all together like this.


Of course I grew lots of dahlias this year! I only purchased three new tubers this year and all from a local farm (Two Meadow Farm in North Haven, CT). I also grew some other new-to-me varieties from my friend and neighbor Halina! We made a day out of our dividing this year on her driveway, which made what can be a tedious task so much fun. Highly recommend making gardening friends, they're the absolute best.


I really pushed the limits of the tubers I planted this year, because why not! This teeny tiny tuber grew into a full size plant with blooms!


One of the varieties I bought this year, Zaaling. I wish I had more photos of it that really showed off the color variations. Every flower is different on this plant!


Looking toward the 2026 gardening season I know this year (and probably the next few) there will be a lot of trial and error. There is a lot of space in this yard and we should get a lot more sun. But until we live through a season here, I can't be sure what all is already here, and where the best spots will be for things like the dahlias and a vegetable garden. There are a lot of beautiful mature bushes and trees here, but generally the gardens are overdue for maintenance so that will be an ongoing project. We are not starting from scratch like we did in CT, but there will still be lots and lots to do. First order of business will be removing as much landscape fabric as I can and just generally cleaning things up and evaluating. Definitely a lot of opportunity for planting here in the future, just need to do some groundwork first (literally, haha). Looking forward to getting started, that's for sure!!

Happy Gardening!

Early Summer Garden Update

Thursday, June 26, 2025


Happy Thursday! Today I want to share an early summer garden update with you all! I was pretty vague with my garden plans for this year when I shared them in February, because I had no idea what this year was going to hold! There was a possibility that we would move over the summer and I'd have no garden. Since we aren't moving until the end of 2025, I went ahead with a pretty full garden.

Before we dive into some garden updates, I found a four leaf clover in our yard this week!! My first. I've been buying clover seed instead of grass seed the last few years and it finally paid off!


Our driveway garden is full as usual! I did skip the peppers this year. I did about half the amount of tomatoes that I typically do. Instead I'm doing mini pumpkins, snow peas, bush beans and way more flowers.


Almost all my tomato plants are starting to set fruit, hooray! Hoping for tomatoes soon. I'm growing sungold, chocolate pear, patio choice yellow and golden jubilee.


I had a great time growing snow peas this year! Got a pretty good harvest considering how few plants I had. And the flowers were so pretty! Will definitely grow some again.


I added a lot more flowers both in pots and in the raised beds this year. The calendula is just starting to bloom.


Picked up seeds for a couple different trailing nasturtium and they're doing really well so far!! Blooms are on their way.


I moved most of my mini hostas that I'm taking with me into these two shallow pots that I had on the driveway. They're loving this spot.


We planted out a ton of dahlias this year and still had lots to share with friends. This was an especially tiny tuber that I planted after it sprouted. Pretty cool that this will become a regular sized plant!


I missed pinching a couple of dahlia seedlings so I got my first bloom early! It's a stunner!


My first time getting Lupine to survive and bloom in our yard!! We bought this plant as a seedling last year and I'm shocked that it has thrived where we put it. It's also the most lovely color! I plan to save seeds from it.


Our mock orange really showed off this year. It's a double and it smells so good.


I took a few years away from growing morning glory but decided to throw some seeds in the ground this year. I'm growing some up my free little library!


Another show stopper this year, our mountain laurel. They had an off year in 2024, so it was a treat to see them bloom so well this year! They happen to be the state flower for Pennsylvania, so I have a feeling we'll have another one day!


The hydrangeas are absolutely laden with blooms, although they aren't loving our current heat wave. I'm hoping the blooms will recover once the weather cools down.


Finally, my oak leaf hydrangea! I planted this in the fall and it not only survived the winter, but is thriving! It's such a pretty bush, and the leaves turn red in the fall.

Thanks for coming along on my virtual garden walk today! I'll be back with some crafty updates soon.

Happy Gardening!

Jeni's Dahlia Growing Guide

Friday, May 9, 2025


Happy Friday! It's dahlia planting time around here, and I thought I'd share my tips for growing dahlias. When I give tubers to friends and neighbors I like to include a little one page document with my tips so that they have something to reference, especially if they are growing dahlias for the first time. I wanted to share that here with you all too! I am not an expert on growing dahlias, but this is my 7th year growing them, so I've learned a few things that work well for me.


- Keep dahlia tubers in a cool dark place until you're ready to plant.

- Tubers can be planted once your soil is at least 55 degrees F (ideally 60 F) and the danger of frost has passed (this is early/mid May for me!). Avoid planting before lots of rain in the forecast to prevent rotting.


- Dahlias like to grow in full sun (6+ hours) if possible with good drainage. I find dahlia varieties that produce smaller flowers (3" in diameter or less), can thrive with less than 6 hours of sun.

- Be careful when handling tubers, the necks are fragile. If you break off a sprout, don’t panic! It’s okay, it will sprout again from that spot.


- Plant tubers 4-6” deep, 12-14” apart in ground or 1 tuber per minimum 3-gallon container, Place in hole with any sprouts facing upwards, laying the tuber horizontally in the hole. Add a spoonful of fertilizer (I use Bulbtone by Espoma) in the hole. Cover with lightly moistened soil.

- Do not water tubers until you see a sprout with leaves cracking the surface of the dirt. Unless it gets super dry, then you can give them a little water.


- Place a stake for each plant at planting time so that the tuber isn’t accidentally pierced. Plants will need to be tied to this support as they get taller.

- Alternatively, you could place stakes every 6-8 ft and use a corralling method for support. Kristine Albrecht has a great video on this: Staking Dahlia Plants: The Corral Method. Last year I used Hortonova Netting (by Tenax) for the first time, and it worked really well!


- Slugs love dahlia sprouts, they may need some protection or an application of ‘Sluggo’.

- Fertilize every few weeks if desired with a basic, balanced fertilizer. Switch to a fertilizer with less nitrogen when plants start to bloom to encourage more bloom production.


- After the plant is around 1’ tall, pinch off the center main stem, leaving at least two sets of leaves on the plant. This encourages branching and results in many more flowers!

- Plants will need consistent watering throughout the season.

- You should get flowers starting in August, and they will bloom until you get a hard frost!


- Dahlias are a “cut and come again flower”, typically the more you cut, the more flowers you’ll get! Cut stems above a set of leaves. Cutting deep into the plant will encourage longer stems.

- Cut flowers only last a few days inside. Even if you don’t want to bring flowers inside, your plants will benefit from regular deadheading.

- After frost or at least 120 days of growing, cut back plants to a few inches above the ground. Let tubers cure underground for 2-3 weeks.


- Carefully dig up tubers with a pitchfork to avoid damaging tubers. Gently remove dirt with a brush. Divide clumps now or in the following Spring when eyes start to sprout. In my personal experience, tubers store easier as whole clumps if you have the space. There are a lot of resources online to guide you through the dividing process, this visual explanation of tuber anatomy and dividing is excellent: Dahlia Tuber and Splitting Guide from Summer Dreams Farm.

- Dust tubers with sulfur fungicide dust or cinnamon if desired to help prevent mold in storage.

- Store tubers in plastic tubs with pine shavings. Ideally tubers like to be stored at temps around 45-55 degrees F. They can stand colder temps as long as they don’t freeze (32 F). Warmer storage will be more prone to rotting. I keep the lids on, but not snapped shut to allow some airflow.


- Check tubers every few weeks for rotting or shriveling. Mist shavings with water if the tubers start to dry out. Remove and discard any rotting tubers or overly wet shavings.

- If you have time at the end of the season, go ahead and amend your dahlia patch after digging up tubers, but before raking the dirt back in place. It's a great way to use up leftover potting soil from the season. I usually try to mix in any leftover straw mulch, or mulched leaves. I also put a thick layer of leaf mulch on top of the patch to finish.

- In April/May of following year move tubers to warmer storage to encourage them to wake up in preparation for dividing and planting!

Happy Growing!

DIY Seed Germination Book and My Seed Starting Setup

Monday, March 24, 2025


It's an exciting time of year if you love gardening, time to start seeds! One of my favorite things about starting seeds indoors is that I get to start gardening now instead of having to wait until it's warmer. This is my 5th year starting seeds indoors and I've learned so much in that time. I've made a lot of mistakes (some more than once!), but I feel really good about my practices and set up now.

I start as much as I can from seed to be able to grow exactly which varieties I want. If I time things right, I can get a good jump start on my garden by being able to plant out seedlings that are ahead of what I could purchase at a nursery. Plus I find it rewarding and fun! I could go on and on, but the main purpose of today's post is to share a tutorial for a Seed Germination "Book" and share my seed starting set up. So let's get into it!

For most seeds I prefer to germinate between wet paper towels. Once the seeds have sprouted I carefully move them to dirt. This allows me to keep a better eye on the germination and use less dirt/six packs. To keep things organized, I like to make a little “book” out of folded paper towels. This is handy when I’m starting more than one seed type or variety at a time, but sometimes it gets messy and seeds can get mixed up!

Last year I decided to sew a line of stitching to make a “spine” and keep the pages completely separate. It took no time and it made things so much neater!

DIY Seed Germination Book

Materials:
- Paper Towels (I prefer the choose-a-size type for this.)
- Sewing machine + thread
- Pencil

Instructions:

1. Layer three to four paper towels halves on top of each other.


2. Mark the center line with a pencil.


3. Sew on the line.


4. Fold in half along stitching.

5. Each spread can be used to start a different variety! Mark each page with the variety and start germinating!

How to Germinate Seeds Using a Paper Towel "Book":

1. Completely saturate paper towel book with water. Ring out excess water.

2. Place seeds between layers of paper towel.

3. Carefully close book and place in a plastic container with a lid. Close lid most of the way.

4. Find a warm place for the container. Check every few days for germination and to make sure it's still wet.

5. Once seeds have germinated, transfer to soil and get growing! Try to move seeds out as soon as a root appears, to avoid it getting too tangled in the paper towel!

My Seed Starting Setup:

I start seeds in my unfinished basement, which is typically around 65 degrees. I use an adjustable wire storage shelf that's meant for kitchen storage. I believe I purchased it from either Home Depot or Target. The one I use is 48" wide.


Each shelf has two simple shop lights that take two bulbs each, for a total of four bulbs per level! I use one warm and one cool bulb in each light. These are just basic bulbs, not specifically grow light bulbs. The lights hang from the shelves with little "S" hooks that fit the chains on the lights. I have a few seedling heating pads to help with initial seed germination. Everything is set up on smart plugs and is on for 14 hours per day.


To help keep the growing environment warm and humid, I have two shower curtain liners installed along the top edge of the shelf unit. They're attached with cheap shower curtain rings! The top is covered with a fleece blanket. I use clothespins to keep the curtains closed. I added this feature a couple years ago and it has helped SO much! And was a less than $10 addition to this setup.

A note on costs: This set up was a bit of an investment upfront. I have four shelves of growing space, which amounts to eight shop lights. Between the lights and the bulbs, it adds up! However, I have yet to need to replace any of the bulbs. I fill these entire set up every Spring, but you may not need or want this much space. If you're new to starting seeds, I would recommend starting small to see how you like it.

A Few Tips and Tricks for Starting Seeds:

- Keep notes. I've been using this notebook to keep track of my seed starting for the last five seasons. I take notes on when I start germinating something, when it sprouts, when I move it up a pot size, and when I plant it outside, and any other detail that could be useful. It's really nice to look back and see what I did in years past and what did or didn't work out.

- Adjustable lighting is really helpful. You want to be able to move the lights close to the soil surface when the seeds are germinating and first sprouting. Being able to move them futher away as they grow is critical to getting healthy seedlings.


- Size up your pot sooner rather than later. This mistake I have made many times and some types of plants are more sensitive to this than others. Keeping your seedlings in a container that is too small can stunt their growth, and it can be difficult for them to recover, even after they are planted outdoors.

- I prefer a seed starting medium that has some organic matter in it. Or I'll add it myself via some earthworm castings. When I size up the pot for the seedlings I switch to a regular potting mix that has fertilizer.


- Before packing six-cells or pots with dirt, wet it. It's nice to be able to avoid disturbing seeds with an initial watering right after planting. I add my seed starting medium to a small laundry tub, add water a little at a time and mix it up with gloved hands. Once it is evenly moist I pack it lightly into my containers.

- I keep a spray bottle of water nearby to lightly spray my seed germination "book", as well as any surface sown seeds.


I hope this tutorial and these tips are helpful to you on your seed starting journey! Here are a few other garden related tutorials I've published over the years:


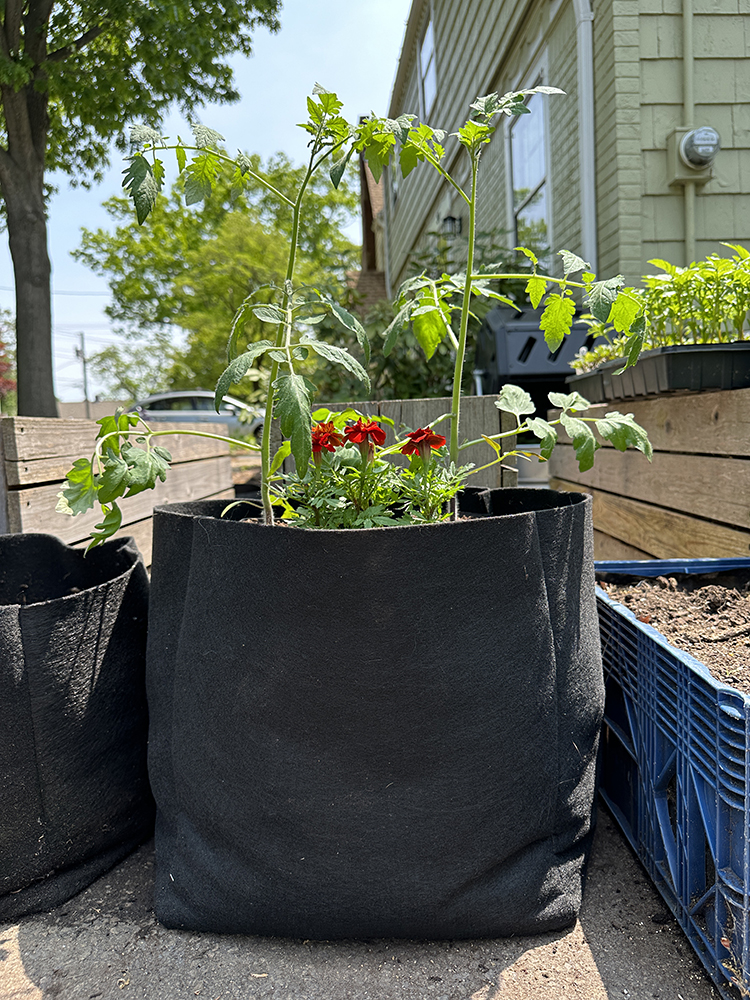
DIY Felt Grow Bags (with Video Tutorial)


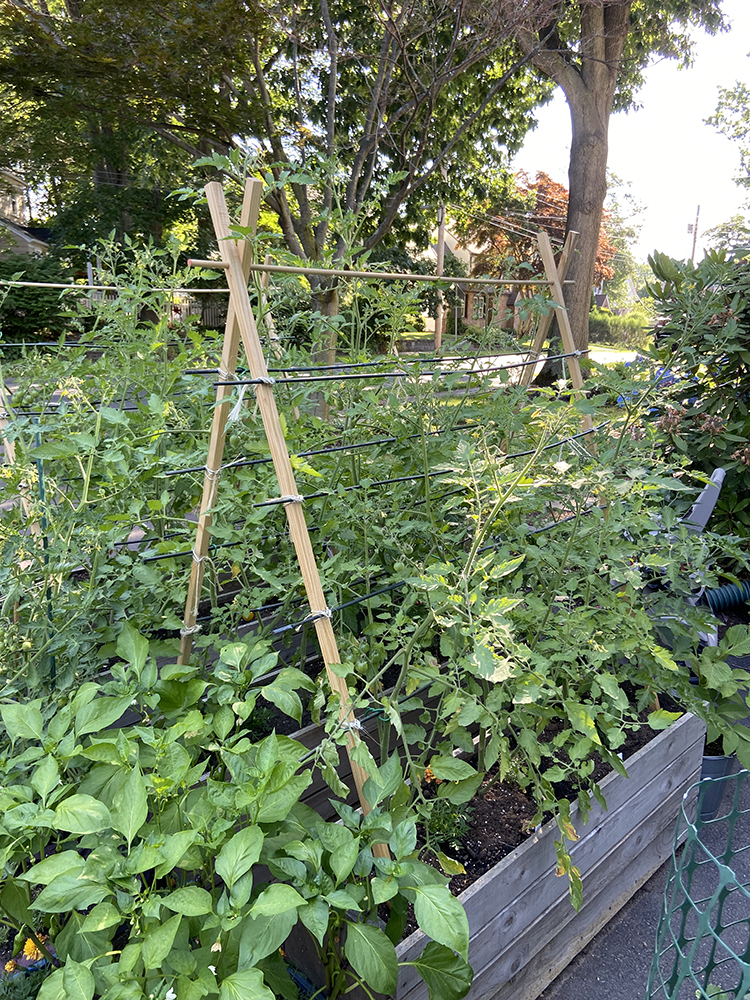
DIY Budget Wooden Tomato Trellis


DIY Fabric Grow Bags

Happy Gardening!