
 Welcome to the third week of the Lined Drawstring Bag Sew Along! Today I'm sharing tips for tidy drawstring casing openings!
I'll be updating the Sew Along Page each week with all the posts so that you can easily catch up or reference these posts after the sew along ends!
I hope you'll sew along with us! Sew from the tutorial or the patterns:
Lined Drawstring Bag Tutorial
Lined Drawstring Bag Pattern
Lined Drawstring Bag Expansion Pattern
 Before we dive into today's post, let's quickly chat about our to-do for week 3 of the sew along!
This week's task is sewing! Sew your bags through step 10. If you're making a lot of bags and you're short on time, I highly recommend making them assembly line style. This isn't quite as fun, but it's definitely more efficient! A few posts you might find helpful when tackling this:
- Last year I recorded a video tutorial that covers making the bags from start to finish. It's a bit long, but it's meant to be comprehensive! Find it here: Lined Drawstring Bag Video Tutorial
- If you just need a little extra guidance when it comes to the gussets, I have a video for that too! Find it here: How to Put a Gusset on a Bag Video Tutorial

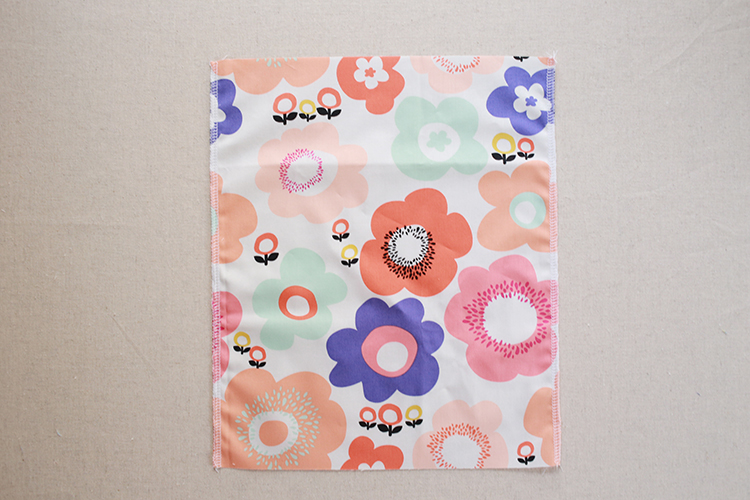
Today I'm sharing two techniques for neater drawstring casing openings. There are raw edges at the openings and those can sometimes pop out and show in the final bag. Personally, this doesn't bother me but it may bother you! I've had a number of questions about this over the years, so I came up with a few ideas for tidying up this part of the bag.
In my sample bag I'm showing two ways to tackle this issue, but feel free to do just one or the other. Bonus points if you decide to do both!
Using a Serger or Zig-Zag Stitch to Finish Edges
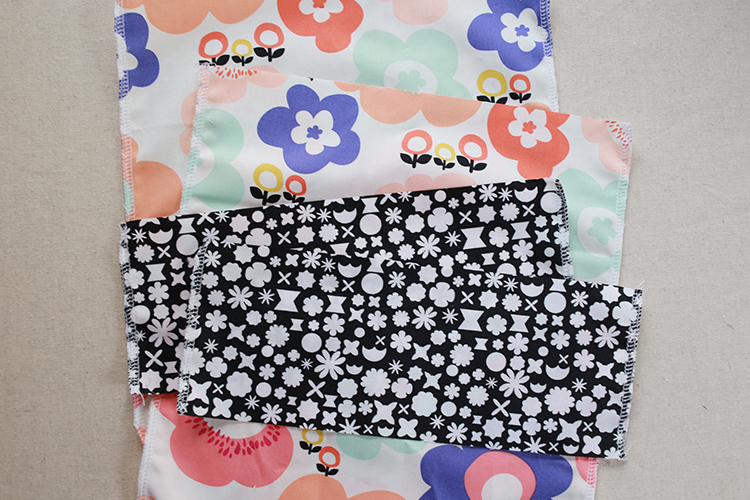
For this technique, we're going to finish the edges that will be exposed in the drawstring casing. You can do this with either a serger, or by using a zig-zag stitch on a standard sewing machine.
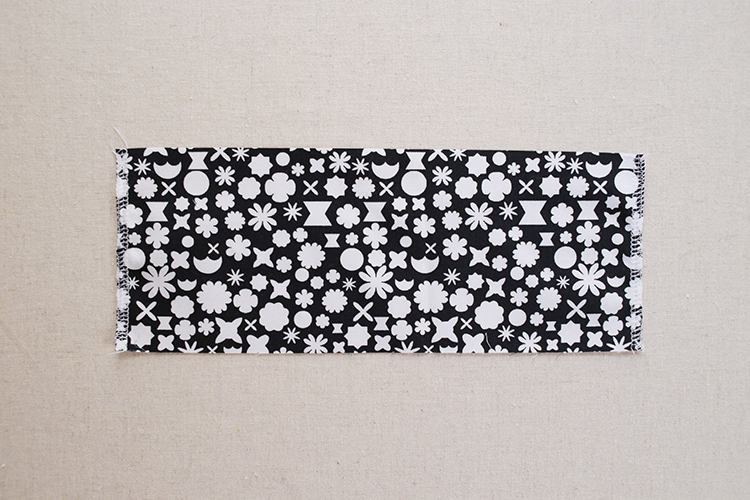
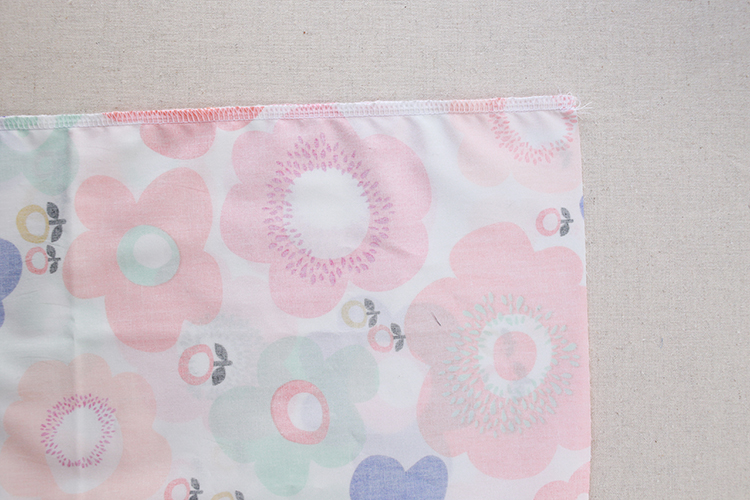
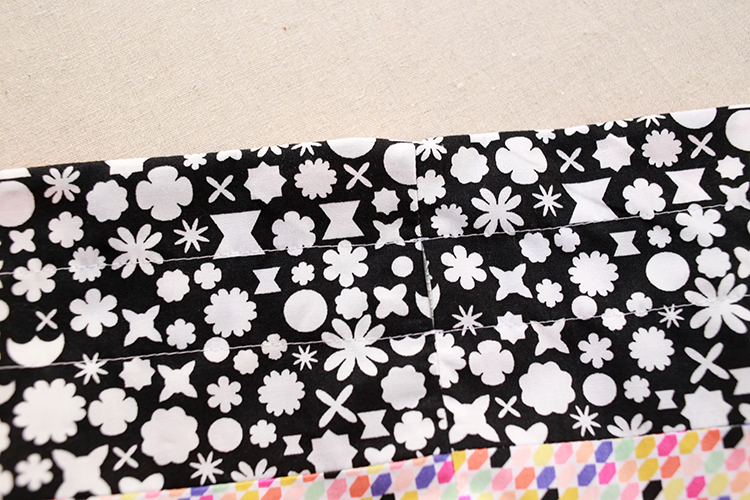
On the Exterior Accent pieces, zig-zag stitch to finish the two short sides.
On the Interior pieces, zig-zag stitch to finishing the two long sides.
No need to do anything to the Exterior Main pieces.
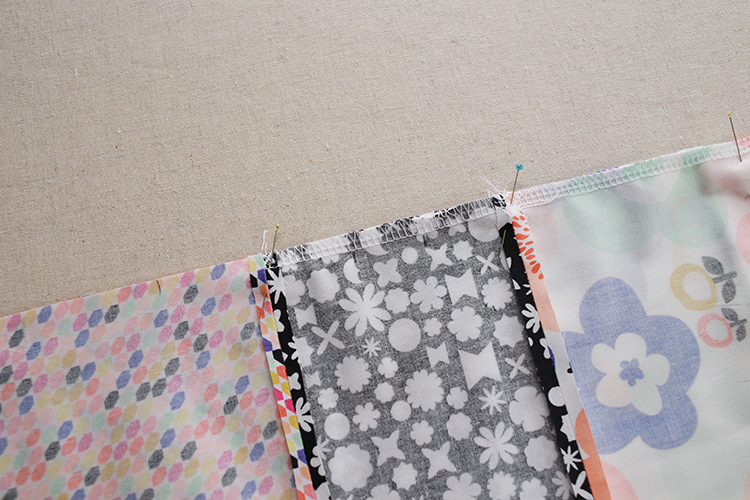
This will help keep those raw edges from fraying in the final bag. Now you can complete your bag according to the free tutorial or lined drawstring bag pattern. When sewing, be sure to sew with a large enough seam to hide the zig-zag stitching (or serging) in the seams. Or try out the next technique too!
Using Adhesive to Secure Exterior Accent Seams

For this technique, we're going to use an adhesive to secure the seams of the drawstring casing in place. We'll do this after step 5 in the pattern or tutorial.
 I recommend leaving the Interior end (where the turning opening will be), unsewn for now to make access to these seams easier.
Carefully ease your partially completed bag around your ironing board. (A sleeve ironing board like this one* is super handy for this.)
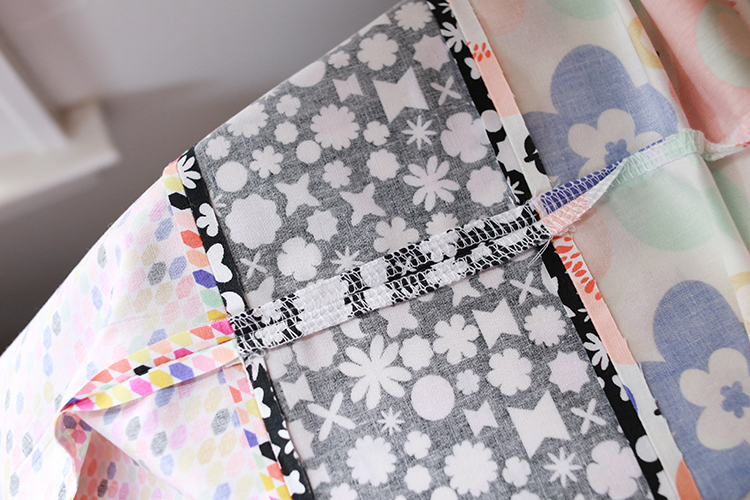 Press the side seams of the Exterior Accent open.
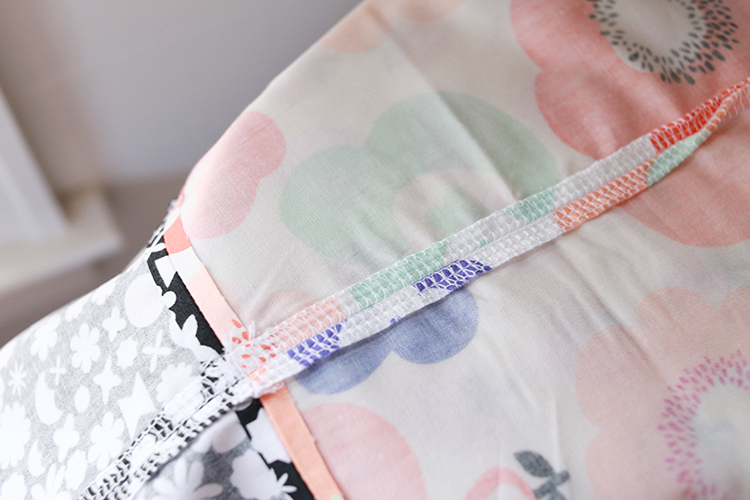 I also recommend pressing a few inches of the Interior side seams open too.
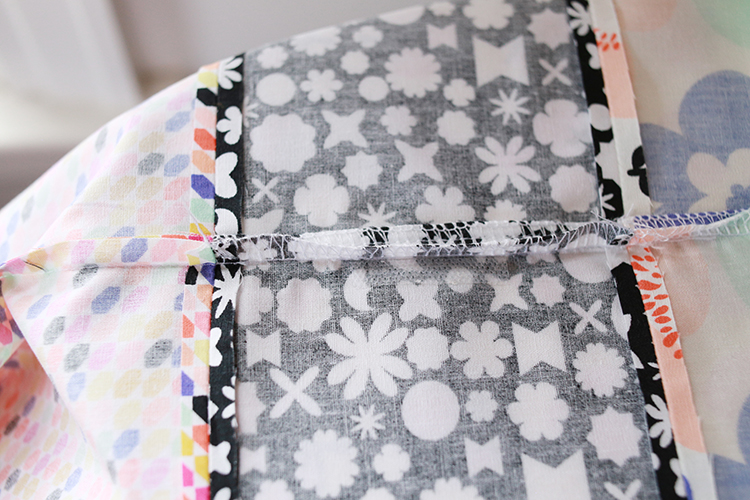 Use a small bit of adhesive to secure the opened seams in place, just where the casing opening is. I tried out two options and they both worked well. If you have a roll of 1/4" Steam-a-Seam 2* handy, this was the quickiest/cleanest open. Cut a small strip and sandwich it under each side of the seam. Press when an iron to adhere.
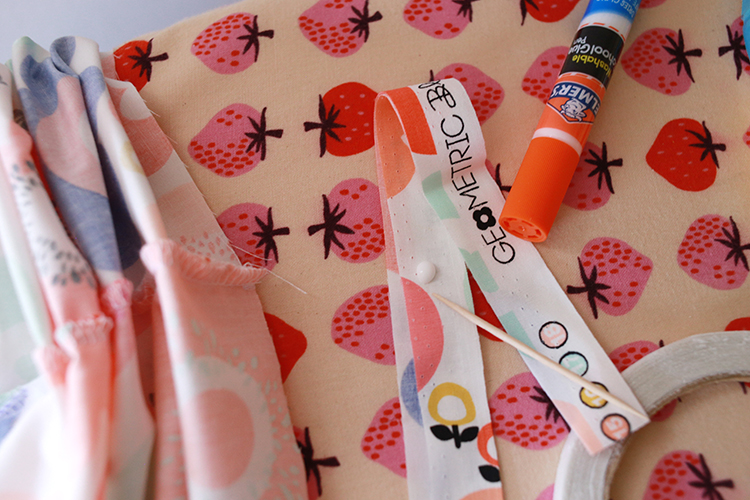
I also tried doing this with a very small amount of glue (I love these elmer's glue pens*), pressing it with the iron to set it. It worked well! I used a toothpick to be able to control how much I applied.

If you left the Interior end of your bag open, go back and sew across it, leaving an opening for turning.
Now you can complete your bag according to the free tutorial or lined drawstring bag pattern.
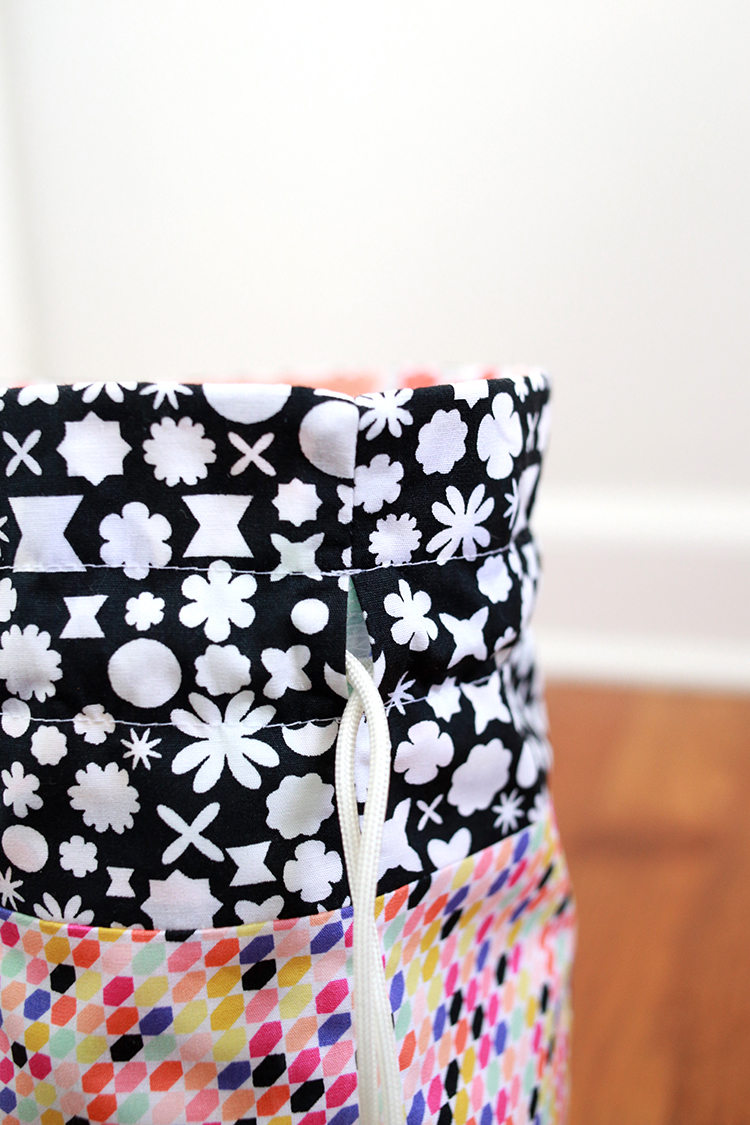
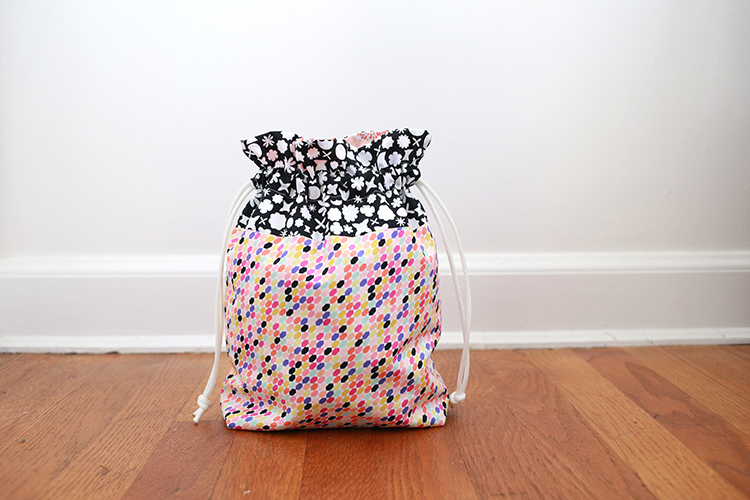
That's it! I used these two techniques together for this bag and the finished casings are so neat and tidy!
 I hope you enjoyed this tutorial! I can't wait to see the bags you make! Please share them with me on instagram @jenib320 + #lineddrawstringbag or via email (jenib320 @ gmail.com).
Happy Sewing!
*Note: Any links marked with an asterisk in this post are affiliate links. This means if you click through and buy something, I make a small commission, at no extra cost to you.
No comments :
Post a Comment
Thanks for keeping this blog a positive place, I appreciate the time you are taking to leave a comment! I will answer any questions here in the comments section.
All comments are moderated to filter out spam. Your comment will appear after it has been approved.