May Monthly Report

Wednesday, June 1, 2022


Happy Wednesday! It's time for the May monthly report. See past reports here.


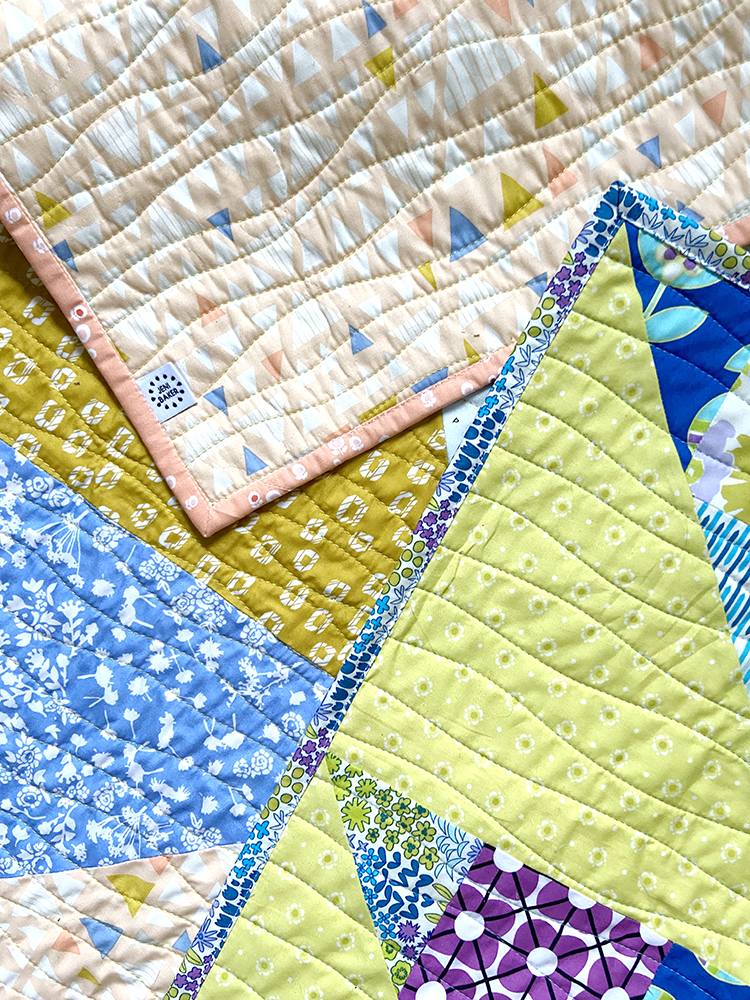
I had a lot of finishes in May! First of all, I finally bound those two small quilts. I got them both finished up in a weekend. I don't know why I put it off so long, but I'm glad they're both done. One languished as a WIP for a long long time, and the other is for an upcoming pattern.


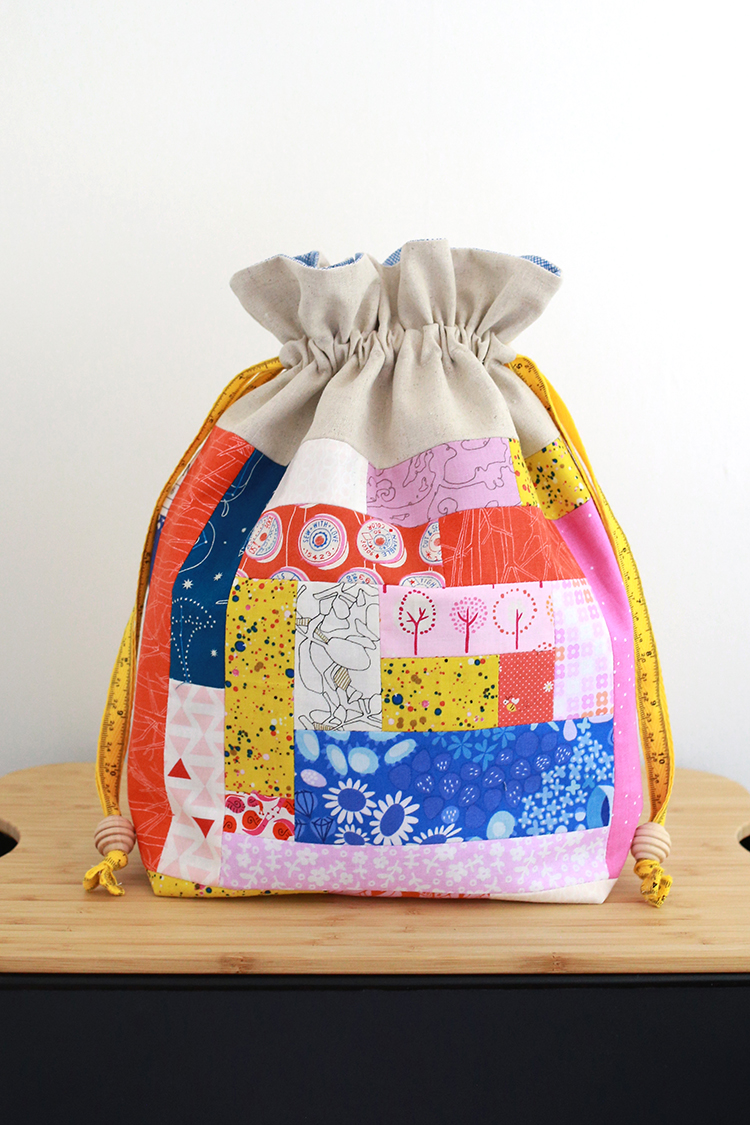
I dug into my scraps and made a new drawstring bag! I really love the scrappy ones I've made, so I thought it was time to make another. I used scraps from my scrappy pineapple quilt. I'm glad I kept them together, because now this bag is a happy reminder of that quilt. Since there was so much going on with the scraps, I kept the rest pretty simple. Essex Linen* for the accent, some blue Widescreen* for the lining and some yellow measuring tape twill tape and plain wooden beads (both available in my shop) to finish it off. It's a project size bag from my Lined Drawstring Bag Pattern.


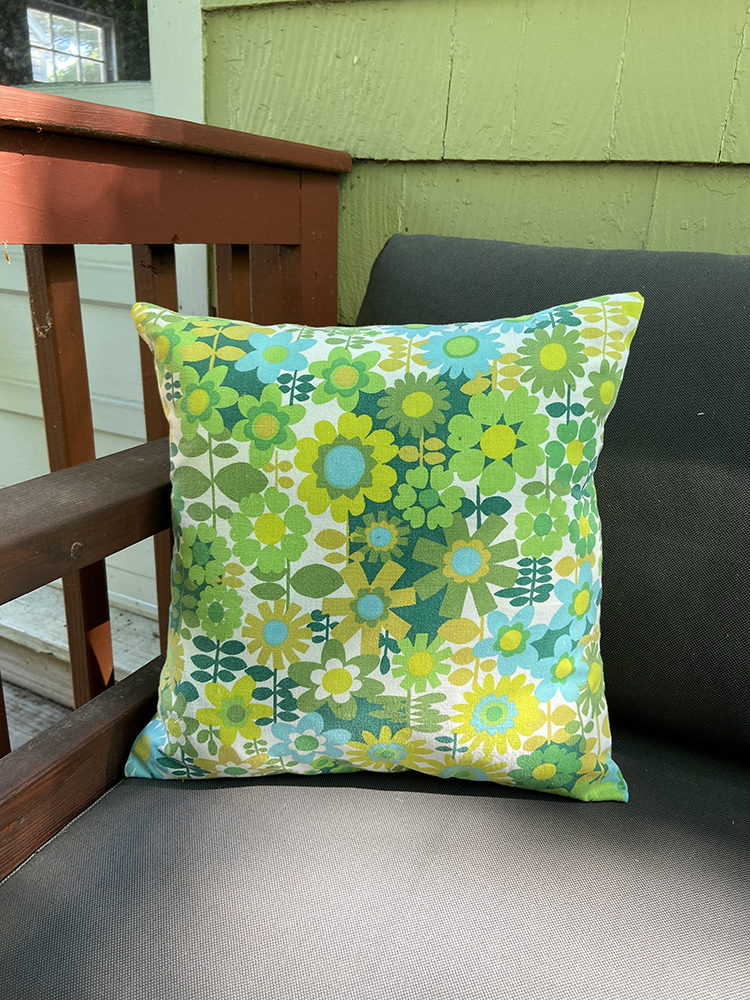
I made pillow covers for our outdoor pillows! Last year I bought some inexpensive outdoor pillows from target, but they got pretty dirty and the covers weren't removeable. So I cleaned up the pillows the best I could and made some really simple new covers for them. I used some canvas that I thrifted a few years ago. It's not outdoor fabric, but it can be washed which is what I wanted. They looke lovely on the outdoor sofa I made last year.

Another finish this month is a travel wallet I made for my Mom's birthday, so I can't share a photo of that yet! :)


To keep myself accountable for my stash goals, I track my yardage for fabric and yarn each month. Read more about how I track here. Here is how I did in May:

May Fabric
Used up: 8.5 yard
Brought in: 6 yards
Net: -2.5 yards
Year to date: -18.5 yards

May Yarn
Used up: 0 yards
Brought in: 0 yards
Net: 0 yards
Year to date: 0 yards

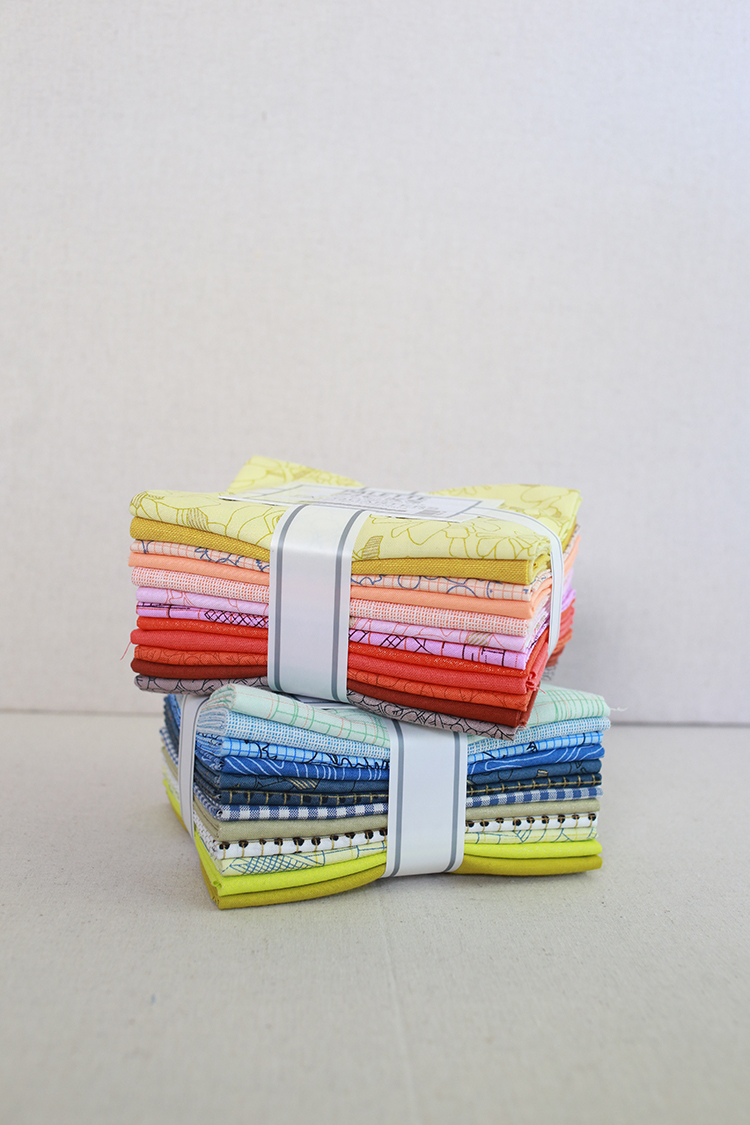
As I mentioned in a Friday Favorites post this month, I bought some quilting cotton, my first of the year! I bought these palette pick bundles*, and I have no regrets! I am glad I finished a bunch of things this month to offset that yardage coming in.


Time to check in my with 2022 crafty goals. This month I:
- I got my all green quilt (above) sewn into a quilt top! Finally!
- I didn't work on my scrap quilt, but I did make something from scraps.
- Did well on my yardage goal!


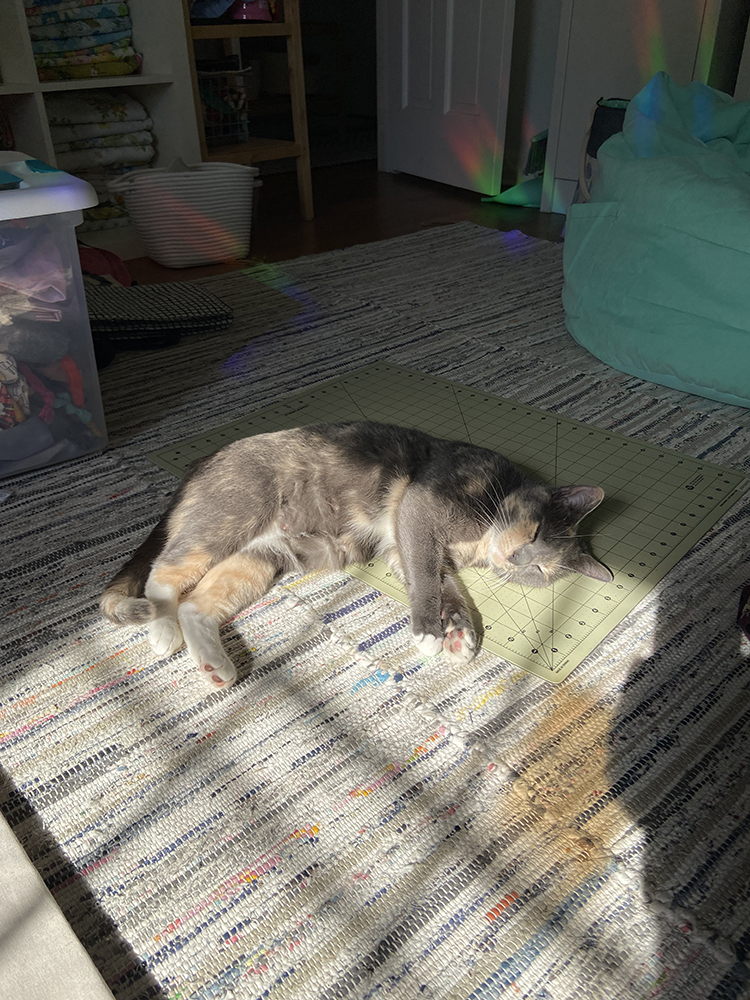
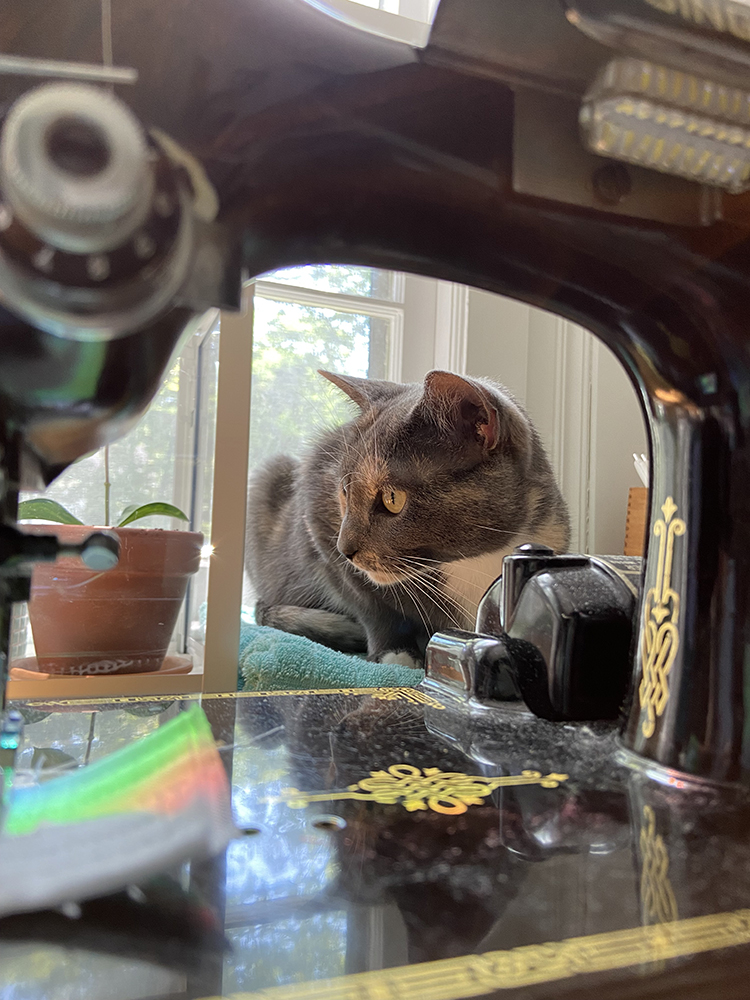
Kitten Cat, helping in the sewing room.

Have a Great Month!

*Note: Any links marked with an asterisk in this post are affiliate links. This means if you click through and buy something, I make a small commission, at no extra cost to you.

Friday Favorites 21

Friday, May 27, 2022


Happy Friday! It's time for another Friday Favorites post!

- I made a few new recipes this week, including a really tasty white bean dip from this book*.

- I ordered these cynotype squares from Blair Stocker's website, I cannot wait for them to arrive! I've always wanted to try sun printing.

- Very excited about Jenean Morrison's return to fabric design! I always loved her fabrics.

- I am not good at finishing handwork projects, but one day I would love to make one of these*.


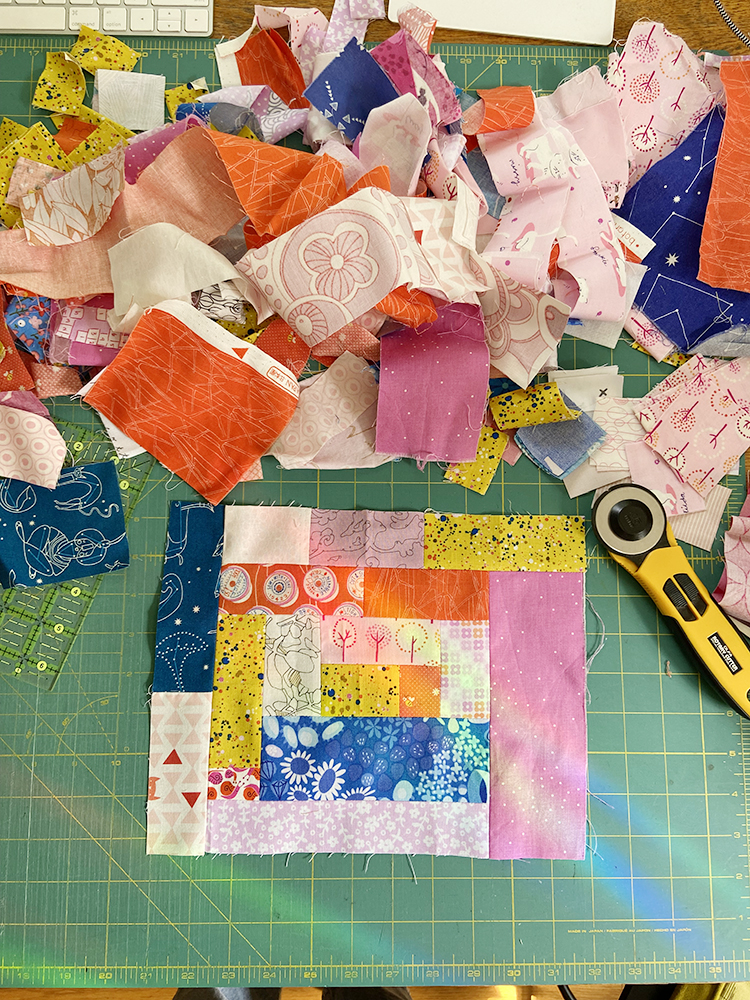
- Sometimes I store scraps from a single quilt together, even after the quilt is finished. In this case I didn't mean to, but was pleasantly surprised and inspired when I found these. I quickly starting sewing with them again, which is always happy!

- This fun stop motion video made me smile. I remember experimenting with light painting photography in college!

- This english paper pieced quilt in progress by Emily Langton is so dreamy.

- I cannot handle how cute these strawberry shoes* are!

- I love the colors (and fabrics!) in this quilt by Nicole Daksiewicz, so beautiful.


- Dusty helped me sew over the weekend. So thoughtful of her!

Have a Great Weekend!

*Note: Any links marked with an asterisk in this post are affiliate links. This means if you click through and buy something, I make a small commission, at no extra cost to you.

Tutorial: Easy DIY Row Markers for Quilting

Wednesday, May 25, 2022


Happy Wednesday! I have a fun crafty tutorial to share with you today, for reusable row markers!


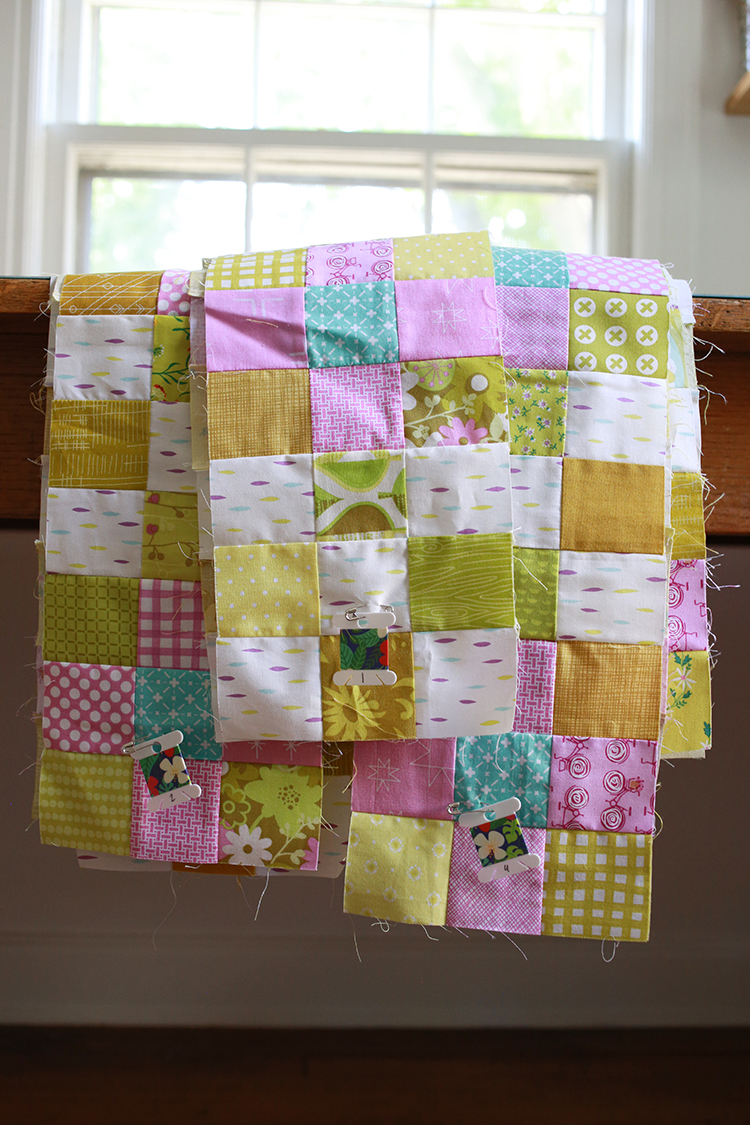
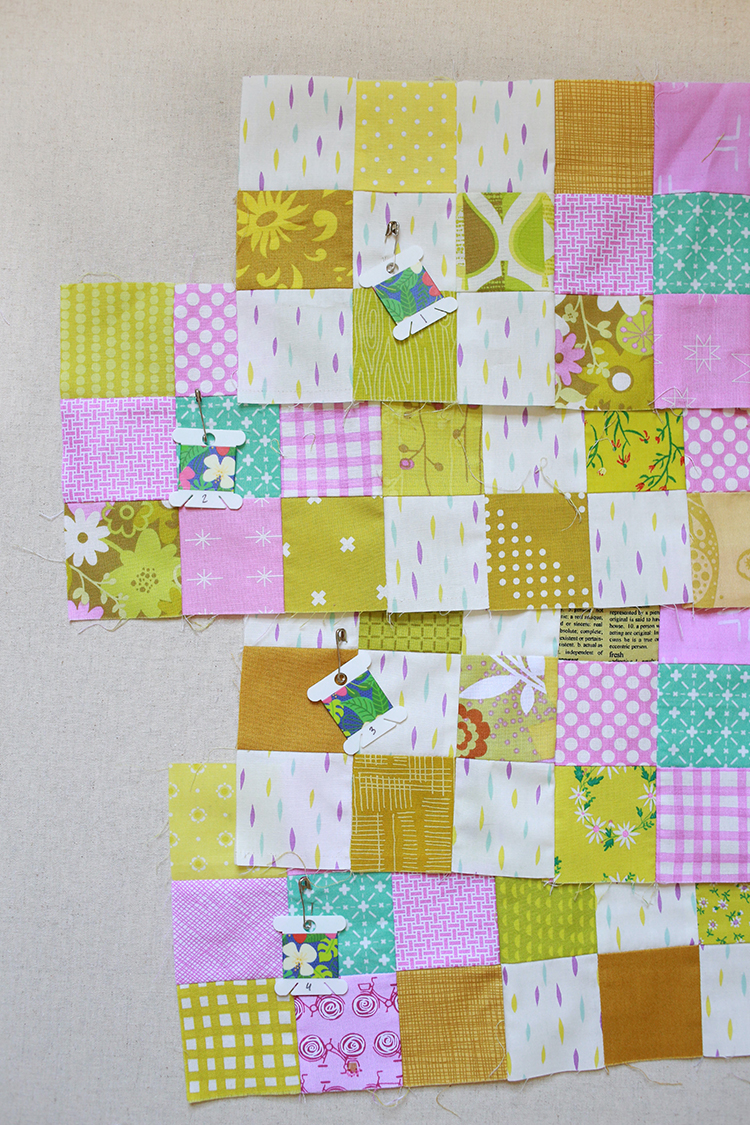
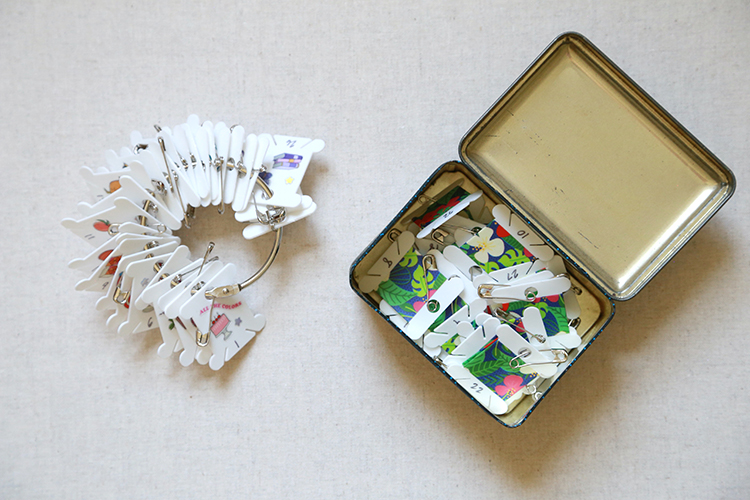
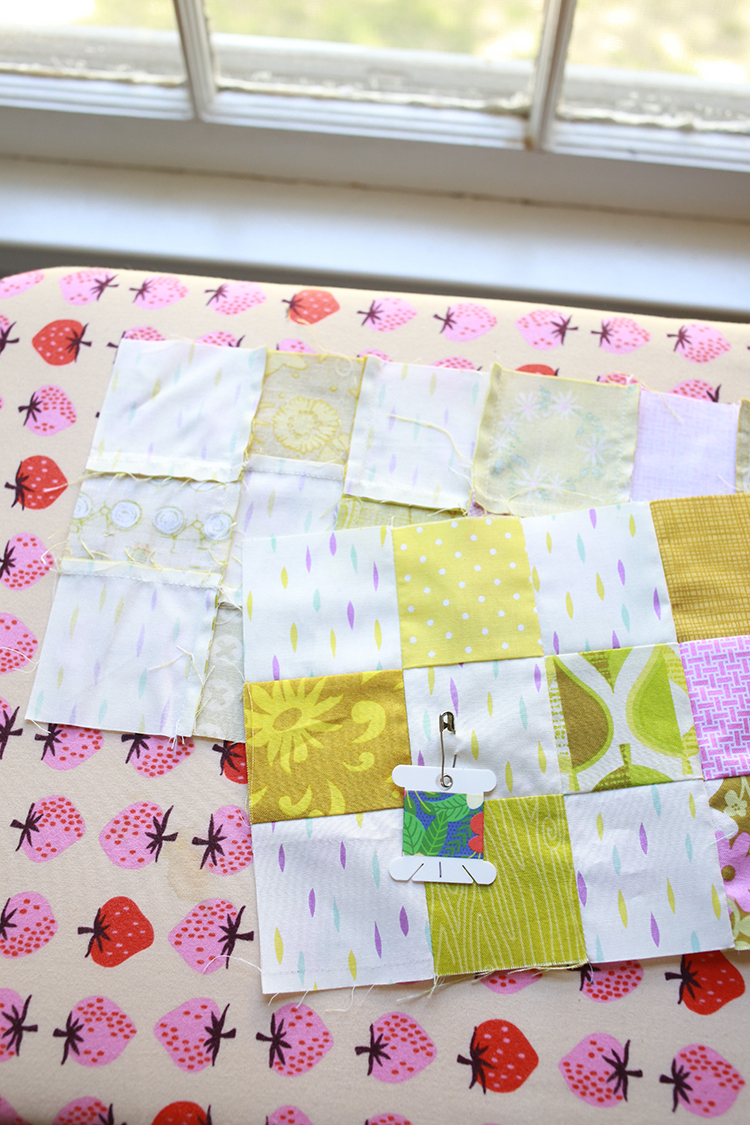
I made a set of these for myself when I first started quilting many years ago and I've used them on almost every quilt I've made since then. Just safety pin your marker to the first block in each row when you lay it out. I try to keep it centered in the block so that it doesn't get in the way when I put the rows together.

Having a physical marker on the rows also helps simplify the pressing step for me when I'm nesting seams. I'll press odd numbered row seams away from the marker and press even numbered row seams towards the marker. Easy to keep things straight!


I think these would make a great gift for a friend or to put in a swap package! You could use a fun washi tape, colored markers or even stickers to dress them up!


Skill Level: Beginner Friendly

Materials:
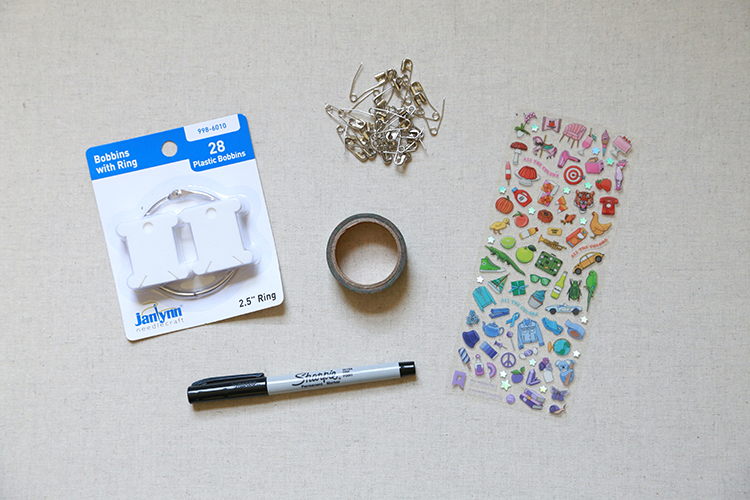
- Plastic floss bobbins*
- Washi tape or stickers (optional)
- Permanent marker
- Safety pins
- Small tin or container for storage

1. Decide how many markers you want to make! This is up to you and what kind of quilts you make. My bobbins came in a pack of 28, so that's how many I'm going to make.


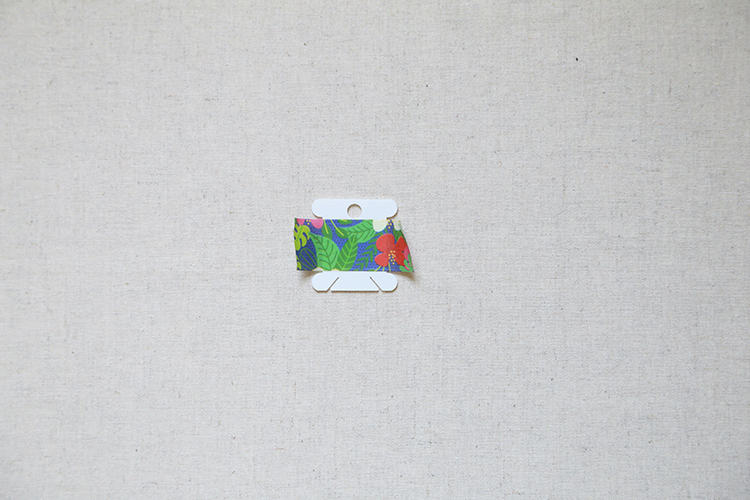
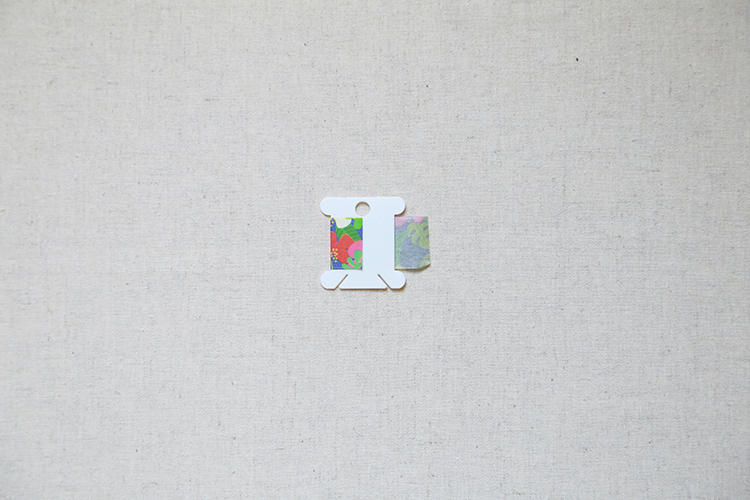
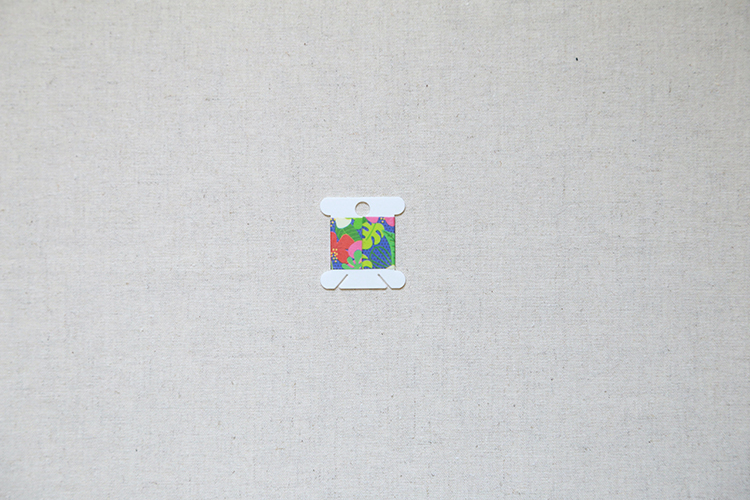
2. This step is optional, but I love to decorate the flat section of the bobbin! If you're using washi tape, cut it into strips at least 2.25" long (check for your actual markers, tape should be a little more than twice the width of the flat section). My washi tape is 7/8" wide. Wrap the tape around the flat section and press to secure to the bobbin.


Tip: An easy way to cut the tape is to lightly stick it to your cutting mat and cut with an old rotary blade or an exacto knife.


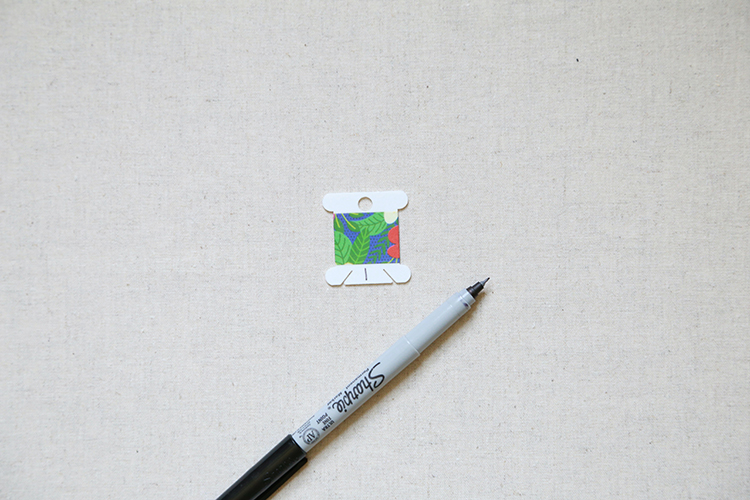
3. Use a permanent marker to number each marker.


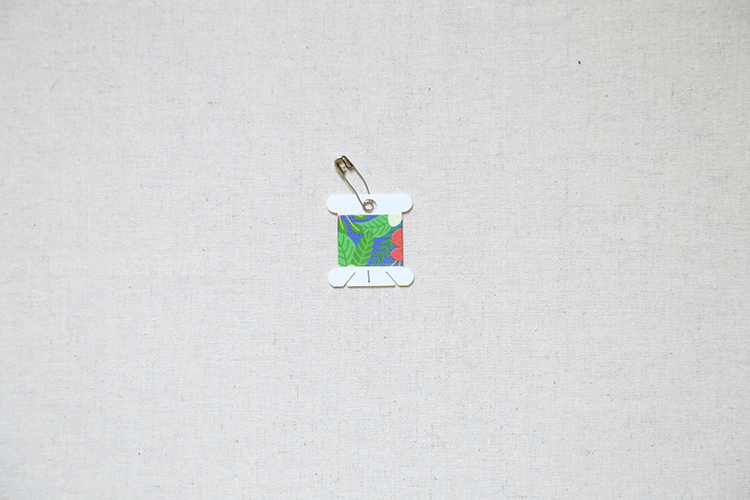
4. Hook each marker onto a safety pin, through the hole at the top.


That's it! Super simple and easy DIY, but so handy!


And here is a set made with stickers instead of washi tape! The numbers follow the rainbow color order. These came in a recent month of a Pipsticks subscription* that a friend gave me!


I usually keep my set in a small tin or plastic box, but you could also store them on the ring that often comes with the floss bobbins.


I hope you've enjoyed this tutorial! I have lots of other tutorials for everything from quilts, pillows, bags, and holiday items to informational series and techniques. Find all my tutorials here: Tutorials. My online shop is filled with patterns for quilts and bags. Find my patterns here: Jeni Baker Patterns

If you make something using one of my tutorials or patterns, I hope you'll tag me @jenib320 and use my hashtag #jenibaker on instagram!

Happy Quilting!

*Note: Any links marked with an asterisk in this post are affiliate links. This means if you click through and buy something, I make a small commission, at no extra cost to you.

Garden Plans for the 2022 Season

Monday, May 23, 2022


Happy Monday! Today I want to share some of my plans for the upcoming gardening season!
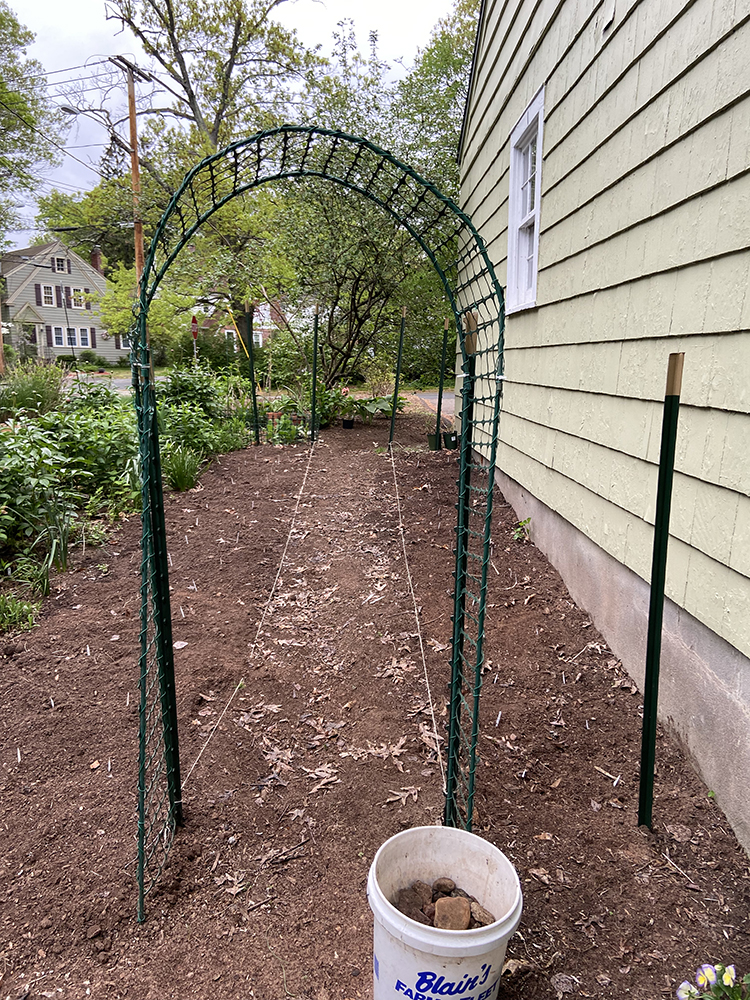

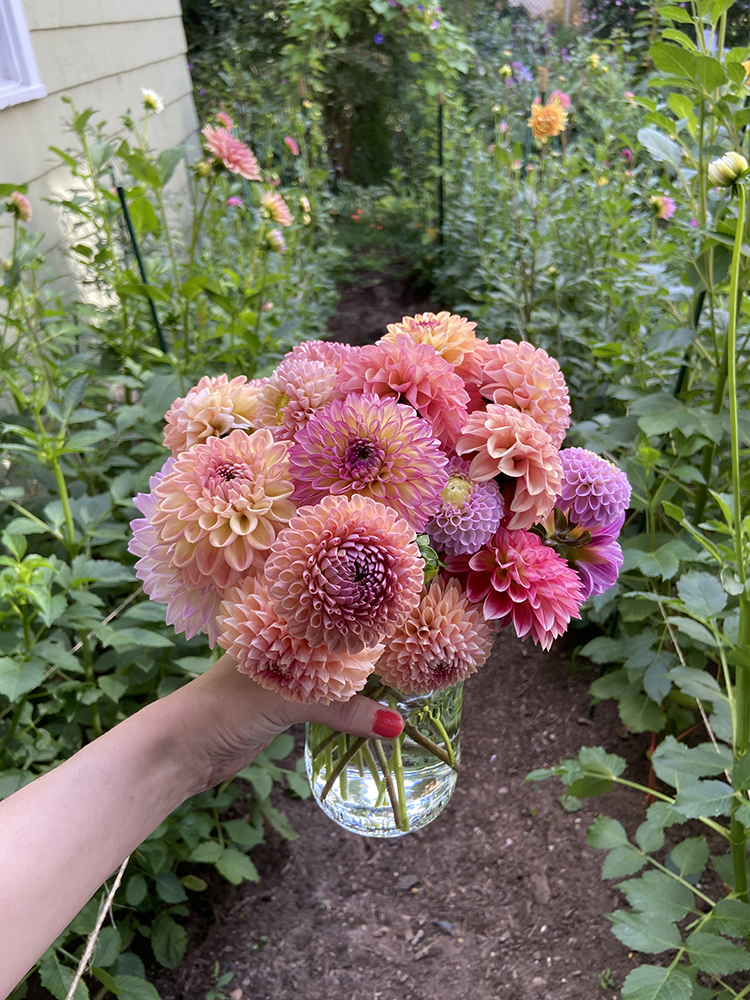
Let's start with my cut flower garden! The biggest thing I'm growing in 2022 is dahlias! I have fallen so hard for these flowers in the last few years, and I've been collecting tubers of new varieties over the winter. I'm the most excited about the anemone style dahlia varieties that I'm adding, like Sandia Brocade and Totally Tangerine. My tubers overwintered beautifully and I've been able to get them all planted and given a bunch to friends and family. Most of my dahlias are in our side yard garden, but a few are on the driveway in pots.

I have a pinterest board to organize all the dahlias I grow, if you're interested: Growing Dahlias Pinterest Board
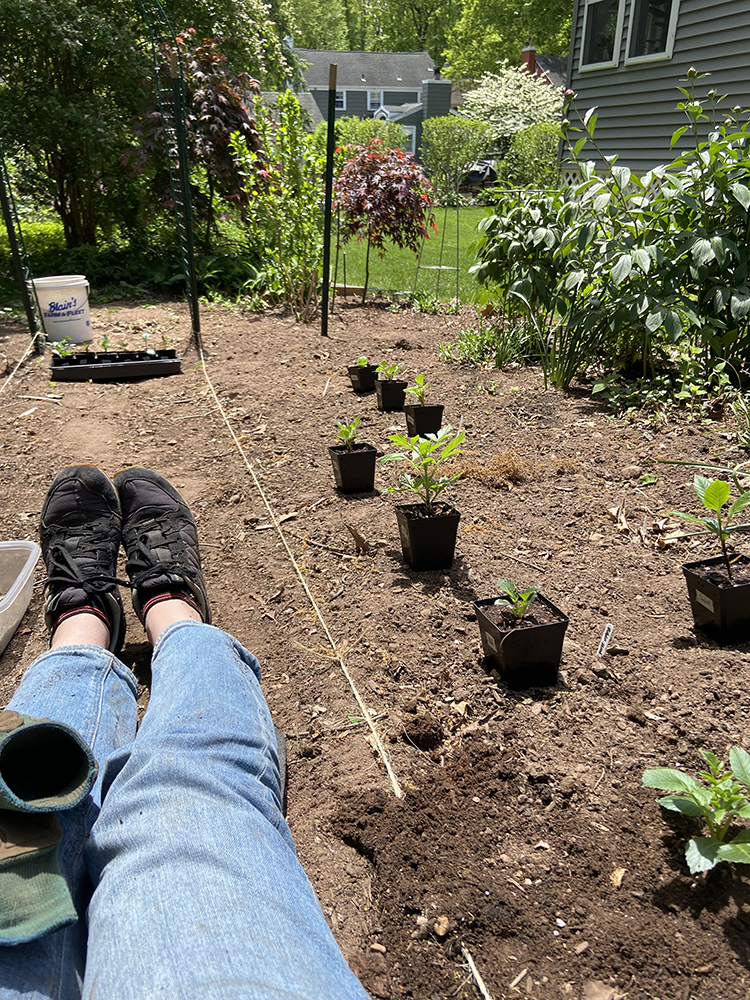

I also started a bunch of dahlias from seeds. I collected the seeds from a few varieties last season, and I'm excited to see if I manage to get any winners! I collected from Jowey Winnie, Crichton Honey, and Take Off. Dahlia's grown from seed are not true to the parent variety, so it's a real mystery as to what the seed dahlia will be like!

Around the 1st of March I pulled out a bunch of tubers to warm up for taking cuttings. If you force the tubers to sprout early, but can cut off the sprout once it has a few sets of leaves and root it to create a new plant. I also did this with new varieties as they arrived throughout Spring. I went a little bit overboard and I ended up with over 30 new plants this way! It was hard to stop!
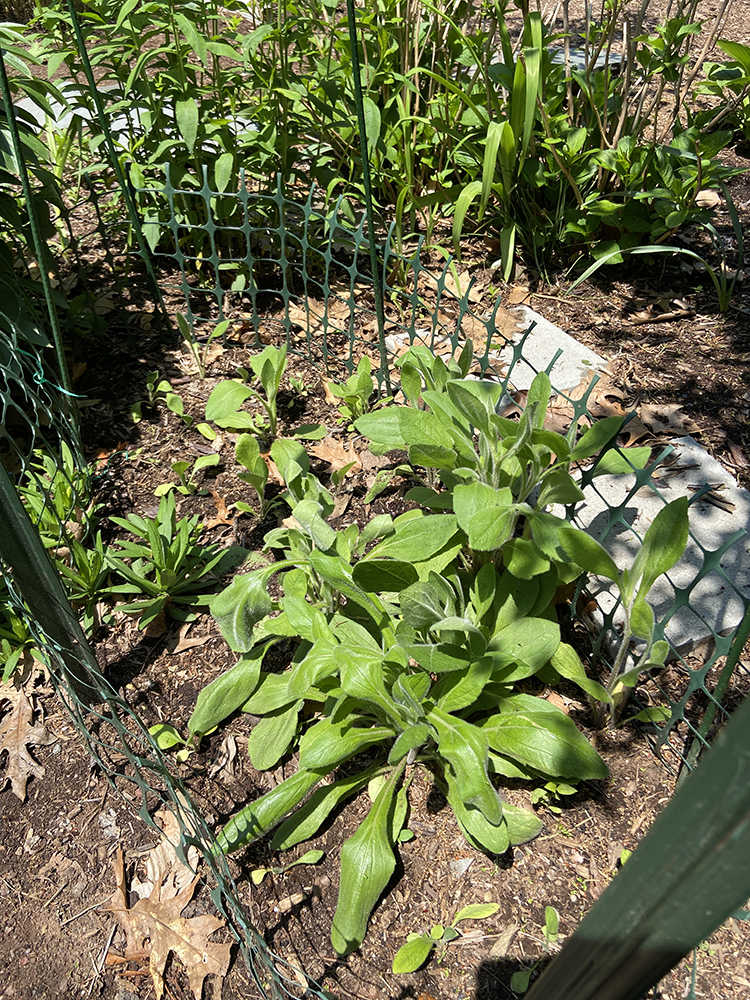

In terms of other cut flowers, I'm growing strawflowers (always, in honor of my paternal grandmother), marigolds, calendula, geraniums, morning glory and zinnias. This year I've tried simply direct sowing my zinnias. Last year they did so badly, I think partially because I let them languish in the seed cells for too long. I also started a few varieties of rudbeckia and some 'green twister' echinacea that I'm really excited about!


For the second year in a row I made up my own hanging baskets to flank our front door, since hanging baskets can be so expensive. I used 3 six-packs of impatiens for two hanging baskets which ends up being less than $10. They will fill in nicely in a few weeks!
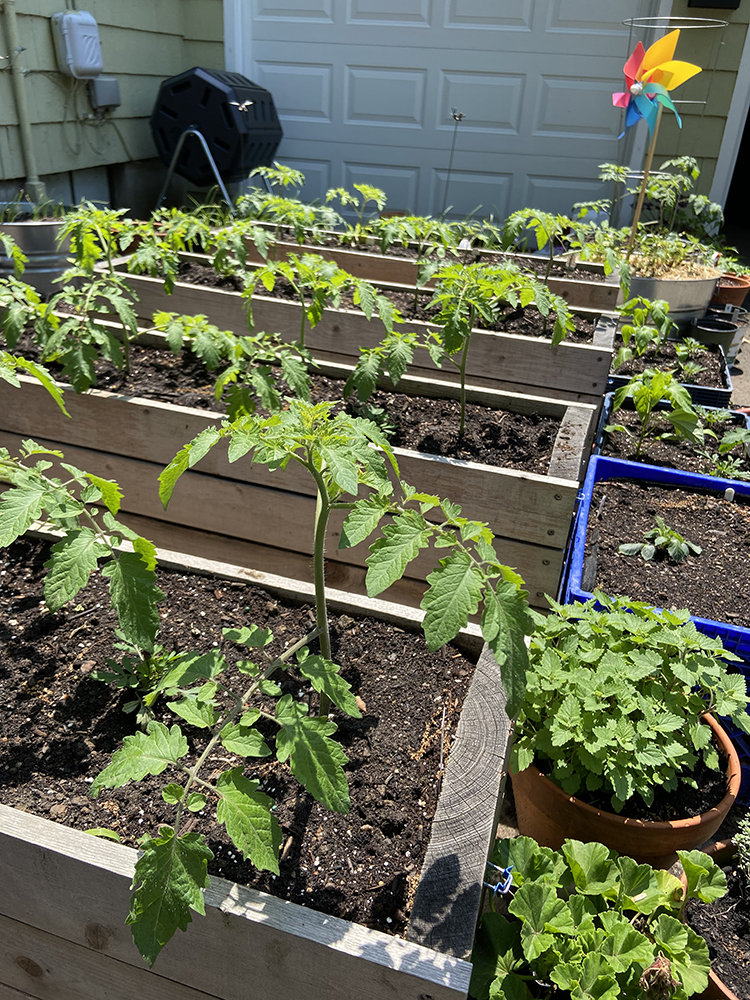

For our vegetable garden, we grow everything in containers on our driveway. A few years ago we made a couple boxes (I think this will be our 3rd season in those), and we've got a bunch of grow bags, galvanized tubs, pots and some crates too. It's a bit of a mishmash, but it works for us! Our driveway gets a decent amount of sun, and since it's asphalt it gets really hot.

We're primarily growing two things, tomatoes and peppers. I did grow radish and arugula early in the season, but those have already been harvested to make space for the warm season veg. For tomatoes we're growing all cherry, indeterminate varieties. They're our favorite to eat and with our setup they do better than larger tomatoes. I started seeds for Sungold and Black Cherry varieties. I also saved and started seeds from an unknown tomato. We get these amazing orange cherry tomatoes through our CSA and I took a chance and saved seeds from those last year. It may not have been an open-pollinated variety so we'll see if the resulting fruit is any good. We love them so much though, it is worth the risk!
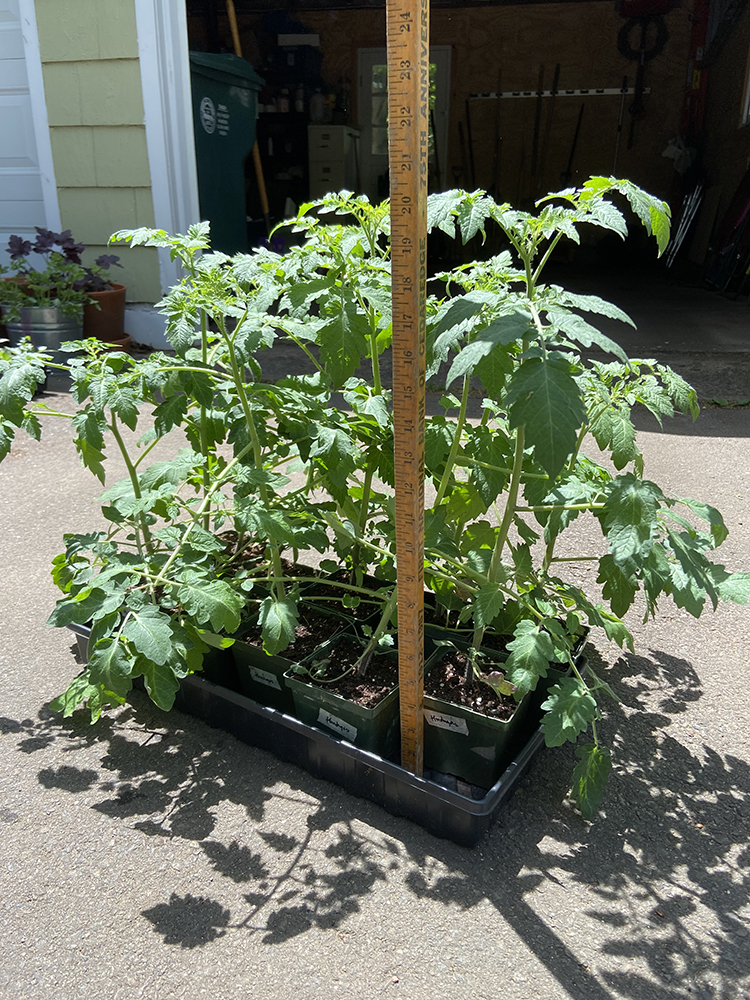

I am SO proud of my tomato plants. I started them at the end of March in our basement. At planting time some were almost 2' tall!! This is only my second year starting some from seed and I'm thrilled with how big and healthy they are. I was able to bury 8-10" of the stems when I planted them. As if I needed more tomato plants (I ended up with 18 plants from seed), I bought a couple because I couldn't resist! We're growing two Sunsugar and a Sunrise Bumblebee. Both yellow/orange cherries.
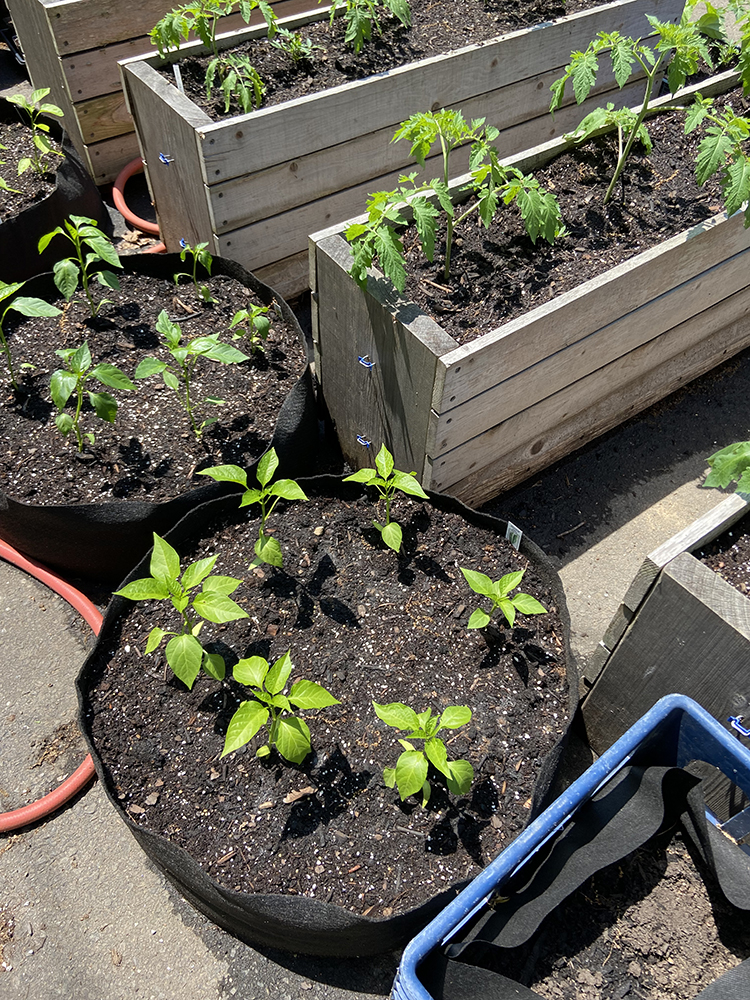

For peppers we have some pretty standard varieties we grow every year. We always grow Anaheim, Sweet Banana, Sriracha, and Serrano. The Sriracha are really similar in flavor to Jalapeños, but seem to do better for us. I think they're also a bit milder heat-wise. I also started some peppers from seed. I've got 5 plants of Lunchbox Yellow snacking peppers, and a plant each of two hot varieties, Aji and Sugar Rush just for fun.
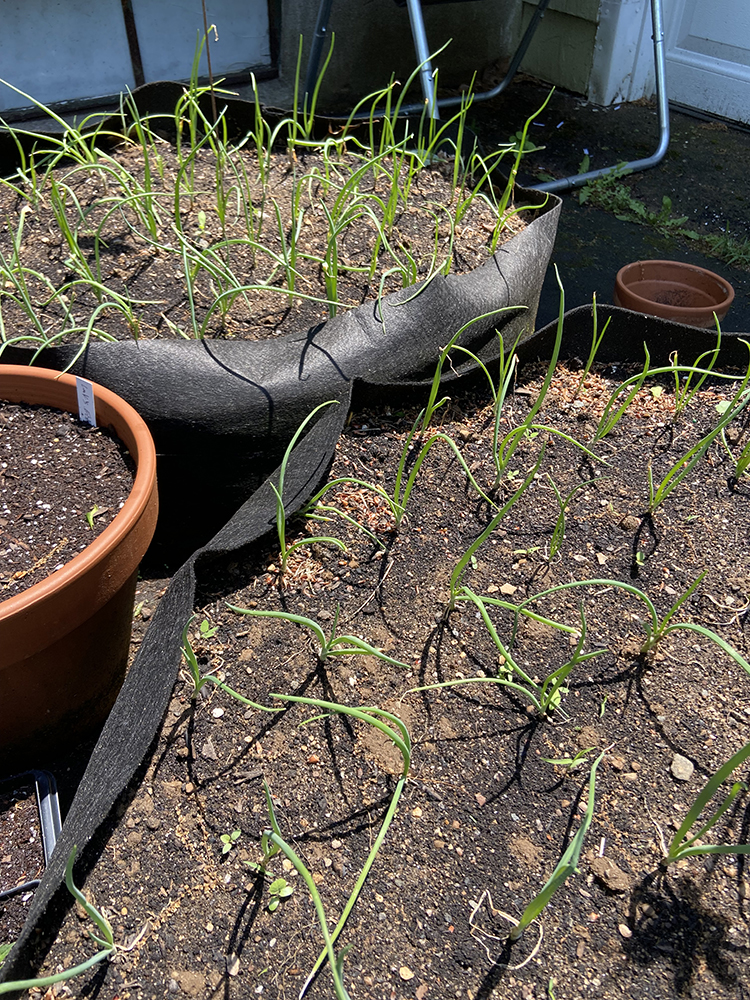

We always like to try a few new things every year, so we're growing onions! I ordered Walla Walla onion starts from Johnny's Seeds and ended up with around 60 starts. We love these little sweet onions, so I really hope they do well. I also brought home two seed potatoes from my Dad (I think they're Yukon gold), that I'm trying out in a crate. That experiment may not work, but it's worth a try! I also brought home some of my parent's strawberry plants that were growing in their grass. I stuck those in a galvanized tub where they're free to grow wild.
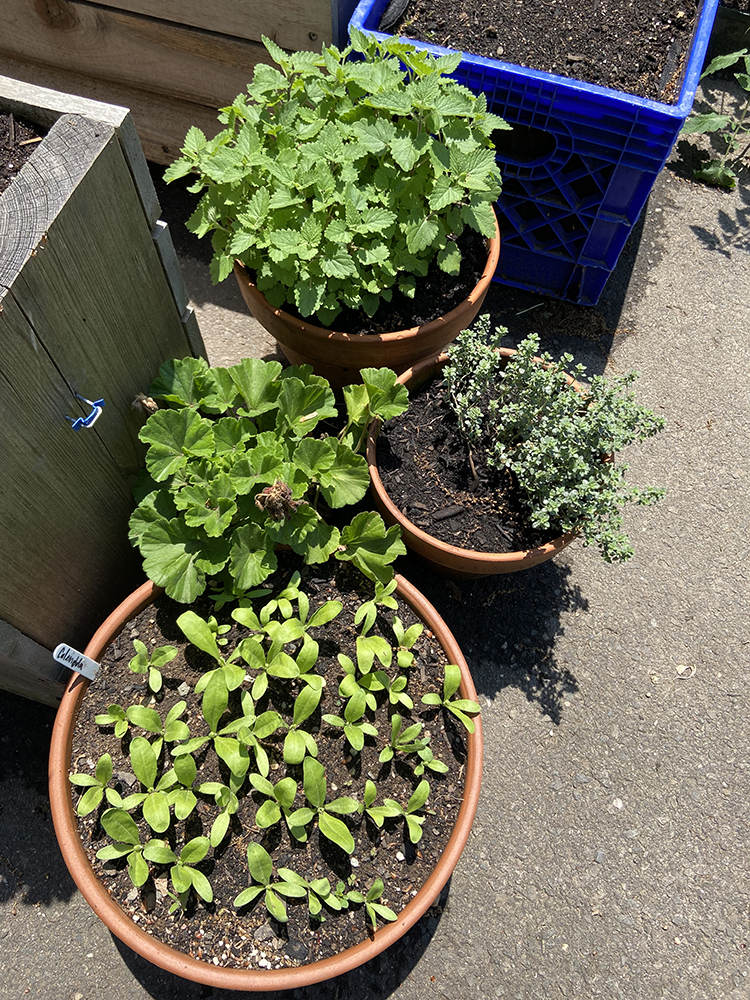

I think that's about it! I'm really excited for this season, I love gardening. One of my favorite things about it is going out early each morning to see how things have grown and changed, and taking care of watering/harvesting tasks. It's quiet out and is such a peaceful activity. Once things get blooming I love to see all the bees and butterflies enjoying the flowers. And of course eating tomatoes directly off the vine, the best.

Happy Growing!