Showing posts with label Holiday. Show all posts

Tiny Treat Lined Drawstring Bag + Other Halloween Projects

Friday, October 9, 2020


Happy Friday! Today I want to share a little Halloween project I made this week and revisit past projects too!


We are sad that we won't be able to participate in trick or treat in our neighborhood this year, but that didn't stop us from buying some candy. I wanted to make a small bag to hold a little secret stash of candy to keep upstairs in my sewing room. You never know when you'll have a candy emergency and need a piece of chocolate!


I made the tiny size from my lined drawstring bag pattern. I was working at warp speed on this project, and went from picking out fabrics to finished bag in less than 30 mintues! So satisfying. I love this cute ghost print from the Spooky n Sweet* collection from Art Gallery Fabrics. If you turn the top edge over a bit, the bag morphs into a little bin! Perfect for easy candy access :)

Lined Drawstring Bag Pattern


These days it's all about finding little things that can bring us joy. Making this goofy little candy bag made me feel better, even if just for an hour or so. I have a feeling I'll smile whenever I see it though. Pretty good for 30 mintues worth of my time!

I thought it would be fun to look back at some of the Halloween projects I've made over the years:


Paper Pieced Coffin Quilt Block Tutorial


Trick or Treat Tote Bag


Halloween Nine Patch Quilt


Halloween Lined Drawstring Bag


Spooky Town Wall Hanging


Webbed Quilt Pattern


Candy Tote


Patchwork Halloween Projects

Have a Great Weekend!

*Note: Any links marked with an asterisk in this post are affiliate links. This means if you click through and buy something, I make a small commission, at no extra cost to you.

Semi-Handmade Gift Ideas

Wednesday, December 12, 2018


Does anyone remember the show Semi-Homemade Cooking with Sandra Lee? It was on the Food Network and I think it came on after Rachel Ray when I was a kid. The general premise of the show was to cook something with half pre-made products and half fresh ingredients. With limited time left before the holidays for gift making, it got me thinking about applying that basic concept to crafty gift giving.

I've pulled together some of my favorite tutorials/patterns and paired them up with ready made gift ideas. There's a mix of my tutorials/patterns as well as patterns by others that I've loved making (and giving) as well.

Make any gift a little more personal by wrapping it in a lined drawstring bag! Lined Drawstring Bag Tutorial + Easy Going Lined Drawstring Bag Tutorial

Triangular Zipper Pouches

Triangle Pouch Sewing Tutorial by A Spoonful of Sugar
(find my post on making other sizes here)
Pair it with: Any little stocking stuffers you want!

Sew Together Bag

Sew Together Bag Pattern by Sew Demented
Pair it with: Travel sewing supplies, hand piecing/quilting supplies, little stocking stuffers

Cosmetic Pouch
https://incolororder.bigcartel.com/product/triplizip-zipper-pouch-pdf-pattern
Triplizip Zipper Pouch Pattern
Pair it with: Bath set, manicure set, socks

Sewing Tool Caddy

#10 Caddy Pattern by Sew Can She
Pair it with: Sewing supplies, art supplies

Handmade pillow
https://incolororder.bigcartel.com/product/giant-vintage-star-quilt-pdf-pattern
Giant Vintage Star Quilt Pattern
Pair it with: Slippers, children's book, stuffed animal

Potholders
https://www.incolororder.com/2012/04/tutorial-half-square-triangle-pot.html
Half-Square Triangle Potholders Tutorial
Pair it with: Wooden cooking spoons, cookbook, baking mix

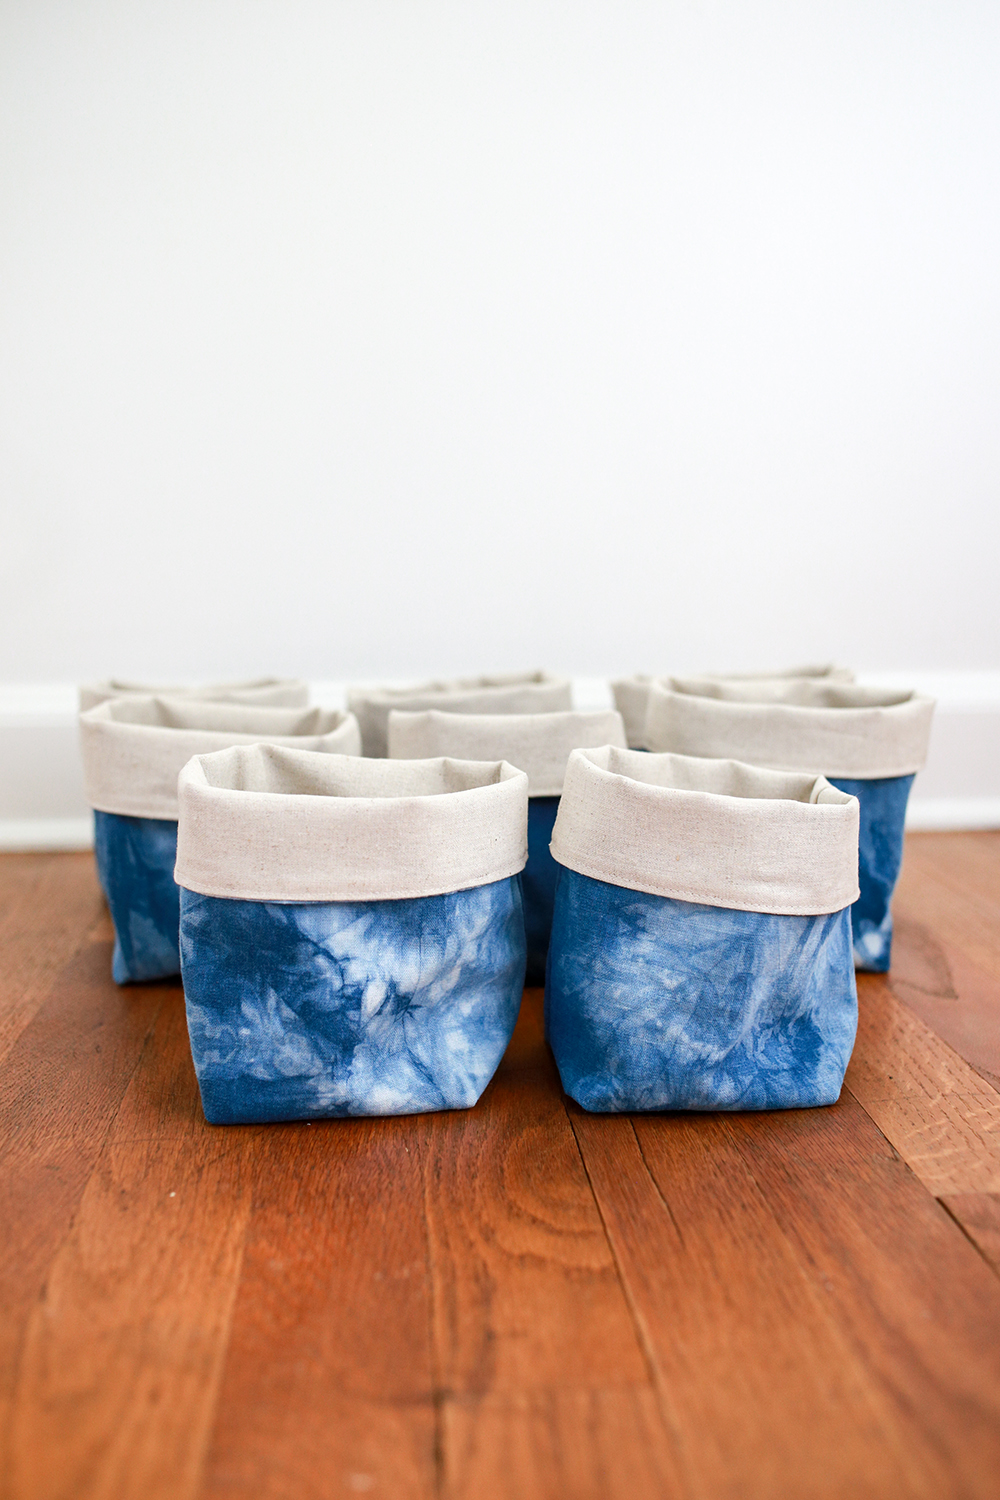
Small Fabric Bin
https://carolynfriedlander.com/quick-thread-catcher-tutorial/
Thread Catcher Bin Tutorial by Carolyn Friedlander
Pair it with: Candy/cookies, candle, plant

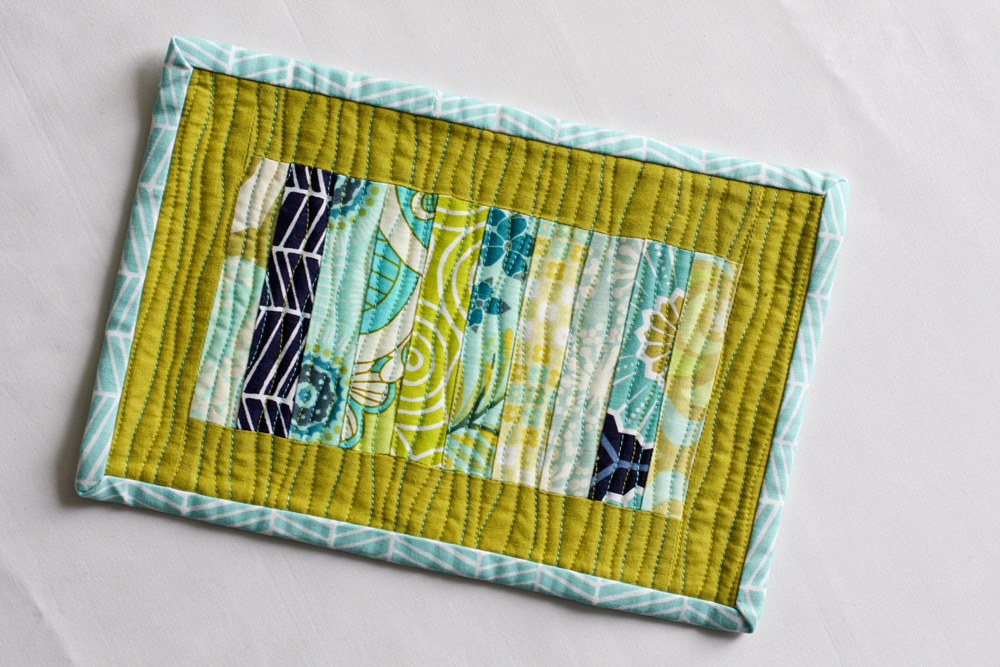
Mug Rug
https://www.incolororder.com/2011/03/scrappy-stack-mug-rug-tutorial.html
Scrappy Stack Mug Rug Tutorial
Pair it with: A cute mug and some hot cocoa or coffee

Enamel Pin Banner
https://www.incolororder.com/2017/06/enamel-pin-banner-tutorial.html
Enamel Pin Banner Tutorial
Pair it with: A selection of enamel pins.

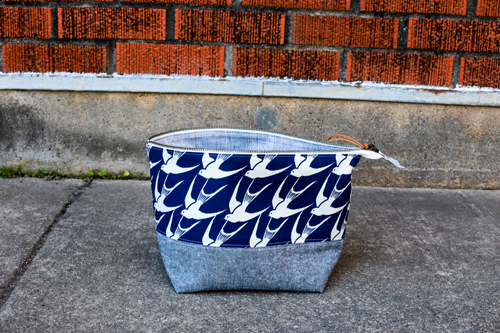
Open Wide Zipper Pouch
https://noodle-head.com/2012/06/open-wide-zippered-pouch-diy-tutorial.html
Open Wide Zipper Pouch Tutorial by Anna Graham
Pair it with: Yarn and knitting pattern, hand soap/lotion

Tote Bag
https://incolororder.bigcartel.com/product/the-workshop-tote-pdf-pattern
Workshop Tote Bag Pattern
Pair it with: Sketchbooks and art supplies, quilt kit

Looking for something sweet to make? Here are some of my go-to giftable recipes:

White Chocolate Check Mix
https://www.incolororder.com/2016/12/white-chocolate-chex-mix-recipe.html
White Chocolate Chex Mix

Chocolate Pretzel Cookies

Chocolate Pretzel Cookies

Salted Soft Caramels

Salted Caramels by The District Domestic

Red Velvet Cookies

Red Velvet Gooey Butter Cookies by Peace Of Cake

Cookie Mix

Don't have time to bake? Consider gifting a baking mix of your favorite recipe!

Happy Making!

Quilted Christmas Tree Skirt

Wednesday, December 5, 2018


Happy Wednesday! I'm so excited to share my Christmas tree skirt today! I've been having a lot of fun making holiday pieces this year, including the stockings I shared last week: Handmade Christmas Stockings


I have been wanting to make one of these ever since my friend Christina designed it for a swap way back in 2010. A few years later, she released her pattern for it, but I didn't have a tree! Now that we're in a house with room for a full size tree, I finally could make one!


For the fabrics and colors I wanted it to be traditional Christmas colors. I'm not a huge fan of red, so adding in pink helps balance it out for me. I started with this adorable green print from Little Joys by Elea Lutz and pulled blenders in shades to match. For the background and binding I used Le Creme Swiss Dots by Riley Blake in baby pink.


The top actually came together really quickly back in September. Then I let it sit for a little while. I wasn't sure how to quilt it right away, plus I was already worried about the binding!


I ended up dusting off my free motion quilting skills and did a simple doodle loop all over. It felt like it was the right choice for this project and I'm glad I took the time to do it. It took a little while to get comfortable with it again, but it was worth it!


For the binding, I knew I wanted to use the same fabric as the background so that it would blend in nicely. I don't know why I was so worried, the binding went on really smoothly. The inside corners were a breeze and even the inside circle went on easy. I attached it to the front by machine and took the time to hand stitch it to the back.


I love, love, love how this project turned out. It's such a unique design and I think it looks great around our tree. I'll look forward to pulling this out every year!

Happy Quilting!

Handmade Christmas Stockings (and Template Download)

Wednesday, November 28, 2018


Happy Wednesday! Today I wanted to share a holiday project I made this Fall, stockings! Now that we live in a house and have a mantle, it was finally time to make some stockings.


I knew I wanted to make three stockings, one for each of us and one for George bunny. Initially I thought maybe I'd do something patchwork like the mini stockings (tutorial) I made a few years ago, but I decided something a bit simpler was best. So I dug into my Christmas fabric and had enough of this pretty vintage holly print I found thrifting.


I scoured the internet looking at different tutorials and patterns for stockings but I could not find one with the shape I was looking for. I wanted it to have a classic shape, with a straight "foot" and a straight "leg" too. So, I ended up drawing my own template, and I'm really happy I did! Since I had a hard time finding one, I want to share it with you. Pair it with your favorite stocking tutorial! I used a 1/2" seam allowance when sewing it up. It's approx. 16.5" tall, 6.5" wide at the "leg" and 10" wide at the "foot".

You can download it here: Vintage Stocking Template Download

For mine, I kept construction really simple. I used fusible fleece on the exterior pieces and added a small hanging tab to each one. I cut my hanging tab pieces 6"x2".


I skipped the cuff and instead made a bow for each stocking. I was inspired by these stockings, but instead of stitching them in place, these bows are attached with safety pins. That way if I ever change my mind and want to switch things up, they're easily removable. I cut my strips 7"x42" for each bow. The red is Kona Red that I picked up at a local shop here in CT.


I love how these turned out, I think they have such a vintage-y feel to them, which is exactly what I was going for. I couldn't find any holders I liked, but I did find some really budget friendly low-profile ones at Target that just kind of blend into the mantle. Win-win!

Happy Sewing!

Happy Halloween!

Tuesday, October 31, 2017


Happy Halloween from George the sailor bunny, Jeni and Michael!


Not so sure about this hat business!


Well, I guess it's not so bad...


Did someone say treat?


Seriously, what does a bun have to do to get a treat around here?


George bunny was properly compensated in his favorite treats for this photo shoot! :)

Wishing you all a safe and happy Halloween!

Halloween Nine-Patch Quilt

Saturday, October 28, 2017


Happy Saturday! Squeezing in one more Halloween project this month, another quilt! See the Halloween quilt I made last year, here.


I used a Lil Monsters bundle and added prints from past Halloween lines from Cotton and Steel to end up with twenty different prints. I was pretty immediately drawn to this collection, and didn't let it sit too long before chopping it up.


I cut nine (6") squares from each fat quarter to use up as much of the fat quarters as I could. This is the same layout and technique I used for my Nani Iro Dreams Quilt. Simple and sweet.


It's funny, looking back at the quilts I've made over the years I seem to prefer simpler quilts in times of extra stress. This makes sense, since more stress usually means less time to stitching and also an urge for comfort sewing. And what could be more comforting than nine patches and cutesy Halloween fabric?


I had a short window to get this one quilted and bound, so I kept the quilting super simple with diagonal lines. Speaking of comfort sewing, this is definitely my go-to no-worry quilting. It's quick and I love the cross hatch effect of quilting on the diagonal. One of these days I'll experiment with other designs!


I was finally able to use up a big cut of 1" black and white gingham for the back. I originally bought it for my Minny Muu Prism Quilt, but under-bought by 1/4 yard. Felt good to use some of it for this quilt. It's bound up in this cute add it up print.

More info on my custom woven labels here.


Get ready for Tuesday, I'll be sharing George's annual Halloween costume photo!

Happy Quilting!