
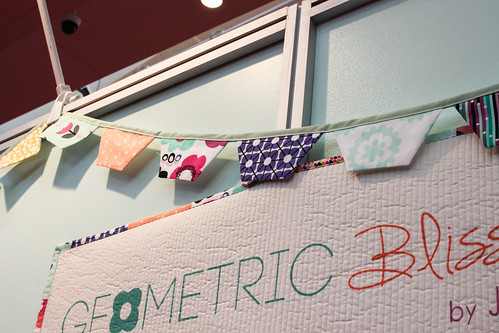
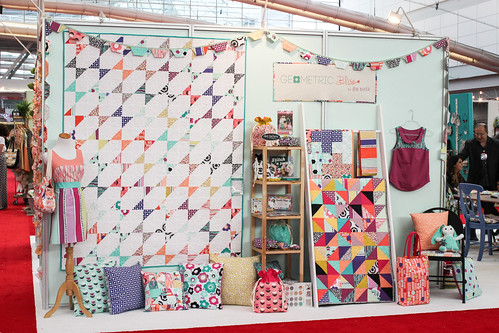
Hi there! I've been meaning to post a tutorial for this for a while now, and time got away from me. I made this sweet bunting out of Geometric Bliss for my booth at Spring Quilt Market in Pittsburgh last year. It was one of those things that once I thought of it, I couldn't get it out of my head. It's a fun alternative shape for a bunting, and I think it turns out super cute!
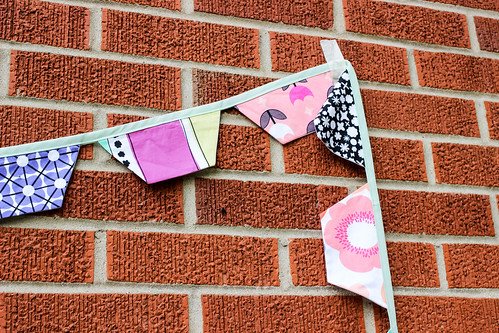
I've written the instructions so that you can create any size bunting you'd like. Use step 6 to determine the size of your bunting. My bunting measures 250" from first flag to last flag, and 284" including the tails. I used 36 flags, and stretched my fabric by using a solid on the back of each flag. It fit very comfortably across a 12' wall.
Sewing Level: Beginner
Materials:
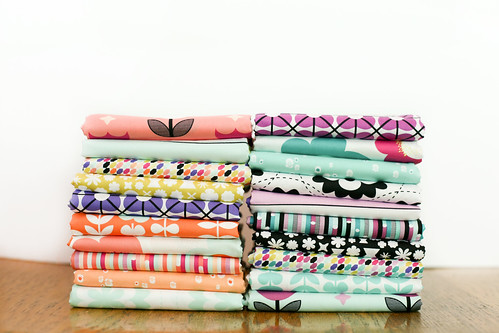
- 7 1/2" x 3 1/2" pieces of print fabric (flags)
- Approx. 1/2 yard of solid fabric (tie)
- Coordinating thread
Instructions:
*Use a 1/4'' seam allowance unless otherwise noted*
1. Download the template here, and trace onto heavy card stock or template plastic.
2. Use the template to cut out twice your desired number of "flags". (Mine has 36 flags, so cut 72)

3. Place two half-hexagon pieces right sides together. On one wrong side, mark the seam allowance intersections in each corner. This makes it easier to get a nice sharp corner.
4. Sew around three sides, leaving the large top edge open.
5. Trim excess seam allowance at each corner. Turn and carefully poke out each corner. Press well.
Repeat steps 3-5 for remaining flags.
6. Determine your total desired length from first flag to last flag, then add 72" to that for the loose tails. Divide that number by 42 to determine how many 2" strips you should cut. Yardage required equals 2" multiplied by the number of strips. (Mine required 8 strips, so 1/2 yard)
7. Sew strips end to end into one long strip, pressing seams open.
8. Press each short end of strip under 1/4". Topstitch to secure.
9. Fold strip in half lengthwise, wrong sides together. Press. Unfold, and fold each raw edge into the crease you just created. Press. Fold in half again and press.

10. Find the center of the strip and mark it. Nestle the unfinished edge of the first flag into the fold of your strip, 3/8" from the center mark. Pin or clip in place.
11. Place a flag on the other side of the center mark. Continue to add flags approximately 3/4" apart.
12. Carefully topstitch along the open edge of the entire length of the strip, securing the flags in place.
Enjoy your new bunting! If you make something using this pattern, I hope you'll share it in the In Color Order Flickr Group or using the #jenibaker hashtag on Instagram!
If you're a shop interested in carrying Geometric Bliss, it can be ordered through Art Gallery Fabrics. Find your sales rep here, call toll-free (888) 420-5399, or visit artgalleryfabrics.com.
Hi Jeni! Love your bunting! Question, though: Do you have a pattern for that awesomely cute skirt or dress on the mannekin in your booth?
ReplyDeleteIt's actually a top and a fat quarter apron! The top pattern is Datura by Deer and Doe!
DeleteYahoo a new tutorial. Now I'm making warm cool quilt, fallowing your instructions. But I know what I'll be making next. :) Thanks for this tutorial :)
ReplyDeleteGreat bunting! I love hexagons so much, what a great way to use them! x
ReplyDeleteThank you for the tutorial, I'm pinning!
ReplyDelete