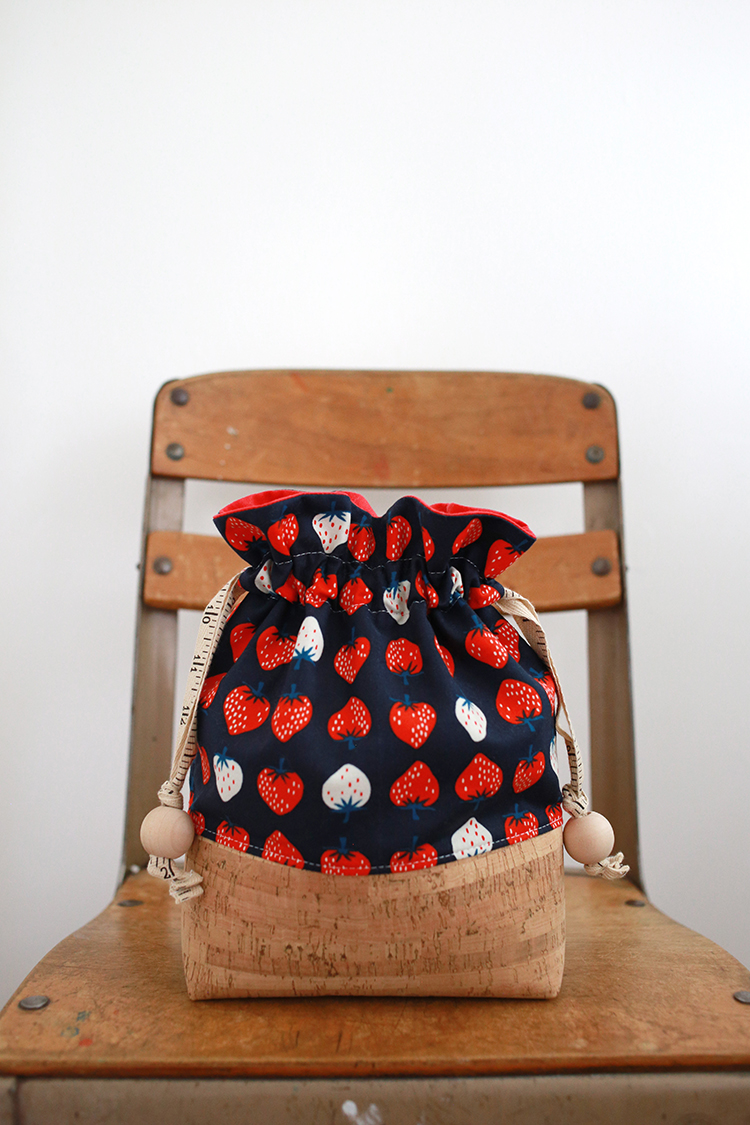
Welcome to the fourth and final week of the
Lined Drawstring Bag Sew Along! Today I have a dyeing tutorial for you!
I'll be updating the
Sew Along Page each week with all the posts so that you can easily catch up or reference these posts after the sew along ends!
I hope you'll sew along with us! Sew from the tutorial or the patterns:
Lined Drawstring Bag Tutorial
Lined Drawstring Bag Pattern
Lined Drawstring Bag Expansion Pattern

This week's task is finishing our bags! Tackle those drawstring casings, make fabric ties or prep twill/paracord ties. Pull ties through the bags and finish them off with a simple knot or some fun beads! A few posts you might find helpful this week:
- Marking the drawstring casings can be time consuming, especially if you're making a lot of bags. I have a video tutorial for an alternative marking technique that is my go-to method. Find it here:
Alternative Method for Marking the Drawstring Casing
- If you're like me and you don't have a free-arm on your sewing machine, I have a video tutorial for how to sew the drawstring casings. Find it here:
How to Sew a Drawstring Casing Without a Free-Arm Sewing Machine
- Using beads and want to take them to the next level? I have a tutorial all about how to customize unfinished wooden beads. Find it here:
How to Customize Wooden Beads with Paint, Stain, and Dye
- You've made your bags and now you're ready to gift them, why not use some reusable gift tags too! I share five different ideas for tagging your bags in this post:
Reusable Gift Tag Ideas for Drawstring Bags
- Working with Paracord can be intimidating if you've never used it before, I've got a post that breaks down the basics for you:
Tips for Working with Paracord
- I also have a similar post for using cotton twill tape for ties:
All About Cotton Twill Tape and How to Use it for Drawstring Bags

A couple years ago, I remember seeing some beautiful hand dyed ribbon in a gift shop here in CT and snapping a photo of it. Unfortunately I can't find the photo, but I still remember the ribbon. It looked like it had been splatter painted with dye! It reminded me of confetti and I just loved it. I've been wanting to try to recreate it ever since. This tutorial is full of my process and experiments along the way. I am really happy with the different looks I was able to achieve. These dyed twill tapes add something a little extra to each bag.
If you're interested in custom dyeing your own twill but prefer a solid color, I would recommend using the method used in my
Dyeing Webbing for Custom Bag Handles Tutorial.
Tie-Dye Twill Tape Tutorial
 Skill Level: Beginner
Tie-Dye Twill Tape Tutorial Materials:
Skill Level: Beginner
Tie-Dye Twill Tape Tutorial Materials:
-
100% Cotton Twill Tape
- Fabric Dye (RIT or Procion Dye)
- Salt (if using RIT Dye)
- Soda Ash (if using Procion Dyes)
- Small Bucket
- Plastic Tub or plastic wrapped work surface
- Wire rack (optional)

1. In order to keep the twill tape from fraying throughout this process, I went ahead and cut my twill to the length I would need for my drawstring ties, and finished the ends by folding them over and stitching them. This keeps things nice and neat throughout the dyeing and washing process. If you're not sure which bag sizes you want to make yet, or you want to dye a longer length, I would still recommend finishing the ends in some way, even if it's only temporary.

2. If you're using Procion dyes, soak twill tape in warm water. Add around 1/4 cup of Soda Ash per quart of water. Let soak for 10-15 minutes. Squeeze to remove excess liquid.
If you're using RIT dyes, soak twill tape in hot water. Add around 2 Tablespoons of salt per quart of water. This doesn't need to be exact. Let soak for 10-15 minutes. Squeeze to remove excess liquid.

3. Arrange twill tape in a plastic tub or a wire rack. You may choose to scrunch it up or lay it out flat.

4. If you're using Procion dye, sprinkle dye powder lightly on twill tape. Let sit for a couple hours.
If you're using powdered RIT dye, sprinkle dye powder liberally on twill tape. Let sit for a couple hours.
If you're using liquid RIT dye, carefully drip dye onto twill tape. Let sit for a couple hours.

In the process of writing this tutorial I experimented with a number of different dyes to see what kinds of results I could get! I know not everyone has access to Procion dyes, so I like to test out RIT dyes too since they're so widely available. Below you will see the dyeing results of two different brands of Procion dyes and two different types of RIT dyes. Each one resulted in a different look!
Dharma Trading Co Fiber Reactive Procion Dyes

These dyes are my personal favorite for any kind of dyeing. I especially love them for ice dyeing and they worked really well for this application too. I love how the dye colors separated as it sat on the twill. This dye is intensely pigmented, so the amount you use makes a difference! I did two experiments with this dye:

For this twill I used a black dye which separated into a rainbow very nicely! I set it on a wire rack and tried to use a small amount of dye powder. The result is a beautiful watercolor effect.

For this twill I used the same black dye, but used quite a bit! I also dyed this twill in the bottom of a plastic tub, so the colors stayed a lot more intense. If you want to easily achieve a multi-colored look, this is the way to go in my opinion!
Jacquard Procion MX Fiber Reactive Cold Water Dye

This dye is what I started using when I first got into dyeing. It can often be found at art supply stores and even some craft stores. The biggest difference between this dye and the Dharma for this application is that the colors don't separate out. So if you'd like a multi-colored look with this dye, you'll need to apply multiple colors.
For this hot pink twill I dyed it in the bottom of a tub. Look at those nice speckles!

This was another set of twill done with the Jacquard dye, this time in black. I dyed it on a wire rack and again it resulted in a more watercolor look.
RIT All-Purpose Powdered Dye

The RIT powder was really interesting to work with. It was less powder-like than the other dyes and more like a salt consistency. The results are more on the subtle side, and look more like a mottled solid dye.
RIT All-Purpose Liquid Dye

This was the only experiment I did with liquid dye. I dipped an old toothbrush in the dye liquid and used it to gently "splatter" the twill. This resulted in a very subtle twill. It may be hard to believe, but I actually used the color Wine here, which is supposed to be a very dark burgundy.

As you can see, there are lots of different effects that you can acheive depending on the method you use and the dye. Dyeing is such a fun thing to play with, and you never really know what you're going to get!
I hope you've enjoyed this tutorial! I can't wait to see your bags! Please share them with me on instagram
@jenib320 +
#lineddrawstringbag or via email (jenib320 @ gmail.com)!
Don't forget to pin this post to your Pinterest for future reference!

Happy Dyeing!