All About Cotton Twill Tape and How to Use it for Drawstring Bags

Wednesday, December 13, 2023


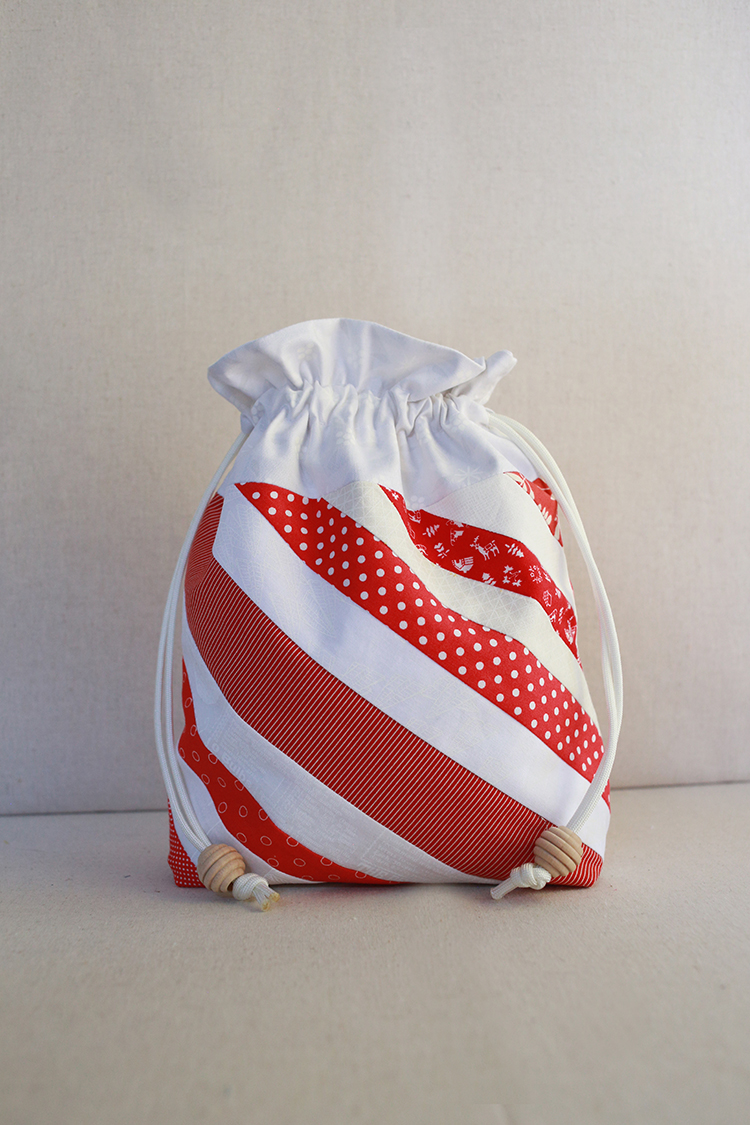
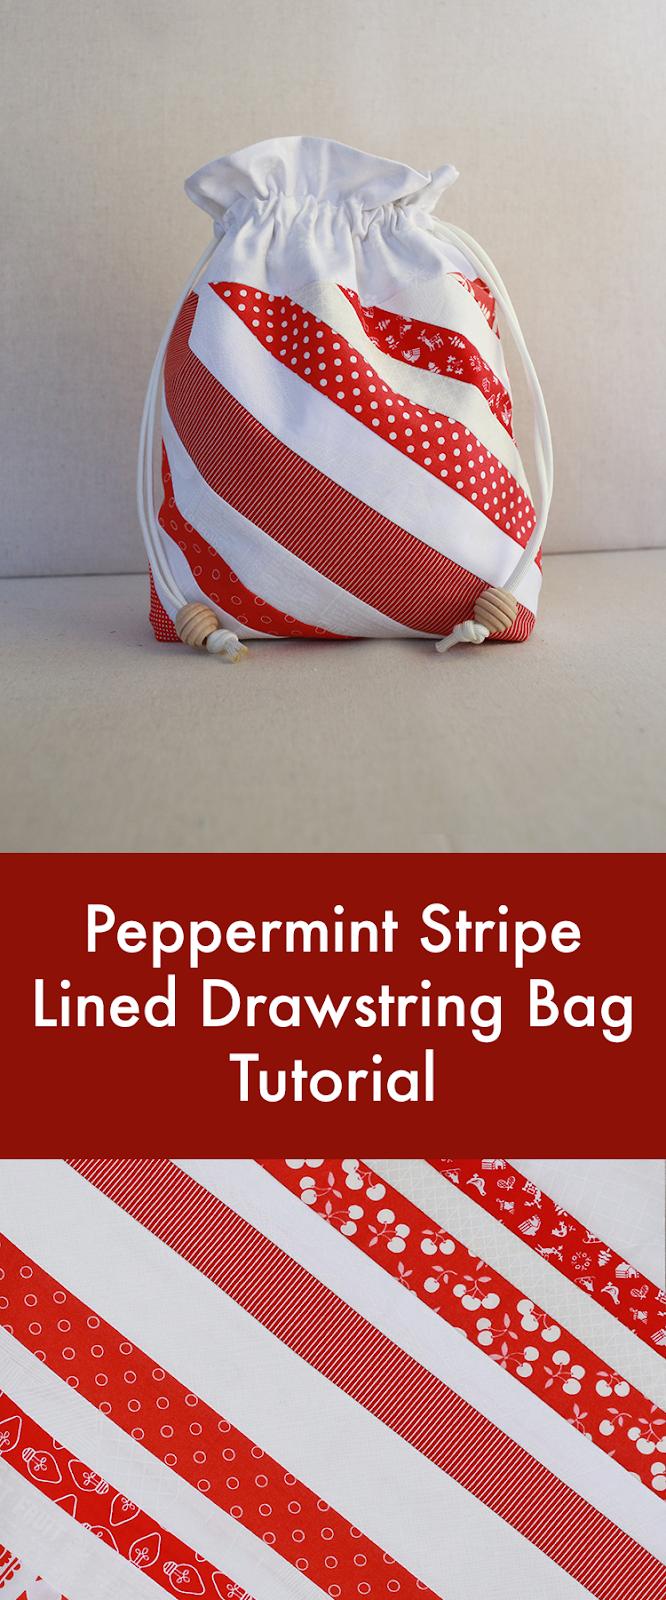
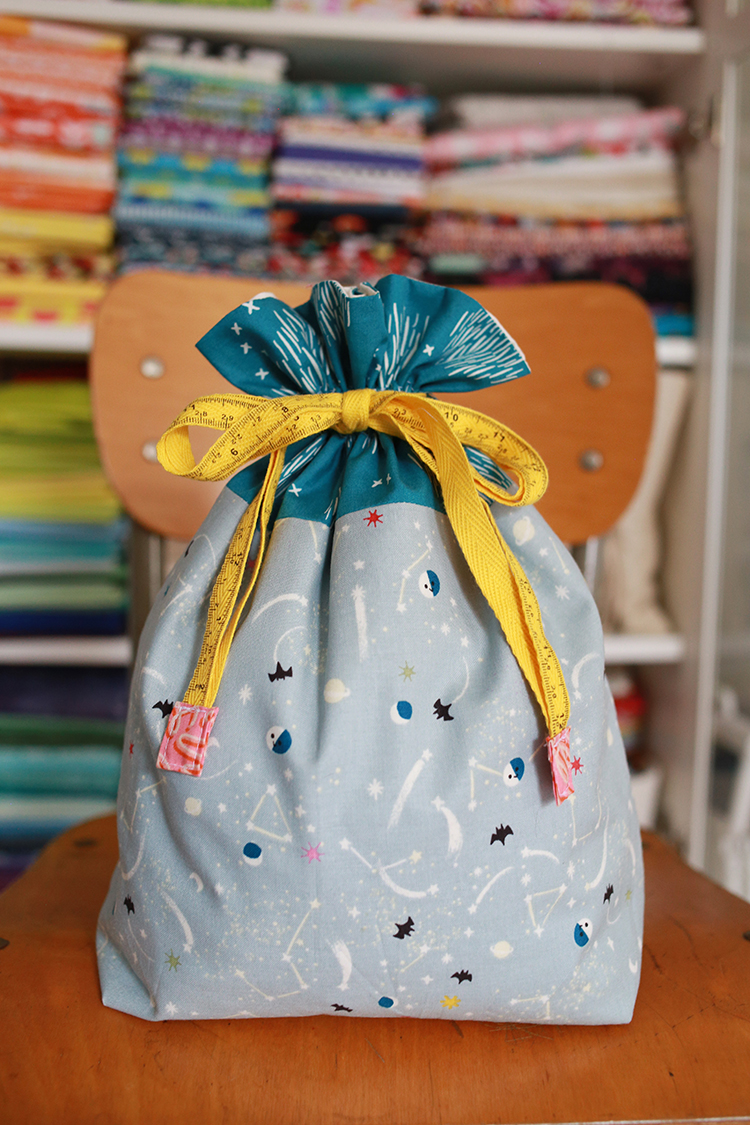
Welcome to the fourth week of the Lined Drawstring Bag Sew Along! Today I'm sharing all about twill tape and how to use it for drawstring bags!

I'll be updating the Sew Along Page each week with all the posts so that you can easily catch up or reference these posts after the sew along ends!

I hope you'll sew along with us! Sew from the tutorial or the patterns:
Lined Drawstring Bag Tutorial
Lined Drawstring Bag Pattern
Lined Drawstring Bag Expansion Pattern

Before we dive into today's post, let's quickly chat about our to-do for week 4 of the sew along!

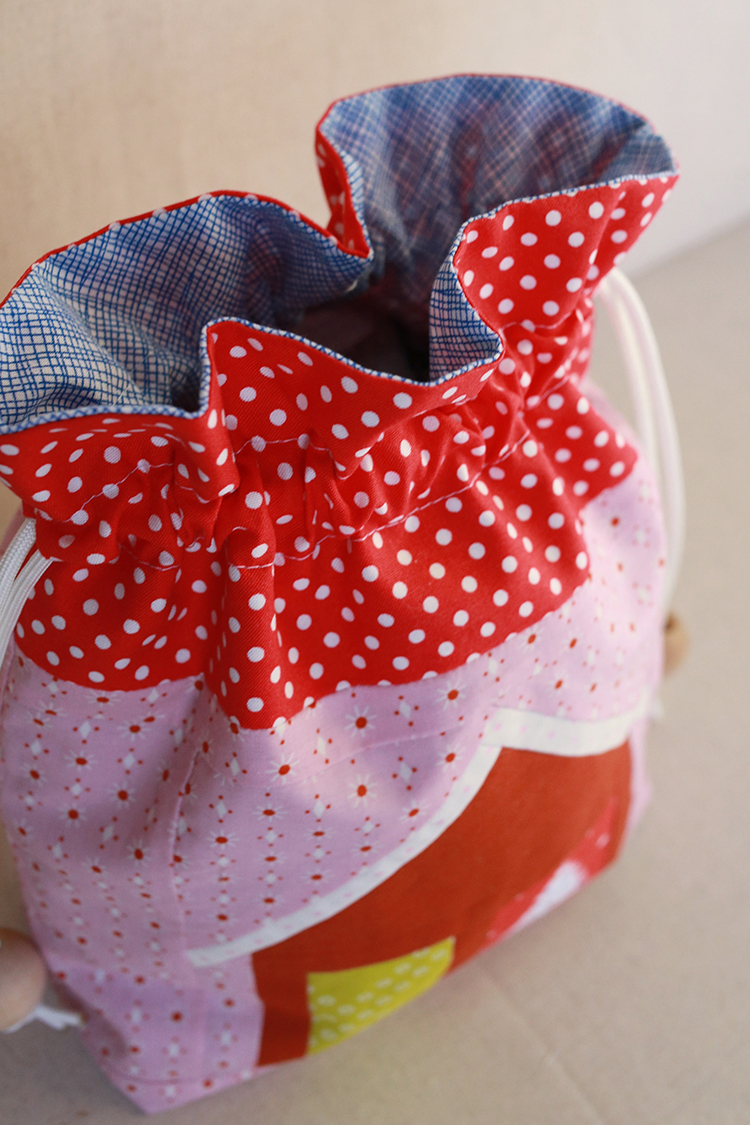
This week's focus is on final touches! Tackle those drawstring casings, make fabric ties or prep twill/paracord ties. Pull ties through the bags and finish them off with a simple knot or some fun beads! A few posts you might find helpful when tackling this:

- Marking the drawstring casings can be time consuming, especially if you're making a lot of bags. I have a video tutorial for an alternative marking technique that is my go-to method. Find it here: Alternative Method for Marking the Drawstring Casing

- If you're like me and you don't have a free-arm on your sewing machine, I have a video tutorial for how to sew the drawstring casings. Find it here: How to Sew a Drawstring Casing Without a Free-Arm Sewing Machine

- Using beads and want to take them to the next level? I have a tutorial all about how to customize unfinished wooden beads. Find it here: How to Customize Wooden Beads with Paint, Stain, and Dye

- You've made your bags and now you're ready to gift them. How about use some reusable gift tags too! I share five different ideas for tagging your bags in this post: Reusable Gift Tag Ideas for Drawstring Bags

- Working with Paracord can be intimidating if you've never used it before, I've got a post that breaks down the basics for you: Tips for Working with Paracord
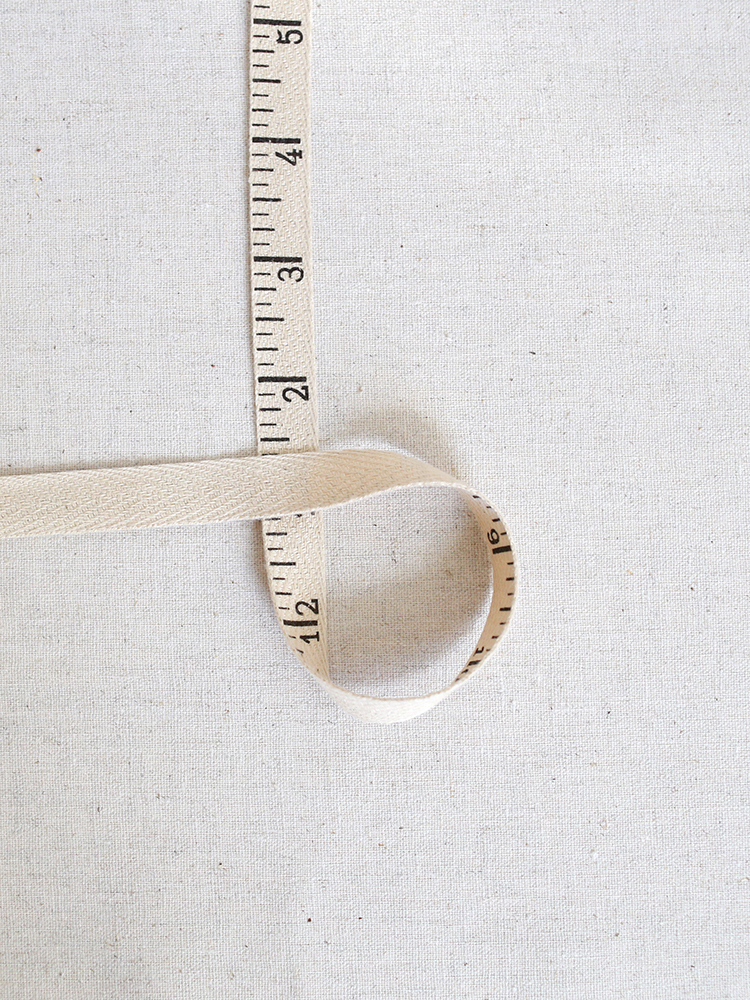
What is Twill Tape?
Twill tape is a woven fabric tape (ribbon), usually woven in a herringbone design. It's often made from cotton, linen, polyester or wool. It has many uses in sewing, including reinforcing or finishing seams, making casings, binding, and as ties or drawstrings!

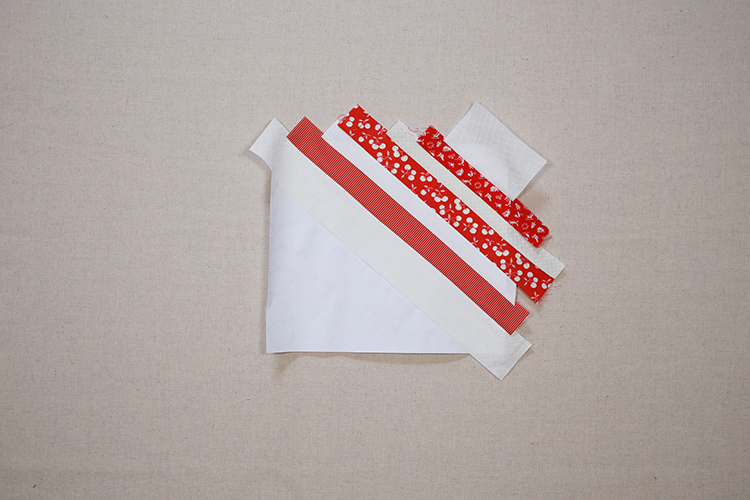
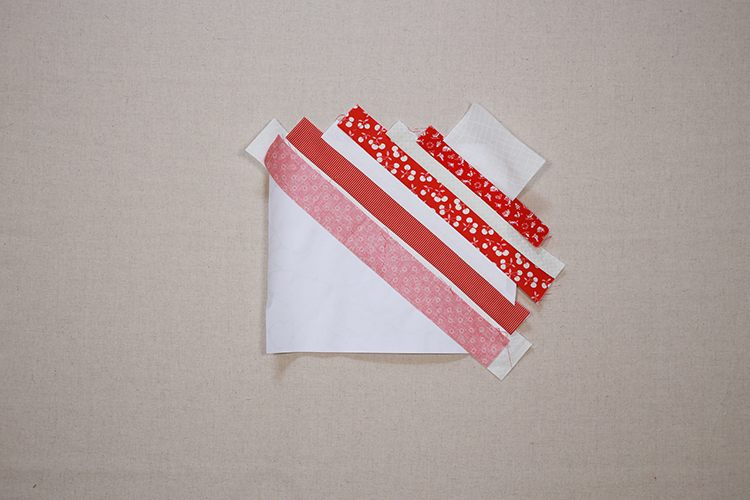
Not only does Twill tape come in different substrates, it can be different widths, colors, and have designs printed on them.

Where to Buy Twill Tape

Cotton twill tape is widely available online and can be found in some stores as well. Here are a few places to look:

- I sell a small selection of twill tapes in my online shop.
- Your local independent fabric/quilt shop.
- Etsy* is a great place to find a wide variety of twill tape.
- Big box craft stores like Joann Fabrics usually sells it by the yard.

Four Ways to Finish Twill Tape Ends
When using twill tape for drawstring bag ties, you'll want to finish the cut ends. There are many different ways you can do this, I'm going to share four here, in order of ease/effort:

1. Fray Check (or Clear Nail Polish)


Use a small amount of fray check or clear nail polish on each cut end to keep from unraveling.

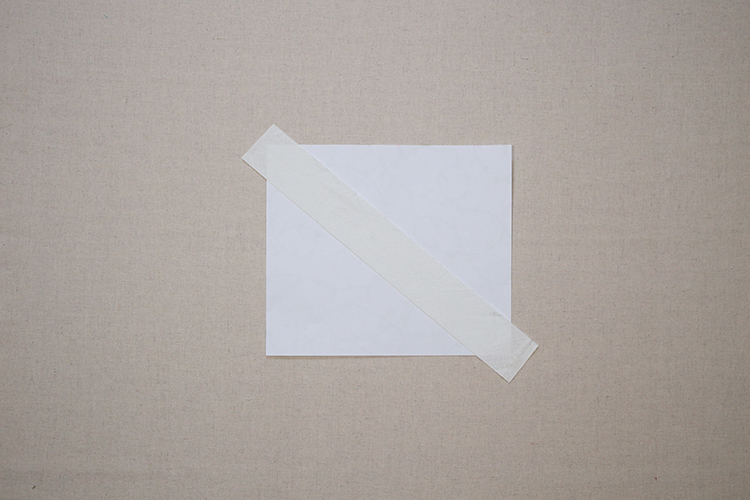
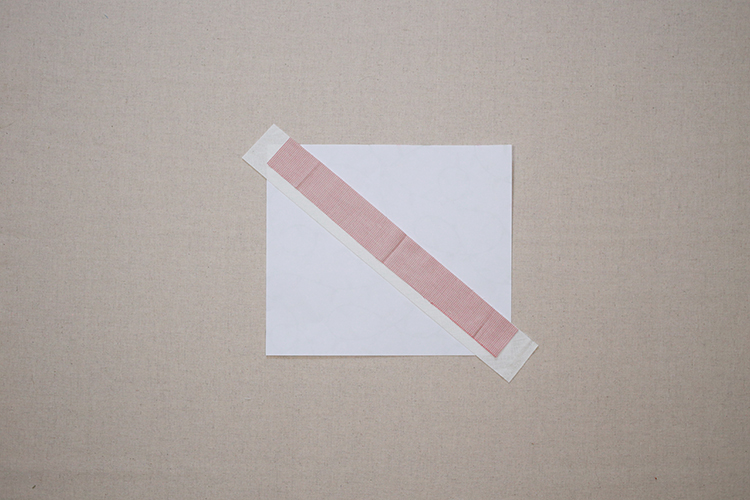
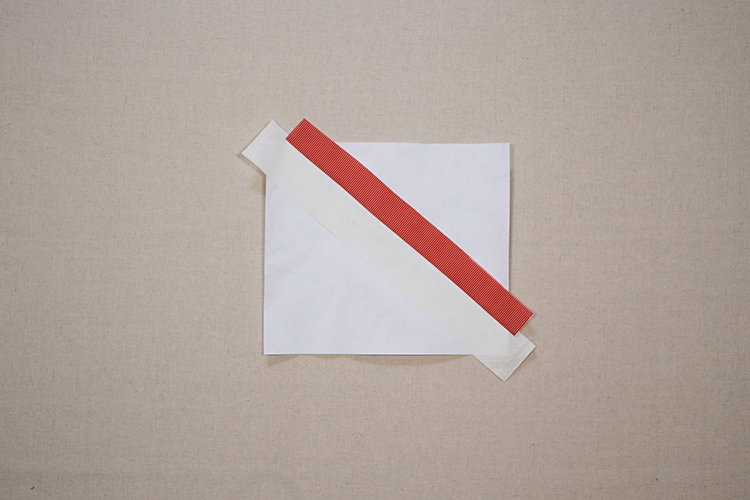
2. Washi/Masking Tape


Cut a small piece of washi tape that's at least twice the width of the twill tape (so 1"+ if you're using 1/2" twill). Place the tape on one of the cut ends, so that it extends past the twill. Wrap the tape around the twill and press well with your finger. Trim the end with scissors to tidy.

3. Fold Over and Stitch


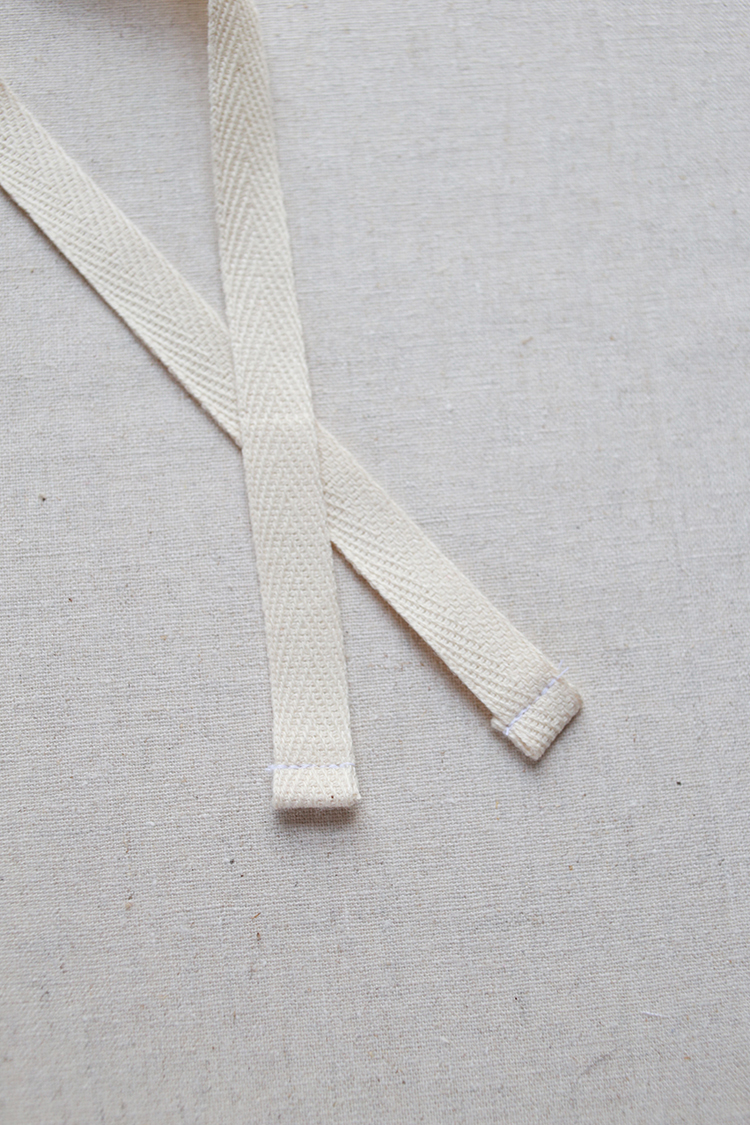
This is what I do 90% off the time. On each end, fold the twill under by about 3/8", then fold it under 3/8" again, trapping the raw edge inside. Topstitch to secure in place.

4. Fabric Square Tie


Cut (2) 1.25"x2.5" rectangles. Press each long edge in 1/4". Press each short edge in 1/4". Fold in half so the two short ends meet, press. After threading the ties through the casing on the bag, sandwich the two tie ends on one side between one of the fabric piece. Secure with pins, topstitch around all four sides. Repeat with the ties on the other side of the bag.

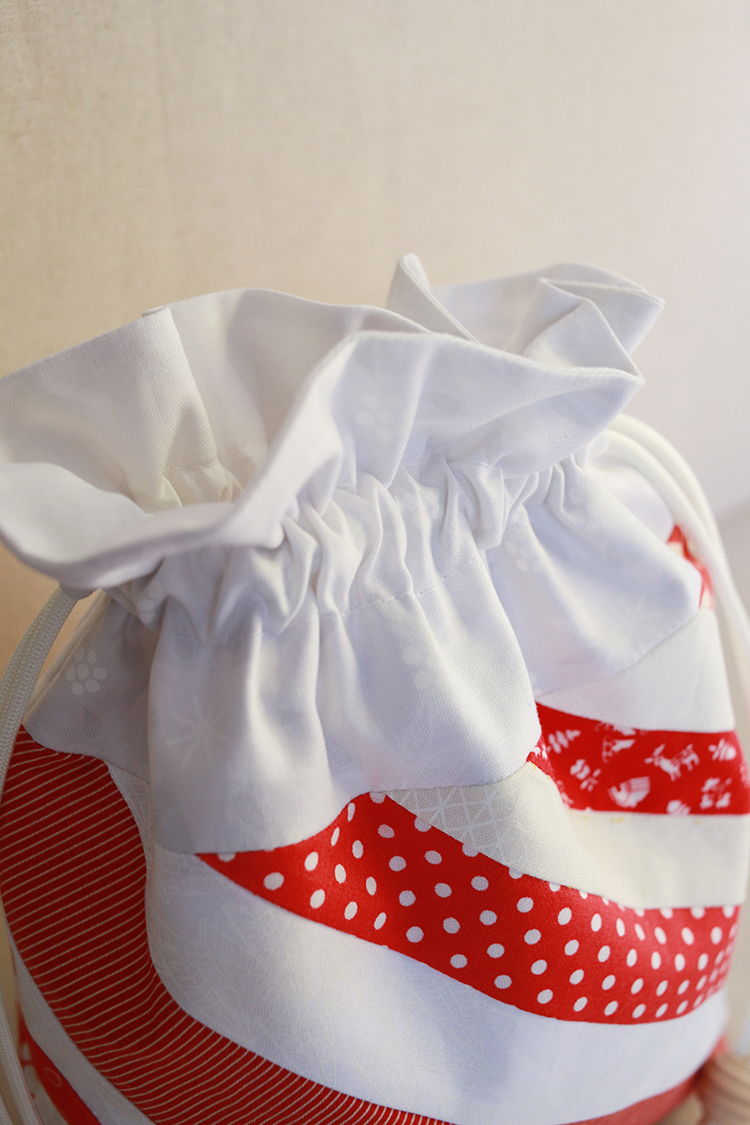
Threading the Drawstrings

My favorite way to thread the drawstring ties (twill or not) is to use a big 2" safety pin. If I'm folding over and stitching the ends to finish, I do this first before threading. For all the other finishing methods, I thread the drawstrings into the bag before finishing to get the neatest result.

I now have small packs of 2" safety pins in my online shop! I know not everyone wants to buy a big pack these large pins. This way you can have just a few on hand for this task. Find them here: Safety Pins for Drawstring Bags

Using Twill Tape for a Tag

Make a little tag with twill tape to use on your bags! If your twill tape is really tightly woven, you may even be able to use a little stamp to customize the tag. Regardless, it's just a fun little detail. You can do this step either before any of the sewing instructions or after step 2.


Cut a piece of twill your desired length, I cut mine about 2" long. Fold in half with wrong sides together and press well. Decide where you want your tag to go. I wanted mine down near the bottom of the bag. Just make sure you're not going to interfere with the gussets. If you're measuring up from the bottom of the Exterior Main, take half the depth measurement and add around an inch. That's the closest I'd go to the bottom! Place the folded twill with the raw edge on the raw edge of the Exterior Main and baste in place. Finish the bag as usual.

Using Twill Tape for Embellishment

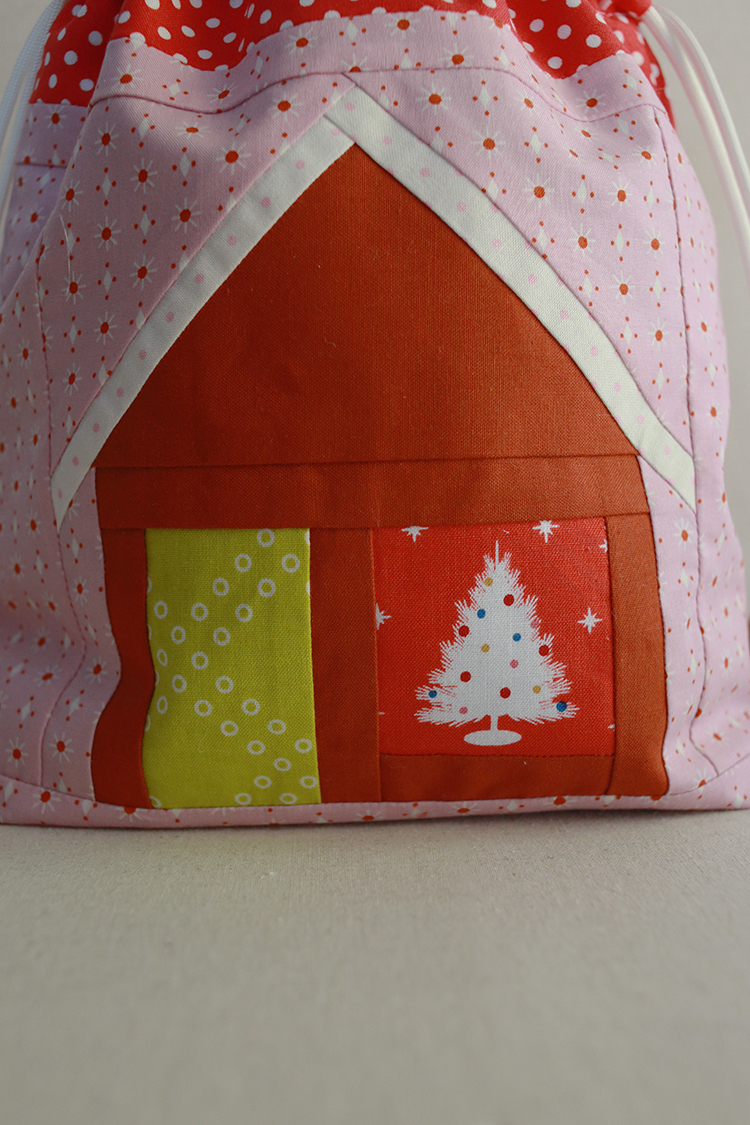
A few years ago I shared a post during the sew along for embellishing drawstring bags with twill or ribbon! I think it's a really cute detail you can add to a bag. Use it to cover the seam between the Exterior Main and the Exterior Accent, or use it around the drawstring casing!

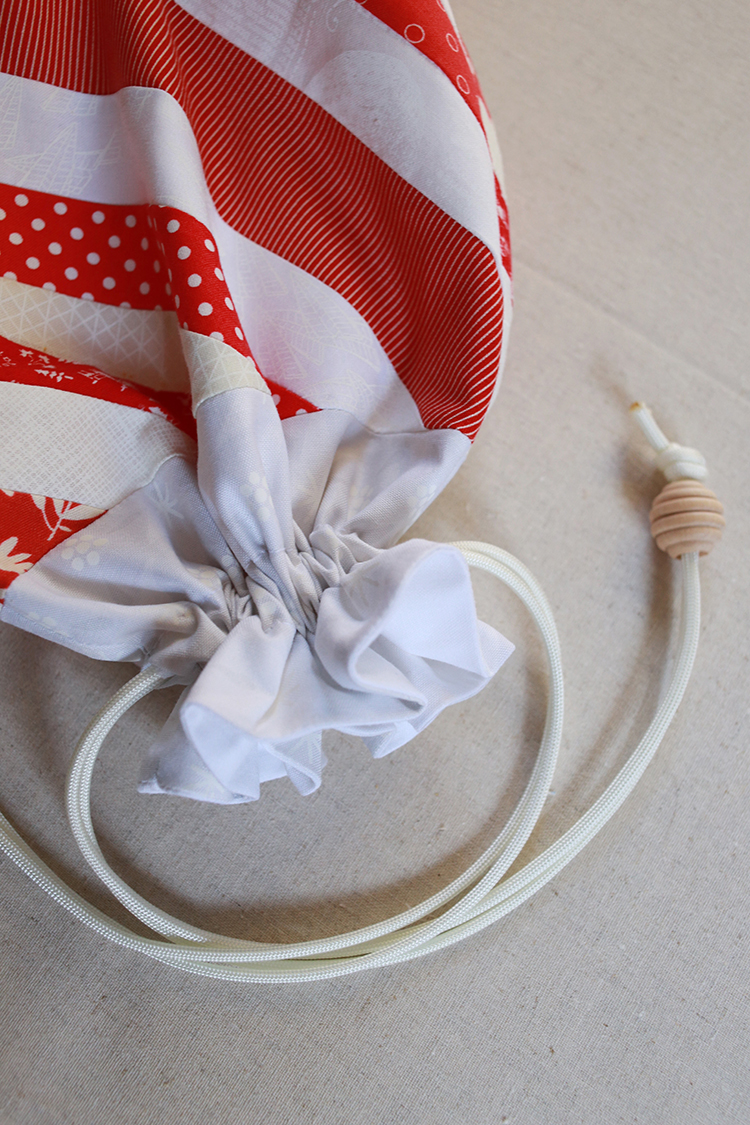
Using Twill Tape with Beads

I love adding wooden beads to my bags to dress them up even more! My one piece of advice when using beads with twill tape (this applies to paracord and even fabrics ties too) is to give yourself a little extra length to accomodate the beads. I often like to tie a knot on either side of the bead, so that uses up some of the drawstring length. I'd cut the ties a couple of inches longer than the pattern calls for.

If you need help getting the twill threaded through the bead, you may find a point turner or chopstitck helpful for pushing it through. Take care of tie a large enough knot to keep the bead from falling off!

I hope you've enjoyed this informational posts! I've loved seeing your bags throughout the sew along, please share them with me on instagram @jenib320 + #lineddrawstringbag or via email (jenib320 @ gmail.com)!

Don't forget to pin this post to your Pinterest for future reference!

Happy Sewing!

Exposed Gusset Lined Drawstring Bag Tutorial

Wednesday, December 6, 2023


Welcome to the third week of the Lined Drawstring Bag Sew Along! Today I'm sharing a tutorial for an exposed gusset!

I'll be updating the Sew Along Page each week with all the posts so that you can easily catch up or reference these posts after the sew along ends!

I hope you'll sew along with us! Sew from the tutorial or the patterns:
Lined Drawstring Bag Tutorial
Lined Drawstring Bag Pattern
Lined Drawstring Bag Expansion Pattern


Before we dive into the post, let's quickly chat about our to-do for week 3 of the sew along!

This week's task is sewing! Sew your bags through step 10. If you're making a lot of bags and you're short on time, I highly recommend making them assembly line style. This isn't quite as fun, but it's definitely more efficient! A few posts you might find helpful when tackling this:

- I recorded a video tutorial that covers making the bags from start to finish. It's a bit long, but it's meant to be comprehensive! Find it here: Lined Drawstring Bag Video Tutorial

- If you need a little extra guidance when it comes to the gussets, I have a video for that too! Find it here: How to Put a Gusset on a Bag Video Tutorial

- Check out this post that will help make your drawstring casing openings extra tidy: Tips for Tidy Drawstring Casing Openings

Exposed Gusset Lined Drawstring Bag Tutorial:

Let's get to today's tutorial for exposed gussets! This variation has no functional difference from the original bags, just a different look. It's a fun oppoertunity to add an extra special detail. Usually we box the exterior and interior corners seperatly, and trim off the excess fabric. Those seams end up tucked away on the wrong side of the bag. With this exposed gusset version, we box the exterior and interior corners together on the outside of the bag, and we don't trim off the extra fabric. It kind of makes the side of the bag look like a little present! You can choose to use a fun pop of color to embroider the corner in place, or do it invisibly, it's up to you!

Sewing Level: Intermediate

Exposed Gusset Lined Drawstring Bag Tutorial Materials:
- All required fabrics and notions based on either the free tutorial or one of the sizes from the pattern
- Handsewing needle
- Embroidery floss

Exposed Gusset Lined Drawstring Bag Tutorial Cutting:
- Cut all pieces as usual using the free tutorial or pattern.

Exposed Gusset Lined Drawstring Bag Tutorial Instructions:
*Use a 1/4” seam allowance unless otherwise noted*


1. Follow the instructions in the the free tutorial or the pattern to construct your bag, skipping steps 6-8.

After you've completed the body of your bag, we'll pick it back up again to create the exterior gussets. In this tutorial we're doing it at the end of the bag construction, but feel free to follow this tutorial anytime after step 10.

2. To create the exposed gussets, we're going to box the exterior and interior corners together, from the exterior (right side) of the bag. We'll only be doing these next few steps twice, instead of the usual four times. First, make sure that the interior corners are nestled neatly into the exterior corners.


3. Gently pinch the front and the back of the bag (grabbing both the interior and exterior layers), and flatten the corner (where the seams meet). Line up the bottom and side bag seams, wiggling them between your fingers to feel that they are lined up.

4. Lay your acrylic ruler across the corner, lining up the diagonal edge of your piece with the 45˚ angle line. The side seam should line up at 1.5" (as shown above). Draw a line 3" wide across the corner using a water soluble pen or pencil. (Reference the chart on page 4 of the pattern if you're making a size other than the Everything bag or the tutorial size.)


5. Sew on this line, across the corner. Backstitch when you start and stop. Repeat with the other exterior and interior corner.


6. Now we're going to secure this exposed gusset to the side of the bag. If you want this to be invisible, feel free to use a matching thread and a small invisible stitch or whipstitch. If you'd like a contrasting detail, I recommend using embroidery floss. Make a knot in your floss and start from the inside of the bag. Stitch through the gusset corner and the side of the bag several times to sure in place. Repeat on second side.

I hope you've enjoyed this tutorial! I can't wait to see your bags! Please share them with me on instagram @jenib320 + #lineddrawstringbag or via email (jenib320 @ gmail.com)!

Don't forget to pin this post to your Pinterest for future reference!


Happy Sewing!

Peppermint Stripe Lined Drawstring Bag Tutorial

Wednesday, November 29, 2023


Welcome to the second week of the Lined Drawstring Bag Sew Along! Today I'm sharing a tutorial for a peppermint stripe bag!

I'll be updating the Sew Along Page each week with all the posts so that you can easily catch up or reference these posts after the sew along ends!

I hope you'll sew along with us! Sew from the tutorial or the patterns:
Lined Drawstring Bag Tutorial
Lined Drawstring Bag Pattern
Lined Drawstring Bag Expansion Pattern

Before we dive into today's post, let's quickly chat about our to-do for week 2 of the sew along!


This week's task is cutting! Finalize those fabric choices and cut out all the pieces for your bags. A few posts you might find helpful when tackling this:

- If you missed last year's post about make templates, be sure to check that out! They're great if you don't want to rotary cut, or just want to speed up your cutting process. Find it here: Making Templates for the Lined Drawstring Bag Pattern

- You may be interested in adding a little something extra to your bags, like pom-pom trim or ribbon. I have a post all about embellishing your bags with these. Find it here: How to Use Trim or Ribbon to Embellish Your Drawstring Bags

- If you'd like to add an exterior pocket to your bag, I've got a tutorial for that too! Find it here: Lined Drawstring Bag Tutorial: Adding an Exterior Pocket


When I was brainstorming tutorial ideas for this year's sew along, I knew I wanted to make a bag that was candy inspired! I thought about a pieced candy block (maybe next year!), but then got the idea for a peppermint candy bag! I was thinking of the peppermint starlight mints that are wrapped in cellophane. The ruffle at the top of these drawstring bags reminds me of the way these candies are wrapped! I used red and white strips to mimic that look, but feel free to use any colors you want!

To make this bag, you'll need to piece two strip blocks for the Exterior Main. They're foundation paper pieced.


Sewing Level: Intermediate
Finished size: Approx. 10" tall, 7" wide, 3" deep

Peppermint Stripe Lined Drawstring Bag Materials:
- Strip scraps in a variety of widths (a few at least 12" long) for Exterior Main*
- 1 Fat quarter for Exterior Accent
- 1 Fat quarter for Interior
- 2 yards of 1/2" twill tape, nylon paracord or 1/8 yd fabric
- Coordinating thread
- (2) pieces of scrap paper at least 9"x10.5"*
- Washable glue stick*
- Acrylic ruler
- Large safety pin
- Pencil

*I used one piece of scrapbook paper cut down the size and then realized that brown kraft paper from a package worked just as well!

Looking for supplies? Check out my Pattern Supplies and Resources post.

Peppermint Stripe Cutting:
From Exterior Accent Fabric:
- Cut (1) 4”x21” strip
- Subcut into (2) 4”x10.5” pieces

From Interior Fabric:
- Cut (1) 12.5”x21” strip
- Subcut into (2) 12.5”x10.5” pieces

If using fabric for ties:
- Cut (2) 32”x2” strips

If using twill for ties:
- Cut (2) 32" pieces

Peppermint Stripe Lined Drawstring Bag Instructions:
*Use a 1/4” seam allowance unless otherwise noted*


1. Using a tiny bit of glue from a glue stick, attach a long strip, right sides up, centered on the diagonal of the paper. You want the ends of the strip to be longer than the paper.


2. Grab your next strip, and place it right sides down on your center strip. Again, make sure the ends of the strip go off the edges of the paper.


3. Shorten your stitch length to 1.8, and stitch along the edge of your strips (and through the paper too) using a 1/4" seam allowance. Open your strips up and press with an iron (avoid using steam!), or your fingers.


4. Continue adding strips until you've covered the entire half of the paper.


5. Now flip your work around and do the same to fill up the other half of the paper.


6. Once the paper is covered entirely, press well and flip it over to the wrong side. Using the paper as a guide, trim away the excess fabric. Piece should measure 9"x10.5".


7. Finally, tear off the paper carefully from the back starting at a corner. Press well. Repeat for the second exterior piece!

Optional: You may choose to add additional structure to your patchwork with a lightweight interfacing. I would recommend something like SF101 by Pellon, and interfacing both Exterior Main pieces.


For the bag construction, refer back to the free tutorial or the everything size in the lined drawstring bag pattern, start at step 1.

I hope you've enjoyed this tutorial! I can't wait to see your bags! Please share them with me on instagram @jenib320 + #lineddrawstringbag or via email (jenib320 @ gmail.com)!

Don't forget to pin this post to your Pinterest for future reference!

Happy Sewing!

Gingerbread House Lined Drawstring Bag Tutorial

Wednesday, November 22, 2023


Welcome to the first post of the 2023 Lined Drawstring Bag Sew Along! We're kicking things off with this cute Gingerbread House Bag!

I'll be updating the Sew Along Page each week with all the posts so that you can easily catch up or reference these posts after the sew along ends!

I hope you'll sew along with us! Sew from the tutorial or the patterns:
Lined Drawstring Bag Tutorial
Lined Drawstring Bag Pattern
Lined Drawstring Bag Expansion Pattern


Here are a few to-do items for week 1 of the sew along!

This week's task is to plan your bags! It's time to decide how many bags you'd like to make, what sizes, and pick out fabrics. A few things you might find helpful when tackling this:

- I've got a post full of tips for choosing fabrics, specifically for drawstring bags. It includes a bunch of sample fabric pulls too. Find it here: Tips for Choosing Fabrics for Drawstring Bags

- This post is specifically about making drawstring bags for wrapping gifts. I've got some gift ideas for each size, to give you an idea of what would fit in all the different sizes: Tips For Using Drawstring Bags to Wrap Gifts

- Still looking for fabric combination ideas? I'd recommend checking out my Lined Drawstring Bag Pinterest Board and well as the #lineddrawstringbag hashtag on Instagram. You'll find lots of finished bags to take inspiration from!


Today I am sharing a tutorial for making this gingerbread house bag! The block itself is paper pieced, and is perfect for fussy cutting! I put a christmas tree in the picture window! You could put a figure, or animal (or something else) in the doorway! If you're looking for some other pieced bag options, you can find tutorials from the last two years here:

Patchwork Star Lined Drawstring Bag Tutorial
Present Quilt Block Lined Drawstring Bag Tutorial


Sewing Level: Intermediate
Finished size: Approx. 10" tall, 7" wide, 3" deep

Gingerbread House Lined Drawstring Bag Materials:
- 1 Fat quarter for Exterior Main*
- 1 Fat quarter for Exterior Accent
- 1 Fat quarter for Interior
- Scraps for paper pieced block
- Gingerbread House Paper Pieced Block Pattern
- 2 yards of 1/2" twill tape, nylon paracord or 1/8 yd fabric
- Coordinating thread
- Acrylic ruler
- Large safety pin
- Pencil

*I would recommend using a non-directional fabric for the exterior main, which also serves as the background in the gingerbread house block.

Looking for supplies? Check out my Pattern Supplies and Resources post.

Gingerbread House Block Cutting:
Gingerbread House Color:
- Cut (1) 2.5"x1.5" piece for spot 2
- Cut (3) 3.5"x1.5" pieces for spots 3,4,6
- Cut (1) 5.75"x1.5" piece for spot 7
- Cut (1) 6"x3.25" piece for spot 10

Picture Window:
- Cut (1) 3" square for spot 1

Door:
- Cut (1) 2.25"x3.25" piece for spot 5

Roof:
- Cut (1) 5"x1.25" piece for spot 11
- Cut (1) 6"x1.25" piece for spot 12

Background (Exterior Main):
- Cut (2) 4"x1.5" pieces for spots 8, 9
- Cut (1) 4.5" square and cut in half on the diagonal for spots 13,14

Gingerbread House Lined Drawstring Bag Cutting:
From Exterior Main Fabric:
- Cut (1) 9”x10.5” piece
- Cut (2) 6.5"x2.5" side pieces
- Cut (1) 1"x10.5" top piece
- Cut (1) 2.5"x10.5" bottom piece

From Exterior Accent Fabric:
- Cut (1) 4”x21” strip
- Subcut into (2) 4”x10.5” pieces

From Interior Fabric:
- Cut (1) 12.5”x21” strip
- Subcut into (2) 12.5”x10.5” pieces

If using fabric for ties:
- Cut (2) 32”x2” strips

If using twill for ties:
- Cut (2) 32" pieces

Gingerbread House Lined Drawstring Bag Instructions:

*Use a 1/4” seam allowance unless otherwise noted*

1. Before constructing the bag, we first need to make the Gingerbread House Block. The block is paper pieced, you can download the free block pattern here: Gingerbread House Paper Pieced Block Pattern

If you're new to paper piecing, be sure to check out my paper piecing tutorial.

2. Remove papers from block and trim to 6.5" square. Press well.


Now it's time to add the borders to the Gingerbread House Block.


3. Sew the two 6.5"x2.5" side exterior main pieces to either side of the star block. Press seams away from block.

4. Sew the 1"x10.5" top side exterior main piece to the top edge of the block. Press seams away from block. Sew the 2.5"x10.5" bottom side exterior main piece to the bottom edge of the block. Press seams away from block. Trim piece to 9"x10.5" if necessary. This is the Exterior Main piece for one side of the bag.

Optional: You may choose to add additional structure to your patchwork with a lightweight interfacing. I would recommend something like SF101 by Pellon, and interfacing both Exterior Main pieces.


For the bag construction, refer back to the free tutorial or the everything size in the lined drawstring bag pattern, start at step 1.

I hope you've enjoyed this tutorial! I can't wait to see your bags! Please share them with me on instagram @jenib320 + #lineddrawstringbag or via email (jenib320 @ gmail.com)!

Don't forget to pin this post to your Pinterest for future reference!

Happy Sewing!