Summer Indigo Dyeing

Wednesday, September 14, 2022


I mentioned in my last post that I had done some indigo dyeing recently and I thought I'd share more of that dye session today. I wasn't originally intending to, but I've always documented all my dyeing here, so it didn't seem right to gloss over it without a proper post! Especially since I haven't done much dyeing the last few years!

The main reason I wanted to dye this summer was to dye some pieces of lawn fabric for a quilt. I used Cambridge Cotton Lawn* for these pieces. I've dyed lawn many times over the years, but have used very little of it. They are some of my favorite pieces I've made, the lawn takes the dye so well! I originally meant to use it for clothing, but that just never happened. So now my plan is to make an all lawn indigo quilt! I only needed to dye about 2 yards worth to have enough for the quilt.

If you're interested in trying out indigo dyeing check out my tutorial: DIY Indigo Dyeing


If you've ever dyed with indigo, you'll know it's more fun with friends! Last year I did some ice dyeing with our neighbor and her daughter so I thought they might be game to try indigo, and they were! We made a day of it and dyed all kinds of things: fabric, tea towels, t-shirts, and even a sweatshirt and jeans. A big thanks to my neighbor for most of the in-action photos in this post! :)

We used these indigo dyeing kits*. They make it so easy!
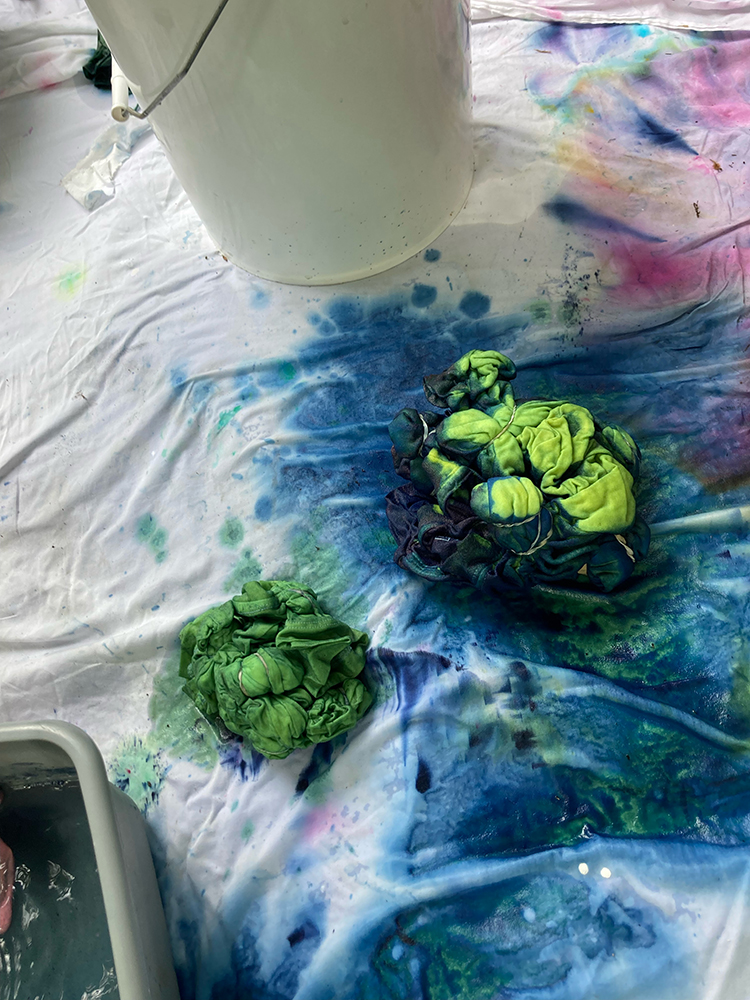


Introducing people to indigo dyeing in particular is so fun because it's a pretty magical experience. When you first pull the pieces from the dye vat, they're neon green! Slowly over about 20 mintues the dye oxidizes and turns deep blue.
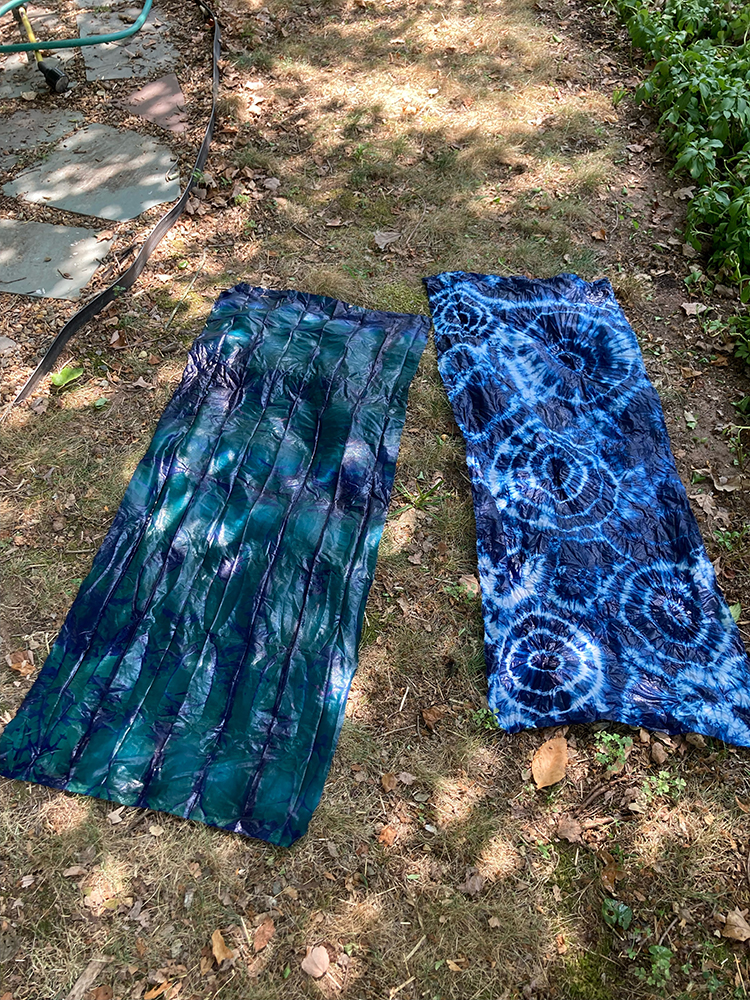
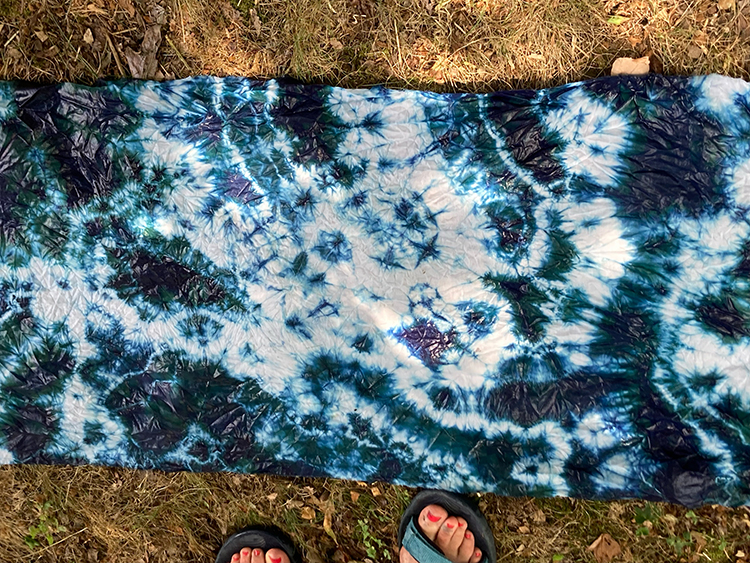

Unwrapping the resisted pieces is like opening little presents. You don't know what you're going to get! Still so fun, even though I've been doing this for about 10 years!
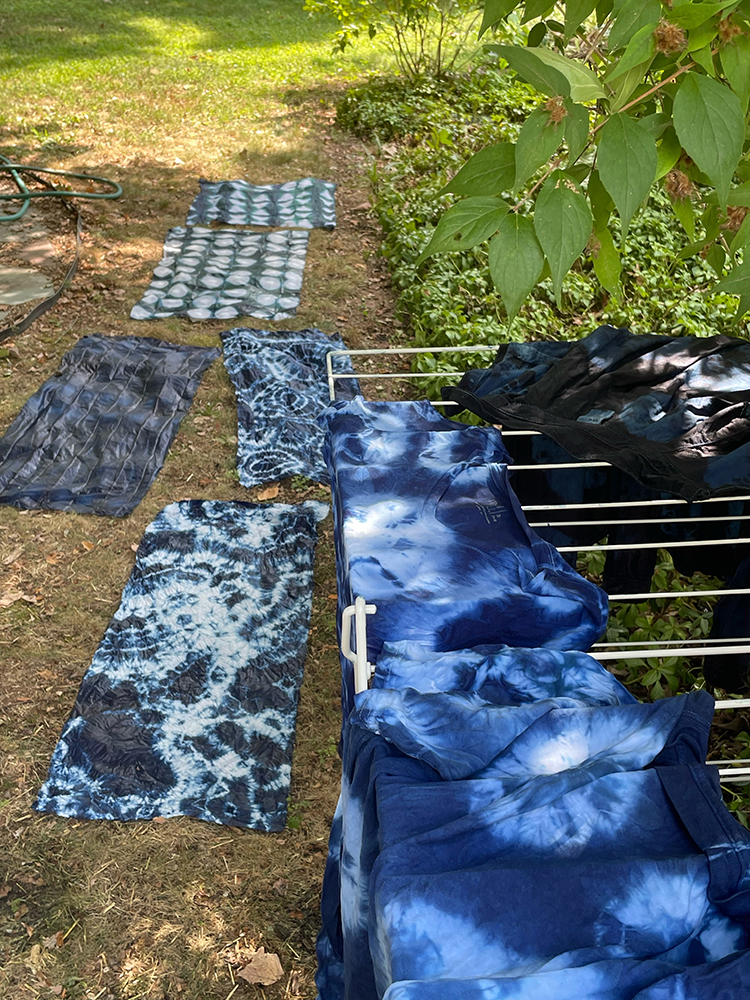

It was a very successful dye day! The weather was perfect and we all came away with pieces we liked.
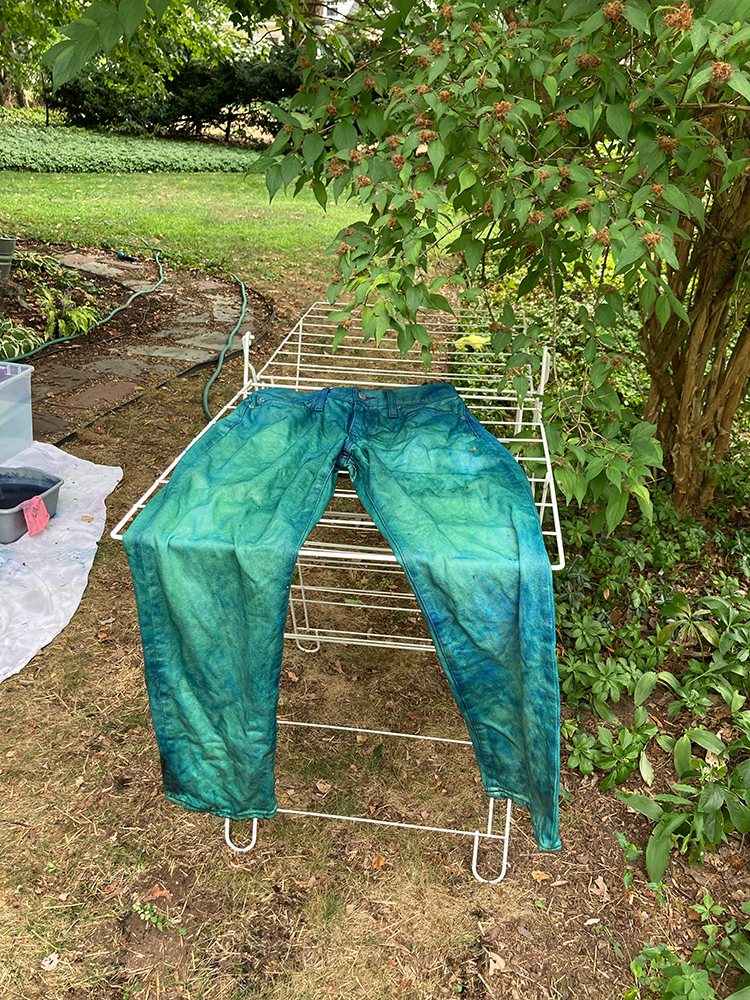

I tried dyeing a pair of really light wash jeans that I had picked up on clearance last month. I couldn't get them quite dark enough for my taste (even after a few dips), so I did end up overdyeing them with RIT dye. But it was a fun experiment!
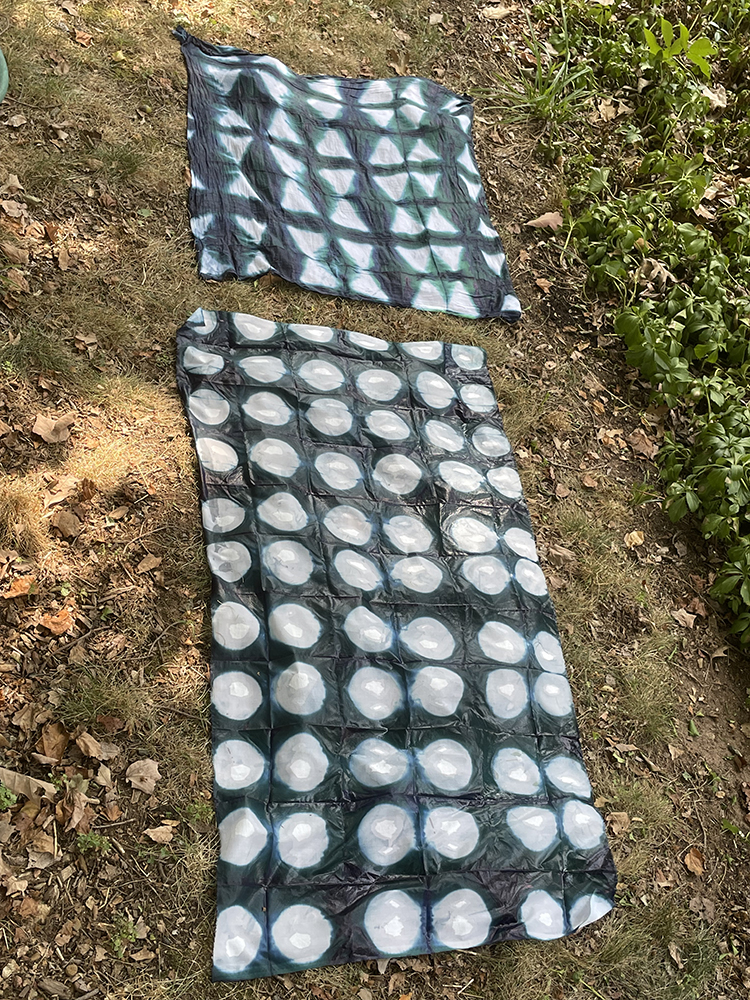

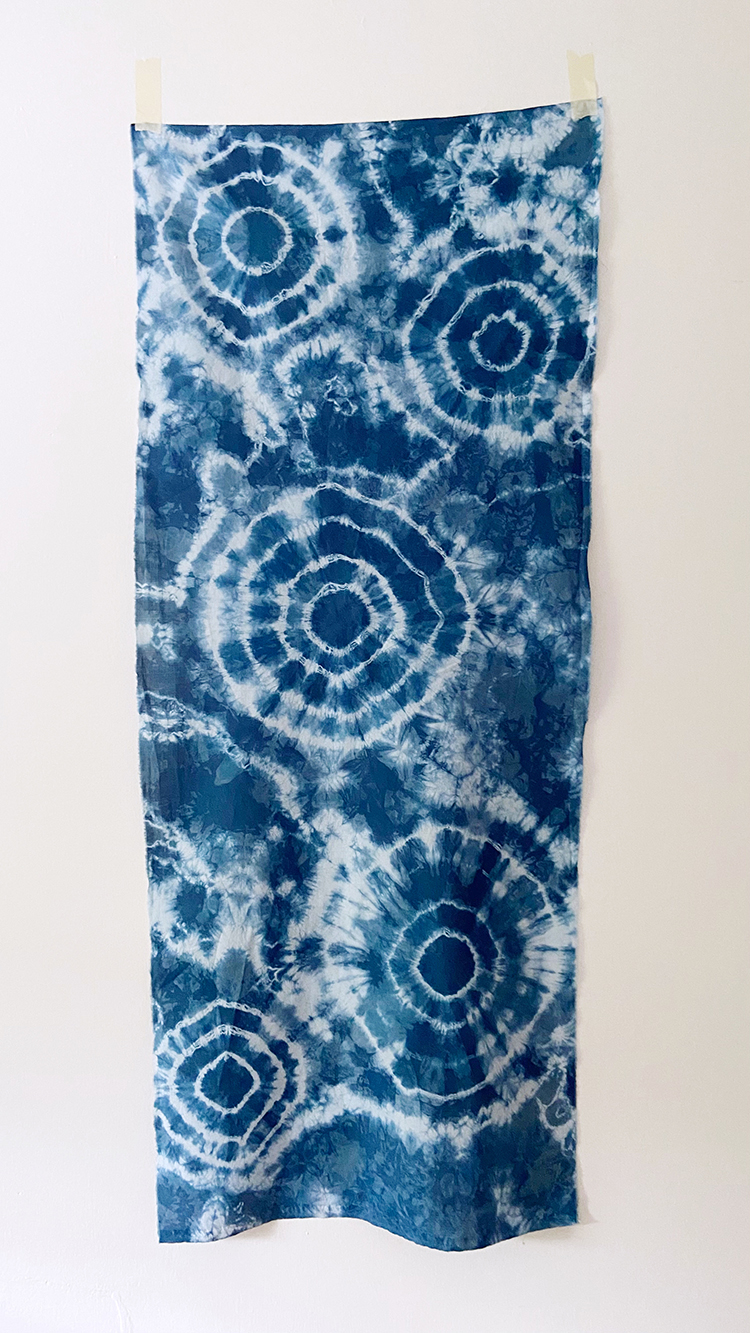
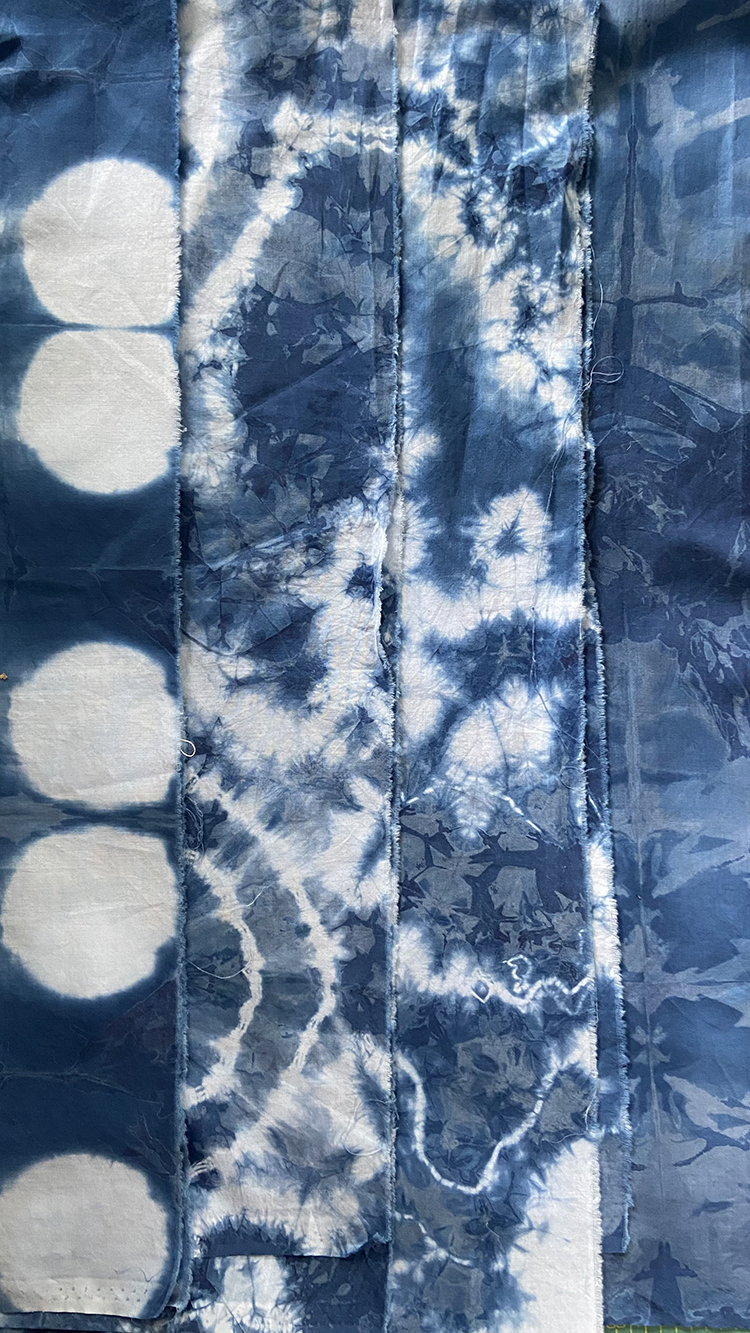
Here are the pieces we made with shape resists! The one with the circles was made with plexi circles* by Rossie Hutchinson.. Rossie created a coupon code (Jeni20) to use through the end of September to save 20% off her itajme shapes in her shop*.

Here are my four pieces of lawn, and after you can see them each alonside the resisted fabric:


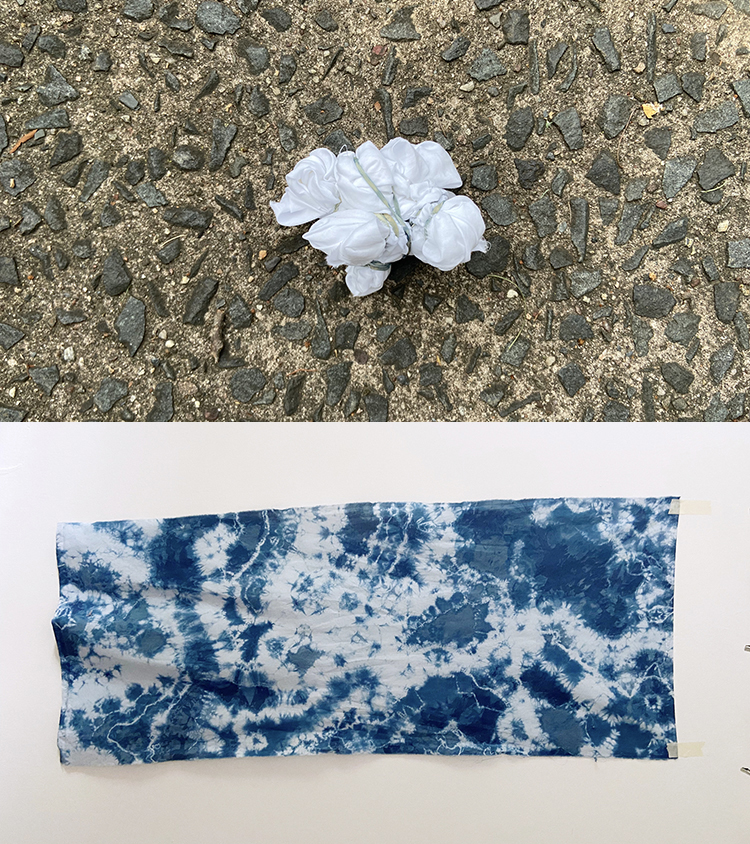

Fabric was scrunched into big messy balls and then resisted with rubber bands.
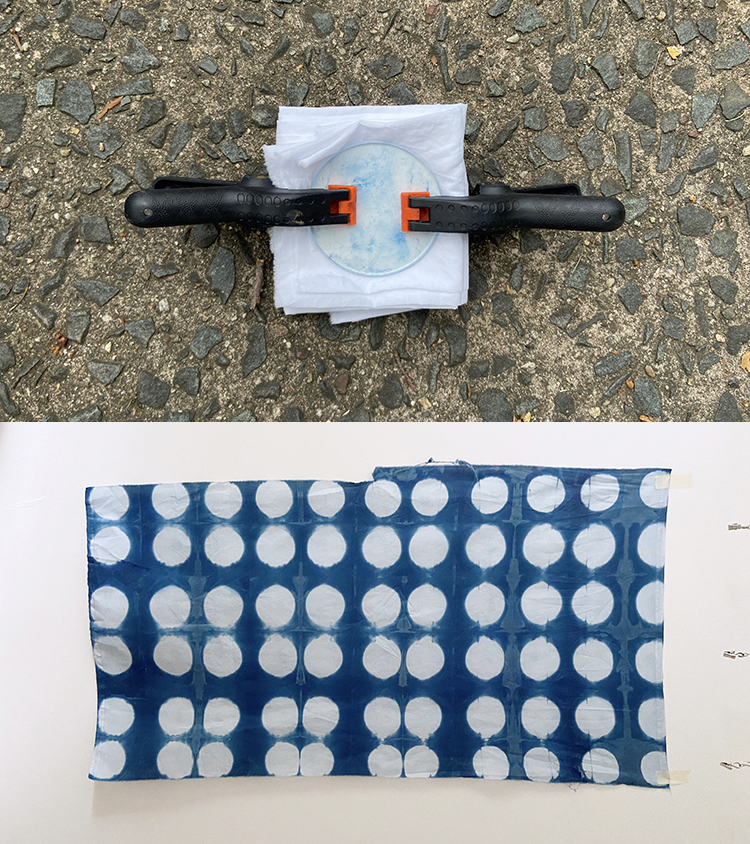

Accordion folded into a square and secured with circle resists and clamps.


Long skinny tucks of different sizes tucks secured with several rubber bands each.
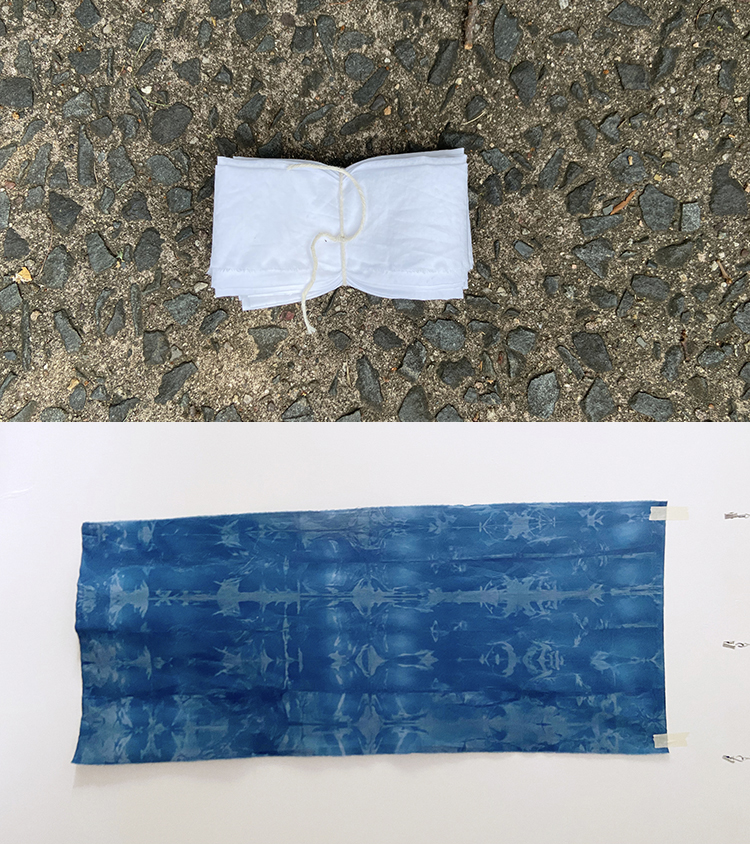

Accordion folded into a rectangle and secured loosely with twine.
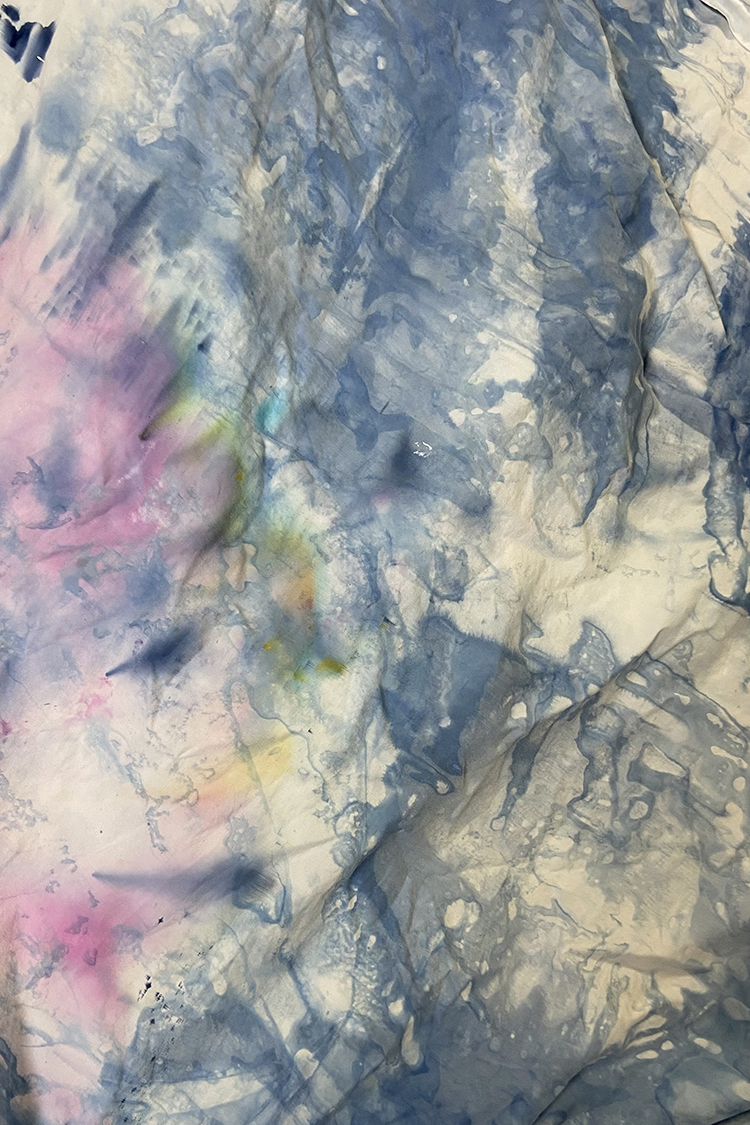

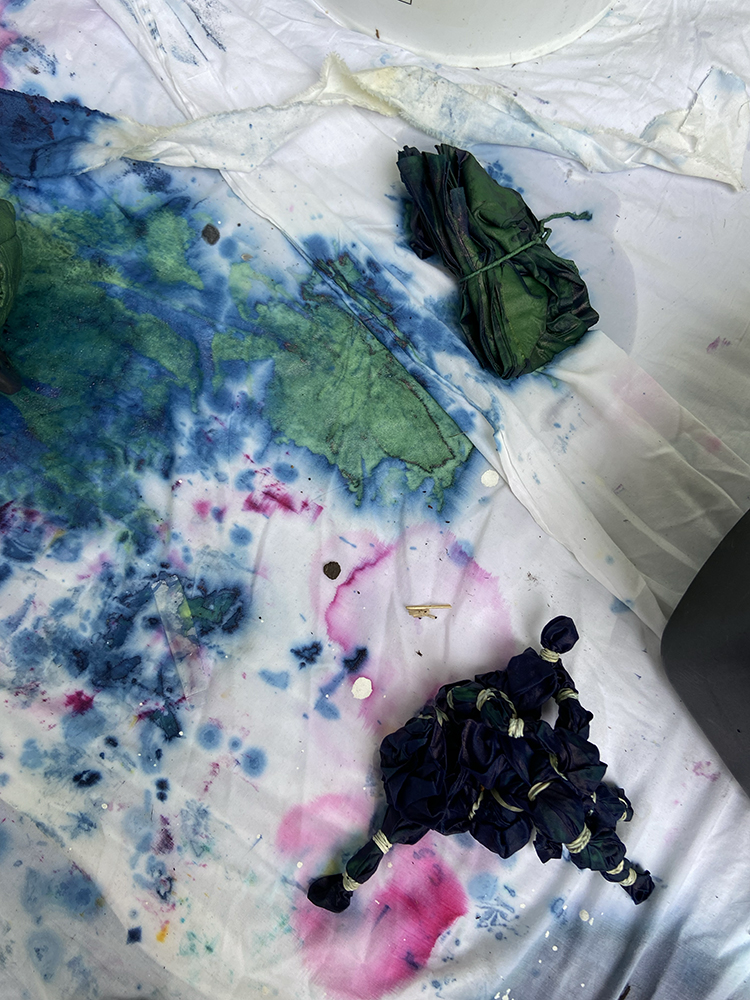
I love to use white sheets as drop cloths when dyeing because then they become a bit of a magical dyed piece too! This sheet has seen some ice dyeing and some indigo!

Happy Making!

*Note: Any links marked with an asterisk in this post are affiliate links. This means if you click through and buy something, I make a small commission, at no extra cost to you.

Friday Favorites 35

Friday, September 9, 2022


Happy Friday! It's time for another Friday Favorites post! Catch up on previous posts here: Friday Favorites Archives

- I did some indigo dyeing over the weekend with our neighbors which was so fun! I used some plexi circles* by Rossie Hutchinson to make the above print. Rossie created a coupon code (Jeni20) to use through the end of September to save 20% off her itajme shapes in her shop*.

- On a similar note, I spent a few hours updating my DIY Indigo Dyeing Fabric post. Added better photos, updated the instructions and just generally refreshed the post.


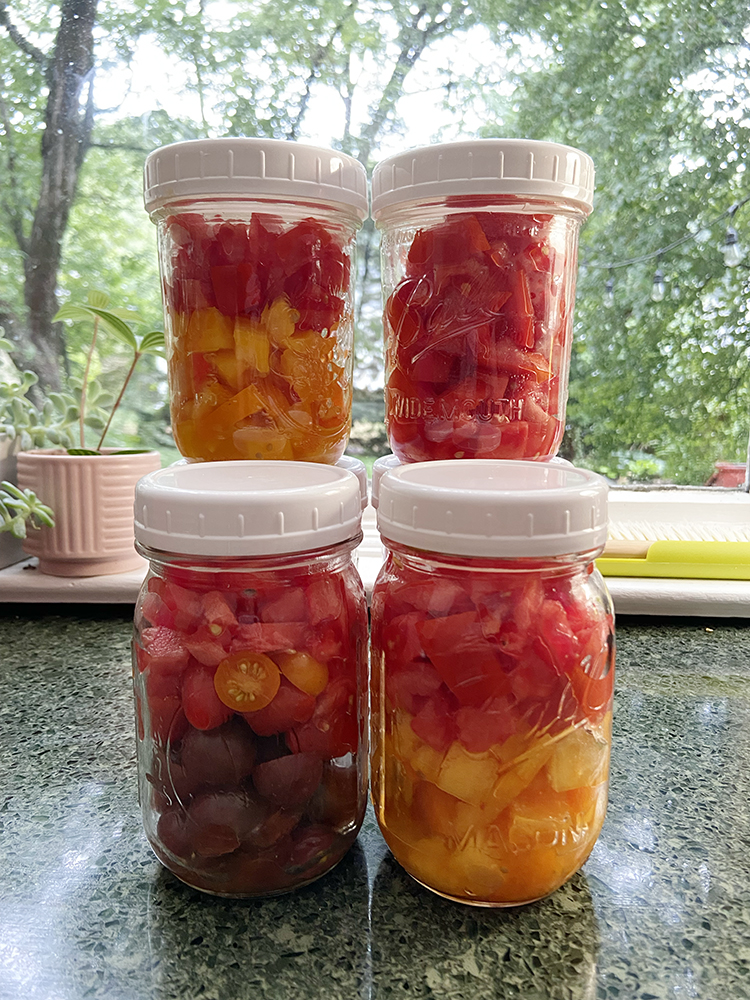
- I've been working through our bumper crop of tomatoes from the garden and our CSA program. I like to keep it super simple, just chopping them up (not removing the skins), and freezing them. We have a small freezer in the basement and love having it stocked with summer tomatoes for making tomato bisque over the winter.

- This fussy cut trip around the world quilt by Rita Hodge stopped me in my tracks. And it's hand pieced!! So impressive.

- These patchwork blocks by Caitlin Bentley make me want to dip into my ice-dyed fabrics.


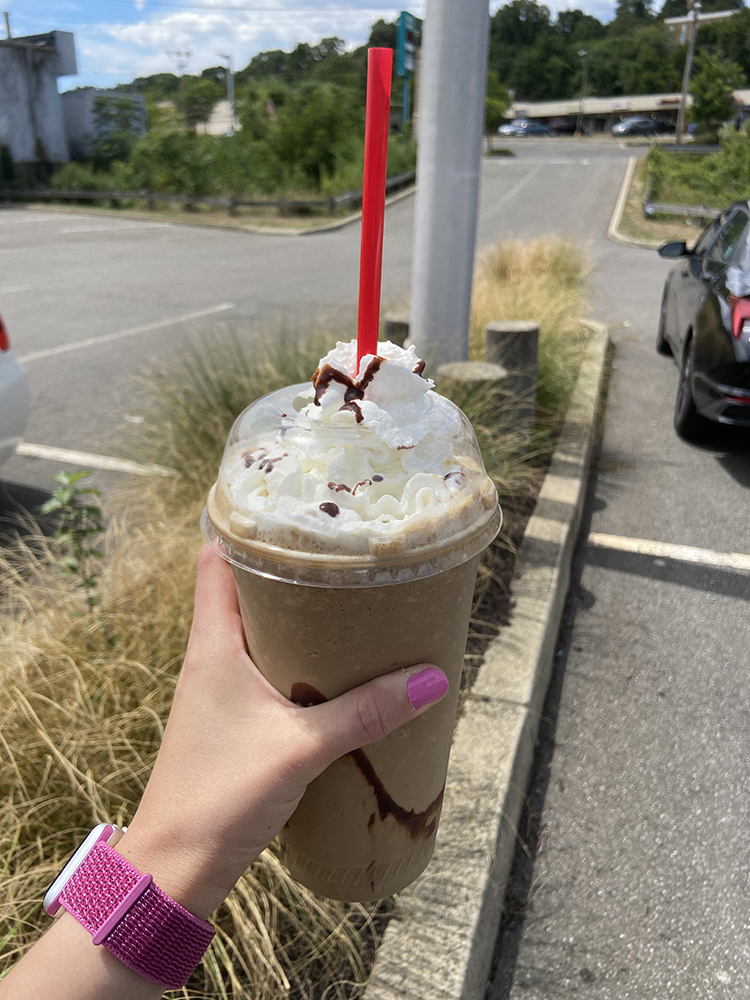
- One of our favorite treats that we've been indulging in this summer has been a frozen mochaccino from our local coffee shop (Common Grounds). We share half of it right away and then freeze the other half. A quick trip in the microwave and we've got a coffee slushie!

- How perfect is this stubby pencil quilt pattern* by Berene Campbell for back to school? So cute!

- I've been trying to make an effort to regularly listen to our vinyl collection and this week we've been playing a live Simon & Garfunkel album* that I picked up for a few dollars last summer. It's really good!


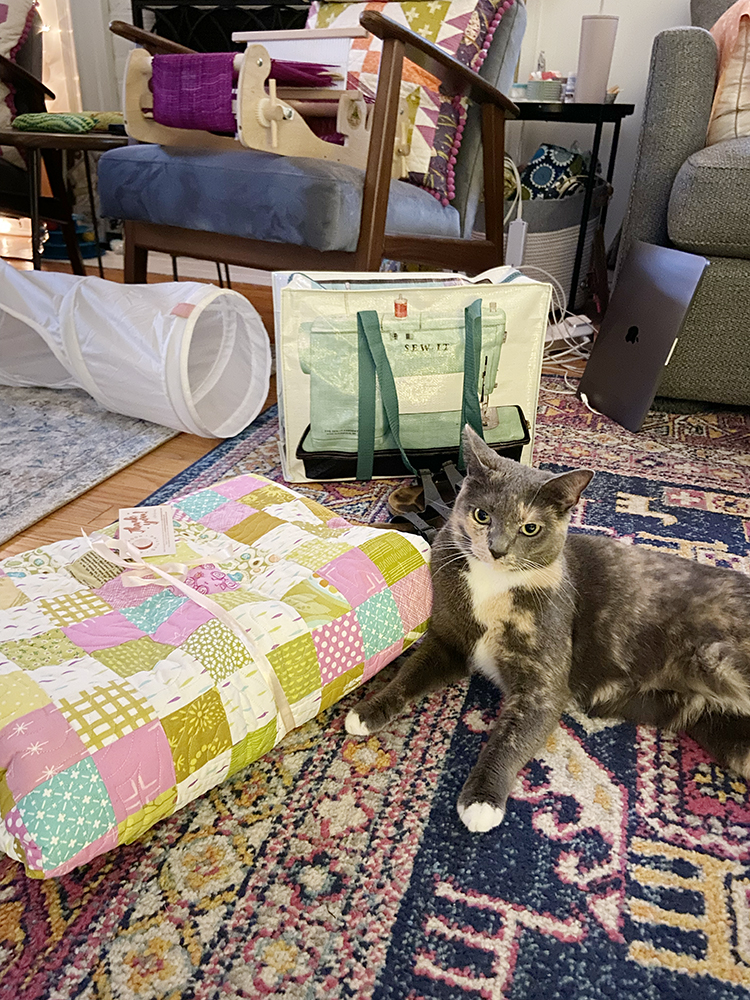
- When I placed an order with Blue Q at the holidays, I picked up this sew-it bag for myself. I'm currently using it to hold my crochet project and it's been great for keeping kitty awat from the yarn! (see it in photo above)

- Kitten has been so sweet lately, always getting involved in whatever we're doing!

Have a Great Weekend!

*Any links marked with an asterisk in this post are affiliate links. This means if you click through and buy something, I make a small commission, at no extra cost to you.
Packing Tips for a Sewing Retreat or Workshop

Wednesday, September 7, 2022


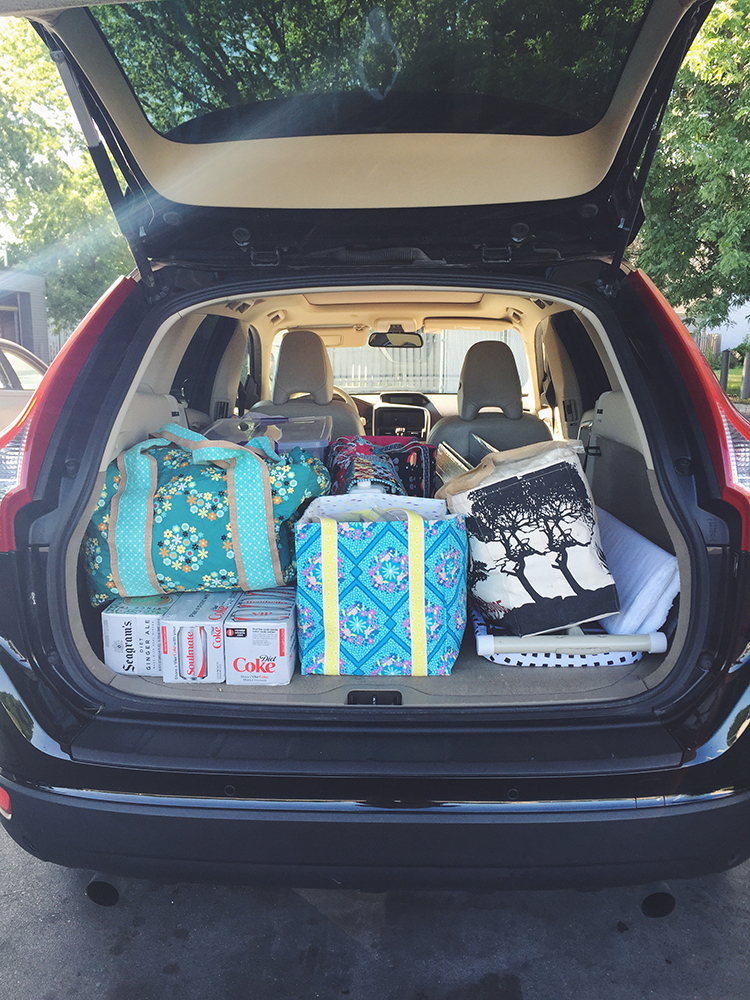
This time of year always has me thinking about sewing retreats! Before the pandemic, every August I'd go away on a retreat with friends to sew, laugh and dye fabrics for four days. It was such fun, and I really miss it. Over the years, I figured out exactly how and what I liked to pack for these trips, so I thought I'd share those with you all today! Hopefully this makes it easier for you, next time you're headed to a friend's house to sew, a guild retreat or even to a big event like Quilt Con.

Label Your Tools

I would highly recommend labeling your sewing tools, especially if you're headed somewhere where there will be a good amount of people. It can be so easy for tools to get picked up by accident or for half a dozen people to have the exact same rotary cutter! If you've got a label maker*, that works great but no need to run out for one if you don't. A sharpie marker or even just some cute stickers work just as well.

Leave Your Favorite Tools at Home if Possible

On a similar note, I try to leave my very favorite tools at home. If you happen to have duplicates of some of your tools this might be a good opportunity to break them out. I keep a backup rotary cutter and pair of scissors around for this reason. Be sure to put in a fresh rotary blade and get your scissors sharpened regularly. Dull tools can be just as dangerous as sharp ones.

Have a Variety of Projects to Work On

For retreats, I try to always bring of variety of projects. I never know what I'll really feel like working on until I get there. I typically bring a quilt (or two) in progress, supplies for some drawstring bags or tote bags, and some type of handwork project. This gives me plenty of different things to do, depending on my mood and how late at night it is!

Bring an Easy Win
https://www.incolororder.com/2019/07/double-gauze-plus-quilt.html
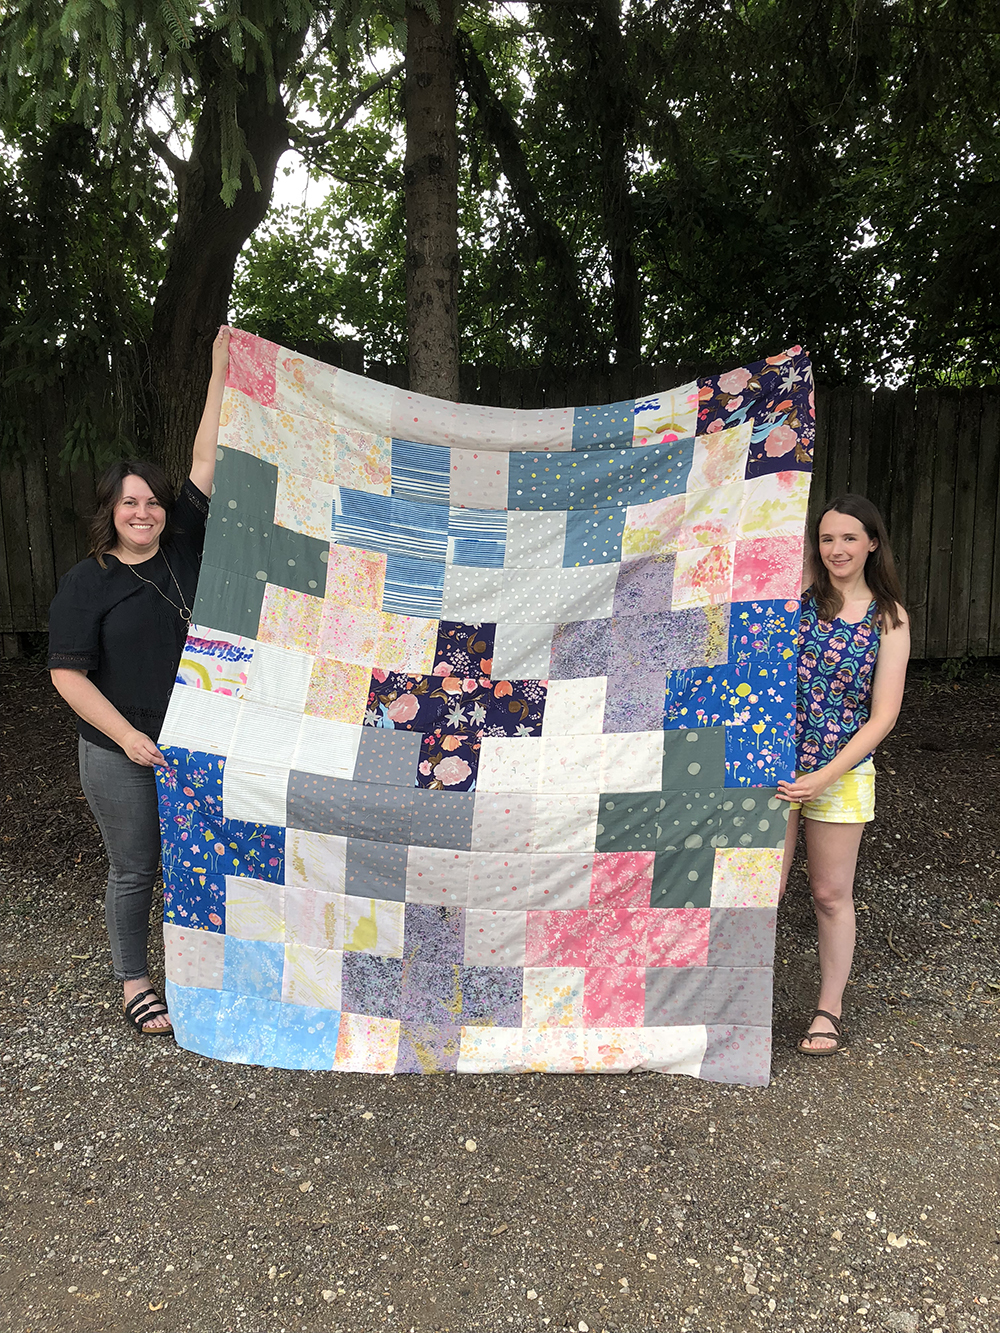
I love to bring a quilt that's pretty far along or supplies that I can easily turn into a finished quilt top by the time the weekend is over. This always makes me feel good and often keeps me motivated to keep sewing! I often get distracted and just end up talking (nothing wrong with that), so this little trick helps me a lot! I also find I am not able to concentrate on something tricky or new when I'm on a retreat, so I keep the projects themselves pretty simple and straightforward.

My friend Brianne and I holding my Double Gauze Plus Quilt Top.

Use a Tool Organizer

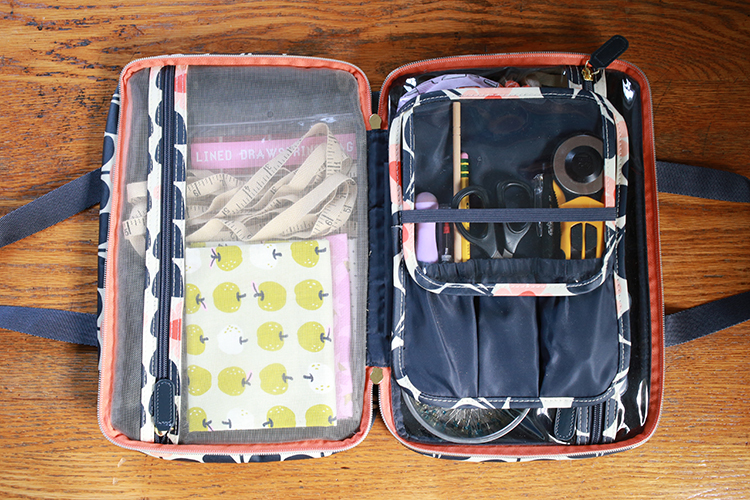
I don't use these in my everyday workflow, but I love having a tool organizer when I travel! I have a few different organizers I choose between (sometimes I use two). The first is actually a bag from Target (5+ years old) that is sold as a toiletry bag. I find it perfect for sewing supplies though! It folds open and lays flat. If you'd like to DIY something similar check out my friend Anna's Road Trip Case Pattern.


I love to have something that sits on my table too. My favorite is the #10 Caddy Pattern* by Sew Can She. The pattern comes with two different sizes, and I like both! I tend to use my small one more though (shown above).

Bring Supplies to Share

At our annual retreat we always had a share table, which was so fun. Everyone would bring fabric, scraps or other crafty supplies that they wanted to share or get rid of, and anyone could take them! It was a great way to swap supplies and get them used. We often would make things over the weekend from the share table. It became a fun little souvenir in the project, knowing this print or that came from the retreat. I would spend time the week before a retreat going through my stash and pulling fabrics to bring with me!

Travel Handmade

Going to a sewing day or workshop is a great excuse to travel with a handmade bag! I am a big fan of using totebags for carrying around my supplies and projects. You'll usually find me with bags made from two of my patterns: a Sew Portable Travel Tote and a couple Workshop Tote Bags.

Smart Snacking

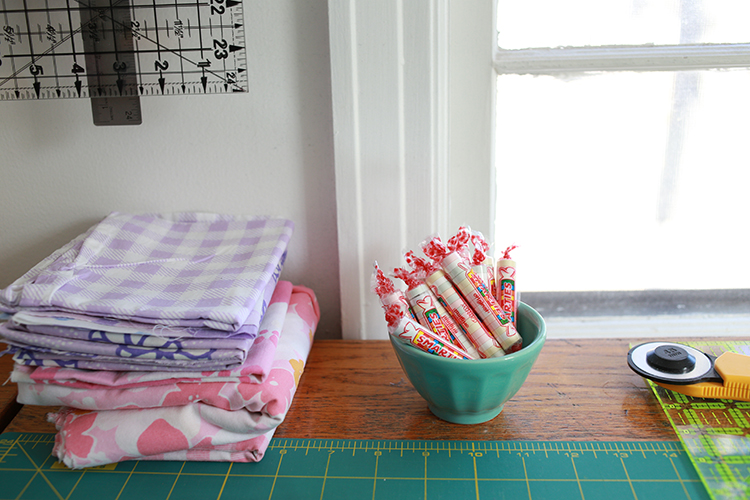
I am a big snacker, so I have a snack with me pretty much all the time! I always pack my own snacks when I travel. For sewing retreats in particular I try to minimize messy snacks as much as possible to avoid getting stains on my projects. My personal sewing snack go-to's: pretzels, goldfish crackers, wheat-thins, wrapped mini chocolates, chocolate chip or trail mix cookies, smarties.

Don't Forget the Personal Essentials

I stick a few personal care items I don't like to be without in my sewing bag when I travel: lip balm, hair ties, and a nail file. It would be a bummer for something as simple as chapped lips or a hang nail to ruin your sew day!

I hope these tips come in handy next time you're going to be sewing on the go! I have lots of other tutorials for everything from quilts, pillows, bags, and holiday items to informational series and techniques. Find all my tutorials here: Tutorials. My online shop is filled with patterns for quilts and bags. Find my patterns here: Jeni Baker Patterns

Happy Sewing!

*Any links marked with an asterisk in this post are affiliate links. This means if you click through and buy something, I make a small commission, at no extra cost to you.
Friday Favorites 34

Friday, September 2, 2022


Happy Friday! It's time for another Friday Favorites post! Catch up on previous posts here: Friday Favorites Archives

- I am itching to make a fabric garland for our living room. I had this photo saved to my pinterest, it's inspiring me to go colorful!

- How cute is this quilt by Emilie Truong!? She used my Triangularity Quilt Pattern to make it!

- Loving this patchwork quilt in progress by Rachel Denbow.

- My friend Jacey sent me a link to this scrap yarn crochet basket tutorial this week. I'm going to try making one too!


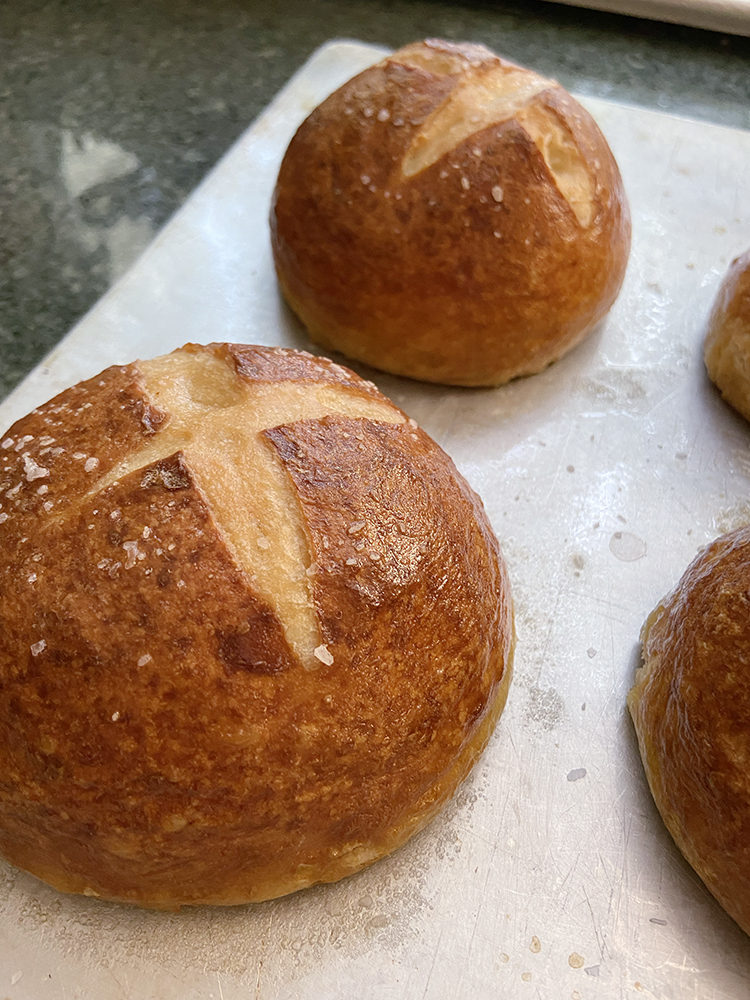
- I baked bretzel this week! It had been a while, so it was a nice treat. This is possibly my favorite bread of all time. I wrote a tips post and filmed a video of making it which you can find here.

- I've been using one of these tumblers* everyday for the last year or so, and I finally ordered a second one (I went with pale orchid!). I was surprised when it came with a flip lid and a straw lid. I'm excited to try the flip lid with warm drinks.

- I'm on a Sandra Bullock movie kick at the moment. So far this week I've watched Miss Congeniality, and The Lake House. Next up is Practical Magic!

- I spent an afternoon this week giving my houseplants some attention. Cleaned out some pots with dead plants, repotted a few things, and just generally spruced things up. I also added some mosquito bits* to all the newly potted plants to keep away fungus gnats. It works so well!

- This ladybug video made me smile.


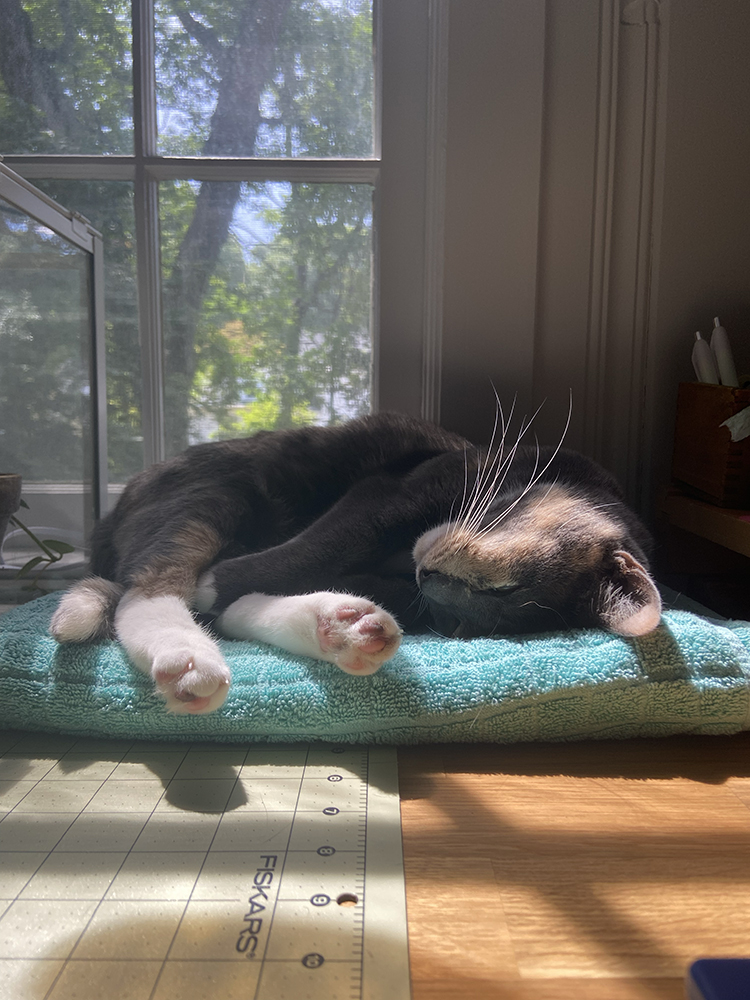
- Sweet Dusty kitty sleeping in the library :)

Have a Great Weekend!

*Note: Any links marked with an asterisk in this post are affiliate links. This means if you click through and buy something, I make a small commission, at no extra cost to you.