The Cheap Secret to Preventing Fabric Bleeding in Quilts

Wednesday, October 12, 2022


Happy Wednesday! Today I wanted to share my secret for preventing fabrics from bleeding when I wash my handmade quilts. I'll also share my basic instructions for washing/drying quilts. I have mentioned this "secret" a few different times over the years, but I wanted to share it in a dedicated post.

As a quilter there are few things worse than pulling your finished quilt out of the dryer to discover that the fabrics in your quilt have bled. When I've experience issues with washing my quilts in the past it has felt pretty devastating. For me a quilt isn't finished until it's had a trip through the washer and dryer, so when something goes wrong during this "last step" it feels like I didn't stick the landing! That satisfied feeling I'm expecting to feel quickly turns into frustration and sadness. I think it's safe to say we all want to avoid that!
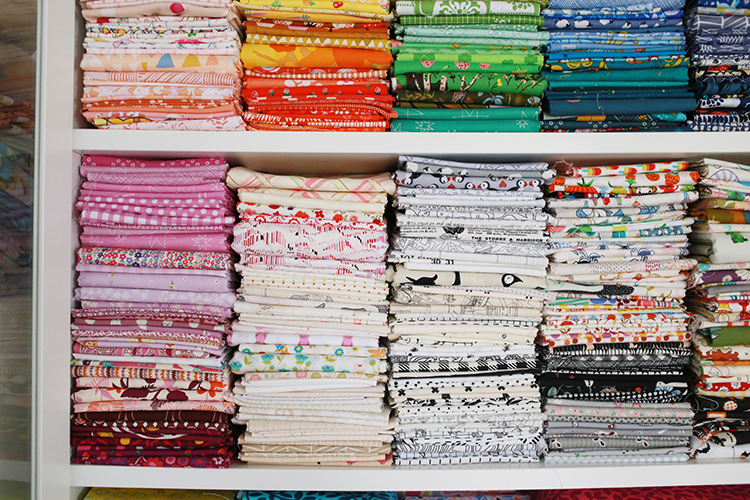

Before we dive in I want to preface this advice by saying that I typically do not prewash my fabric for quilts. Specifically quilting cottons. When I'm making quilts from fabric that's intended more for garments like double gauze, chambray or lawn, I always prewash the fabric before making the quilt. You could follow the steps below for pre-washing fabrics for a quilt if you'd like!
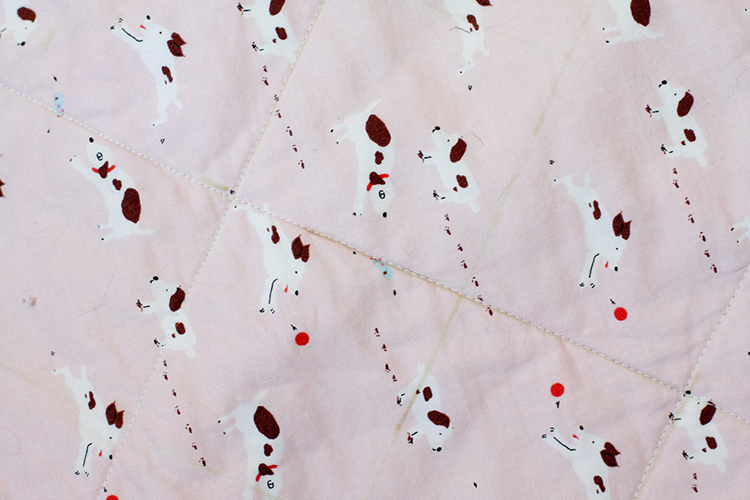

While we're on the general topic of avoiding quilt washing issues, save yourself some trouble and do not use a water soluble/disappearing ink marker on a visible part of your quilt. I learned the hard way that it's removal is not always straightforward (short story: don't mix disappearing ink markers with stain fighting products and hot water). Read more about that incident here: Sherbet Pips Quilt & a Lesson Learned.
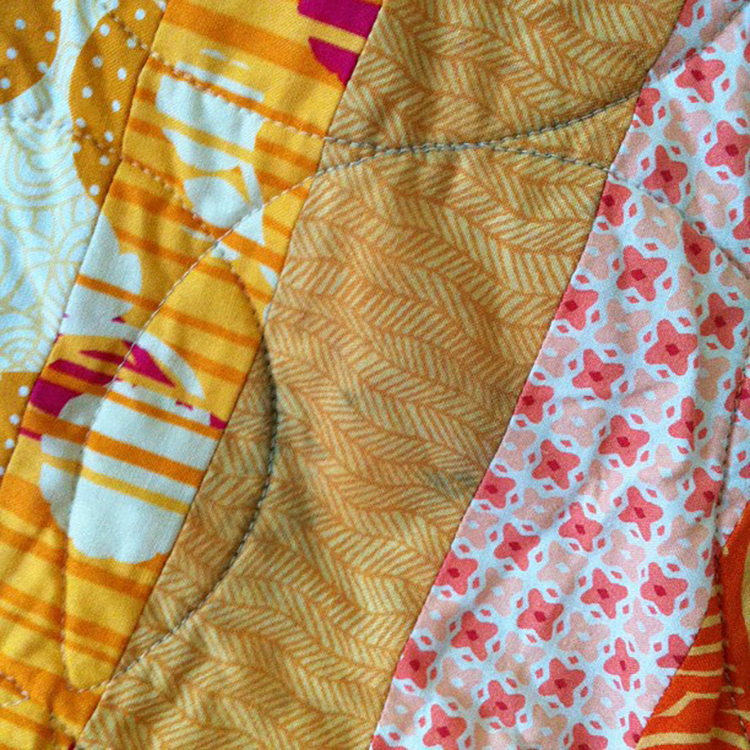

The fabric bleeding mishap that was the last straw was my Mendocino Dreams Quilt that I made back in 2012. It was a big quilt, so I used two Shout Color Catchers* when I washed it. And I still had fabric bleeding in a few places. I was so upset (this quilt was easily 40+ hours of work), I knew I needed to figure out a different method for washing my quilts to avoid this in the future.
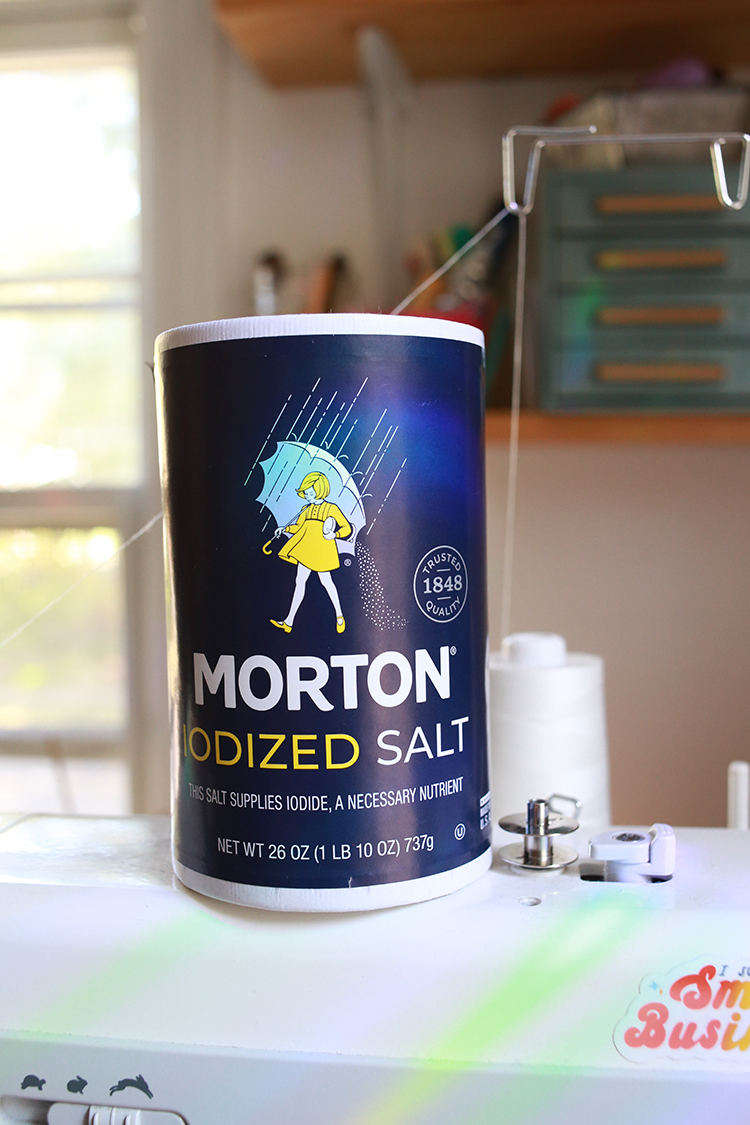

The secret is... table salt! No more expensive color catchers for me, just plain old table salt. I've used iodized, non-iodized, name brand, generic brand and it doesn't seem to matter, they all work. I have not tested this with kosher or sea salt.

I'm happy to report that since I started using this trick, I have had ZERO issues with fabric bleeding. I think I started doing this around 2013, and I have made a lot of quilts since then. Here's how to use it when washing your quilt:

Disclaimer: The results I've acheived using the following steps have worked for me, but I cannot guarantee that they will work for you. Please follow these instructions at your own risk and use your own judgement to decide what is right for you, your quilts, and your washing machine.

1. You'll want to start with a finished quilt! I am always so excited to wash mine so I usually get right up from my machine when I finish binding and head for our laundry nook.

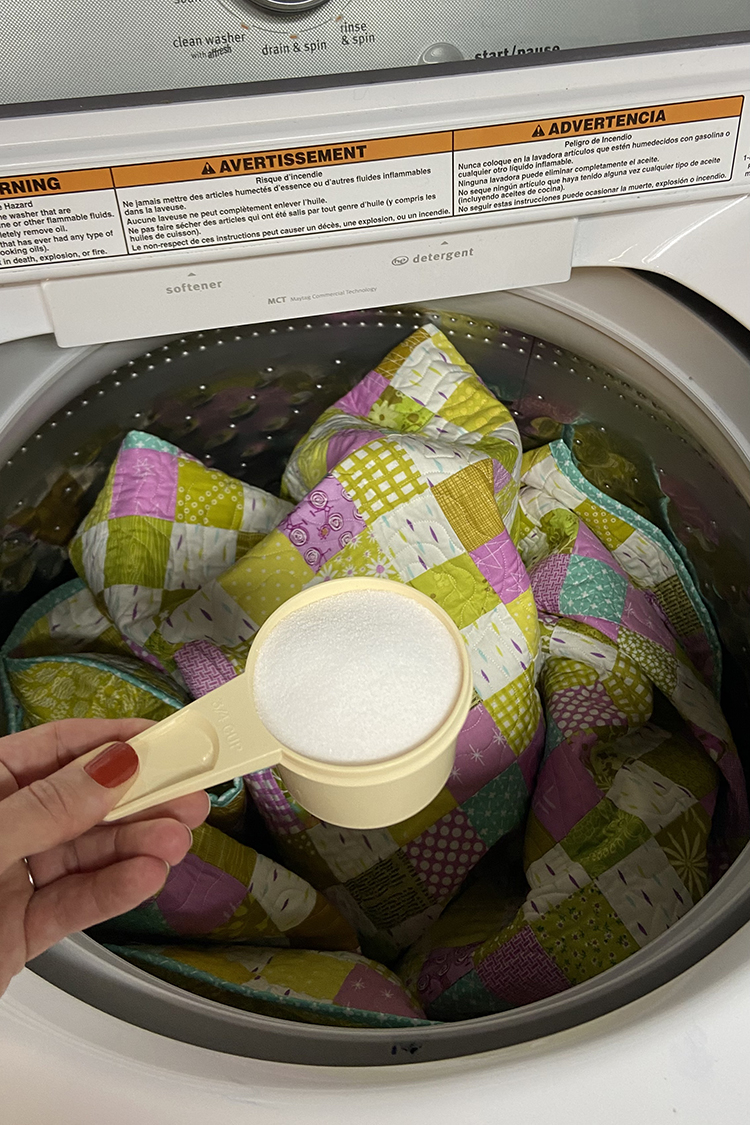
2. Add your quilt to the washing machine. For either a top loading (what I've got!), or a front loading, add 1/2 cup - 1 cup of table salt to the machine, right in with the quilt. I use more or less depending on the size of the quilt. (I usually only do this step the first time I wash a quilt, but if I'm particularly worried about bleeds I'll do it on subsequent washes too.)

3. Add your preferred laundry detergent. I like to use a laundry detergent without fragrance or dyes (I use these tablets* specifically). It's surprising how many conventional laundry products have dye in them. If your liquid (or pod) detergent has a color to it, it most likely is from a synthetic dye. I recommend avoiding this if you can, when washing a handmade quilt. This is the liquid detergent* I used for years before switching to tablets, which is available at most big box or grocery stores.

4. Set your machine to a gentle cycle and wash with cold water.

5. SET A TIMER. This is so important. Probably the most important thing you can do to prevent fabric bleeding in your quilt. You want your wet quilt to sit in the machine, after the wash cycle has finished, for as little time as possible. In my experience, letting wet fabric sit against wet fabric often results in fabric bleeding. 10-15 minutes shouldn't be anything to panic about, but I would try to avoid anything longer than that. Definitely would not recommend throwing a quilt in the wash before you go out to run errands or something!

6. Check your quilt for stains or bleeds before drying it. It's easier to deal with them before they head into the dryer and get set.

7. Dry your quilt. There is a lot of room for personal preference here. For me, I absolutely love the wrinkle crinkle on a finished quilt, so I dry my quilt completely in the dryer, usually on medium heat. I used wool dryer balls* to help it dry evenly, minimize static and make it nice and fluffy! If your quilt is particularly delicate or you want to minimize shrinking, I would recommend drying it on lower heat and pulling it out of the dryer early to let it air dry the rest of the way.
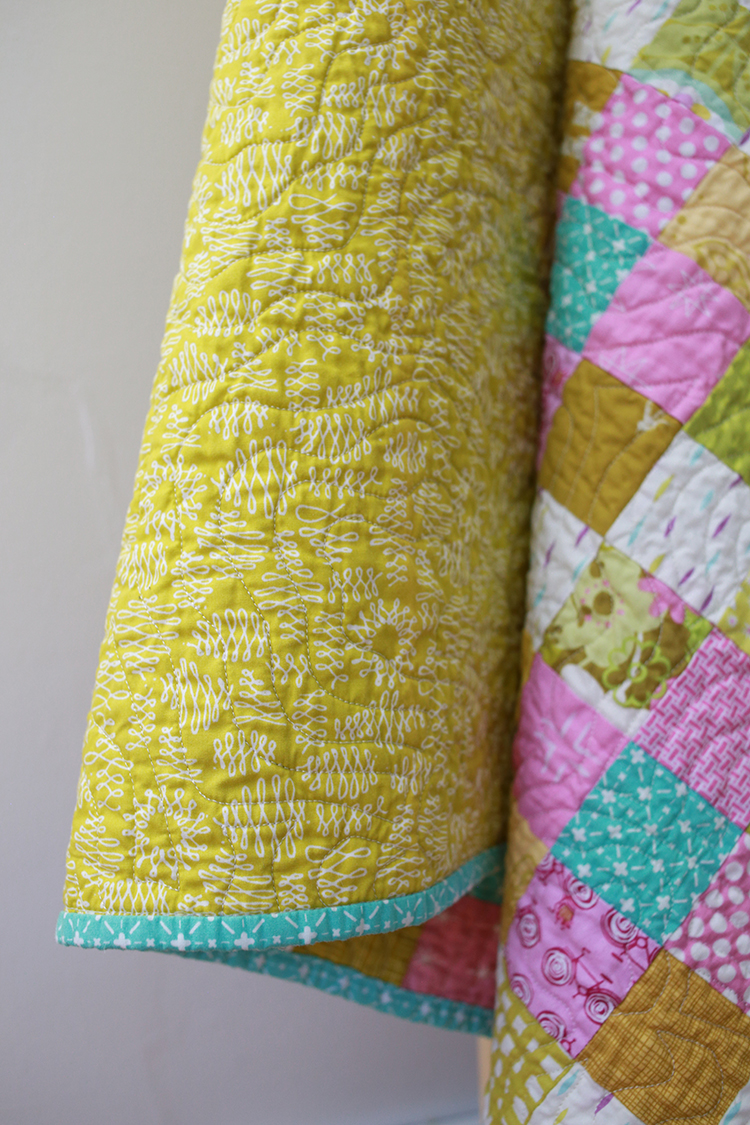

An interesting thing about this trick is that if you search "salt fabric bleeding" or "using salt in laundry" it actually pulls up a few "laundry hacks that didn't work" type of articles. This is a good reminder that it may not work in every situation for every person. I feel confident sharing this trick anyways because it has worked for me for the last 50+ quilts I've made. Just remember to pair it with good quilt washing practices like using cold water and not letting the quilt sit wet in the washer for too long.

I wanted to share a few specific quilts as testimontials to this method. The following quilts were washed using these steps and came through unscathed with no bleeds. A few were quilts with blocks made by a group of people (so a large variety of fabrics), and or quilts with high-contrast and/or deep colors.


Black and White Heart Quilt for Amanda


Fantastic Leftovers Quilt


Finished Scrappy Pineapple Quilt
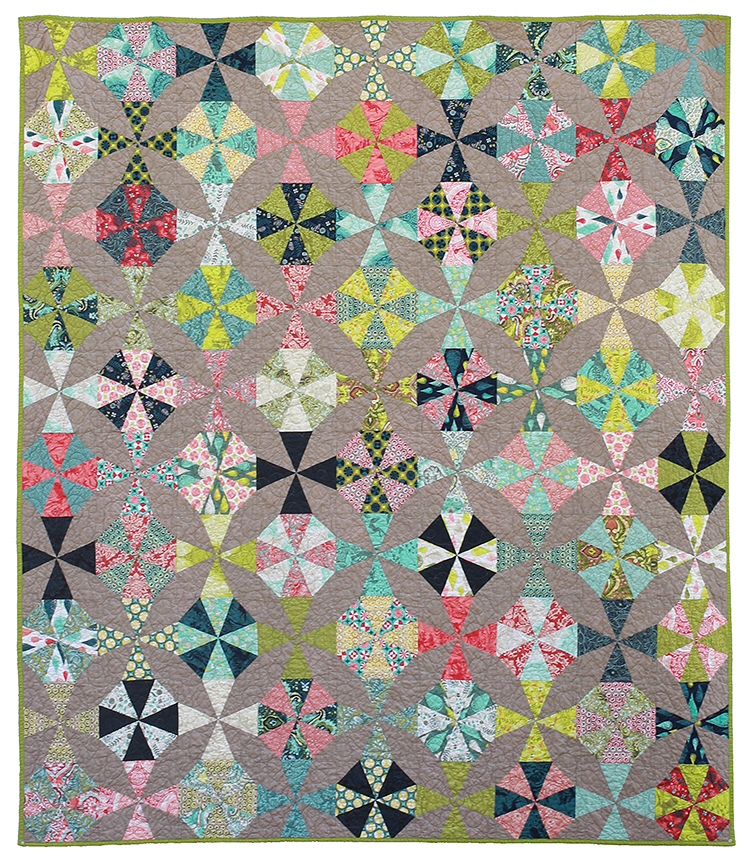

Tula Pink Kaleidoscope Quilt

I hope you've enjoyed this informational tutorial! I have lots of other tutorials for everything from quilts, pillows, bags, and holiday items to informational series and techniques. Find all my tutorials here: Tutorials. My online shop is filled with patterns for quilts and bags. Find my patterns here: Jeni Baker Patterns

If you make something using one of my tutorials or patterns, I hope you'll tag me @jenib320 and use my hashtag #jenibaker on instagram!
Don't forget to pin this post to your Pinterest for future reference! :)


Happy Sewing!

*Note: Any links marked with an asterisk in this post are affiliate links. This means if you click through and buy something, I make a small commission, at no extra cost to you.

Friday Favorites 39

Friday, October 7, 2022


Happy Friday! It's time for another Friday Favorites post! Catch up on previous posts here: Friday Favorites Archives

- This dress made by Amalia (and that fabric) are so dreamy!

- These fanny packs made by Karen from vintage quilts are so cool!

- It's the time of year for Halloween makes! I've been tagged in a few coffin blocks lately! Check out my free paper pieced coffin block pattern.


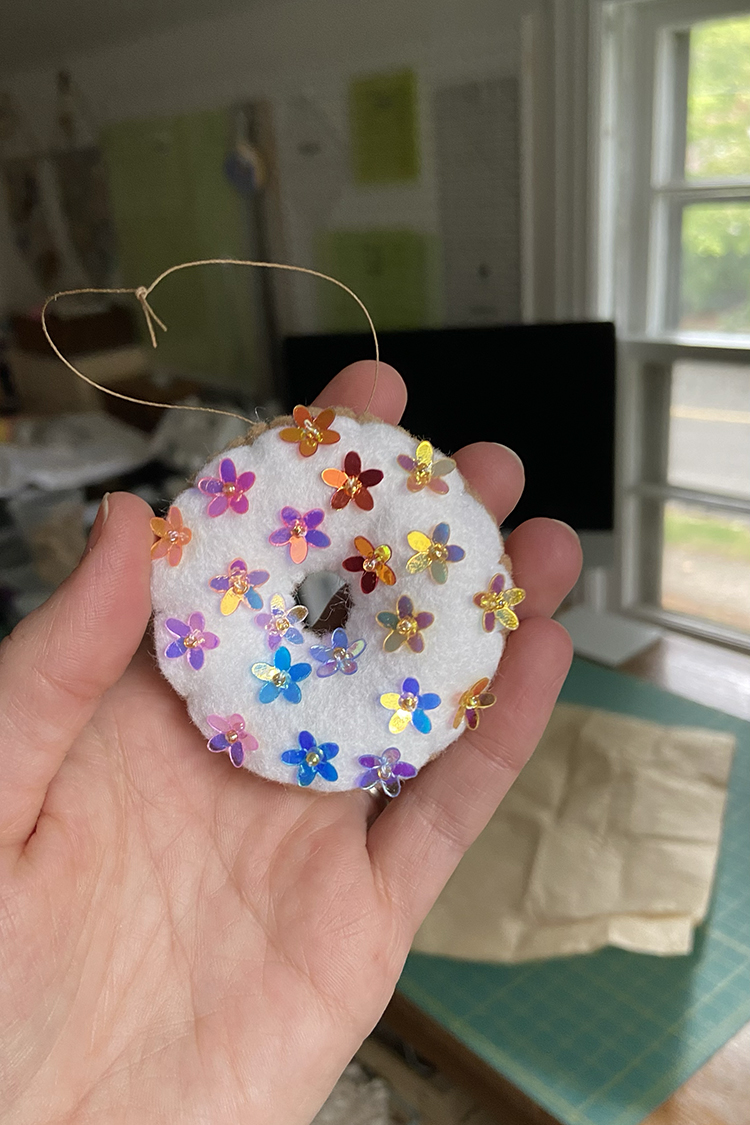
- I'm so in love with this donut ornament I bought from Eling of Migration Goods. I can't wait to display it on my tree this season. She has lots of cute ones left!

- Tried a new dinner recipe this week! This Sesame Apricot Tofu from Pinch of Yum was super good. It felt like we were eating takeout!

- We made halloween rice krispie treats with regular, cocoa, and orange cereal! I think they turned out so cute. I only ever use this recipe by Cookies and Cups to make rice krispies since discovering it years ago. You toast the marshmallows (!!) and brown the butter.


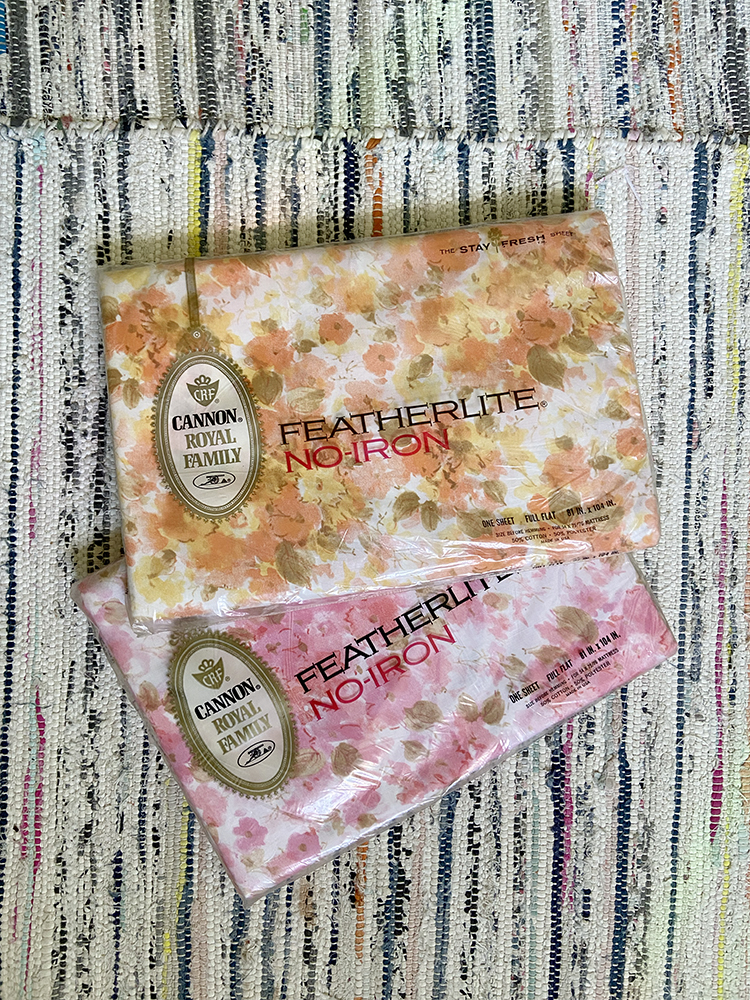
- Had an epic thrift find this week, I managed to find a bunch of vintage sheets new in the package! Couldn't believe my luck. Some of these will end up in giant vintage star quilt kits and some might end up in my shop, we'll see!

- I've been working on building a Lined Drawstring Bag Pinterest board! I have most (I think) of the ones I've made pinned there and now I can start pinning some that you all have made!

- I haven't been this excited about a fabric line in ages, but I am so so excited for Aneela Hoey's upcoming Pips collection!


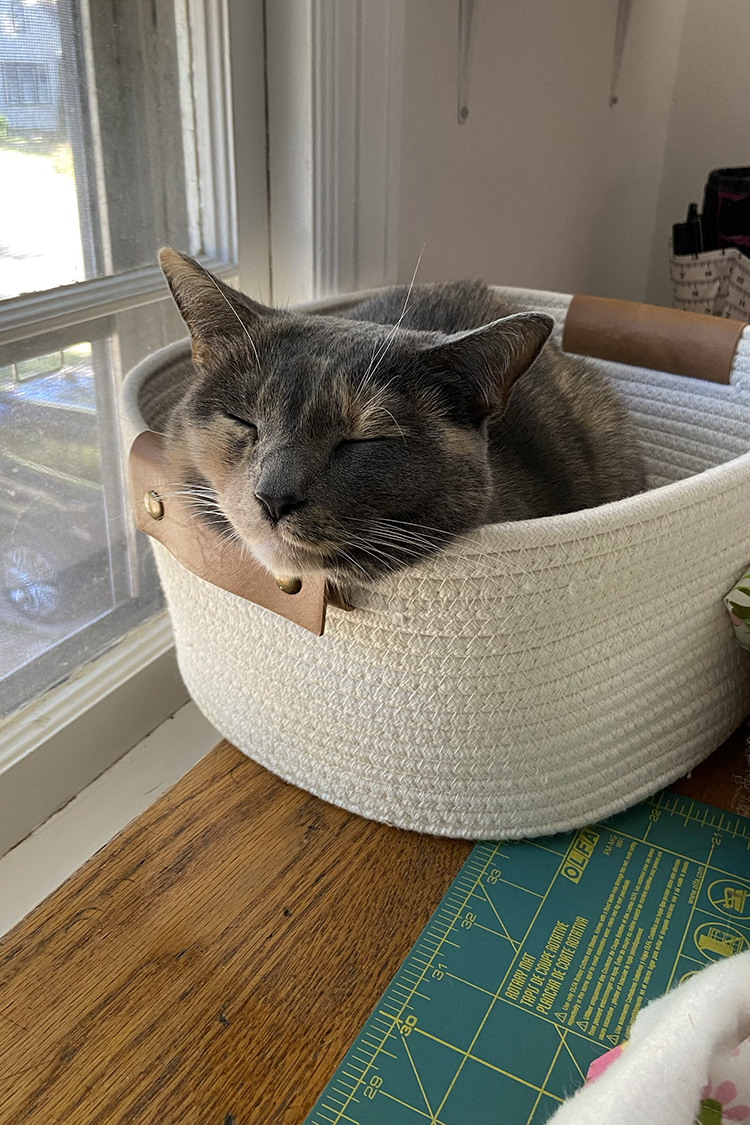
- Sweet Dusty Kitty was so helpful while I was quilting recently.

Have a Great Weekend!

*Note: Any links marked with an asterisk in this post are affiliate links. This means if you click through and buy something, I make a small commission, at no extra cost to you.
September Monthly Report

Wednesday, October 5, 2022


Happy October! It's time to reflect on what I worked on in the month of September and check in with my crafty goals and stash tracking. See past monthly reports here.


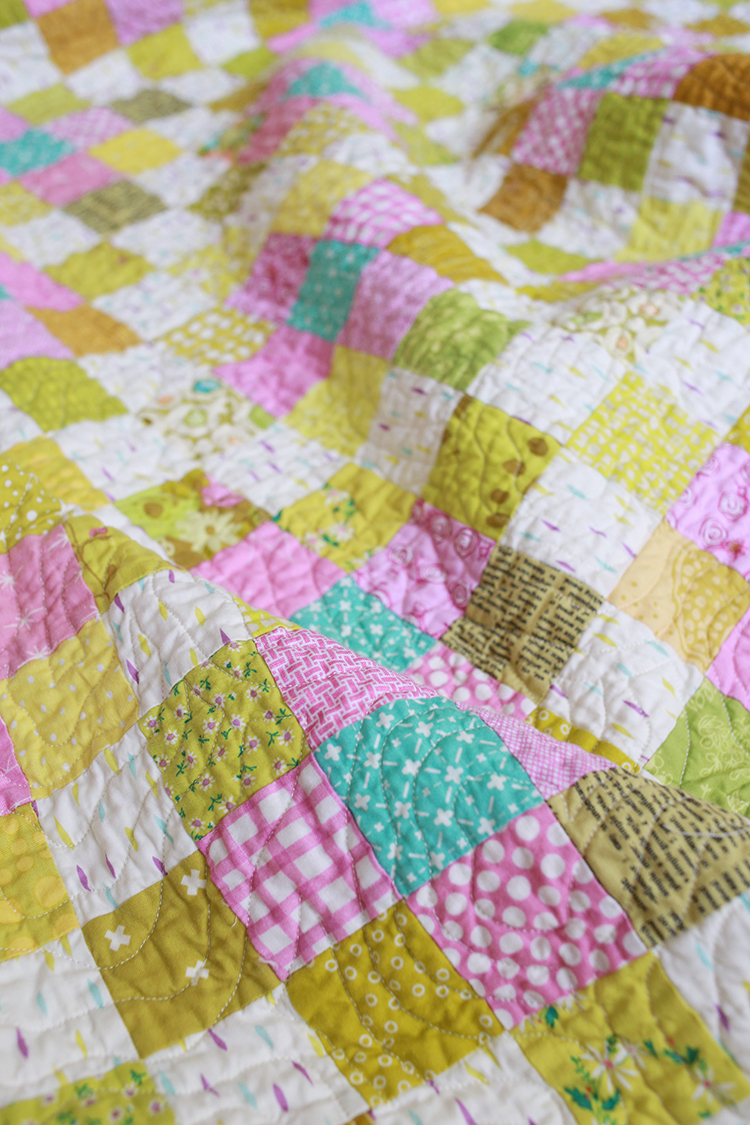
This month's report is jam packed! I did a lot of sewing in September! I finished two quilts, one I've already posted about (here: Floral Chain Quilt). The other quilt I finished was my Vintage Sheet Bear Paw Quilt, which I'll hopefully be posting soon. I just need some sunshine so I can photograph it. It felt good to finish not one but TWO quilts! I can't remember the last time I finished two quilts in one month. Very fancy!


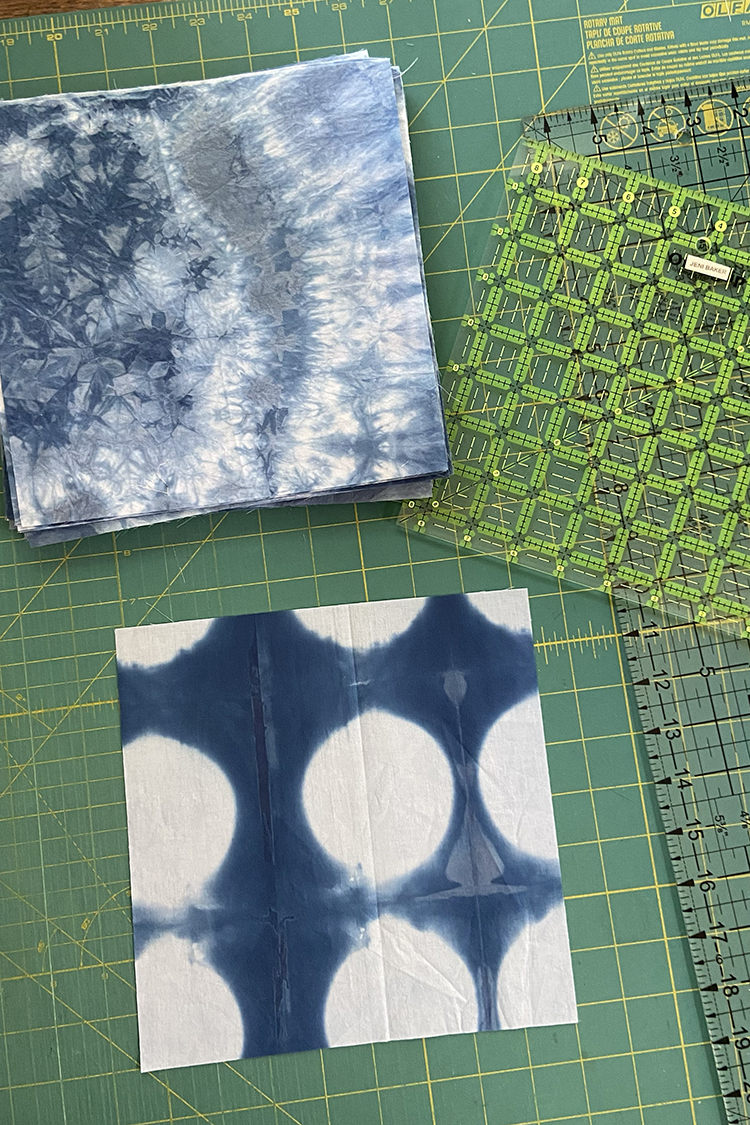
I also started a new quilt. I dyed some more lawn fabric and cut out a lawn indigo quilt. I haven't started sewing it yet, but everything is cut!


I made four lined drawstring bags this month. I shared details about all four of them in this post. It was fun to play around with some different variations from the expansion pattern.

Lined Drawstring Bag Pattern + Expansion Pattern


To keep myself accountable for my stash goals, I track my yardage for fabric and yarn each month. Read more about how I track here. Here is how I did in September:

September Fabric
Used up: -28.25 yard
Brought in: 3 yards
Net: -25.25 yards
Year to date: -46 yards

September Yarn
Used up: 0 yards
Brought in: 0 yards
Net: 0 yards
Year to date: -1000 yards

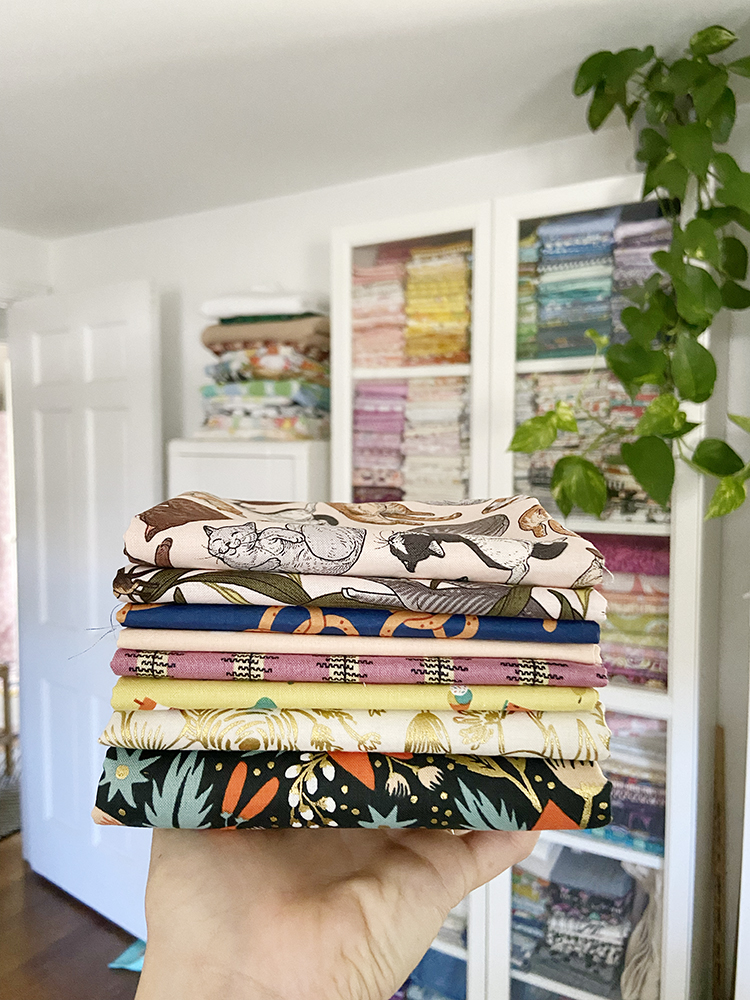
I bought fabric this month! I finally made it to Cate's Sew Modern in Guilford, CT. Picked up a few fat quarters and some holiday fabrics to use in the drawstring bag sew along later this year. Thankfully I used up a lot of fabric this month, so that more than offset what I brought in.


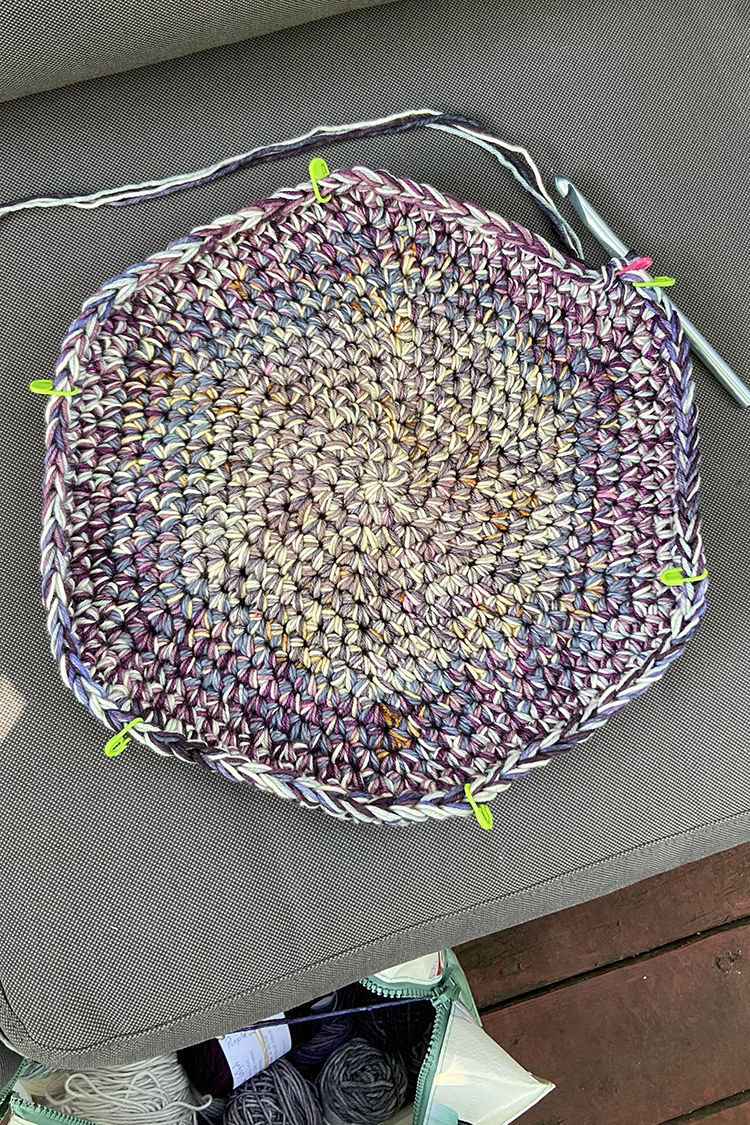
I started a crochet project!! I am crocheting a scrappy yarn basket using this tutorial. I used this skillshare class to help me get started. It's using up so much leftover yarn, which is making me so happy!


Let's check in my with 2022 crafty goals. This month I:
- Completed a TWO term WIPs this month!!
- Knitted a little on my mitten WIP.


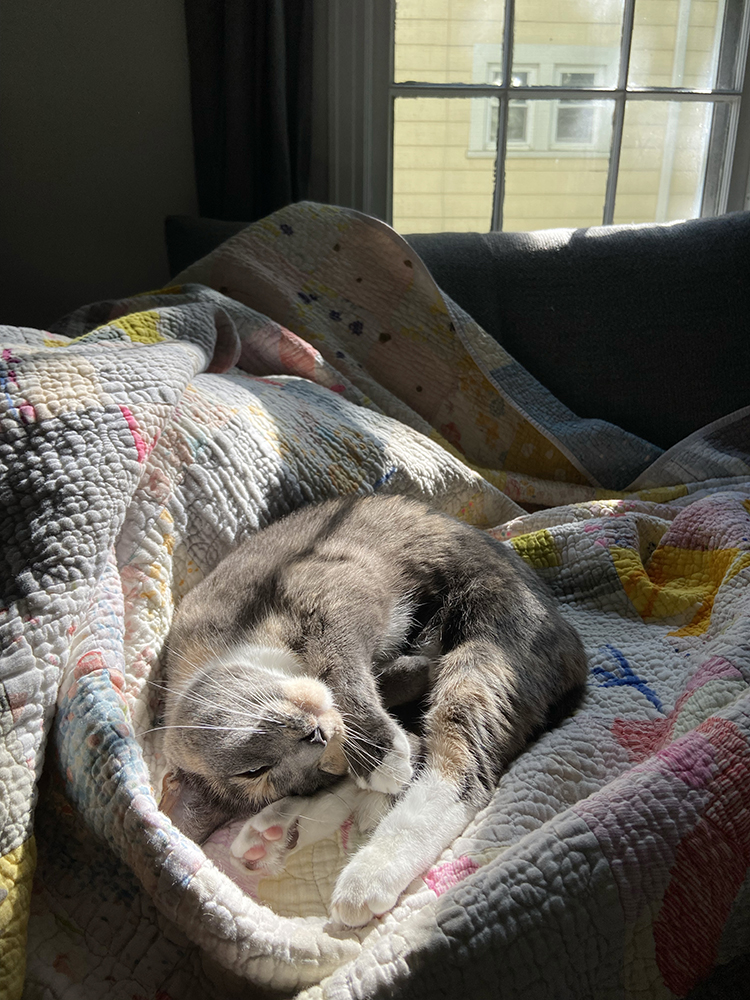
Kitty enjoying the sun and a quilt :)

Have a Great Month!

*Note: Any links marked with an asterisk in this post are affiliate links. This means if you click through and buy something, I make a small commission, at no extra cost to you.
Recent Drawstring Bag Finishes

Monday, October 3, 2022


Happy Monday! Today I have a bunch of finished drawstring bags to share!

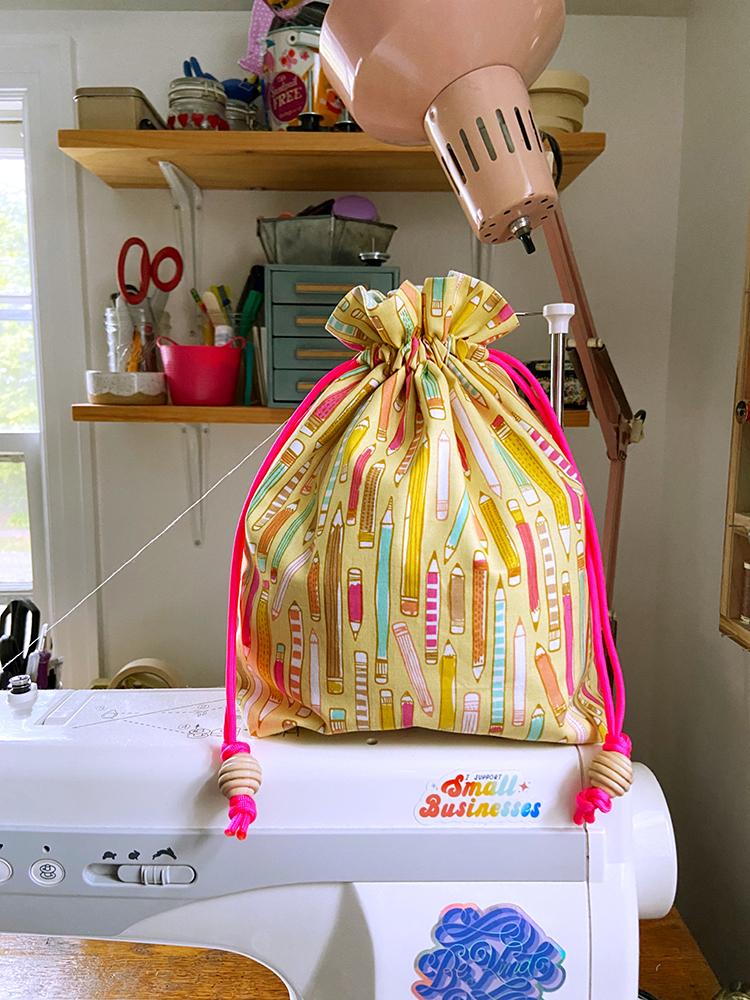
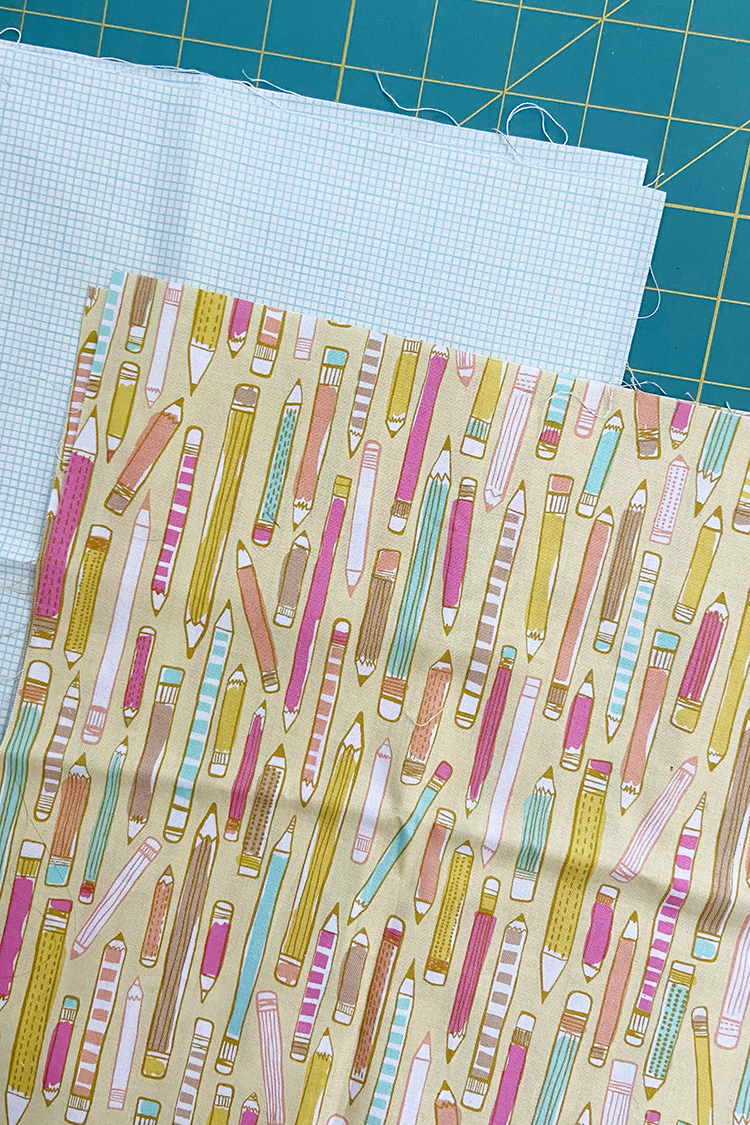
First up is this cute pencil drawstring bag that I finished this past weekend. I used the easy going (2 fabric) variation from my expansion pattern for this one, in the Everything size.

Lined Drawstring Bag Pattern + Expansion Pattern


I was cleaning in the sewing room on Saturaday and I found the pieces for this bag already cut out! It was a leftover from when I was writing the expansion pattern. I felt like I needed quick finish, so it seemed like the right time to finally stitch it up. This pencil print is one of my favorites, it's an old Erin McMorris* collection called Noteworthy. The lining fabric is even older from Girl Friday by Cosmo Cricket*.


I was so excited to use this super bright neon pink paracord*. It is so hard to photograph, it glows! I love how it pulls the pink out of the print too. I finished it off with some 3/4" beehive wooden beads.


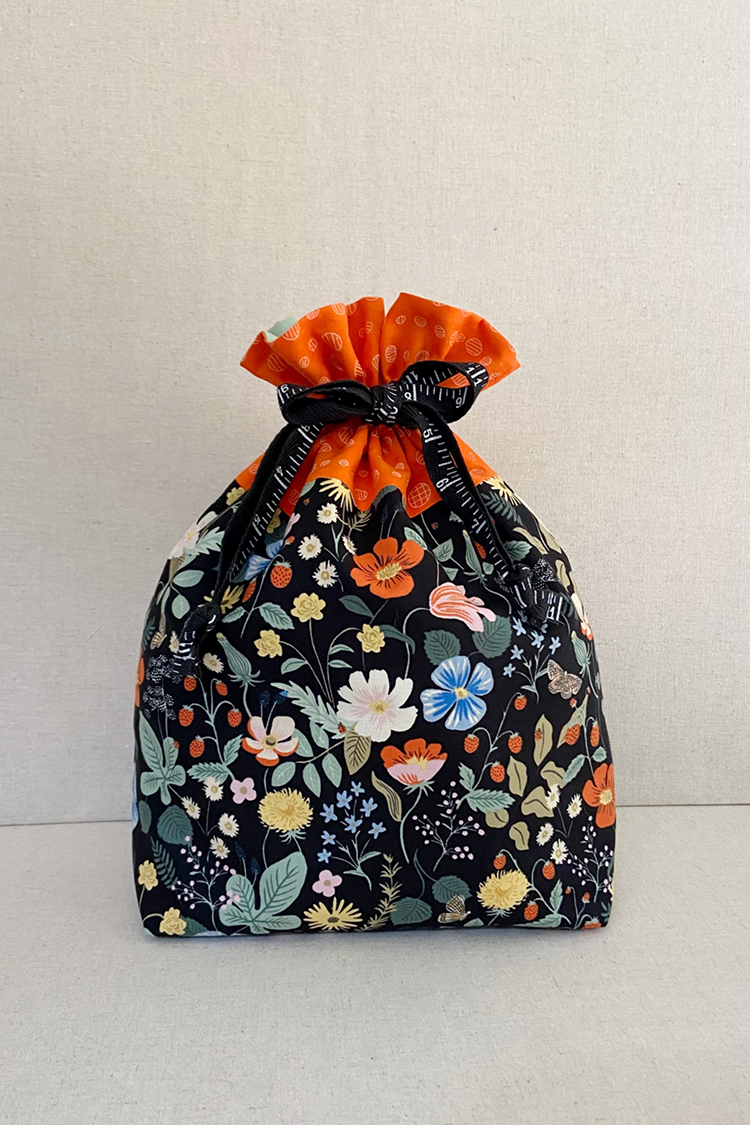
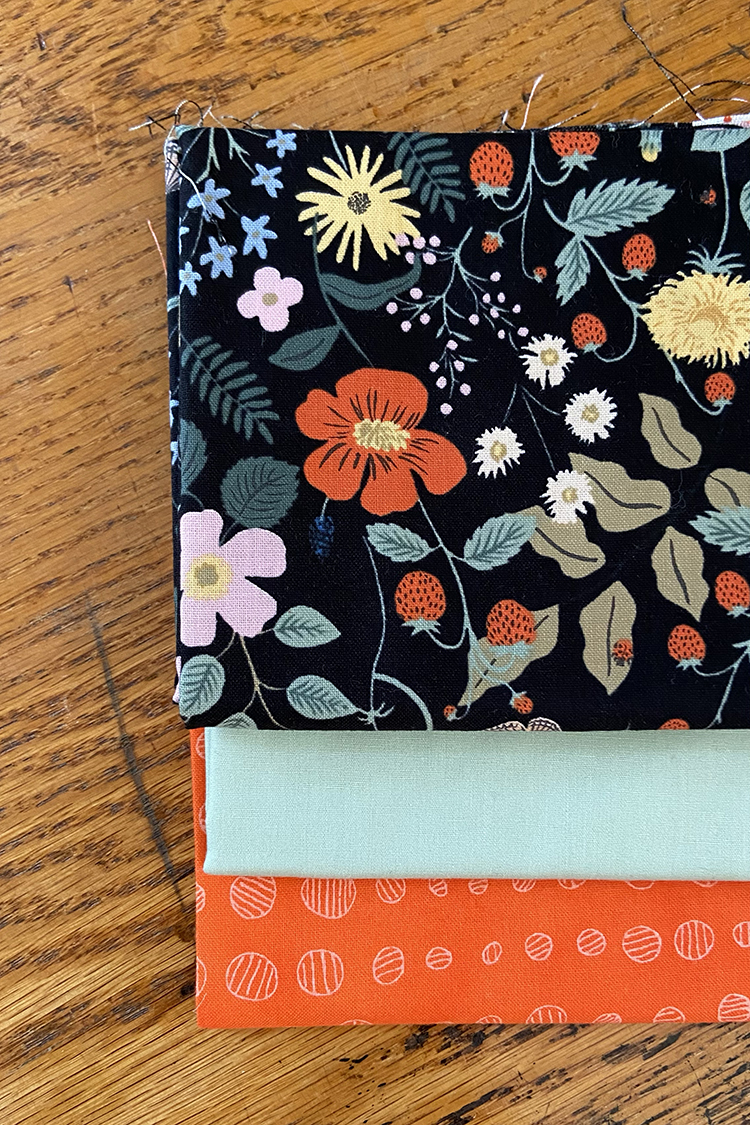
I felt a pull to use a black background print for the main exterior of a bag, so I chose this Rifle Paper Co print from Strawberry Fields*. For the rest I used a coordinating solid and a favorite print from Doe* by Carolyn Friedlander.


I love how this one turned out! It is almost a little Halloween-y with the black and orange. I have been trying to make more reels on Instagram and I ended up making one while I made this bag. You can see it here. This is a project size from the drawstring bag pattern. I finished it off with some black ruler twill tape.

Lined Drawstring Bag Pattern


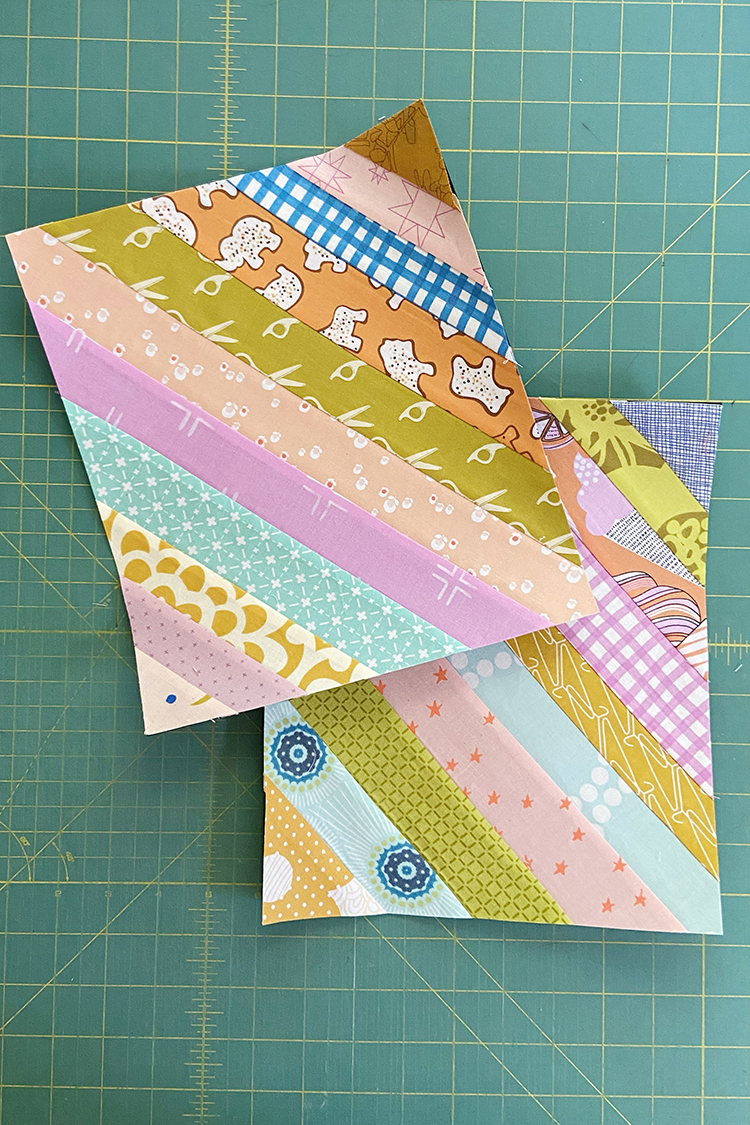
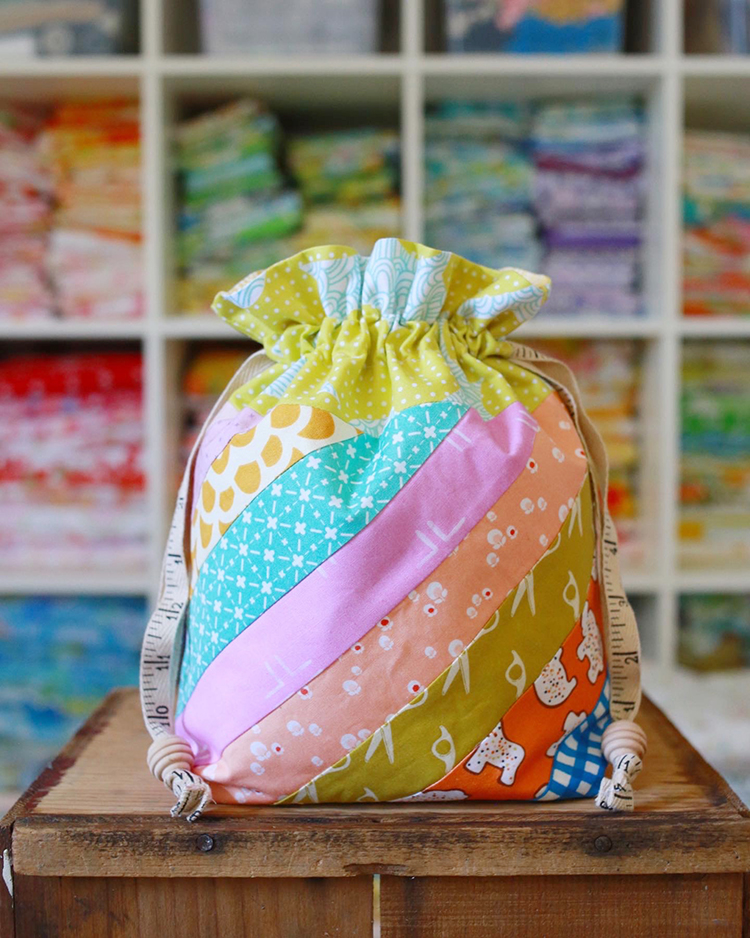
I've only ever made 1 or 2 diagonal string drawstring bags and I was itching to make a new one! So I dug into my scrap bin for this one and went with a sherberty color scheme.


This is probably my favorite drawstring bag in this bunch! I love that each side ends up being different, it's like two bags in one! This is the foundation pieced variation in the expansion pattern, made in the Everything size. I finished it off with antique ruler twill tape and 3/4" beehive wooden beads.

Lined Drawstring Bag Pattern + Expansion Pattern


This next drawstring bag was the result of a personal challenge. I have a tough time getting things done at the end of the day, especially from about 4:30pm onwards. Michael comes home at 6:00pm, so I often struggle to stay focused on work and end up cleaning, prepping dinner or just relaxing instead. Well, 5:00pm rolled around and I decided to see just how fast I could make a Tiny size bag from choosing fabrics to finishing it. It took me 30 minutes, which included taking some photos and posting progress on instagram as I went!

Lined Drawstring Bag Pattern


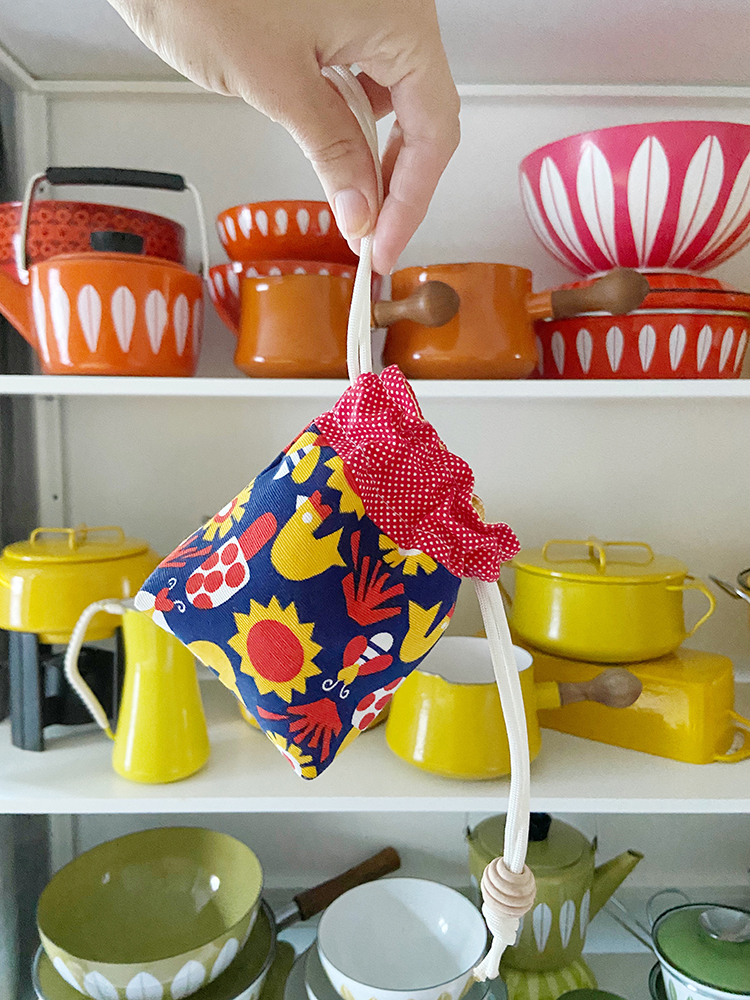
I made the entire bag from scraps, featuring this adorable vintage fabric for the main bag body. It's just a small swatch and I've had it for years, not knowing what to do with it. I used every inch of it for this bag! It feels so good to finally use it up. I finished it up with some white paracord and 3/4" beehive wooden beads.

Phew! That's a lot of bags. I am just trying to get into top form ahead of my annual Lined Drawstring Bag Sew Along! Coming in November :)

Happy Sewing!

*Note: Any links marked with an asterisk in this post are affiliate links. This means if you click through and buy something, I make a small commission, at no extra cost to you.