
Happy Thursday! Today I'll be showing how you can easily add a simple slip pocket to the inside of almost any tote bag pattern in just a few short steps. You'll want to add your pocket before the lining of your bag is put together. It's much easier to do while everything is still flat.
This was originally posted as part of the Workshop Tote Sew Along. Want to make a tote too?
Find all the posts here: Workshop Tote Sew Along
Pick up a copy of the pattern here: Workshop Tote Pattern
Share your progress here: #workshoptote on Instagram

Patchwork Workshop Tote made using Checkers Gingham by Cotton & Steel.

For the Workshop Tote, add pockets to your lining before Step 4 of the Tote Construction. If you're making one of the Elemental Totes, do this before step 1 of instructions for the Easy Tote Bag and before step 2 of instructions for the Simple Tote Bag.
1. Choose Your Pocket Size

When choosing how big to make your interior pocket, it's important to consider it relative to the finished size of your bag. You want to make sure there is room on all four sides of the pocket and that it won't interfere with the bag construction. My go-to pocket size for tote bags is a finished size of 6" tall x 7" wide. Cutting your proposed pocket out of a piece of printer paper can give you a better idea of how it's going to fit on your lining pieces. Once you have settled on a size, add .5" to each measurement for seam allowances.
For this tote, we'll be cutting (2) 7.5"x6.5" pieces for the pockets. If you'd like to add a little extra strength to your pocket, consider interfacing one piece with a light-weight interfacing like Pellon SF101.
2. Sew Pocket


Place pocket pieces right sides together, lining up any directional prints with the top of the print towards the top of the pocket. Sew around all four sides, leaving a small 2" opening along the bottom edge. Backstitch at the beginning and end of the opening and pivot at the corners.

Trim corner seam allowances to 1/8" to help reduce bulk.

Before turning, press the opening seam allowances under by 1/4" to make it easier to close. Turn pocket right sides out, gently poking out corners with a dull pencil or chopstick. Press well.

If you'd like, you can add a line of top stitching to the top edge of your pocket for a little extra detail.
3. Choose Your Placement

Typically, I place the top edge of my pocket approximately 3" down from the top edge of my lining piece. I recommend finding a bag you like and measuring how far down the pockets are to get an idea of where you want yours to be. I also prefer my pocket to be centered, but that's up to you too! Consider what you'll be putting in the pocket when deciding on placement. Pin pocket piece in place, with the open edge towards the bottom of the tote bag.
4. Topstitch in Place

Using a 1/8" seam, topstitch along the two sides and bottom of your pocket, to secure to the lining piece.

Pull threads through to the wrong side of the lining piece and tie off for a neater look.
5. Optional: Create Dividers


If you'd like you can divide your pocket in to several sections. Mark a line down the pocket where you want the divide. I used a hera marker to mark my line.

Starting at the bottom of the pocket, topstitch on the marked line, back stitching carefully when you start and stop. Slow way down when you get to the top of the pocket to be sure you don't go too far past it. Again, pull your threads through to the back of the lining pieces and tie off for a neat finish.

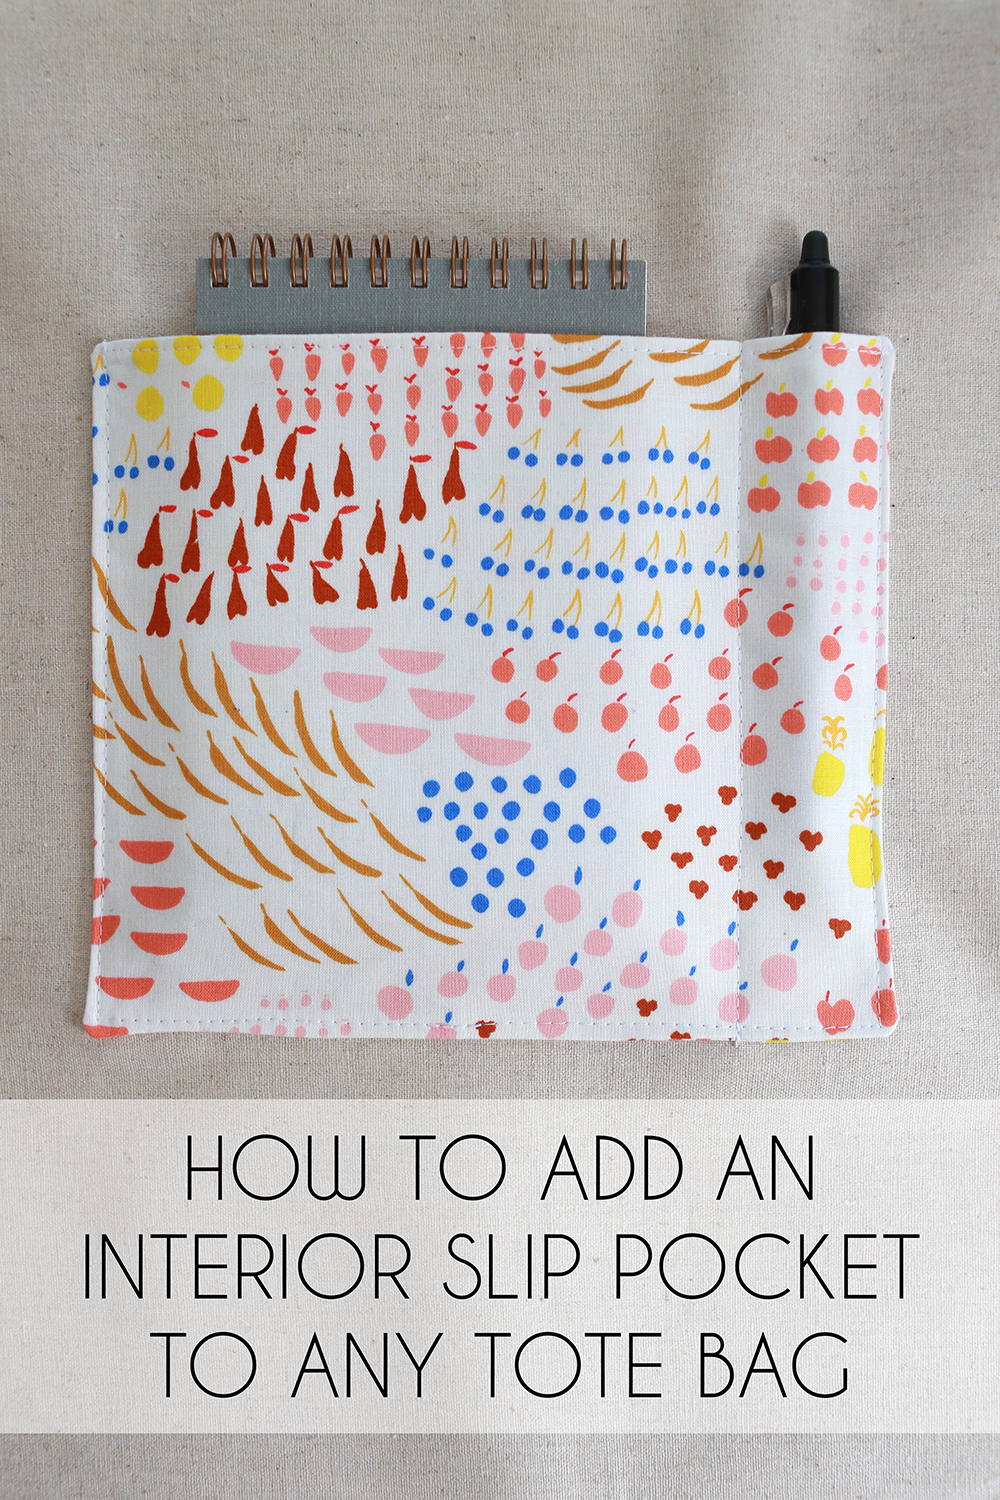
Voila! A quick little pocket! My divided pocket is just right for holding a small notebook and a pen.
Pocket fabric is from To Market, To Market by Emily Isabella.

Happy Sewing!
This was very helpful! I am making a tote bag and wanted to add a couple of extra items, slip pocket and zipper pocket--your idea of paper template was brilliant - its amazing how the simple things can easily slip our minds...thanks again!
ReplyDeleteI second that review, thanks so much
ReplyDeleteSo cute!
ReplyDeleteThis is a great tutorial. Thank you for posting.
ReplyDelete