Showing posts with label Workshop Tote Pattern. Show all posts

Scrappy Workshop Tote

Tuesday, September 1, 2026


Happy Monday! Today I want to share a tote bag that I made for my friend Amanda earlier this Summer.


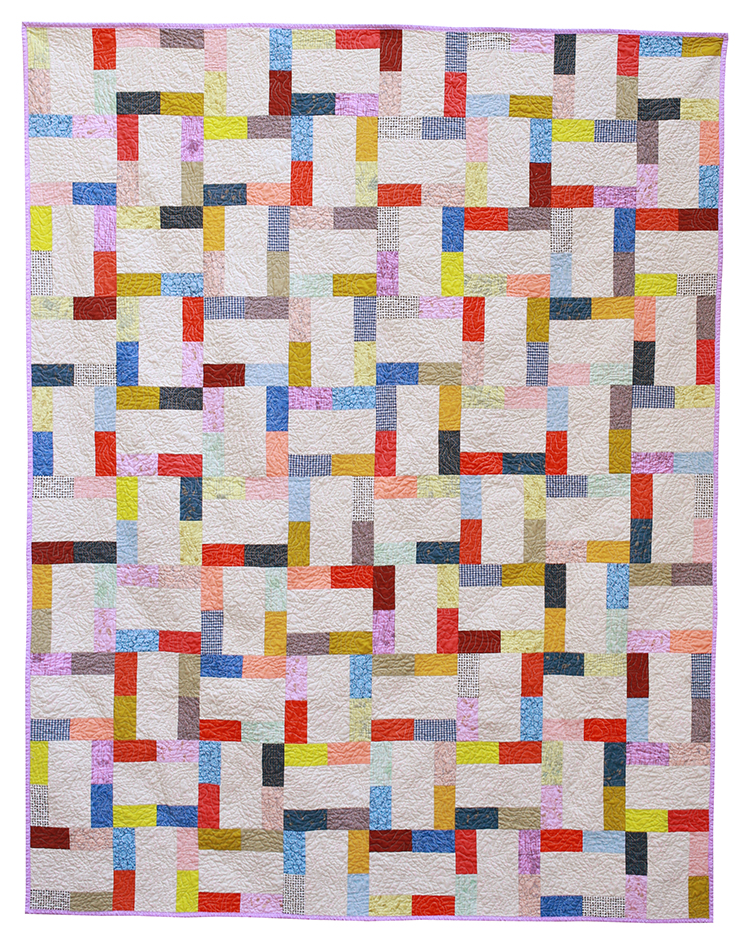
This past Spring, I went through all my works in progress and found a small quilt top that I'd put together with offcuts from making this Large Keep Turning Quilt. I searched my archives and cannot find a single photo of said quilt top, but it was pretty simple. It was also pretty small.


I decided it would be best to chop it up and turn it into a bag! I had to add a little extra fabric to the bottom to be able to cut out the tote pieces. I used my Workshop Tote Pattern to make this tote, I just love the size. I was so happy to use up every last bit of these scraps. So satisfying!


For the lining I struggled a bit on what to use. I didn't have any large cuts of the quilt top fabrics, so I knew I'd have to use something else. Knowing I was making it for a friend who'd like it, I decided on some ice dyed fabric! I think it's a really fun surprise when you open up the bag. For the handles I ended up making some from a woven stripe instead of using webbing. Just felt a little more special!


Pick up a copy of the pattern here: The Workshop Tote Pattern

I also have a Sew Along for this pattern, which you can find here: The Workshop Tote Sew Along

Happy Sewing!

Sherbet Plus Throw and Baby Quilts

Wednesday, March 27, 2024


Happy Wednesday! I have two special quilt finishes to share today!! I actually finished these quilts last year, right before baby girl arrived. I made us matching quilts! A throw quilt for me and a baby quilt for her.
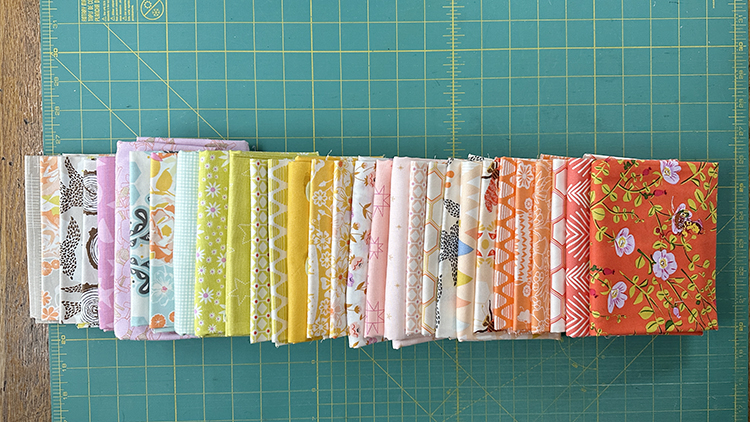

For these quilts I went with a sherbet rainbow color palette. It was built around a collection I've had in my stash for around ten years, Sweet as Honey by Bonnie Christine*. By now I didn't have all the prints anymore, so I supplemented with other prints from my stash. I love where the pull ended up!
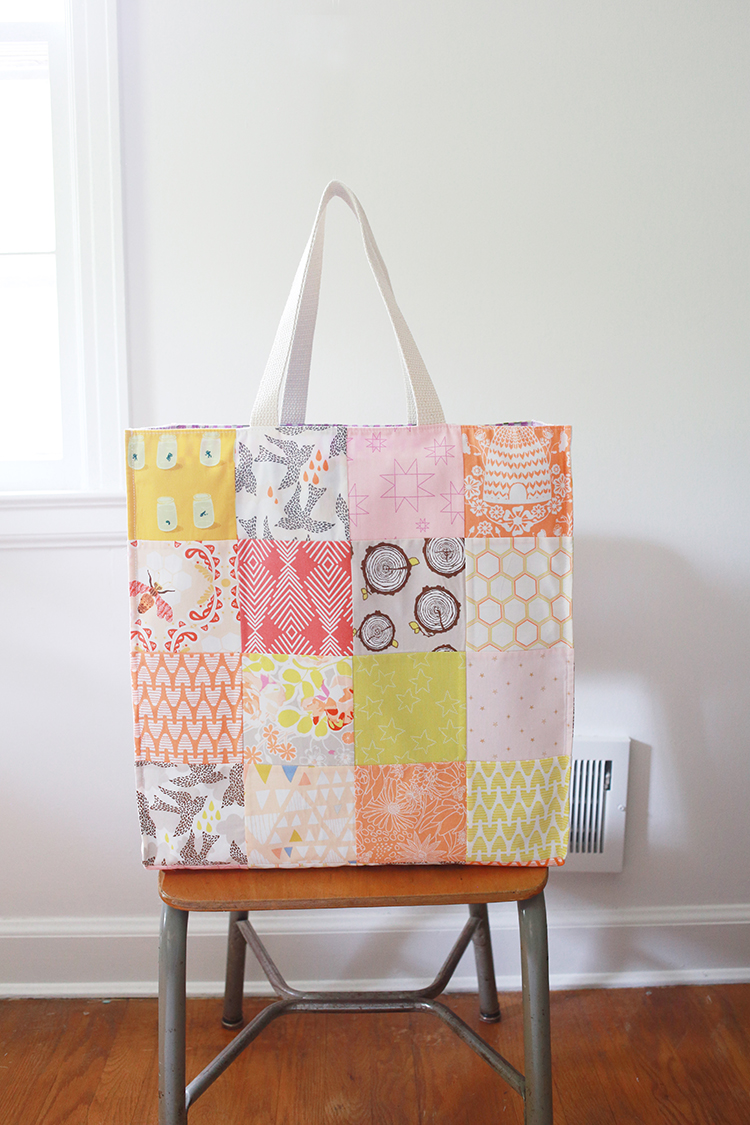

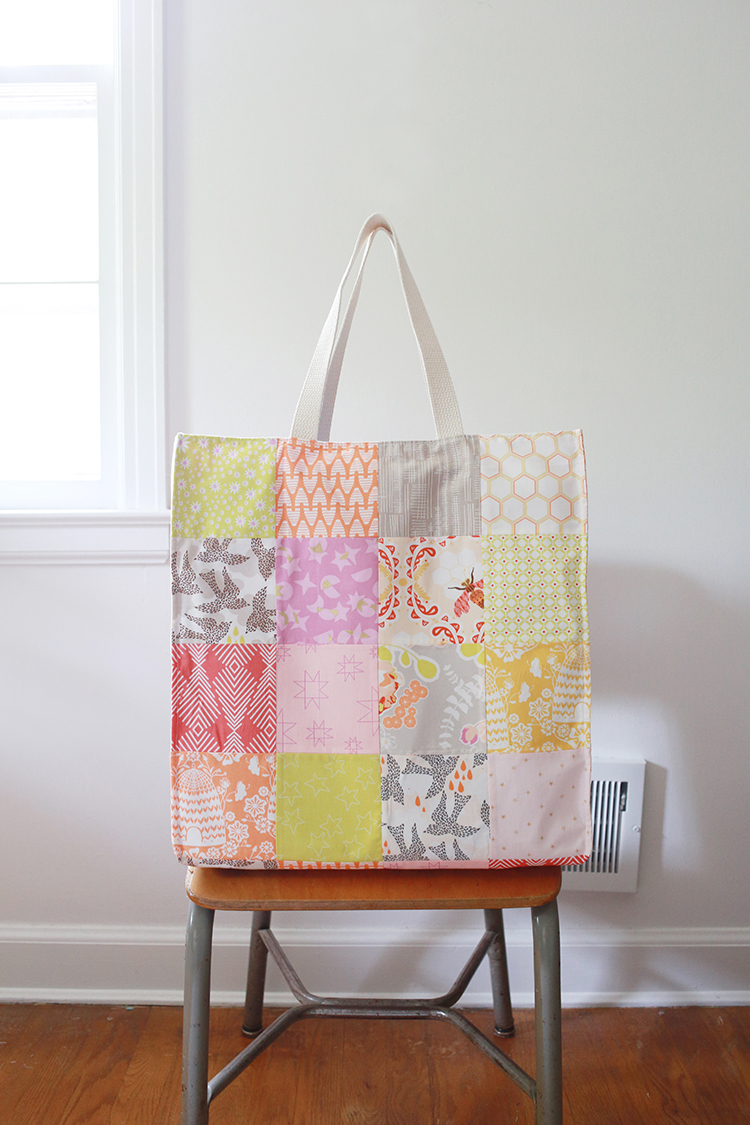
Knowing I was going to make two quilts, I cut a ton of squares! As it turned out, I cut so many squares, I had enough to make a tote bag too, which I shared last year here: Patchwork Workshop Tote. I used my Workshop Tote Pattern and made the patchwork version.


First up, the throw quilt! This is the throw size from my Arithmetic Quilt Pattern using 4.5" squares.


Here it is in all its glory! In these photos the red-orange fabrics really stand out, but in person the contrast is more subtle.


I am so in love with the quilting on this one. It was quilted by Katie of Autumn Moon Quilting and I chose the "Posy Patch" design. It's so fun and retro!! I actually am having another quilt quilted in this design right now.


I dug into my hoard of Erin McMorris backings and decided on this print from her Weekends* collection. I worked on this quilt in my final months of pregnancy, otherwise I would have taken the time to pattern match the backing. It was a miracle I got it completed considering!


Went for a monochrome look for the binding, using the same print as the backing. I used one of my custom woven labels to finish it off.


And now the baby quilt! This is the baby quilt size from my Arithmetic Quilt Pattern using 4.5" squares.


This is the only quilt I made from start to finish specifically for baby girl. Of course there are tons of other quilts that we use with her, but this one is truly hers. I take her monthly photos on this quilt!


Confession time, the quilting on this quilt is rough. I really should have sent it along with the throw to be longarmed! When I basted this I was less than a month from giving birth. For some reason I thought I could do it on the floor. It was so difficult, I did not do a good job! Of course as soon as I was done I remembered I could have basted it on our dining room table. Because my basting job was so bad, the quilting is not great. But, it's okay. It's still a beautiful quilt and I've let it go.


I didn't have enough of the same backing I used for the throw quilt, so I chose another print from Weekends by Erin McMorris*.


Again, another nod to the throw quilt was binding the quilt in the same fabric as the backing. This is actually highly convenient and I'll be doing it again for sure. For both quilts I cut the binding strips from the excess backing that I cut off!


I used one of my custom woven labels to finish it off.


Despite a few imperfections, I love how these quilts turned out. It was fun to make matching quilts, I think it's something I'll do more of in future!

I'm thinking about hosting a little plus quilt sew along later this Spring, stay tuned for more info on that!!

Sherbet Plus Quilt
Pattern:
Arithmetic Quilt Pattern
Fabric: Sweet as Honey by Bonnie Christine*, Weekends by Erin McMorris* and other stash.

Happy Quilting!

Indigo Dyed Workshop Tote Bag

Tuesday, January 23, 2024


Happy Tuesday! Today I have a new bag project to share using my Workshop Tote Pattern.


I didn't make a lot of handmade gifts for the holidays this year (just lots of drawstring bags!), but I did make this tote bag for my brother's partner! We picked the fabric together and decided on this piece of cotton canvas that I indigo dyed. It was nice to finally cut into it and let it live its life as a functional object! This particular one I dyed here in CT and the fabric was accordion folded before being clamped. I love how you can see the clamp detail on the two ends of the fabric. I want to recreate something similar to this next time I do some dyeing!


It feels like this fabric was meant to be a bag! It's nice that it can really shine in a project like this. It's just cut into two pieces, so you still get to appreciate all the interesting shapes and details of the hand dyeing.


I didn't have a ton of yardage of this particular piece, so I just used it for the front and the back of the tote bag. For the sides and bottom I used some undyed bits of the same base cloth. It's a utility fabric that I bought from JoAnn's years ago. I really like it, I should see if I can find more!


I am actually running pretty low on indigo dyed fabrics! I've made four quilts with just indigo, which has used up a lot! You can see three of those quilts in the posts below, I still need to share one. I didn't really have a big enough piece for the lining, but I still wanted to use something indigo. So I cut into one of my drop cloths for the lining of this bag! I have a few sets of thrifted white sheets that I use as drop cloths when I dye and paint, thinking one day they'd be fun to use in some projects. Well the time finally came! For the handles I used some 1" cotton webbing.

Quilts I've made with Indigo Dyed Fabrics:
Indigo Courthouse Steps Quilt (and tutorial!)
Indigo Picnic Quilt
Indigo Patchwork Quilt


It felt good to use up a piece of my hand dyed stash, I don't always reach for the canvas ones when I'm pulling fabrics for projects. I also like the way the finished bag turned out with the contrasted sides and bottom. Sometimes not having enough fabric leads to good places! A good reminder (for myself!) to make things work with what you have.


Pattern: The Workshop Tote Pattern
Fabrics: Indigo dyed cotton canvas and thrifted bedsheet
Notions: 1" cotton webbing

I have a sew along for this pattern, which you can find here: The Workshop Tote Sew Along

Happy Sewing!

Patchwork Workshop Tote

Wednesday, May 24, 2023


Happy Wednesday! Today I have a recent tote bag finish to share with you!


As I mentioned in my last What I'm Currently Working On post, I cut a ton of squares to make a couple of plus quilts. I still ended up with extra squares after setting aside enough to make a throw quilt and a baby quilt. I happened to realize that the square size is the same as what you need for the patchwork version of my Workshop Tote Pattern! And lucky me, I had enough squares leftover to make one!


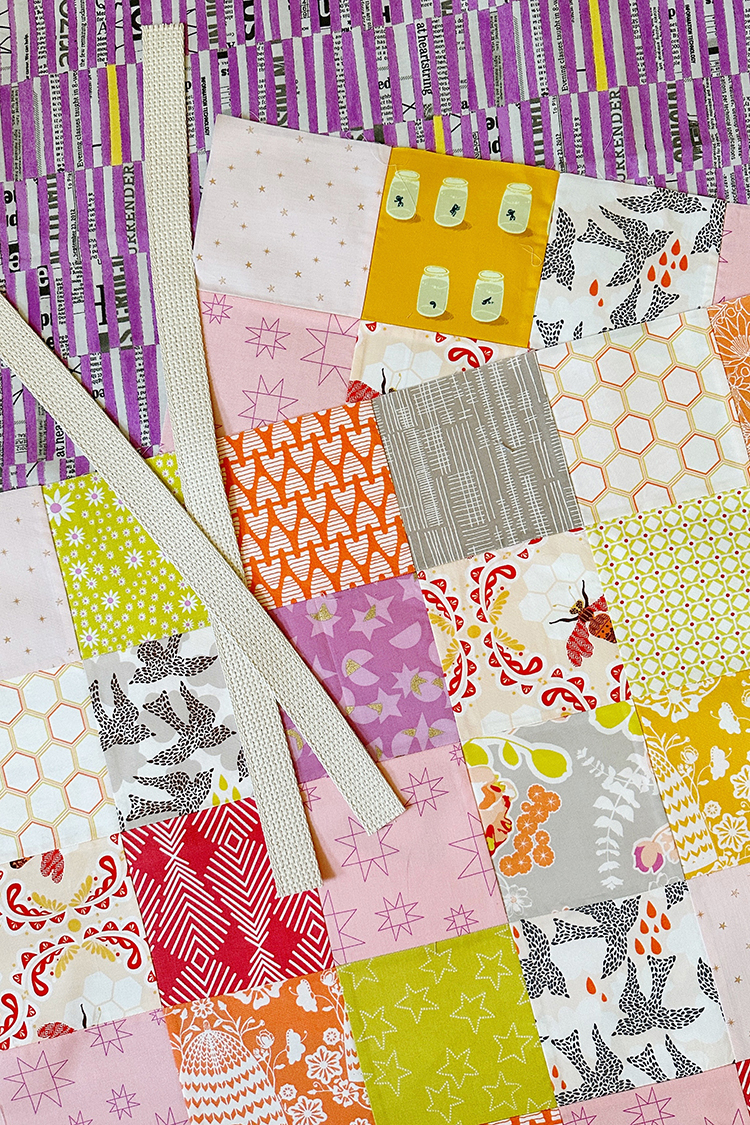
Since I already had all the squares cut, the patchwork panels came together really fast! I got them all stitched together, interfaced and cut linings/handles in one day. It was the weekend and there was nice weather to enjoy, otherwise I could have just pushed through and finished the bag.


On the other hand, when I make bags I do like to do all the prep work one day and then start sewing fresh the second day. This bag is not complicated (and I've made a bunch of them of course!), so it's not super necessary to break up the prep and sewing.


I was so happy to use up most of the leftover squares, and now I'll have a tote bag to match the two quilts I'm making, which is pretty fun! I love how sherbet-y these colors are. I tried to use up most of the focal prints that were left, and used plenty of the repeat blenders on the sides of the tote and the bottom.


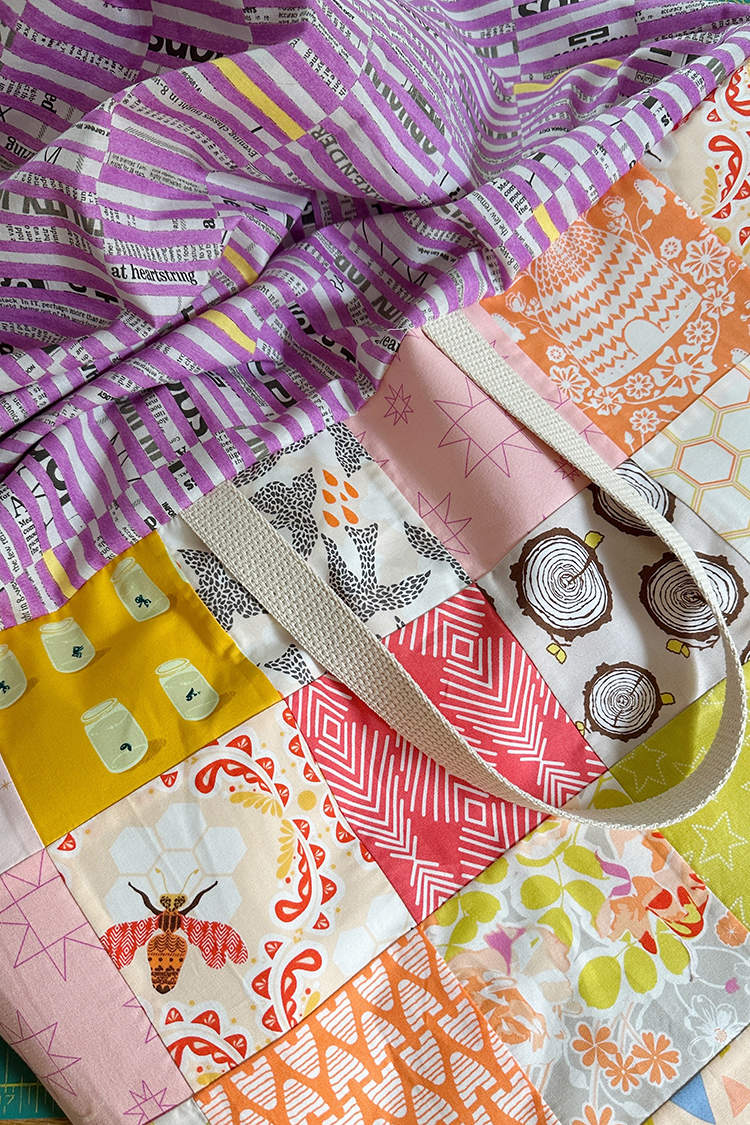
For the lining I pulled out this older Carrie Bloomston* print that I've had in my stash for a really long time. I don't stash a lot of cuts that are more than 1/2 yard, so I was glad to find something that matched relatively well. To keep this tote nice and easy I used 1" cotton webbing for the handles instead of making them. I have some stocked in my online shop: 1" Cotton Webbing


Pick up a copy of the pattern here: The Workshop Tote Pattern

I also have a Sew Along for this pattern, which you can find here: The Workshop Tote Sew Along

Happy Sewing!

*Note: Any links marked with an asterisk in this post are affiliate links. This means if you click through and buy something, I make a small commission, at no extra cost to you.

2020 in Review

Friday, January 29, 2021


I thought we better look back at 2020 before we get too far into 2021. To be honest I have been tempted to skip this post altogether. But I know I'll regret it if I don't mark the year changing at all.


I met almost none of my crafty goals for the year. Never could I have imagined the things that would happen in 2020, and my sewing goals definitely took a back seat. I spent a lot more time in 2020 just trying to stay afloat. Taking care of our household, trying to stay connected to friends and family, and focusing my sewing on more practical projects like masks and things for the house. I also spent much more time this year in the garden; any excuse to be outside and not in the house for a bit.


I think the biggest reason that I did not meet many of my crafty goals in 2020 (other than the pandemic) is that they were really project specific. It didn't allow me much room to be flexible. With that in mind I'm making more broad goals for 2021. I'm trying not to be too hard on myself, but I will admit I'm dissapointed. I know it's an ebb and flow though. Some years are more productive than others, and this is an incredibly trying peroid of time that we've been living through.


So, in order to feel a little better about what I was able to accomplish last year, I'm going to mix up the yearly review a bit. You can see past yearly reviews here.


First up, my proudest crafty accomplishment of 2020. For the fifth year in a row, I tracked my fabric and yarn yardage. (See how I do that in this post.) As in other years, my goal was simply to use up more fabric than I bring in. I'm happy to report that I acheived this for both fabric and yarn! I also wanted to bring in less fabric than last year (which was 48 yards), so I met that extra bit too!

2020 Fabric Stash:
Brought in: 40.25 yards
Sewed up/destashed: 65.5 yards
Net: -25.25 yards

2020 Yarn Stash:
Brought in: 0 yards
Knit up/destashed: 334 yards
Net: -334 yards

My favorite quilt finish:

Photo used with permission from Quilts & More magazine. ©2020 Meredith Corporation. All rights reserved.
Keep On Turning Quilt

My favorite lined drawstring bag finish:

Tiny Drawstring Bag Advent Calendar

My favorite tote bag finish:

Scrappy Canvas Workshop Tote Bag

My favorite (and only) knitting finish:


Sweet Nectar Mitts


I actually managed to share 13 tutorial or informational posts this year, which is cool! I wrote a number of them for the lined drawstring bag sew along, plus a few based around sewing space organization. I hope to add to that series this Spring. See all the tutorials/informational posts I shared in 2020 below:

Long Scrappy Pincushion Tutorial
Scrappy Nine-Patch Pincushion Tutorial
DIY Quilt Ladder
DIY Fabric Grow Bags
Tips for Keeping Your Sewing Table Organized and Clutter Free
Tips for Storing Projects in Progress (WIPs)
Tips for Organizing and Storing Fabric Scraps
Vote Mini Quilt Tutorial
How to Add Pom Pom Trim to a Pillow
Tips for Choosing Fabrics for Drawstring Bags
Lined Drawstring Bag Video Tutorial
Wine Bottle Drawstring Gift Bag Tutorial
How to Add an Exterior Pocket to a Drawstring Bag


I released one new pattern in 2020, the Bear Paw Pillows Pattern. It's currently available as a PDF only, but the Paper version and a little shop refresh are both coming in February.

Find the pattern here: Bear Paw Pillows Pattern

https://www.jenibakerpatterns.com/product/cotton-twill-tape
One of the biggest changes I made to my shop in 2020 was I started selling Cotton Twill Tape and Cotton Webbing. I'm excited to add more new products like these this year, first up wooden beads! Hopefully also in February.

Find those products here: Cotton Twill Tape and Cotton Webbing

I want to wrap up this review by sharing a few of my favorite snapshots from my 2020 garden. There wasn't as much to look forward to in 2020 as plans kept needing to be canceled and we hunkered down here in CT. Being able to grow food and flowers really helped me get through it. Every morning during the Summer I'd start the day by going out and walking through the garden to see the progress. Oftentimes I'd do the same again a few times during the day, whenever I needed some fresh air or a pick me up. Usually the growing season seems so slow, but I really was able to savor and appreciate it last year.


I'll be back to share my 2021 Crafty Goals soon!