
Happy Wednesday! Today I have a piece of fabric artwork to share. This project has been on my to-do list for years at this point, pretty much ever since I finished my first piece of fabric art back in 2019. It was also on my crafty goals list for 2022, so I'm really happy to check this project off the list!

For more on my first piece of fabric art see this post: Improv Pieced Wall Art
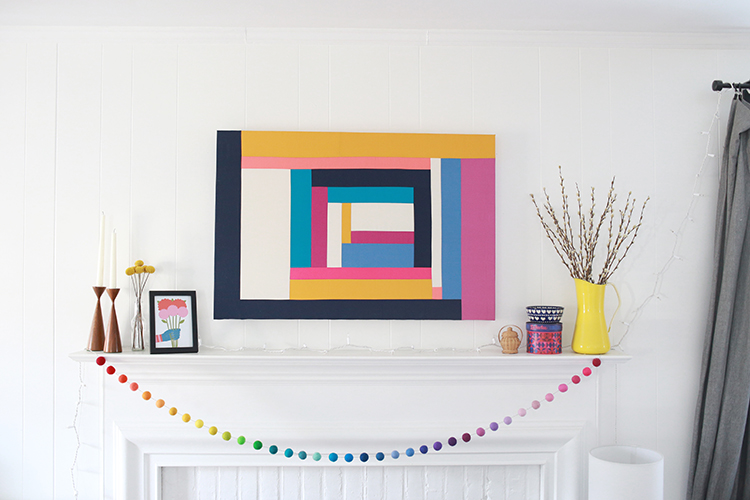
A bit of backstory first. I have wanted a large piece of artwork to go over our mantle pretty much ever since we moved in. I knew I didnt want a mirror there, but I couldn't decide on any artwork to put there. It needed to be big, so I knew it would be expensive (as it should!). I thought about doing a large framed photo or print, but again just couldn't make up my mind on what! Fast forward to making my own pieced artwork in 2019. It turned out better than I expected it to, except that I made it too big! It just didn't look right over the mantle, so I ended up putting it in our dining room, and I love it there.
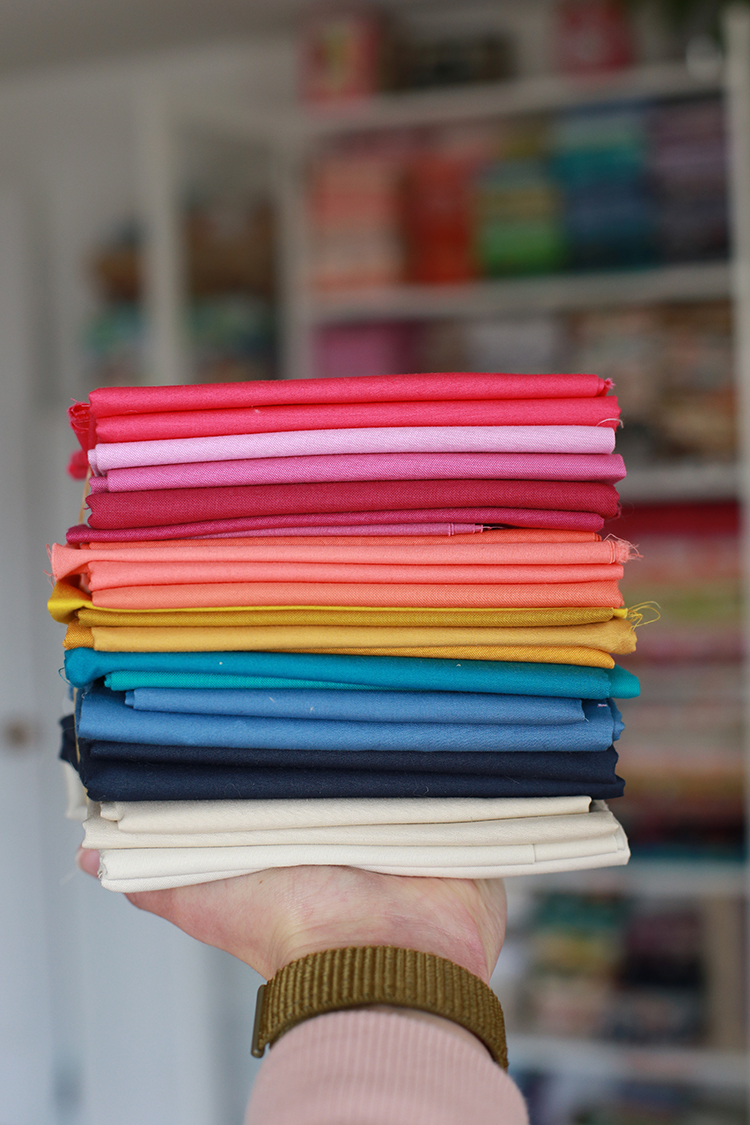
I meant to go ahead and make a new piece right away, but I didn't. Finally last week I decided to at least pull some colors for it. After pulling the fabrics, I just ended up starting! One thing led to another and a put together the entire piece and hung it all in one day!
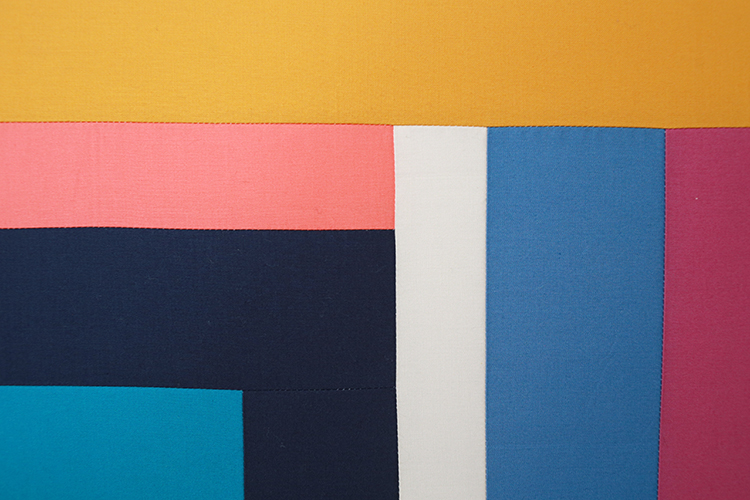
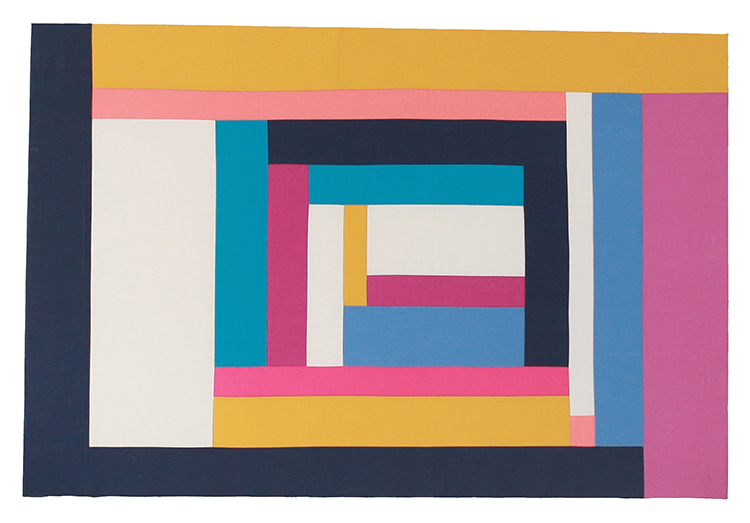
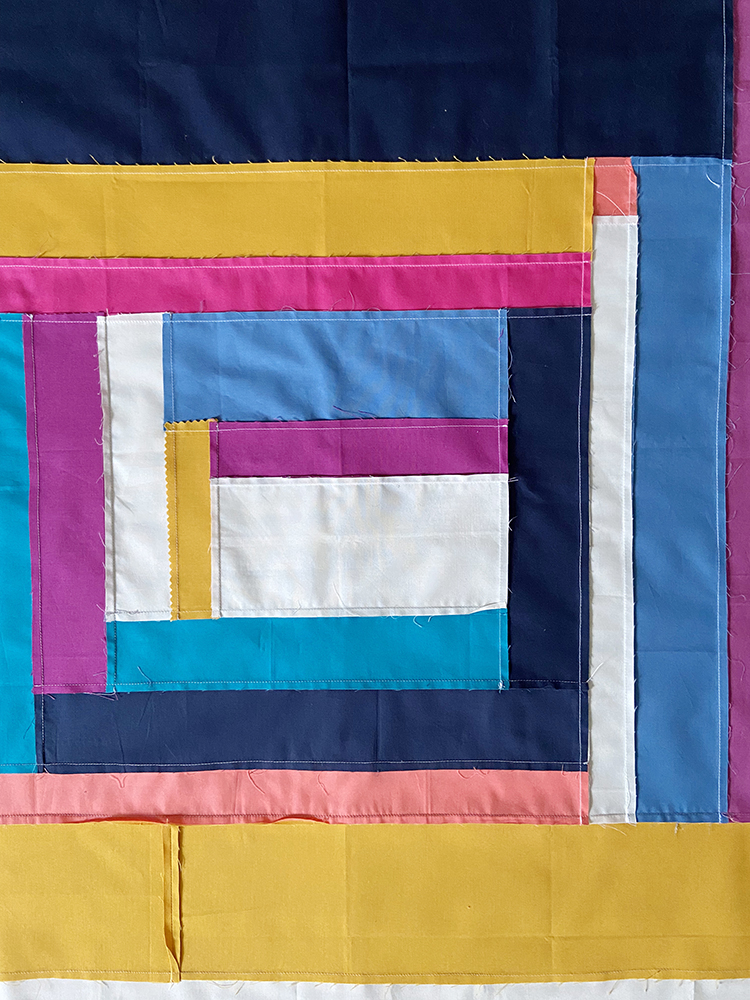
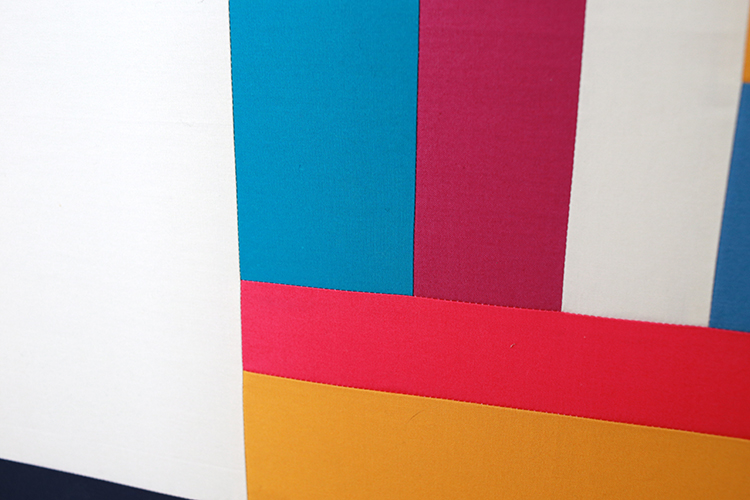 I went with much more saturated colors this time, and just randomly pieced in a log cabin quilt style. The colors I pulled from the two rugs we have in this main living space. I thought about ordering some other solid colors, but I'm glad I used what I had instead. Feels much more satisfying!
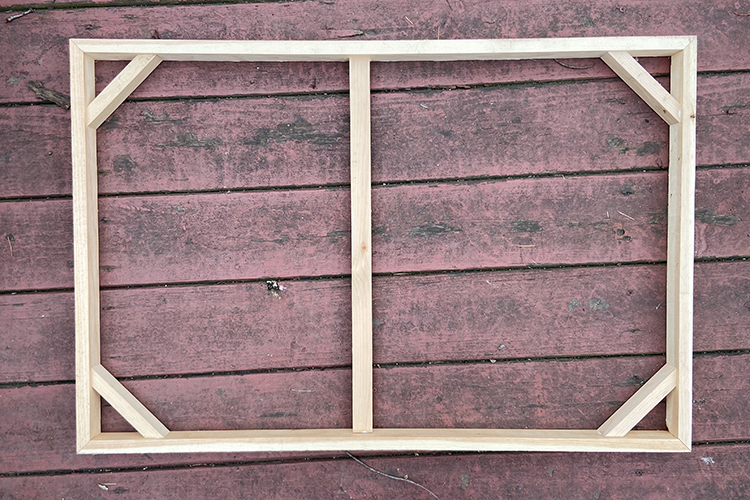 This time I remembered to take a photo of the frame before I added fabric! I used mitered corners this time, which is so convienient for the math. The side and top pieces are the same size as the finished frame. My frame is 24" tall x 36" wide. I put the whole thing together with 1x2 lumber, wood glue, and brad nails. I got lucky and it was a beautifully sunny day when I was making this, so I put the frame together on our deck. I'm so happy the weather is improving.
Edited to add: If you don't want to make a completely DIY frame, you could buy canvas stretcher bar kits like these*, which assemble without power tools.
When it came time to attach the pieced quilt top to the frame, I first cut a piece of white Kona cotton* the same size as the quilt top. I used this as a backing so that the frame won't show through to the front. Not sure this is 100% necessary, but it's an easy step so it feels worth the extra work to me. I stapled the fabric to the back of the frame using my new cordless stapler* and then cut away the excess fabric.
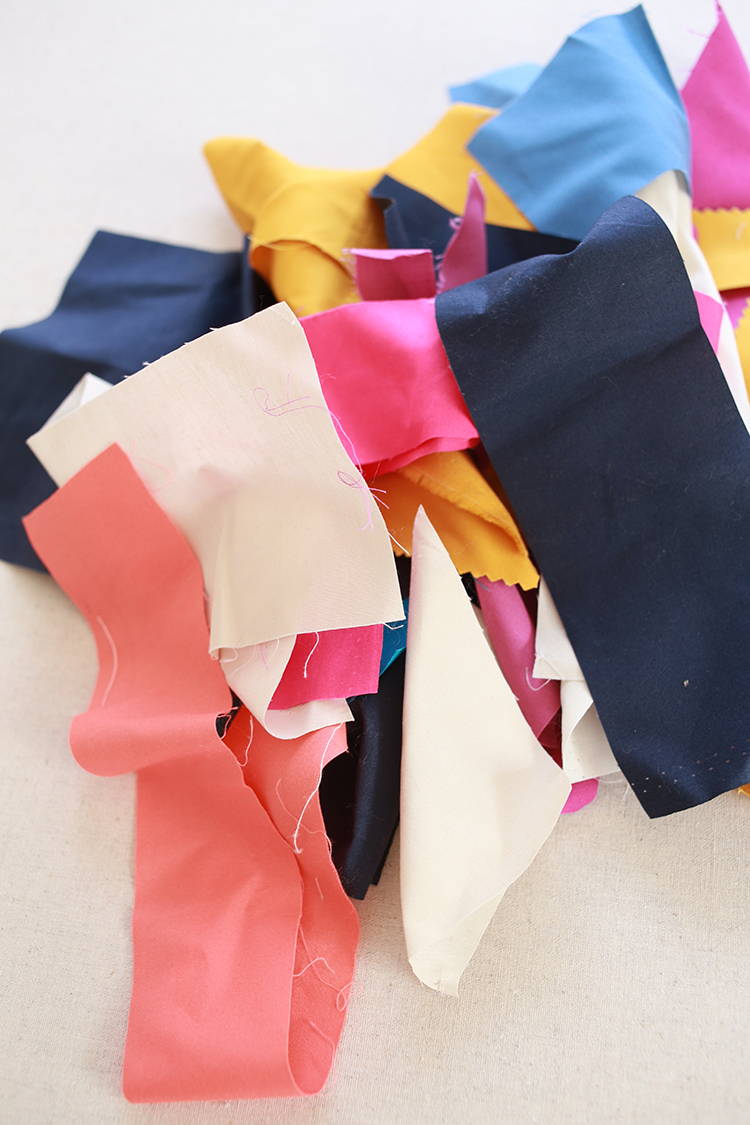 I'm really happy with how it turned out! I'd like to try making some smaller pieces at some point. It's such a fun way to use up fabric scraps, and make something totally unique. I love how cheap it is for making large pieces too. Is it weird that I kind of want to make some seasonal pieces to rotate in and out of this spot?
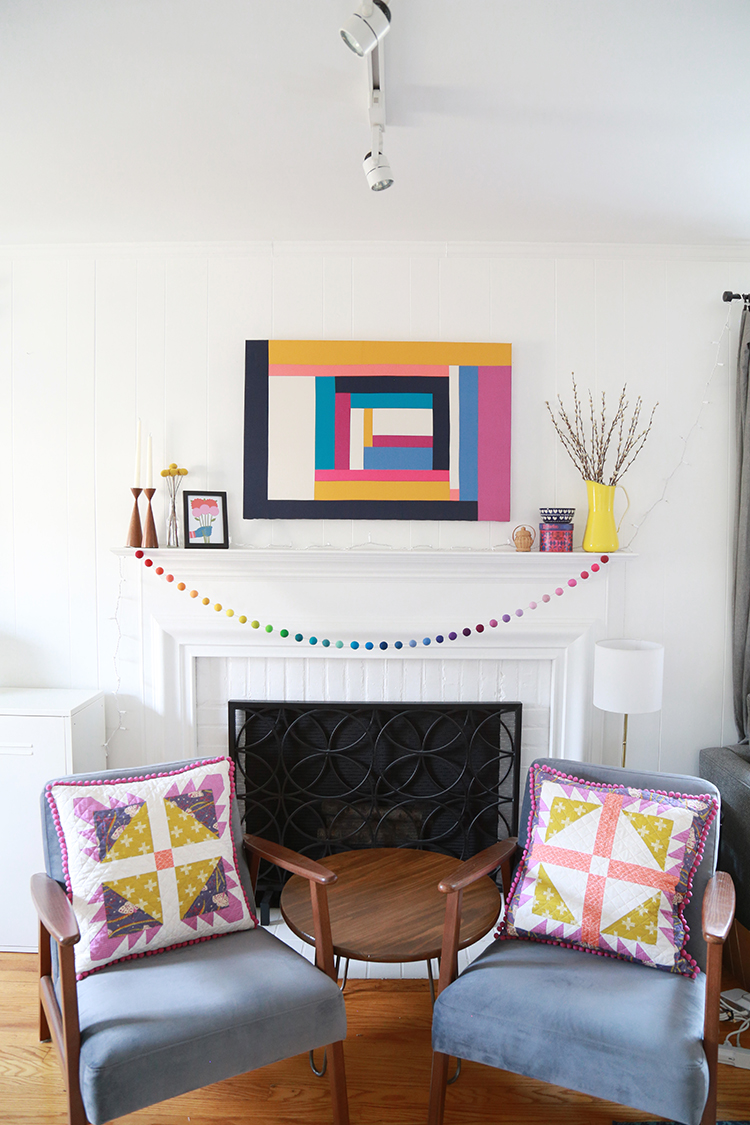
Here is a look at the whole fireplace area! The pillows are from my Bear Paw Pillows Pattern. The garland is by Erika Bea. The print is was a postcard by Lisa Congdon.
Happy Sewing!
*Note: Any links marked with an asterisk in this post are affiliate links. This means if you click through and buy something, I make a small commission, at no extra cost to you.
ReplyDeleteAbsolutely perfect over your fireplace!
Thank you! :)
DeleteLove your art piece! It's the statement piece for your living room and ties everything together so nicely. I think it's a terrific idea to make other pieces for different occasions/seasons/etc. Also makes it easy to change out your living room to match (pillow covers, different banner, etc).
ReplyDeleteThank you! Yeah, exactly my thought too! I already have a rotation of pillows, why not art too? :)
DeleteCould the patchwork be stapled to a painter’s framed canvas?
ReplyDeleteI don't see why not! :)
Delete