

Happy Wednesday! I have a fun crafty tutorial to share with you today, for reusable row markers!

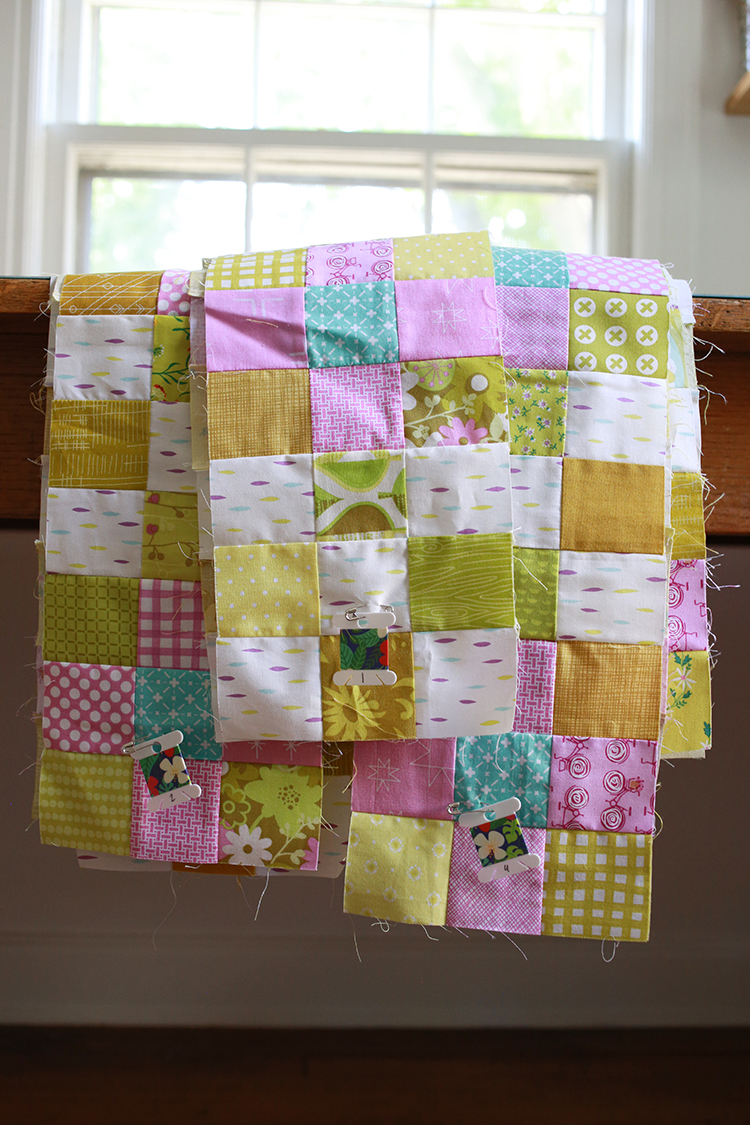
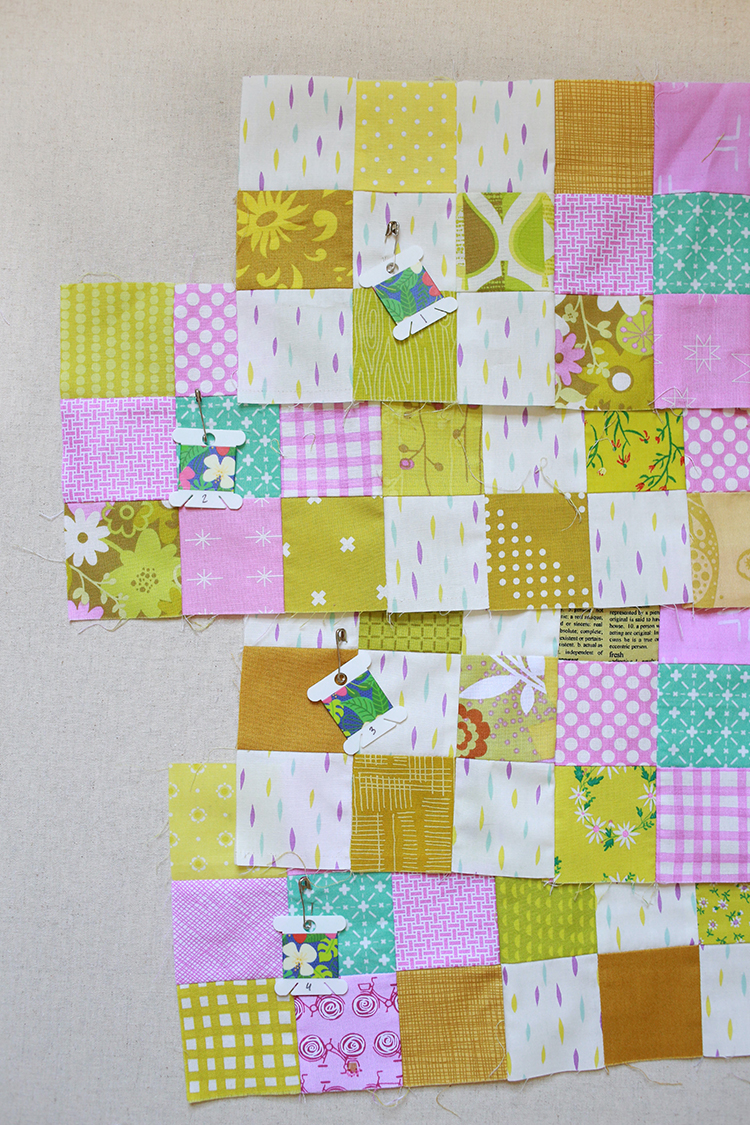
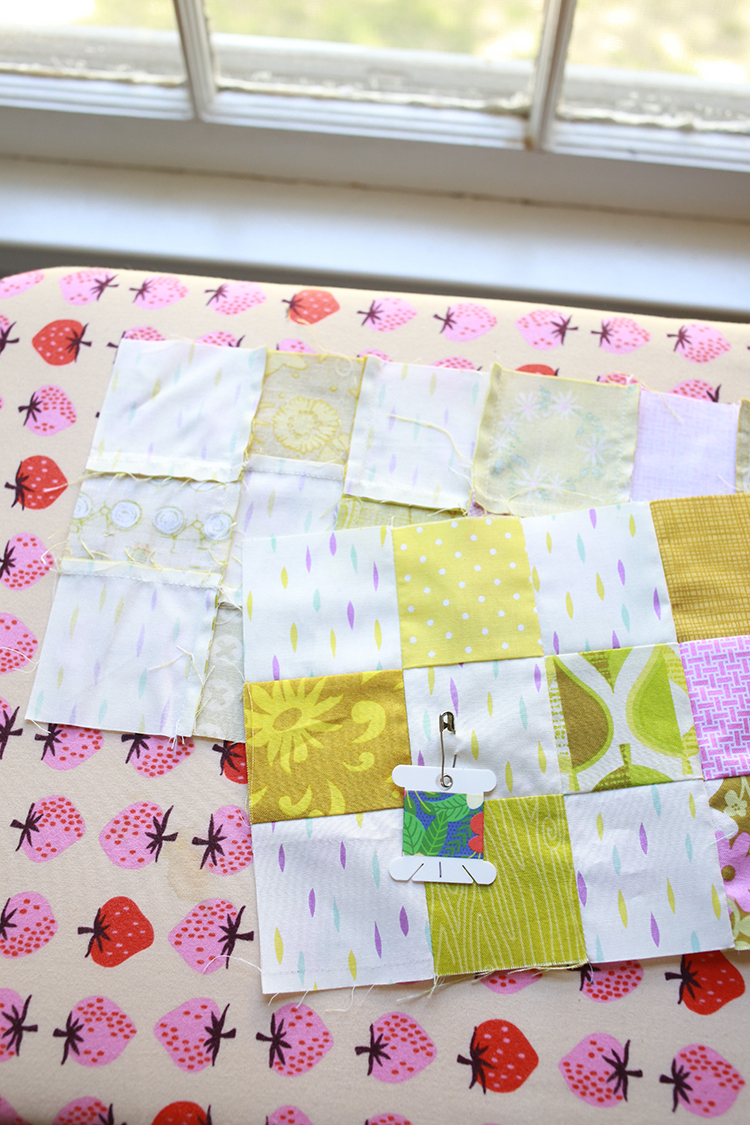
I made a set of these for myself when I first started quilting many years ago and I've used them on almost every quilt I've made since then. Just safety pin your marker to the first block in each row when you lay it out. I try to keep it centered in the block so that it doesn't get in the way when I put the rows together.
Having a physical marker on the rows also helps simplify the pressing step for me when I'm nesting seams. I'll press odd numbered row seams away from the marker and press even numbered row seams towards the marker. Easy to keep things straight!
I think these would make a great gift for a friend or to put in a swap package! You could use a fun washi tape, colored markers or even stickers to dress them up!
Skill Level: Beginner Friendly
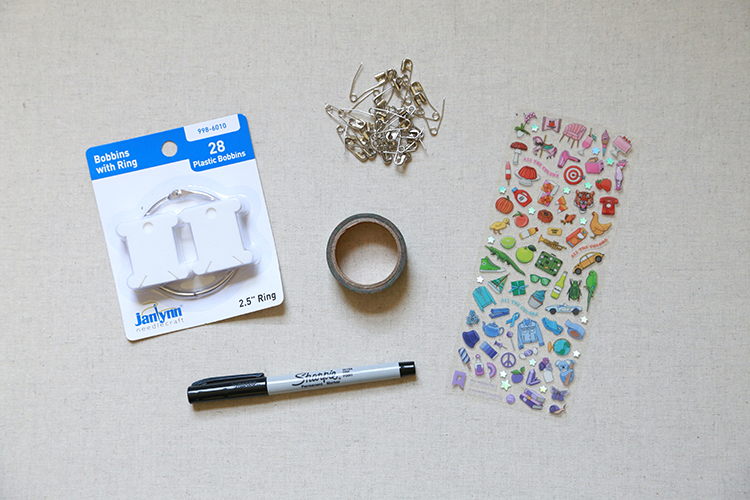
Materials:
- Plastic floss bobbins*
- Washi tape or stickers (optional)
- Permanent marker
- Safety pins
- Small tin or container for storage
1. Decide how many markers you want to make! This is up to you and what kind of quilts you make. My bobbins came in a pack of 28, so that's how many I'm going to make.
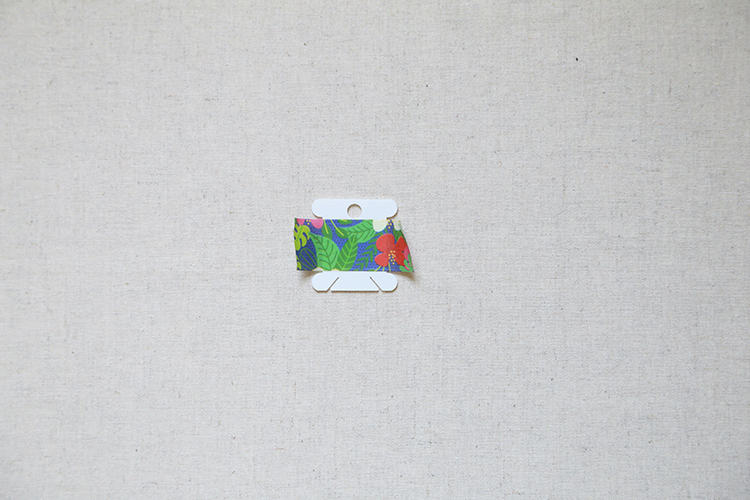
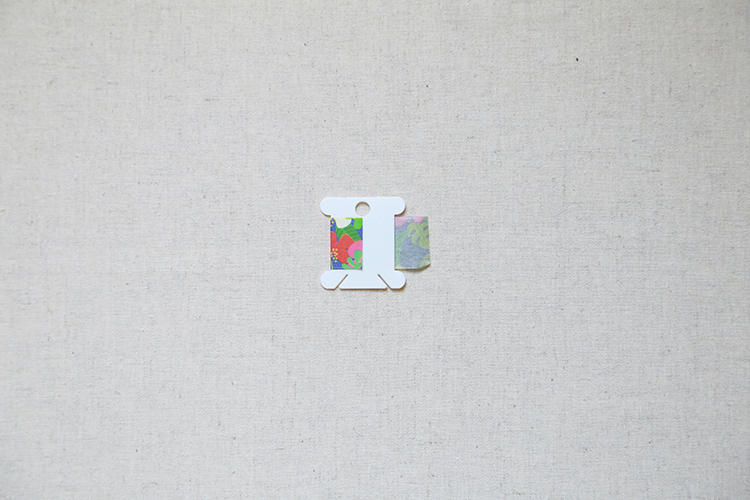
2. This step is optional, but I love to decorate the flat section of the bobbin! If you're using washi tape, cut it into strips at least 2.25" long (check for your actual markers, tape should be a little more than twice the width of the flat section). My washi tape is 7/8" wide. Wrap the tape around the flat section and press to secure to the bobbin.

Tip: An easy way to cut the tape is to lightly stick it to your cutting mat and cut with an old rotary blade or an exacto knife.

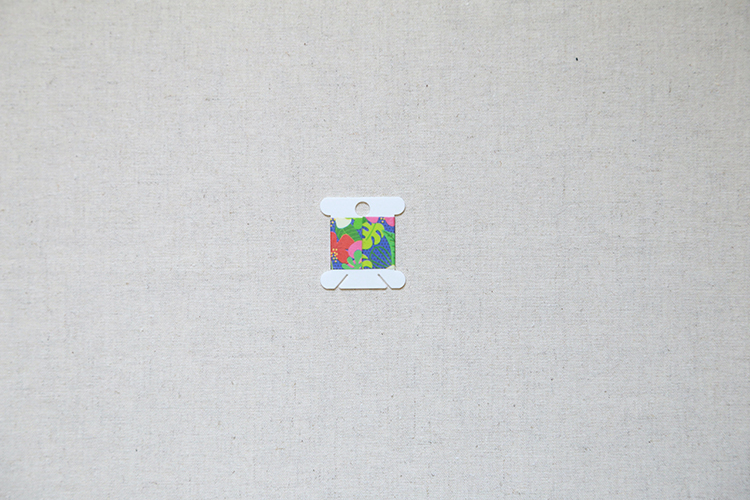
3. Use a permanent marker to number each marker.
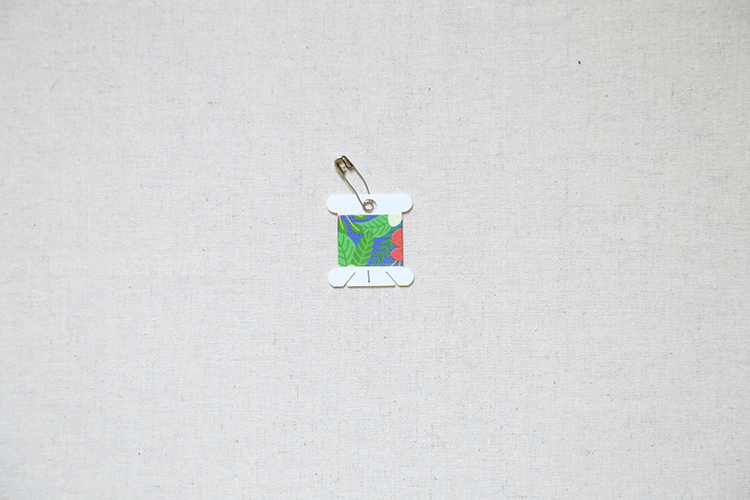
4. Hook each marker onto a safety pin, through the hole at the top.

That's it! Super simple and easy DIY, but so handy!

And here is a set made with stickers instead of washi tape! The numbers follow the rainbow color order. These came in a recent month of a Pipsticks subscription* that a friend gave me!
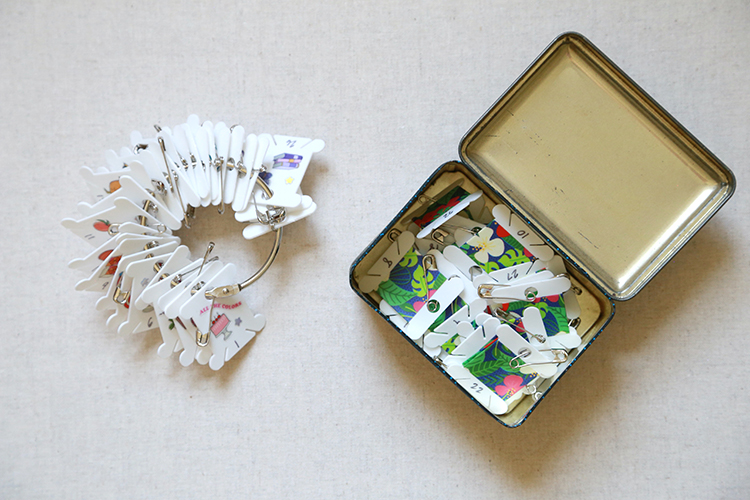
I usually keep my set in a small tin or plastic box, but you could also store them on the ring that often comes with the floss bobbins.
I hope you've enjoyed this tutorial! I have lots of other tutorials for everything from quilts, pillows, bags, and holiday items to informational series and techniques. Find all my tutorials here: Tutorials. My online shop is filled with patterns for quilts and bags. Find my patterns here: Jeni Baker Patterns
If you make something using one of my tutorials or patterns, I hope you'll tag me @jenib320 and use my hashtag #jenibaker on instagram!
Happy Quilting!
*Note: Any links marked with an asterisk in this post are affiliate links. This means if you click through and buy something, I make a small commission, at no extra cost to you.
great ideal ! thanks for sharing .
ReplyDeleteLove this idea! Thank you.
ReplyDeleteI'm not sure I understand, odd and even?
ReplyDeleteOnly relevant if you're pressing row seams in alternating directions! For example, pressing row 1 seams all in one direction, then pressing row 2 seams all in the opposite direction.
DeleteFace palm - this is brilliant! Thank you!
ReplyDeleteWhat a lovely idea - I wonder if we can get those over here - washi tape I have plenty of! And I do love those stickers. Thank you.
ReplyDeleteKerry xx
What a great idea. Love the quilt palette too. Do the little safety pins ever leave a mark when you attach the tag? What size safety pin did you use, please? Thank you.
ReplyDeleteI use the same curved safety pins I use for quilt basting! There are holes right after removing, but they disappear in the wash!
DeleteWow. thanks for that. so cute and useful.
ReplyDeleteI love this idea. I’ve been using old calendars. I cut out each day square. They already have the number printed. But they only last for a few quilts then I cut out another months worth of dates.
ReplyDeleteYour idea will make awesome quilty gifts. I cannot wait to make some.
Thank you for sharing the row marker idea. Far cuter and more durable than the dates clipped from old calendars I've been using.
ReplyDeleteLove this! I stopped using the floss bobbins to wind embroidery floss on so I have a bag of these sitting around waiting for a useful purpose. Tada! Thank you!
ReplyDeleteBrilliant idea!
ReplyDelete