

Happy Wednesday! Today I wanted to share my secret for preventing fabrics from bleeding when I wash my handmade quilts. I'll also share my basic instructions for washing/drying quilts. I have mentioned this "secret" a few different times over the years, but I wanted to share it in a dedicated post.
As a quilter there are few things worse than pulling your finished quilt out of the dryer to discover that the fabrics in your quilt have bled. When I've experience issues with washing my quilts in the past it has felt pretty devastating. For me a quilt isn't finished until it's had a trip through the washer and dryer, so when something goes wrong during this "last step" it feels like I didn't stick the landing! That satisfied feeling I'm expecting to feel quickly turns into frustration and sadness. I think it's safe to say we all want to avoid that!

Before we dive in I want to preface this advice by saying that I typically do not prewash my fabric for quilts. Specifically quilting cottons. When I'm making quilts from fabric that's intended more for garments like double gauze, chambray or lawn, I always prewash the fabric before making the quilt. You could follow the steps below for pre-washing fabrics for a quilt if you'd like!
While we're on the general topic of avoiding quilt washing issues, save yourself some trouble and do not use a water soluble/disappearing ink marker on a visible part of your quilt. I learned the hard way that it's removal is not always straightforward (short story: don't mix disappearing ink markers with stain fighting products and hot water). Read more about that incident here: Sherbet Pips Quilt & a Lesson Learned.
The fabric bleeding mishap that was the last straw was my Mendocino Dreams Quilt that I made back in 2012. It was a big quilt, so I used two Shout Color Catchers* when I washed it. And I still had fabric bleeding in a few places. I was so upset (this quilt was easily 40+ hours of work), I knew I needed to figure out a different method for washing my quilts to avoid this in the future.
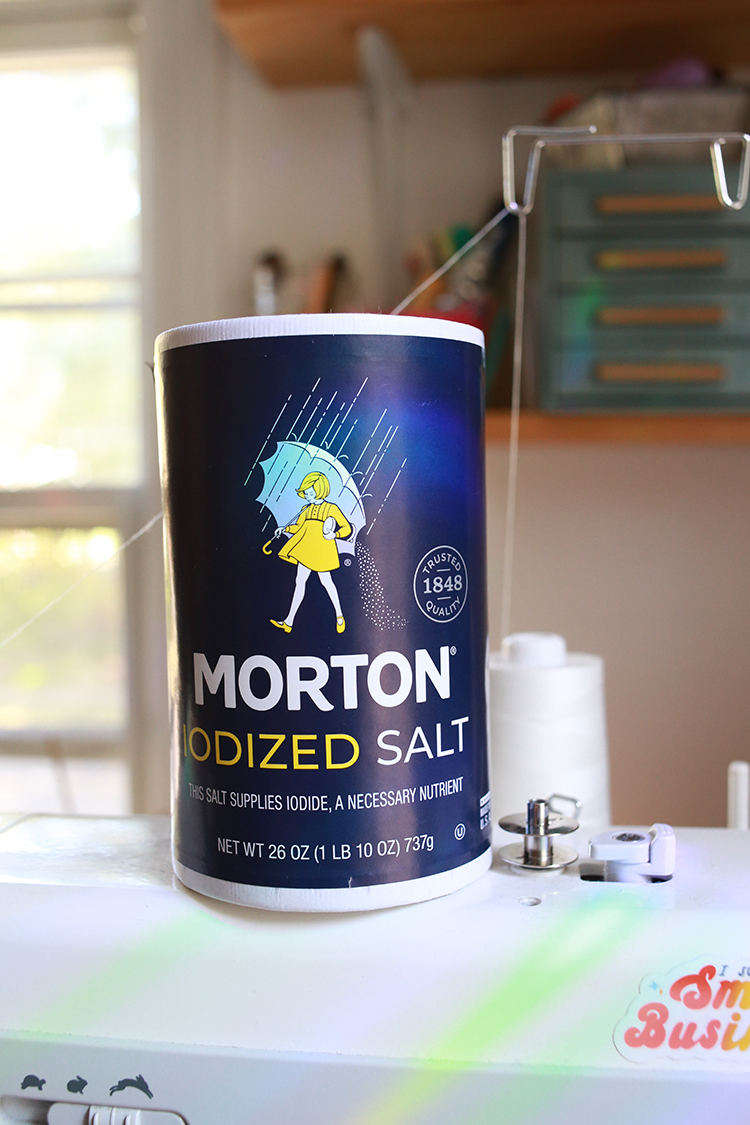
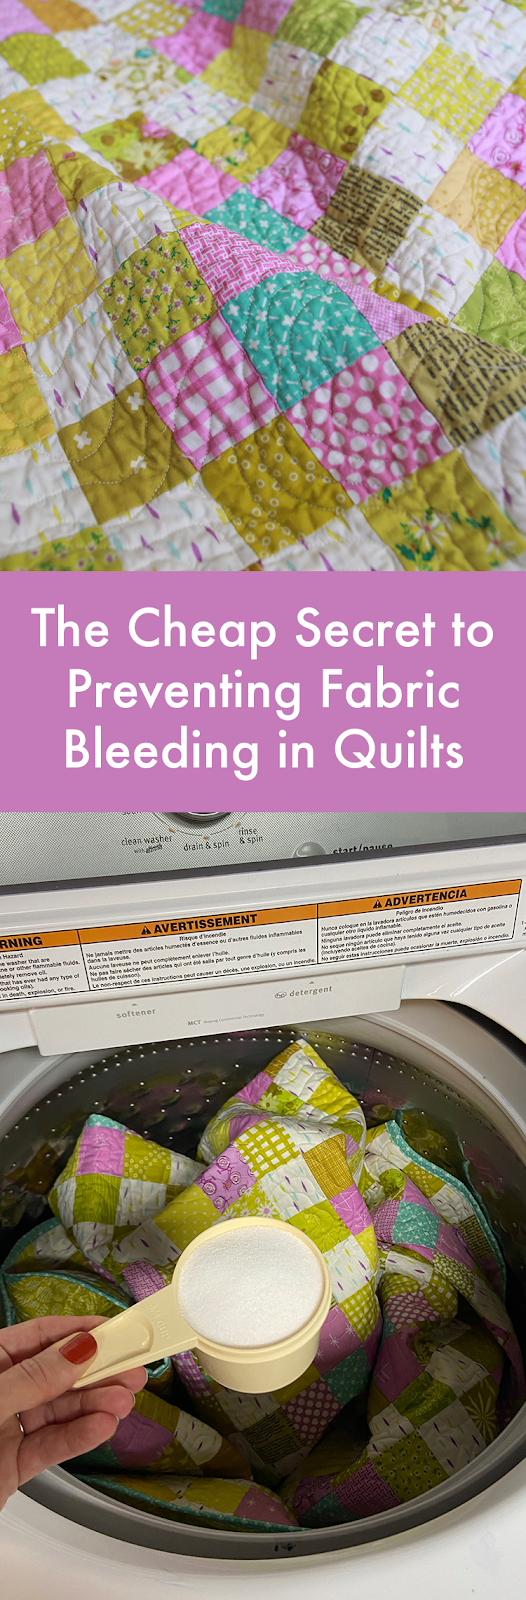
The secret is... table salt! No more expensive color catchers for me, just plain old table salt. I've used iodized, non-iodized, name brand, generic brand and it doesn't seem to matter, they all work. I have not tested this with kosher or sea salt.
I'm happy to report that since I started using this trick, I have had ZERO issues with fabric bleeding. I think I started doing this around 2013, and I have made a lot of quilts since then. Here's how to use it when washing your quilt:
Disclaimer: The results I've acheived using the following steps have worked for me, but I cannot guarantee that they will work for you. Please follow these instructions at your own risk and use your own judgement to decide what is right for you, your quilts, and your washing machine.
1. You'll want to start with a finished quilt! I am always so excited to wash mine so I usually get right up from my machine when I finish binding and head for our laundry nook.
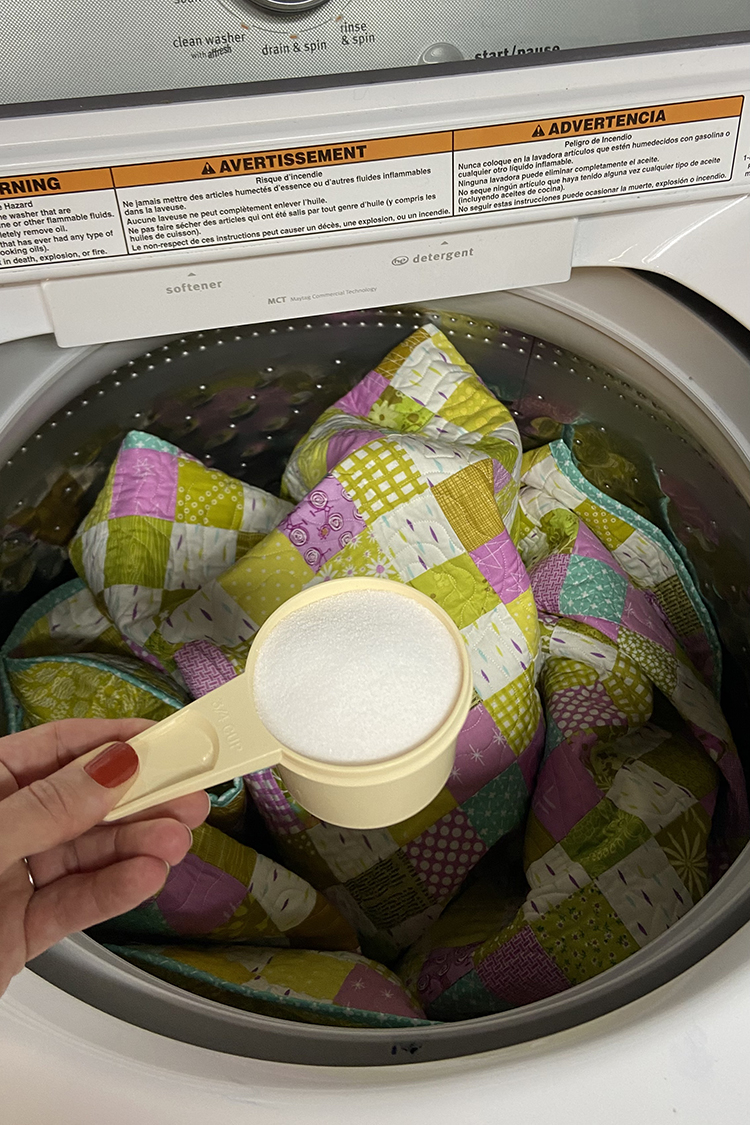
2. Add your quilt to the washing machine. For either a top loading (what I've got!), or a front loading, add 1/2 cup - 1 cup of table salt to the machine, right in with the quilt. I use more or less depending on the size of the quilt. (I usually only do this step the first time I wash a quilt, but if I'm particularly worried about bleeds I'll do it on subsequent washes too.)
3. Add your preferred laundry detergent. I like to use a laundry detergent without fragrance or dyes (I use these tablets* specifically). It's surprising how many conventional laundry products have dye in them. If your liquid (or pod) detergent has a color to it, it most likely is from a synthetic dye. I recommend avoiding this if you can, when washing a handmade quilt. This is the liquid detergent* I used for years before switching to tablets, which is available at most big box or grocery stores.
4. Set your machine to a gentle cycle and wash with cold water.
5. SET A TIMER. This is so important. Probably the most important thing you can do to prevent fabric bleeding in your quilt. You want your wet quilt to sit in the machine, after the wash cycle has finished, for as little time as possible. In my experience, letting wet fabric sit against wet fabric often results in fabric bleeding. 10-15 minutes shouldn't be anything to panic about, but I would try to avoid anything longer than that. Definitely would not recommend throwing a quilt in the wash before you go out to run errands or something!
6. Check your quilt for stains or bleeds before drying it. It's easier to deal with them before they head into the dryer and get set.
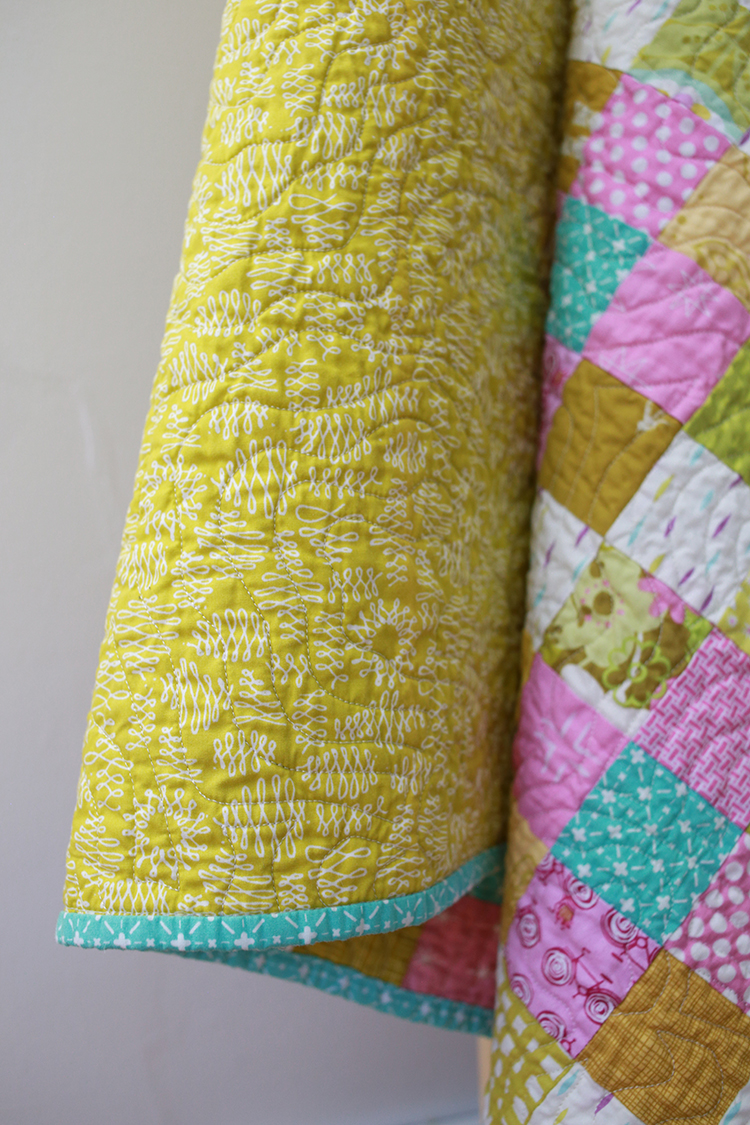
7. Dry your quilt. There is a lot of room for personal preference here. For me, I absolutely love the wrinkle crinkle on a finished quilt, so I dry my quilt completely in the dryer, usually on medium heat. I used wool dryer balls* to help it dry evenly, minimize static and make it nice and fluffy! If your quilt is particularly delicate or you want to minimize shrinking, I would recommend drying it on lower heat and pulling it out of the dryer early to let it air dry the rest of the way.
An interesting thing about this trick is that if you search "salt fabric bleeding" or "using salt in laundry" it actually pulls up a few "laundry hacks that didn't work" type of articles. This is a good reminder that it may not work in every situation for every person. I feel confident sharing this trick anyways because it has worked for me for the last 50+ quilts I've made. Just remember to pair it with good quilt washing practices like using cold water and not letting the quilt sit wet in the washer for too long.
I wanted to share a few specific quilts as testimontials to this method. The following quilts were washed using these steps and came through unscathed with no bleeds. A few were quilts with blocks made by a group of people (so a large variety of fabrics), and or quilts with high-contrast and/or deep colors.

Black and White Heart Quilt for Amanda

Fantastic Leftovers Quilt

Finished Scrappy Pineapple Quilt

Tula Pink Kaleidoscope Quilt
I hope you've enjoyed this informational tutorial! I have lots of other tutorials for everything from quilts, pillows, bags, and holiday items to informational series and techniques. Find all my tutorials here: Tutorials. My online shop is filled with patterns for quilts and bags. Find my patterns here: Jeni Baker Patterns
If you make something using one of my tutorials or patterns, I hope you'll tag me @jenib320 and use my hashtag #jenibaker on instagram!
Happy Sewing!
*Note: Any links marked with an asterisk in this post are affiliate links. This means if you click through and buy something, I make a small commission, at no extra cost to you.
Thank you for this. I'm adding salt to my grocery list! I learned the hard way on a queen size quilt that I had many hours, and a fair amount of money into. It's a very scrappy quilt, with many different neutrals, reds, and gold. Out of all the various neutrals, only 3 picked up the red. But they picked it up throughout the whole quilt.
ReplyDeleteOh dear, I'm sorry!
DeleteI had the same issue with red bleeding onto white, despite 4 color catchers being in the washer. Heartbroken, I jumped on Google to see if there were remedies available....most were not feasible for me, so I used the one that used what I had on hand . DAWN dish detergent and the hottest water possible. I was very, very skeptical but desperate. The throw size quilt went into the bathtub along with 1 cup dawn and a canner full of boiling water. The article said to leave it soak, however, the red had lifted before the tub finished filling, so I hauled it to the washer and washed it with vinegar to break down the soap. I also added color catchers just in case. Amazingly, the white returned to bright white without a trace of red. So very grateful to the person that shared this tip....it saved my quilt!
DeleteGreat tip!
DeleteWhat is a “canner” of boiling water?
DeleteA canning is pot used for home canning mason jars.
DeleteI also removed a rust color from my whole quilt using Dawn in the bathtub. The color jumped right off all the cream blocks almost immediately. I had previously washed it several times with color catchers and nothing worked. The quilt was ruined and then I tried Dawn. It looked brand new after the Dawn. Turned the water heater up to around 140 degrees and only 1/3 cup of Dawn in the bathtub. I will try the salt method. Thank you.
DeleteThank you!
ReplyDeleteSure thing!
DeleteThanks for the tip! I wondered if you use this method every time you wash your quilts or just the first time?
ReplyDeleteUsually just the first time I was it!
DeleteGood to know! Thanks for sharing.
ReplyDeleteSure thing!
DeleteI had a piece of red fabric and the pattern said to starch before cutting. The starch made it bleed, what should I have done? The salt in washer sounds great.
ReplyDeleteOh no! I'm not sure, to be honest I never use starch! I think that means that fabric was definitely going to bleed in the final wash.
DeleteI recently had two red pieces of material that were bleeders. I tried the cup of salt in my kitchen sink and chounched Them and tell the water became bright red. I rinsed them. Then I put another half a cup of salt in the sink with a little bit of Dish soap. With clean water and chounched them until they Stopped bleeding. Rinsing them extremely well in between salt baths it worked.
DeleteAny tips on how to remove the bleeding once it has happened?
ReplyDeleteIt's been a long time since I've tried, but in the past I had luck with soaking in white vinegar (diluted). I also had some luck with an oxi-clean spray.
DeleteI had navy run on my white fabric, it was a king size quilt i had made for my bestie.
DeleteI used vinegar on all the bleeded areas and paper towels to blot it out !
It worked
I've discussed fabric bleeding with my brother a chemical engineer who worked over a decade at Milliken, a textile company. They didn't make quilting cottons. Salt was the only thing he told me to try. I know from cooking salt acts to bring water into cells.
ReplyDeleteThat's great to know, thanks for sharing!
DeleteThat's good to know! When 2or,3, agree it's probably certain. Thank you for the information
DeleteTwo things struck a chord with me as I read your post. The first was about your comment about your last quilt which ran colour "this quilt was easily 40+ hours of work". My immediate response was "Is that all?"
ReplyDeleteThe other was that just because you've not had colour runs since you started using salt doesn't mean that the salt is stopping them; you may not have had any anyway. But having said that, as a dyer (mostly animal fibres but also cotton), salt can be used to allow the dye to penetrate fully into the fabric so added to the first wash may help any excess dye (the cause of runs) penetrate the fabric better rather than bleeding out. Vinegar (or other acid such as citric or lemon) is also used commonly used to set the dyes so I would be surprised if it helped remove surplus colour.
I always wash my fabrics before using them both to control bleeding and shrinkage. I use a good amount of upcycled fabric in with the new and that may have been washed many times so I'm not prepared to risk uneven shrinkage. Ironing damp flat fabric isn't a very onerous task!
That's true, it's impossible to know for sure. However, I've made so many quilts in this stretch of time, it seems unlikely that I would have had no bleeds at all. I think for me it has been the combination of adding salt and making sure the quilts don't sit wet that has helped avoid them.
DeleteThat's definitely an option that a lot of people choose, but pre-washing is just not for me. I have chosen to take these steps instead and it has worked well for me.
When using those water soluable markers submerge the entire quilt in cold water with a bit of baking soda in it, the ink is an acid, the baking soda neutralizes it, this has worked for me for years.
ReplyDeleteThank you. I don't normally wash a quilt pre-gifting--but I always include color catchers in the package with instructions. While I love the feel of a crinkly washed quilt, I also appreciate the crisp feel of a new one for a gift. That being said, I'm making a series of Christmas quilts with lots of RED and deep green. I'll be washing these pre-gifting. I will be buying Salt. Just out of curiosity I searched the active ingredient in color catcher--sodium carbonate peroxide and sodium carbonate. I even saw an article to make your own color catchers--LOL--that is a step too far. I appreciate your post and will definitely be taking your advice.
ReplyDeleteOh interesting! You can DIY just about anything! :)
Deletegreat tip and article and always love seeing your projects. my favorite part of quilting is exactly how you describe - getting up from my machine and heading to the washer - which makes many of my quilty friends cringe. i love the crinkly look & feel. i also do not want to gift a quilt that will likely shrink and look different from its original state once washed.
ReplyDeleteAgreed! I would hate for the recipient of a quilt to be worried about ruining it in the wash. Nice to take on that step ourselves!
DeleteI been using salt on the first wash my new jeans, black and red colored clothes, and quilts for years and it works!
ReplyDeleteWhen I was young and lived on the beach at long Beach, California...my mother encouraged me to swim in the ocean in dark colored clothing to set the color so it wouldn't bleed when washing in the washing machine...worked like a charm.
ReplyDeleteThank you so much for sharing your wisdom!
ReplyDeleteThere is a product called Carbona which you can use to get rid of colors that have bled into fabrics. My grandson has used it several times as he has a knack for mixing colors when doing his laundry. ☹️
ReplyDeleteMy mother was a quilter and taught me this method back in the 1970s. After not quilting for many years I. had forgotten the ratios. Thanks for the update!
ReplyDeleteI also wash my fabric with table salt before quilting if I am concerned it may bleed that also goes with my clothing have been doing this for over 60 years
ReplyDeleteI use vinegar to set the dye. It has always worked. A family member owns a bathing suit company and it is what was told to us for our suits once we washed then, to soak in vinegar and water so the suits did not bleed. It worked. Good to know salt works too. Thank you.
ReplyDeleteI’ve been burned several times with bleeding colors on finished quilts. So I sew small 3”x3” blocks to white or cream fabric and wash as I would a quilt. This accomplished two things. Firstly, you can see what fabrics will bleed and what the shrink ratio of your fabrics are. This helps when using fabrics from several manufacturers. Keeps washed quilt from looking distorted due to different amts of shrinkage.
ReplyDeleteI always wash my quilting cottons with salt prior to cutting. Fold it up and safety pin with 3 or so large pins.
ReplyDeleteThis way the fabrics scraps can also be used without worry.
My mother always soaked, reds and purples in cold salt water overnight in the basement wash tub. I was born in 1943 so I can vouch that this is a very old method that goes back probably hundreds of years. I have never ever had problems with anything bleeding having set overnight in cold salt water. I used it on my daughters clothes that had red and white, and they never bled.
ReplyDeleteTried & true ; to prevent bleeding on any washable fabric, add 1/2 cup white vinegar to wash. Wash as normal on cold water. If your fabric bleeds. Use white vinegar, amount depends of how much fabric has bleed. Add milk to vinegar . Let set few minutes, will get thick, like sour milk. Pour on areas of fabric that has bleed. Let set 1 hour & wash. Might have to repeat? Have had great success with this process. Will also work if not found until fabric has dried! Hope this helps.
ReplyDeleteDo you remember in the 70’s that madras plaid was quite the fad, and my mom would soak them in salt water to set the color. Unfortunately, we kids wanted them to bleed! lol. I’m not surprised this has worked for you.
ReplyDeleteI have used this same method and even washed a red and white heart quilt with no bleeding. I usually put in salt AND color catchers, 2-3 depending on the color, ie more with reds. THEN I add white vinegar to the rinse. I continue with salt for the most “ runnable “ color quilts, for 2-3 more times.
ReplyDeleteSuper helpful as I go into quilting an epic huge full sized paper pieced landscape quilt with blue and white fabrics. Thanks so much!
ReplyDeleteMy mother in law told me this trick when I got married 60years ago and I use it for new dark clothes, the material I am going to use for the quilts I make. It has always worked all these years.She also told me the trick with the white vinegar. Very smart and wonderful lady.
ReplyDeleteWill this work with a batik quilt made with precuts?
ReplyDeleteI'm not sure! I've never made a quilt with batiks.
DeleteYes it will. I tried this on a quilt I made with batik charm packs last year. No bleeding at all.
DeleteThank you. This is the answer I was looking for. I have always pre-washed my fabrics and make quilts using both batiks and regular cottons. Glad to hear this works on batiks!
DeleteI have been doing this for close to 40 yrs. I usually let it soak for about an hour with the machine off, then spin it out and add a little detergent and run it through a short cycle just to make it fresh and bed ready. Like someone else said, as soo as I'm done I head to the basement and pop it in the washing machine. I have done it with all sorts of fabrics, Batiks, everything. At Christmas I made 3 quilts for our adult kids families with assorted reds and some white, cheap stuff, good stuff, to me that was the ultimate test. I always laugh at the people who think they need to purchase a pricey product when a 69 cent box of salt will do 3 quilts.
ReplyDeleteI use a cup of white vinegar and cold water regular cycle. Colors don't bleed!
ReplyDelete