
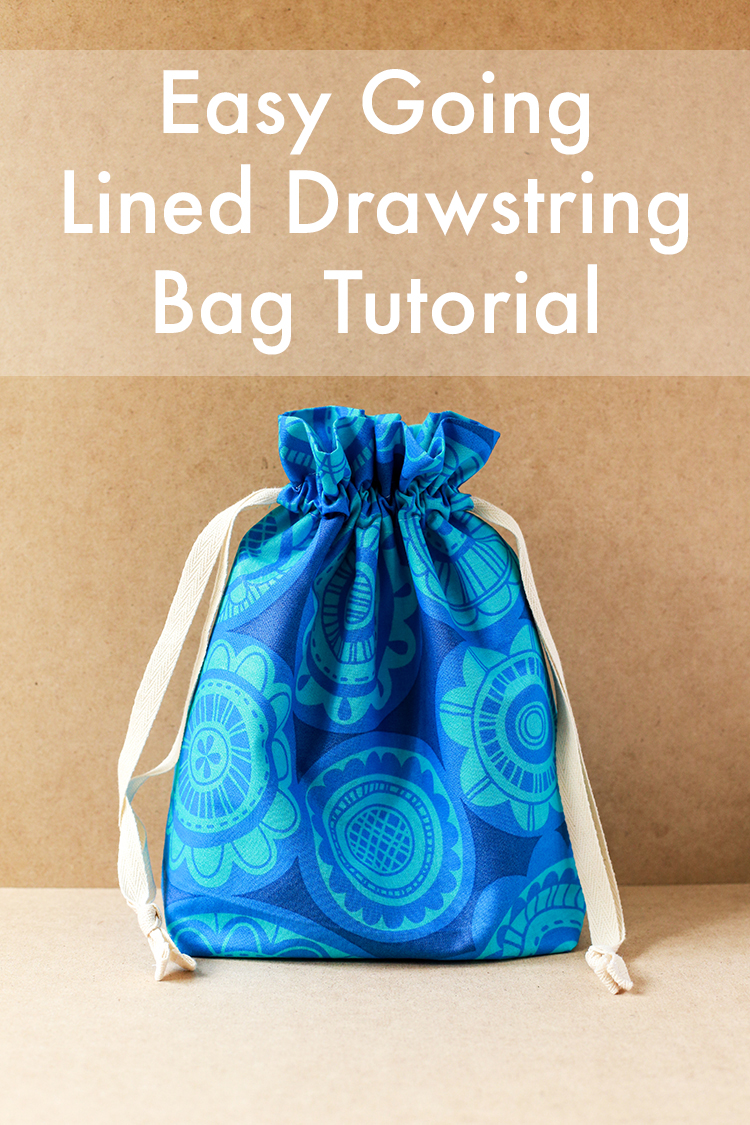
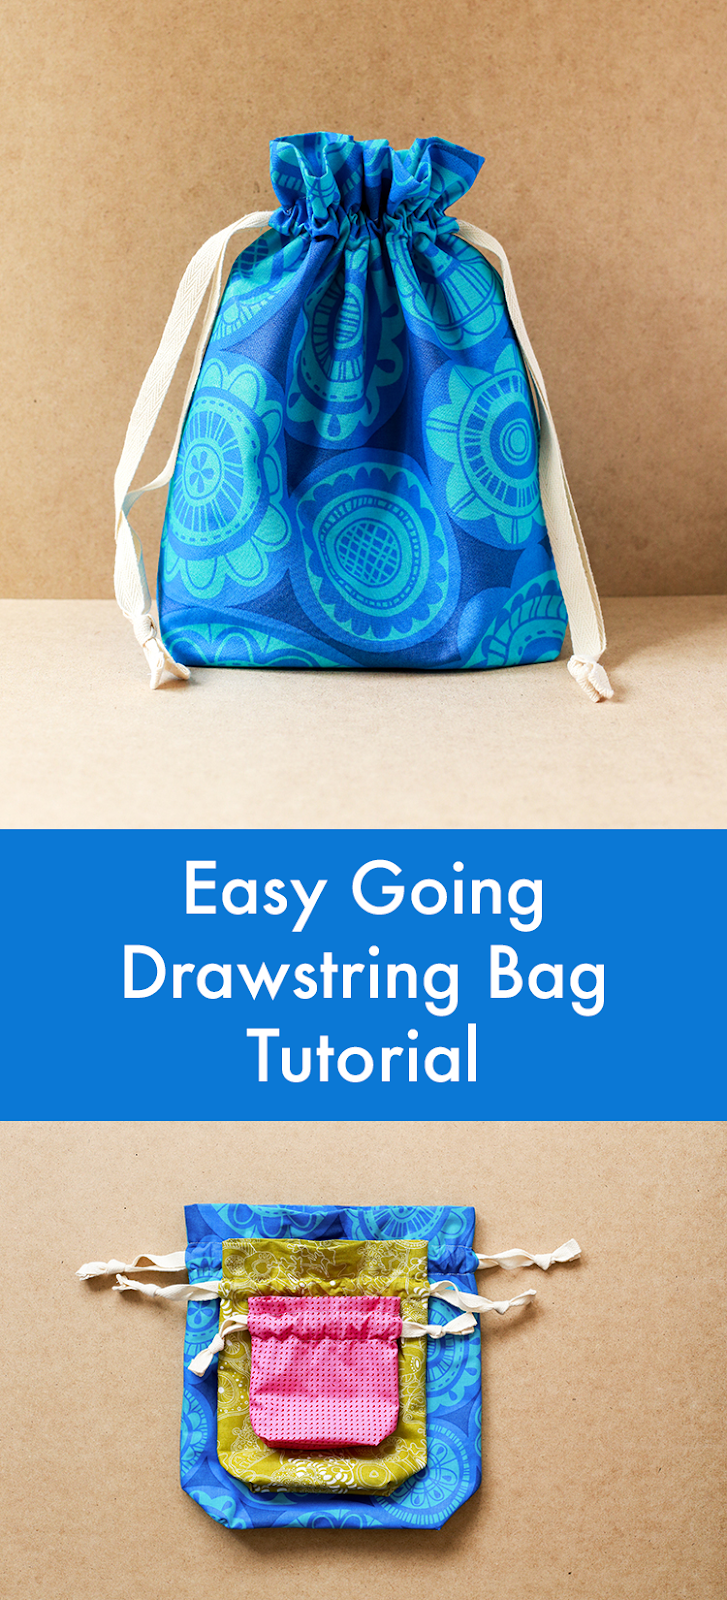
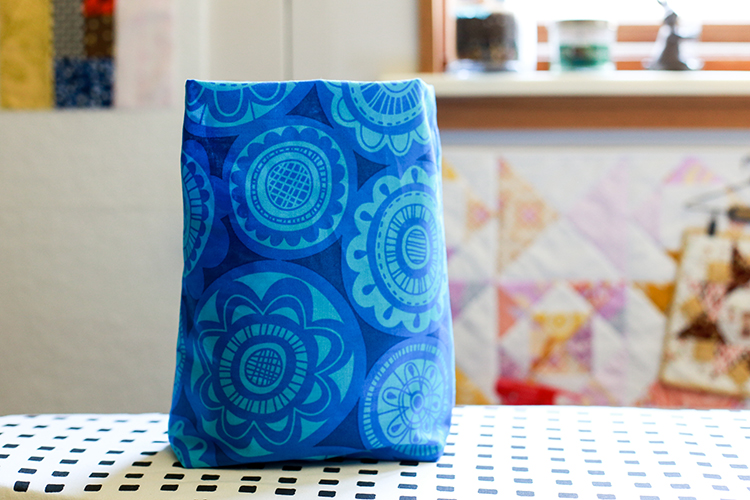
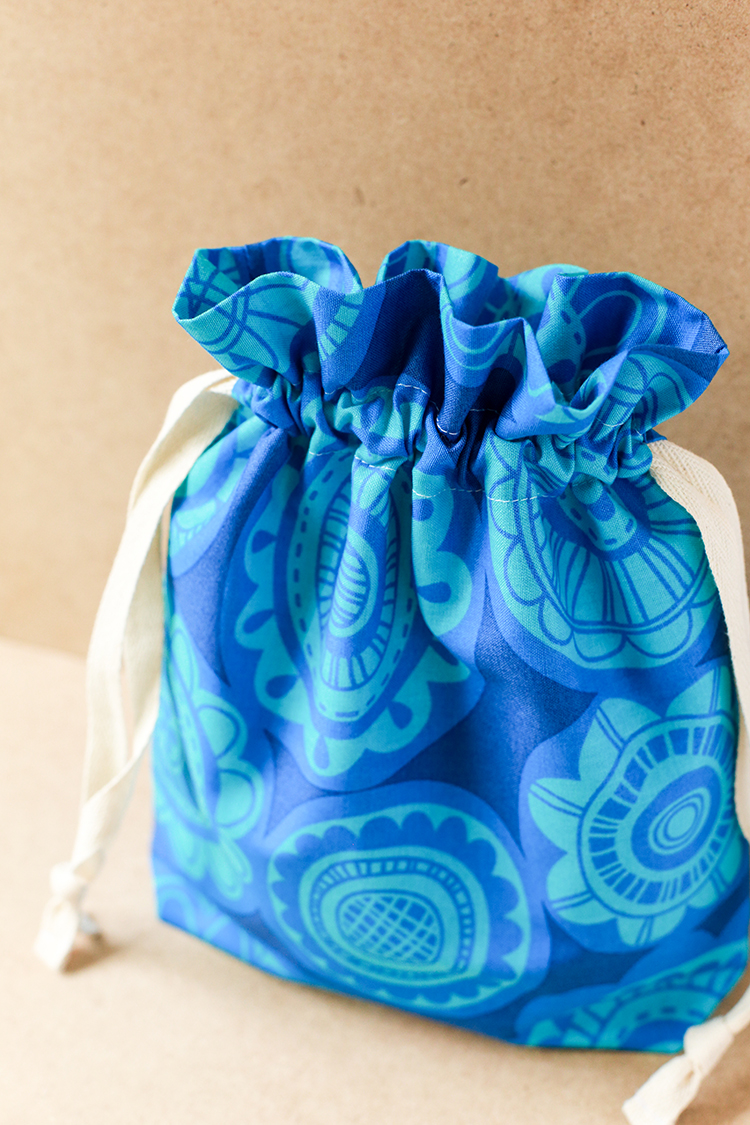
Over the years, I've had a number of readers ask for a simplified version of my Lined Drawstring Bags. It hit me recently that I should turn it into a variation tutorial. This version of the bag uses a single fabric for the interior and exterior, and removes the accent on the exterior. These come together even faster because there's less cutting and less sewing!
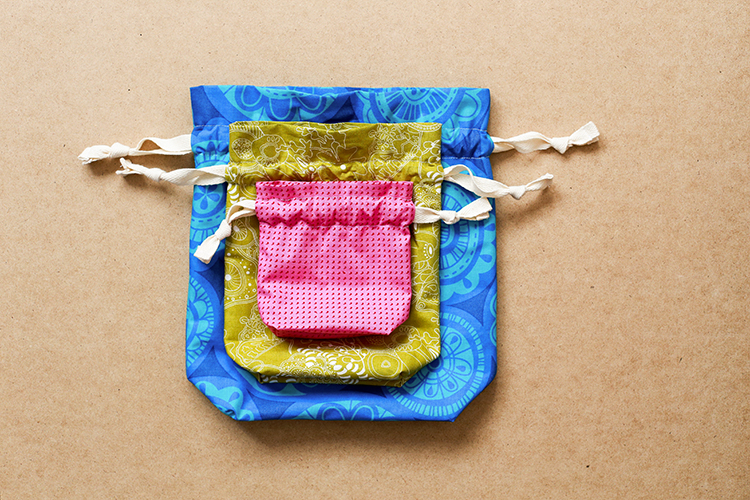
In the tutorial below you'll find cutting and measurements for the Everything Size bag from the Lined Drawstring Bag Pattern, which is the same as the tutorial size. I'd recommend avoiding directional fabrics for these bags. These bags use a single fabric for both the exterior and lining, so a directional fabric would be upside down on the inside!
Note: If you'd like to make a bag with a single exterior fabric, but still have a different fabric for the lining, never fear. Simply cut four pieces the same size as the lining (two from exterior fabric, two from lining). Then use the method outlined in this tutorial to measure for the drawstring openings.

Sewing Level: Beginner
Finished size: Approx. 10" tall, 7" wide, 3" deep
Materials:
- 5/8 yard of fabric
- 2 yards of cotton twill tape or 1/8 yd fabric for ties
Looking for supplies? Check out my Pattern Supplies and Resources post.
Cutting:
From fabric:
- Cut (2) 24.5"x10.5" pieces*
If using twill for ties:
- Cut (2) 32" pieces
If using fabric for ties:
- Cut (2) 32"x2" strips
*If you'd rather cut one long piece, cut a strip 48.5"x10.5". This would be a good use for those long strips of extra backing when making a quilt!
Instructions:
*Use a 1/4" seam allowance unless otherwise noted*
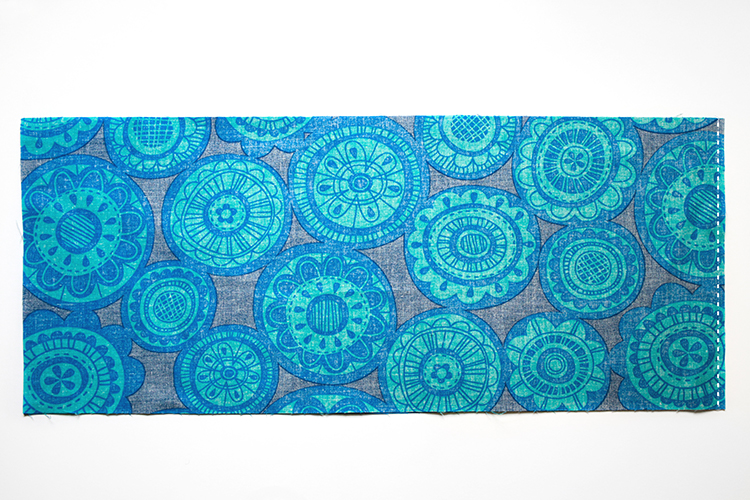
1. Place fabric pieces right sides together. Sew together along one short end, to create one long strip, backstitching when you start and finish. Don't press seam.

2. Leave pieces right sides together. Place a pin on each long edge, 14" from the open edge. Make a mark a 1/2" on either side of both pins. These two 1" sections will be left unsewn, creating an opening for the drawstrings. Pin around the sides and open edge, leaving a 3" opening at the center of the open end, for turning later.
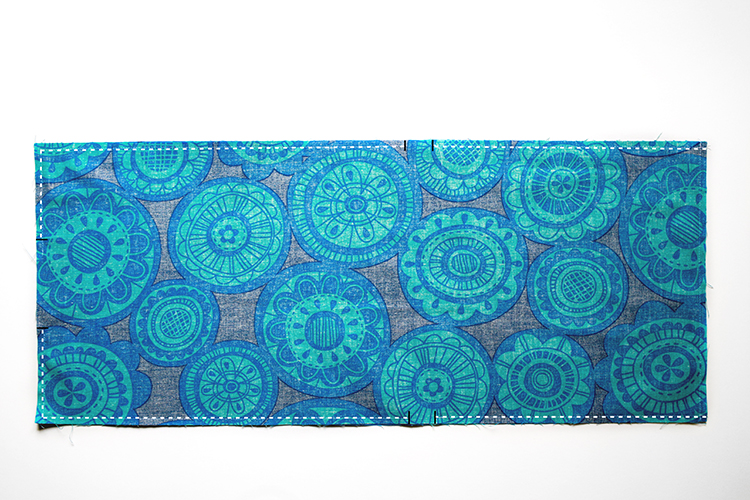
3. Sew around the three open sides, backstitching when you start and finish. Don’t sew between the 1" opening you marked on both sides or the the 3" opening on the end. Be sure to backstitch before and after each opening.
Follow steps 6 - 20 of the tutorial or pattern to complete your bag.
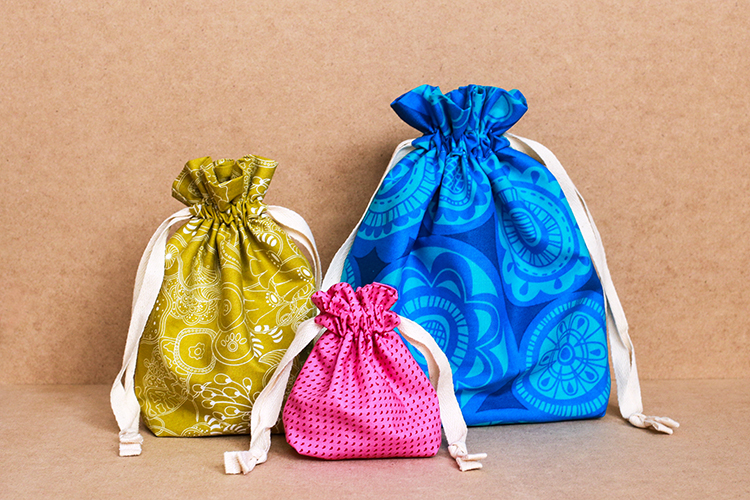
Instructions for Making Other Size Bags:
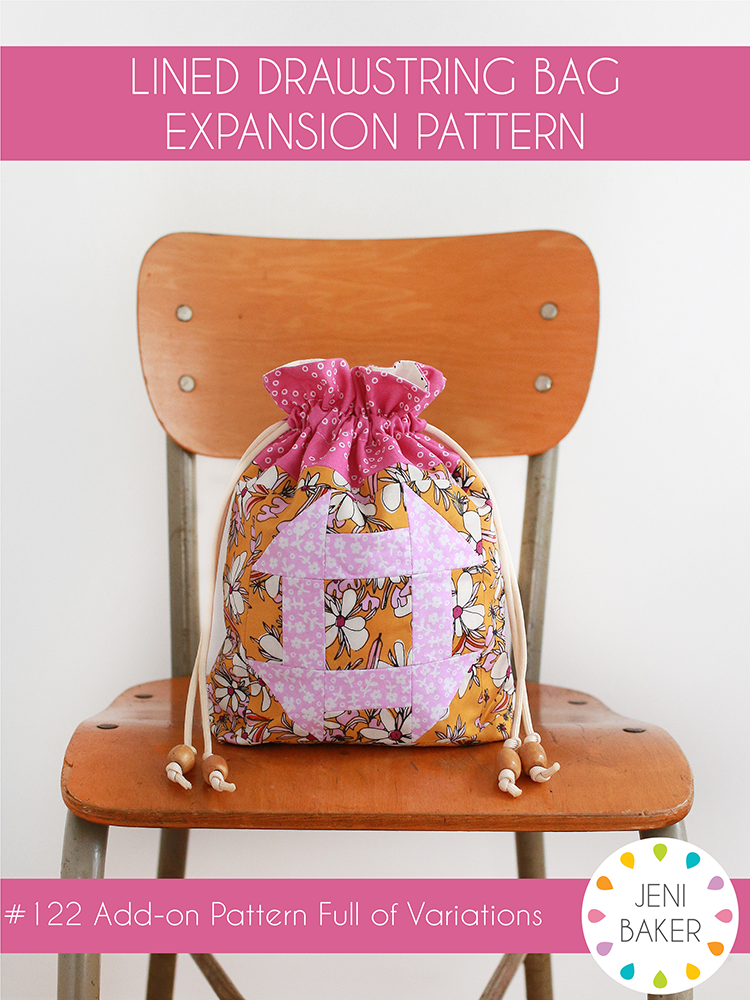
If you're interested in making Easy Going versions of the other sizes from the original pattern, you can find cutting measurements and instructions in the Lined Drawstring Bag Expansion Pattern. It includes instructions for making many different variations including two different Easy Going styles: single fabric and two fabric.
Find the original pattern here: Lined Drawstring Bag Pattern
Find the expansion pattern here: Lined Drawstring Bag Expansion Pattern
I hope you've enjoyed this tutorial! I have lots of other tutorials for everything from quilts, pillows, bags, and holiday items to informational series and techniques. Find all my tutorials here: Tutorials. My online shop is filled with patterns for quilts and bags. Find my patterns here: Jeni Baker Patterns
If you make something using one of my tutorials or patterns, I hope you'll tag me @jenib320 and use my hashtag #jenibaker on instagram!
Happy Sewing!
Maybe less cutting and sewing but certainly no less useful and attractive. Thank you!
ReplyDeleteOh, this is great, Jeni!! I've been wanting to make these out of a single fabric, and now I can!! Thank you!
ReplyDeleteThis is really nice Jeni - thank you! I'm made your pattern many many times - in all the sizes! - but it's nice to have this option too. So thanks for sharing!
ReplyDeleteI have made so many of your little bags in various sizes, I can't even count! I just love your patterns!!!
ReplyDeleteMy mum just gave me some fabric from a skirt she loves which is not cotton. I was going to try and work out how to make the outer part one piece. Thanks so much. It looks great and the timing is perfect.
ReplyDeleteI have your full bag pattern and have made many bags from it. This will be a wonderful addition to it.
ReplyDeleteThank you.
I purchased your bag pattern pack a while ago. I will add this information to the package for easy reference. Thank you!
ReplyDeleteThank you Jeni.
ReplyDeleteThese are so cute. I am going to make a bunch of tiny ones for my grand babies.
Hugs
What great timing for me! I'm planning to make travel bags for shoes and dirty clothes, and a single fabric is really all they need to be. I love this pattern so much! Thanks, Jeni!
ReplyDelete