

Happy Wednesday! Today I wanted to share an update that I completed this week to the hidden litter box cabinet that I made for Dusty earlier this year.
You can read more about the cabinet itself in this post here: DIY Hidden Litter Box Cabinet

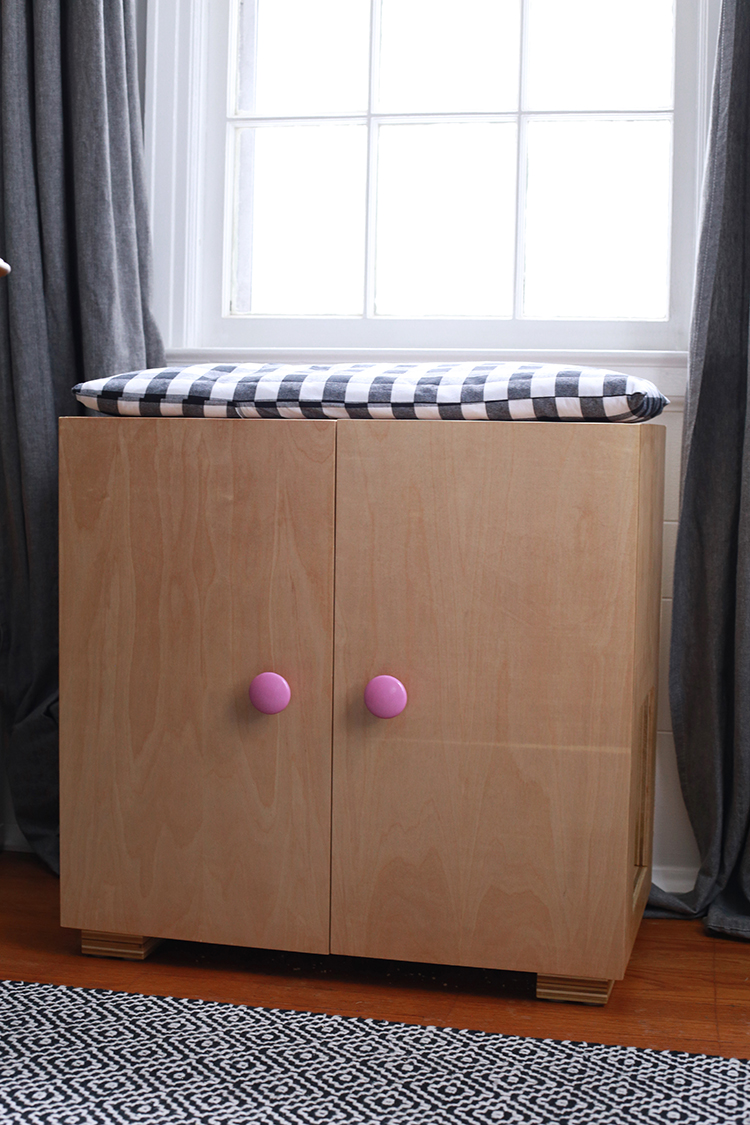
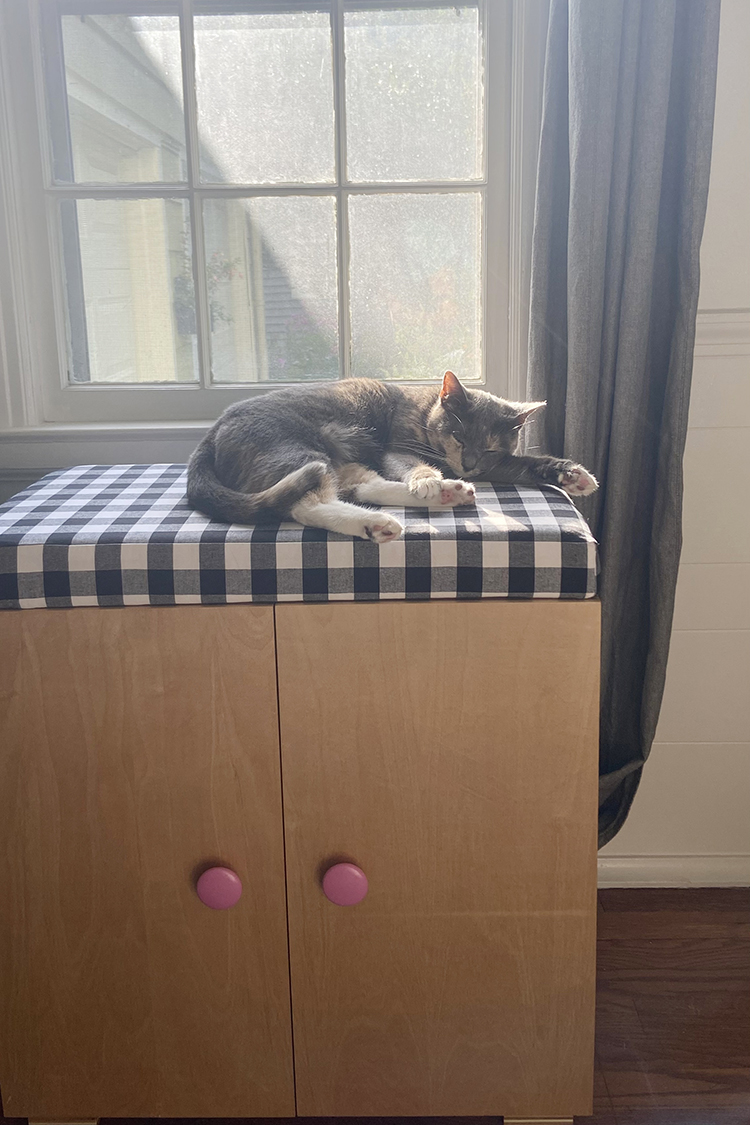
When I originally finished the cabinet, I made a really quick cushion for the top. I only used materials that I had on hand, which in this case meant I had to compromise on the size and quality of the cushion. I wasn't sure how much Dusty would sit on it, so I didn't want to put a lot of time and money into the cushion at that time. Fast forward 6 months and I can report that she sleeps on it almost every day! She loves it in the afternoon when it gets sun. It was officially time to upgrade the cushion for something larger and more permanent.
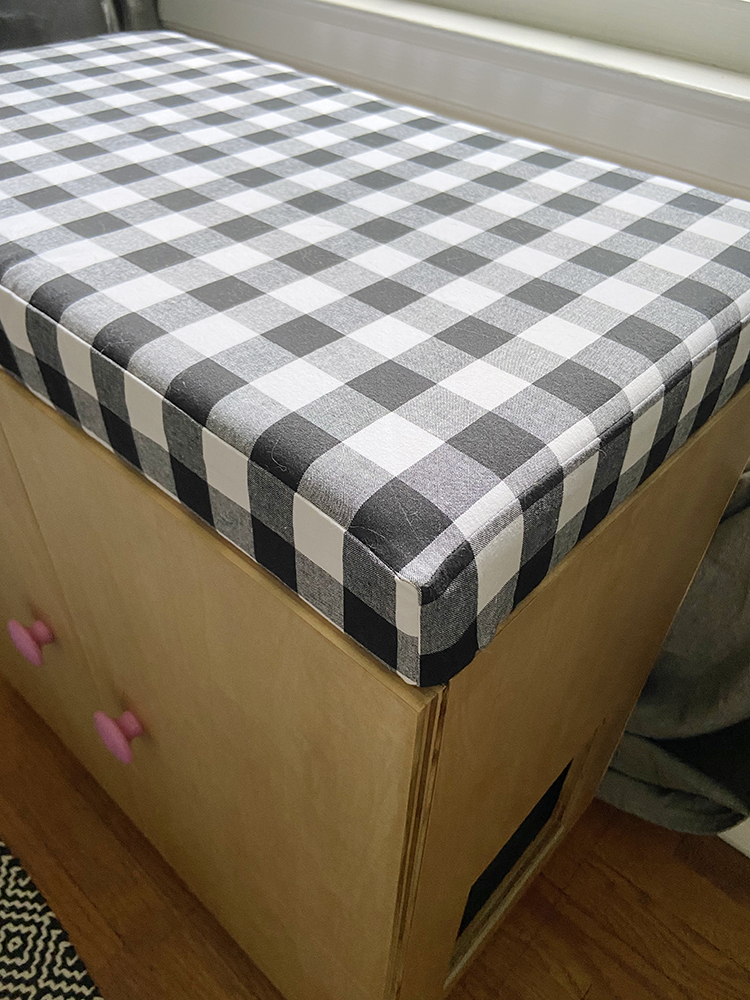
I decided to use the same 1" black and white gingham fabric that I used on the first cushion, but this time I added some interfacing to give it extra thickness. For the actual construction of the cushion base I followed instructions for an upholstered bench project in Anna Graham's Handmade Style Book*. I used 2" high density foam*, 1/2" plywood and some cotton batting.
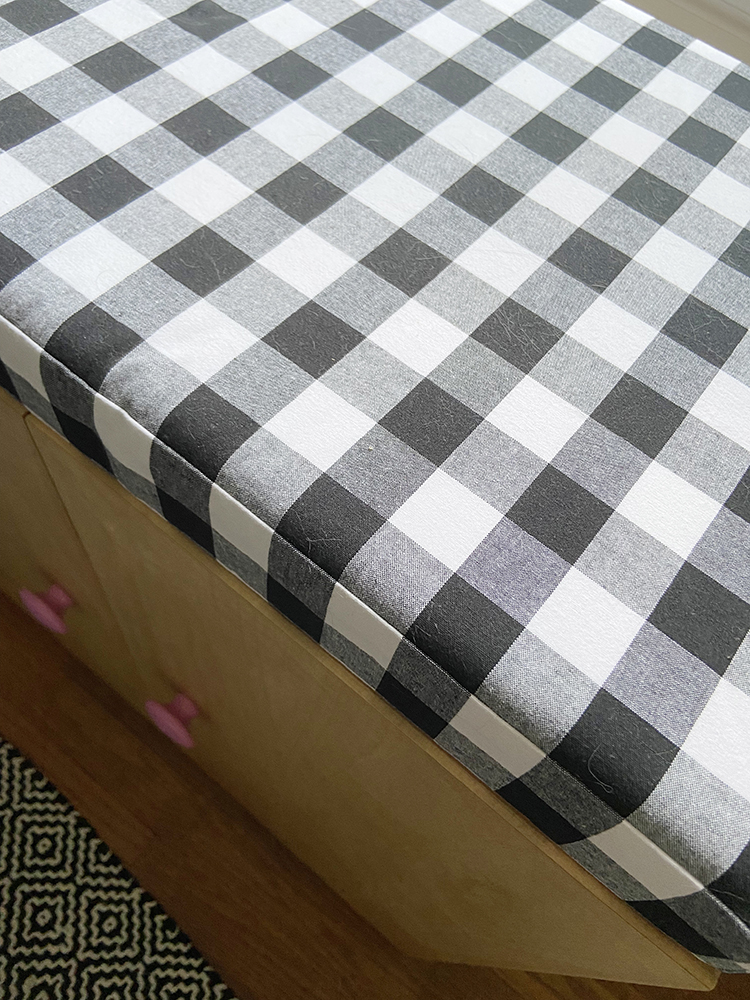
The cushion cover consisted of five pieces: a top and four sides. I was extra careful when cutting the top and front side to ensure that the gingham pattern matched up nicely along the edge. I didn't worry too much about the other sides, since they aren't very visible. Once I had the cover sewn, I wrapped it around the cushion base and stapled it in place. I used one of my favorite tools quite a bit on this project, my cordless stapler*. I wish I had taken some photos in progress! My only defense is that it was 94 degrees when I was working on this project!
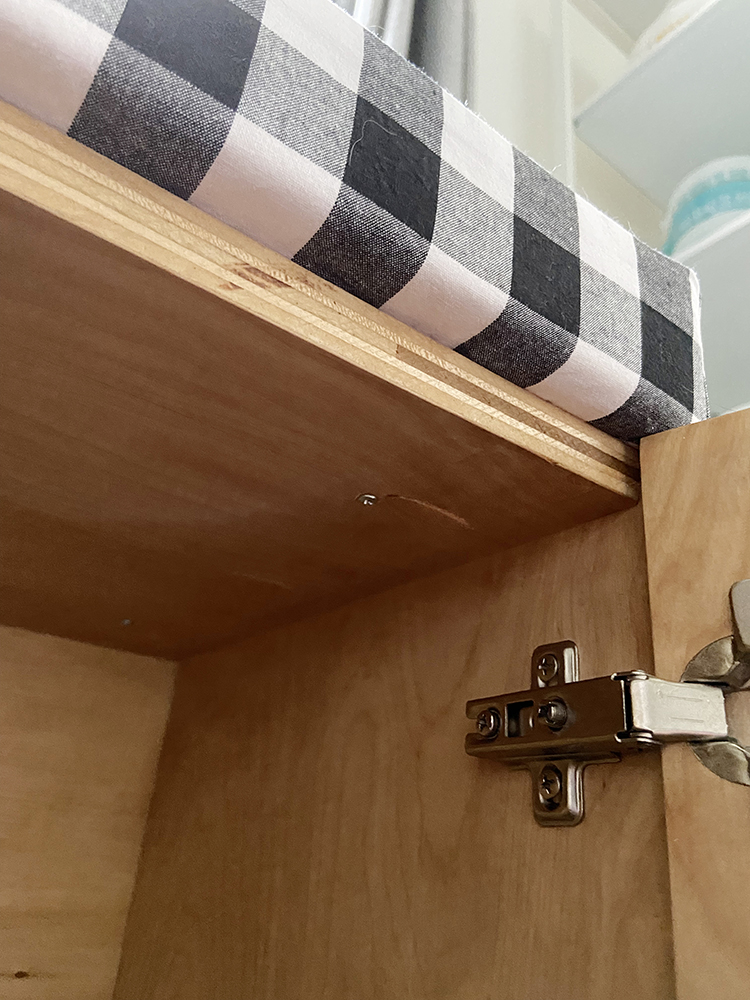
The cushion is attached to the cabinet with 8 screws, going from the inside of the cabinet into the cushion base. I am really happy with this attachment because it means I can still easily remove the cushion if I want to replace the fabric down the road, but in the meantime it's super sturdy.
I'm so happy with how this new cushion turned out. It not only looks way better, but it's so much bigger than the original cushion! This means Dusty has even more room to sprawl out and have naps in the sun. I know she's going to get a lot of use out of it. I did not expect it to be such a visual upgrade, but I think it looks great. I was kind of winging it as I went, and I didn't make a muslin of the cushion cover, so that makes me even happier with the finished result!
Happy Sewing!
*Note: Any links marked with an asterisk in this post are affiliate links. This means if you click through and buy something, I make a small commission, at no extra cost to you.
Such a great idea. I think I would use an outdoor fabric (or one that is specified to not fade in the sun) if I were to want it more permanent.
ReplyDeleteA very professional result! Your kitty looks very happy with her new bed, and is probably enjoying the fact that it stays put when she hops on and off the cushion. Great job! Deb E
ReplyDeleteDusty looks very happy. I couldn't figure out why you put plywood in it, but then you explained the screws to hold it in place. The gingham looks great with the curtains and the rug.
ReplyDelete