Showing posts with label cricut maker. Show all posts

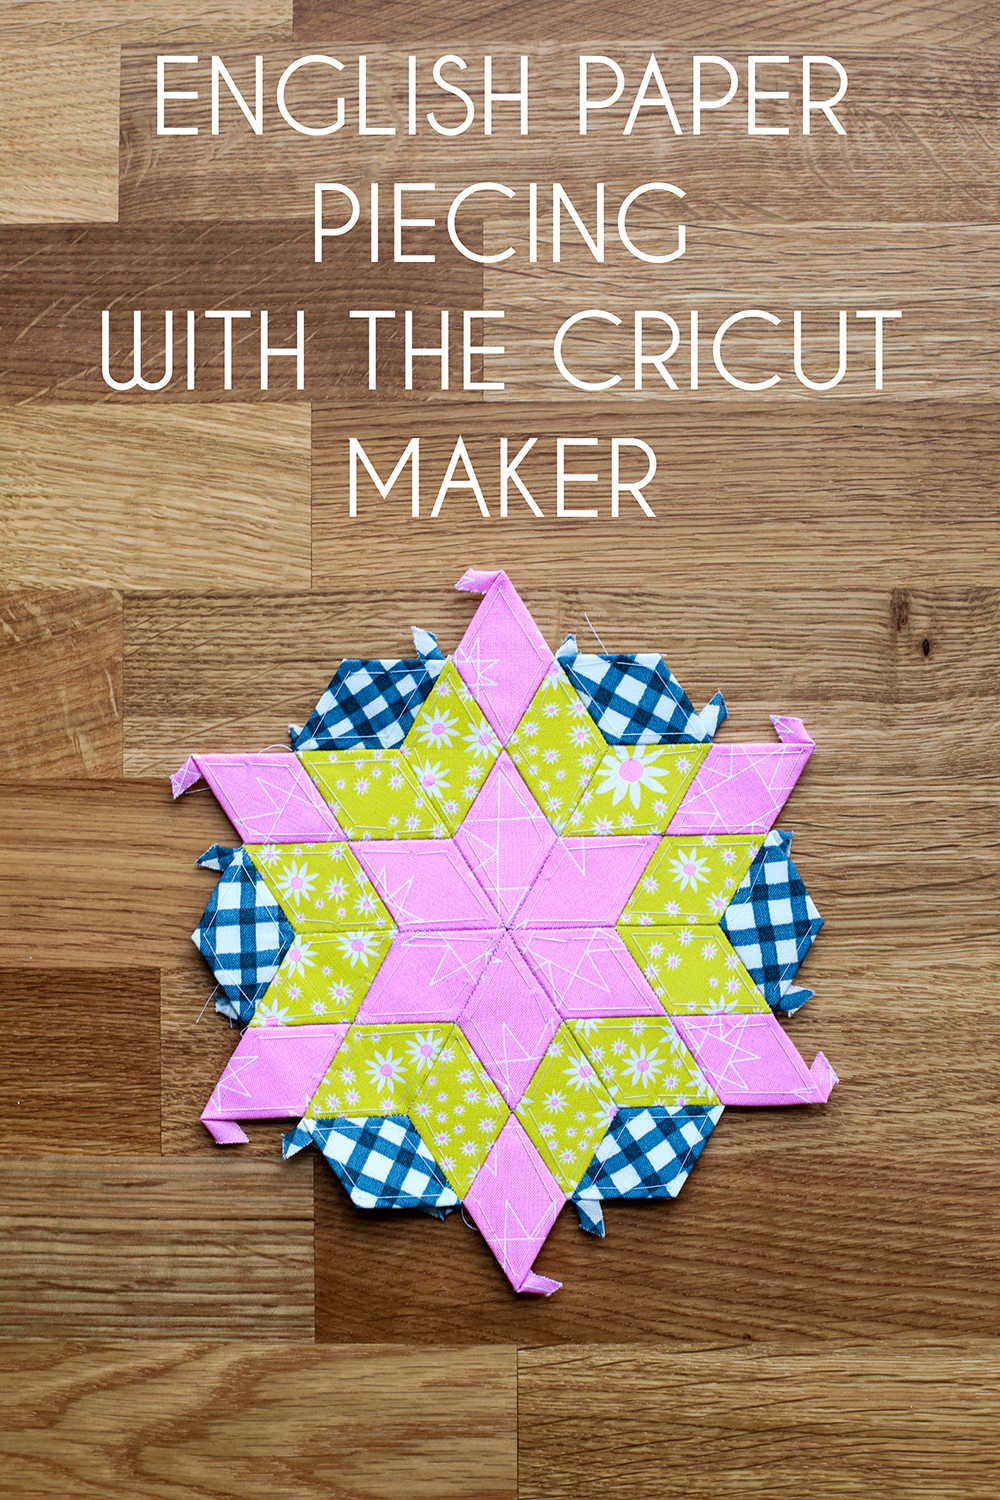
English Paper Piecing with the Cricut Maker

Wednesday, March 14, 2018

Happy Wednesday! I'm excited to share my next project made with the new Cricut Maker*. Find my review of this machine from last week here.

This post is sponsored by Cricut*, all opinions, images and text are my own. I've used affiliate links in this post (noted with an *), which means if you click through and buy something, I make a commission, at no extra cost to you.
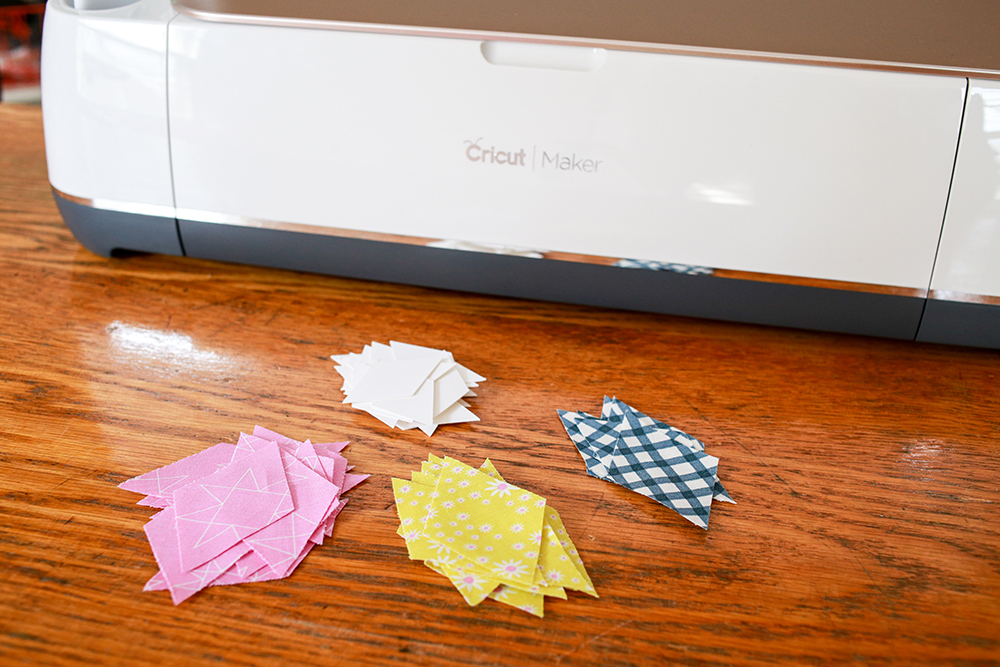
After spending some time with the machine, I got to thinking how perfect it would be for working on English paper piecing (EPP) projects! I could have the machine cut both the paper templates and cut the fabric pieces to size. I know there are a lot of ready-made paper pieces available now, but I had a lot of fun coming up with my own design to make an iPad case a few years back (see that post here). The downside to making something unique is having to cut out all the pieces. Enter the Cricut Maker*!
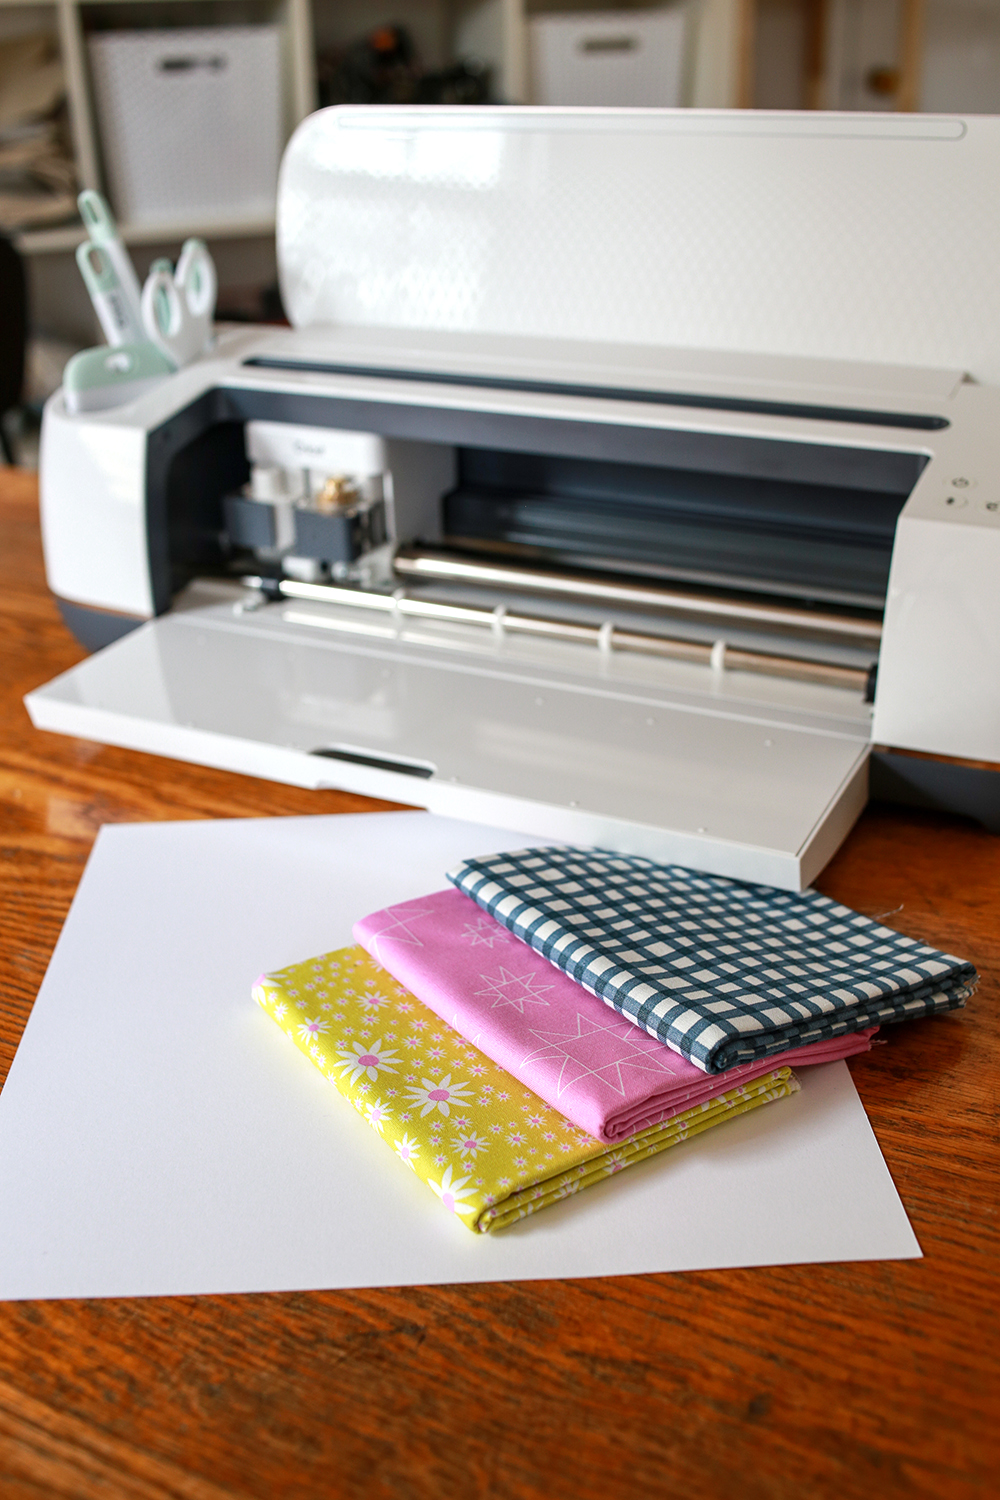

I was glad to finally have an excuse to cut into some prints from Daisy Chain by Annabel Wrigley* for this project.
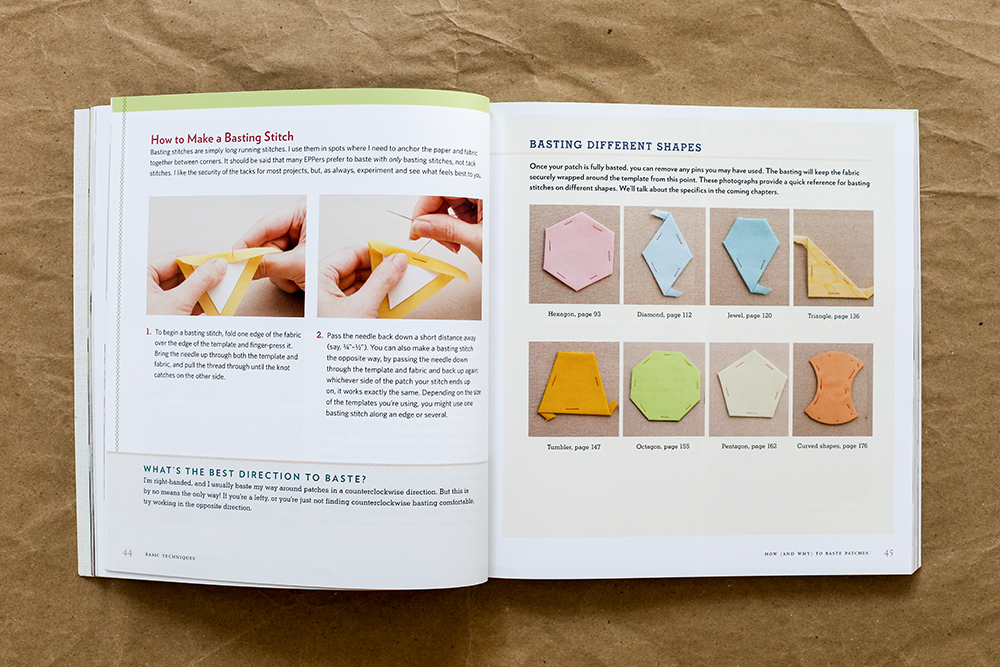

If you're new to English paper piecing, I highly recommend All Points Patchwork by Diane Gilleland*. It's a great resource, especially if you're interested in designing your own blocks!

Again, I made a video showing how I uploaded the images that I used (available for you to download below), cut the paper pieces and fabric pieces from start to finish.

Materials Needed for EPP Block:
- 3 fat quarters quilting cotton
- Medium-weight cardstock (11"x11" sheet, or two 8.5"x11" sheets)
- Coordinating thread
- Hand stitching needle

1. Download the image files for this project: Paper Diamond Template and Fabric Diamond Template.

2. Using the Cricut Maker* machine, cut out 30 paper diamonds. From two fabrics, cut 12 diamonds each. From the third fabric, cut 6 diamonds. (Here is the tool set* I was using in the video.)
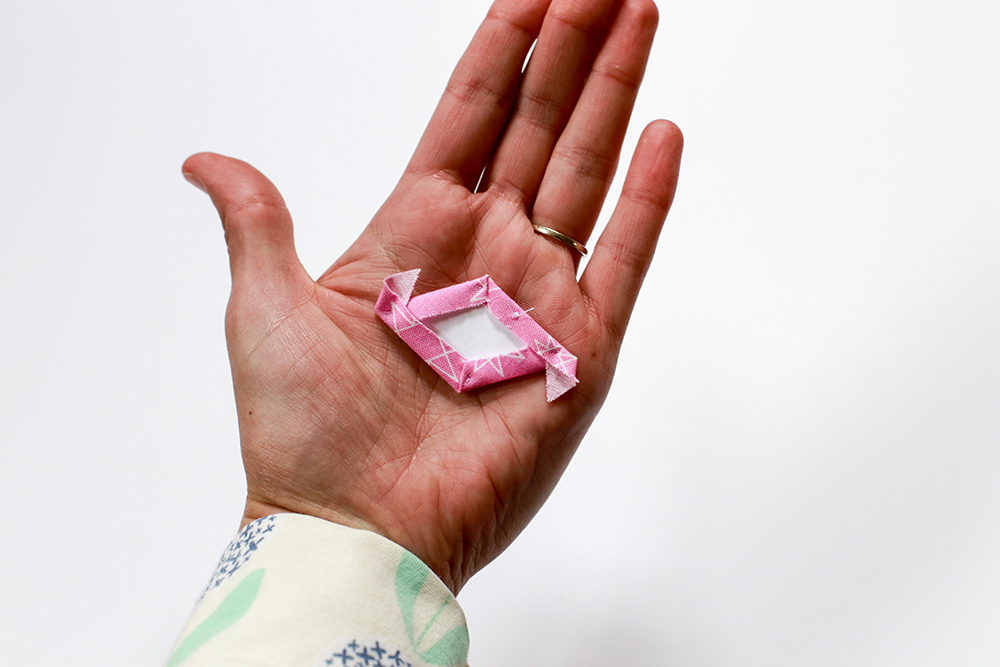

3. Baste diamonds using your preferred method. I hand stitch my fabrics in place, going through the paper. You could also use a glue pen!
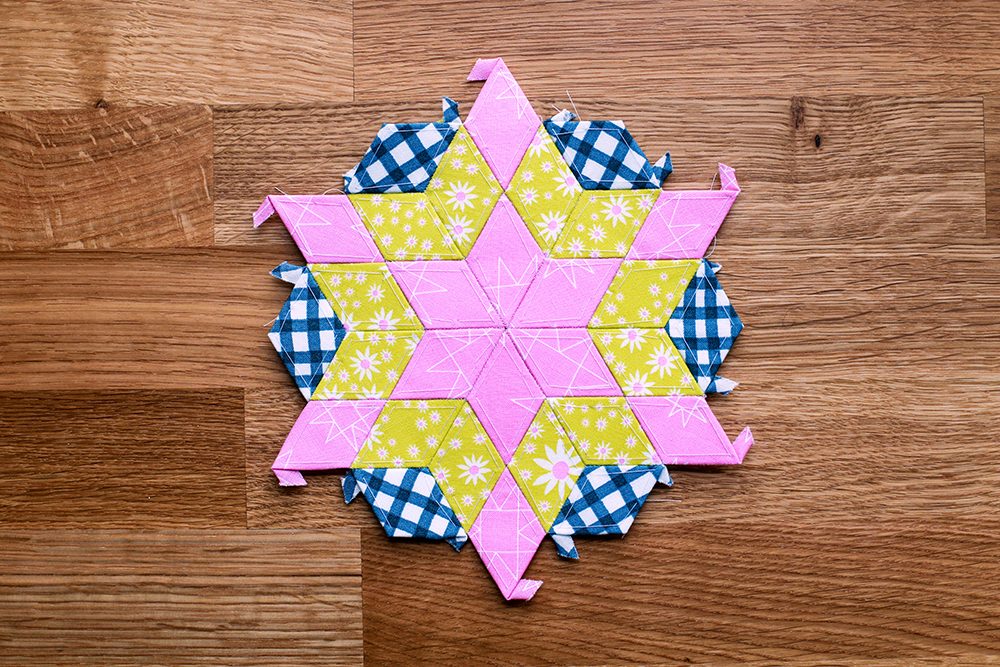

4. Arrange your basted diamonds using the photo above as a guide.
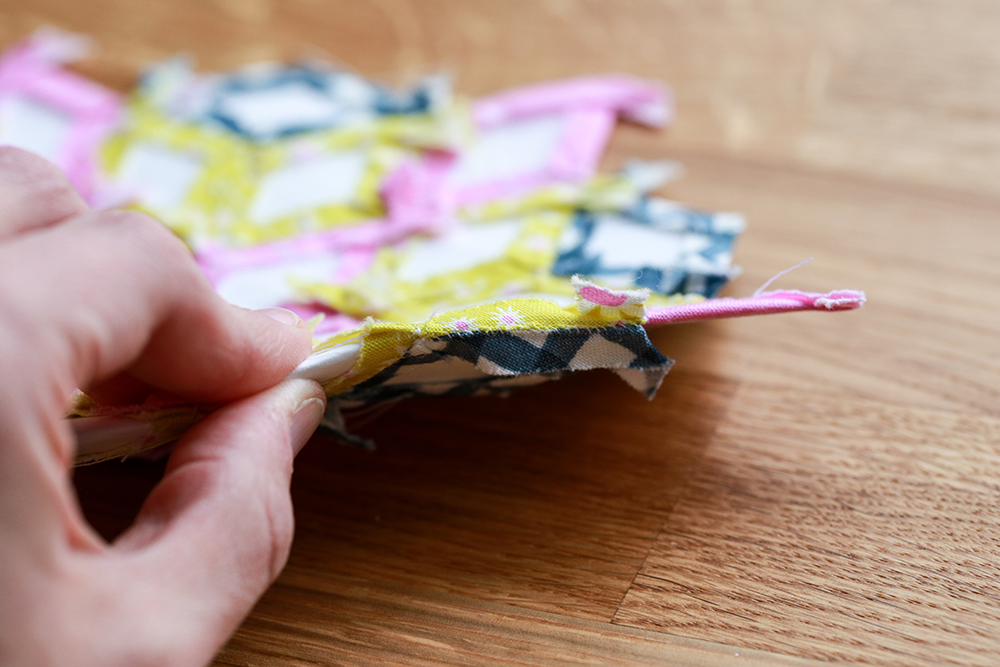

5. Begin hand stitching your diamonds together. I use a simple whip stitch, but feel free to use whatever hand stitch you're comfortable with, just be sure not to stitch through the paper templates.

6. Press block well from both the front and back. Snip basting threads and gently remove papers. Give the block another good press.
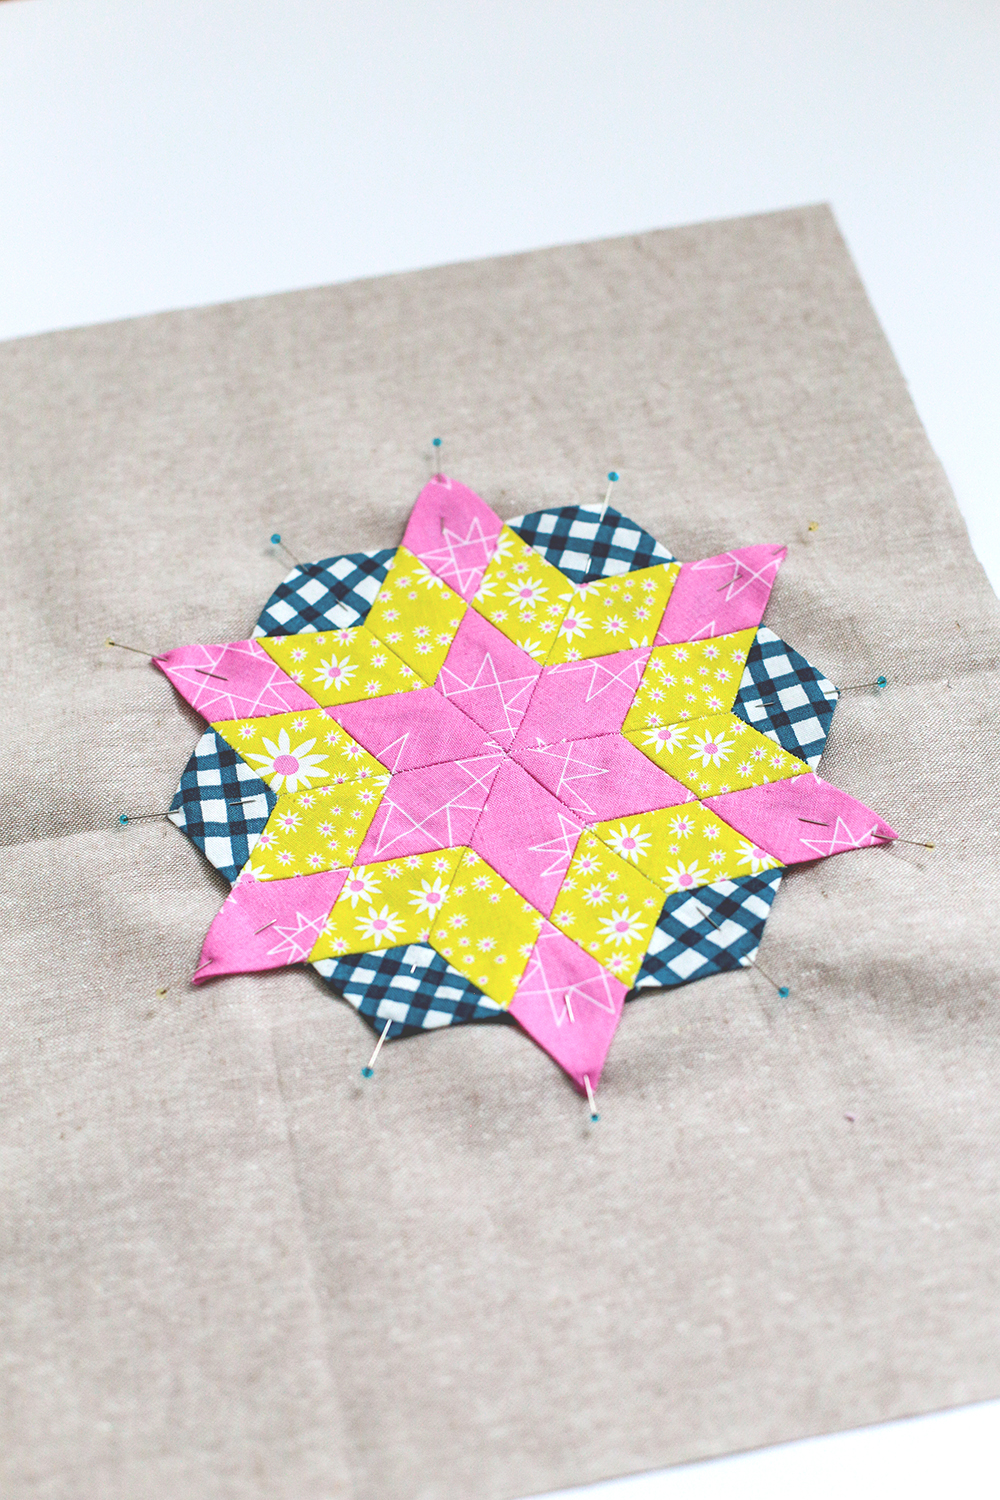

7. Make more blocks for an entire quilt (with additional pieces in between motifs for filler, or applique block onto a bag, pillow, or even a dishtowel! My favorite attachment method is a simple top stitch along the outer edges of the block.

Here are a few ideas for what to make with your block:
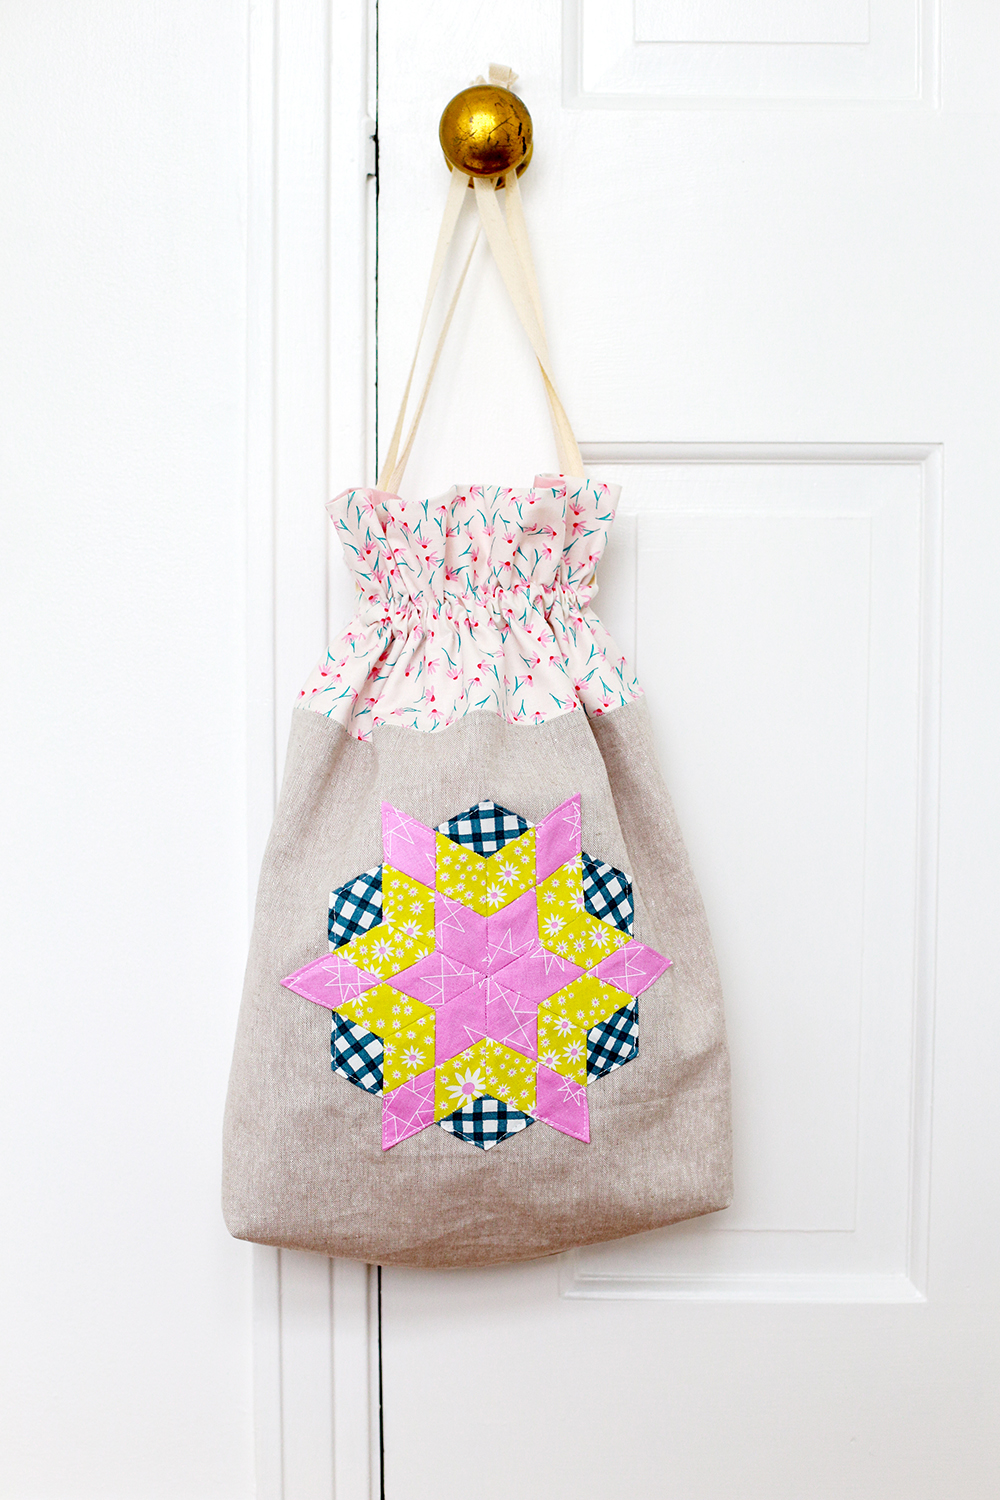

I used my block to spruce up a simple Lined Drawstring Bag! This is the Artist size bag. (pattern)
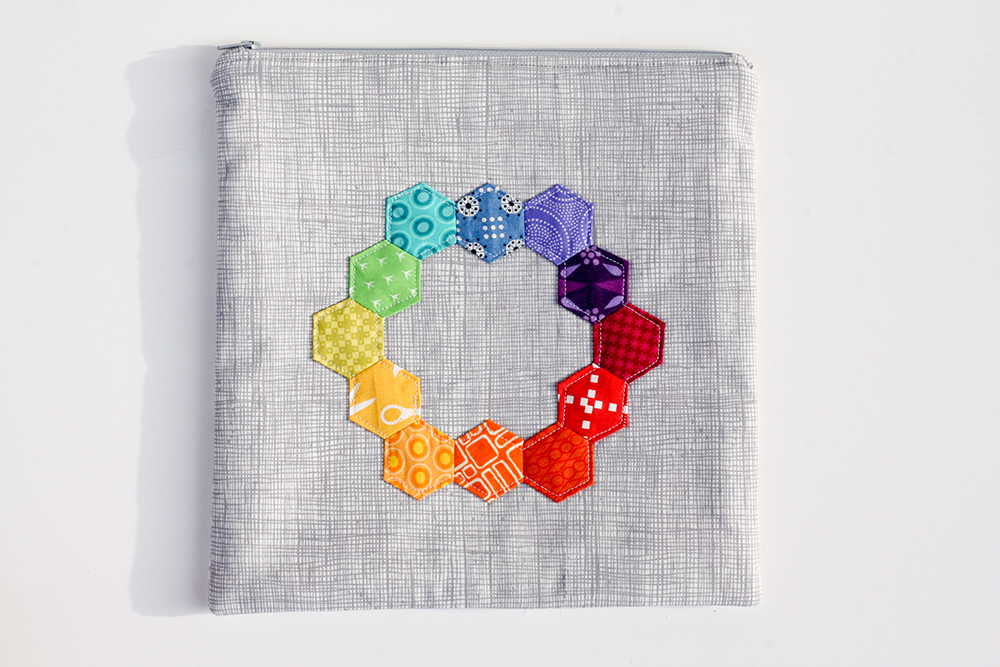

I love using applique blocks on pouches, like this one I use for embroidery projects.
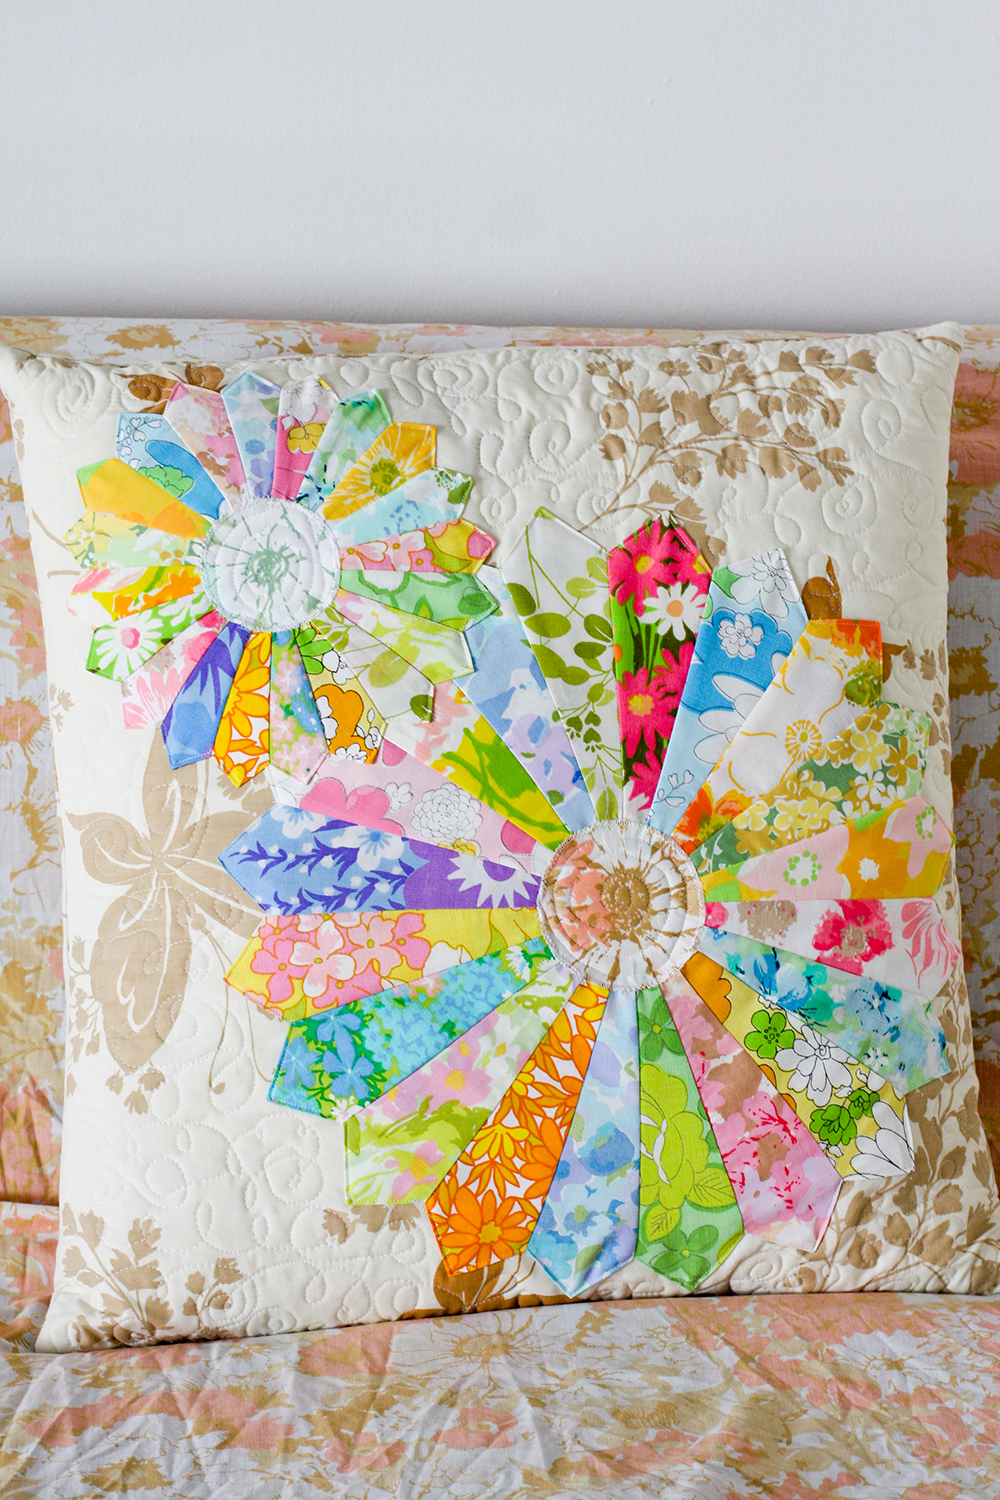

Make a few and stitch them onto a big pillow.
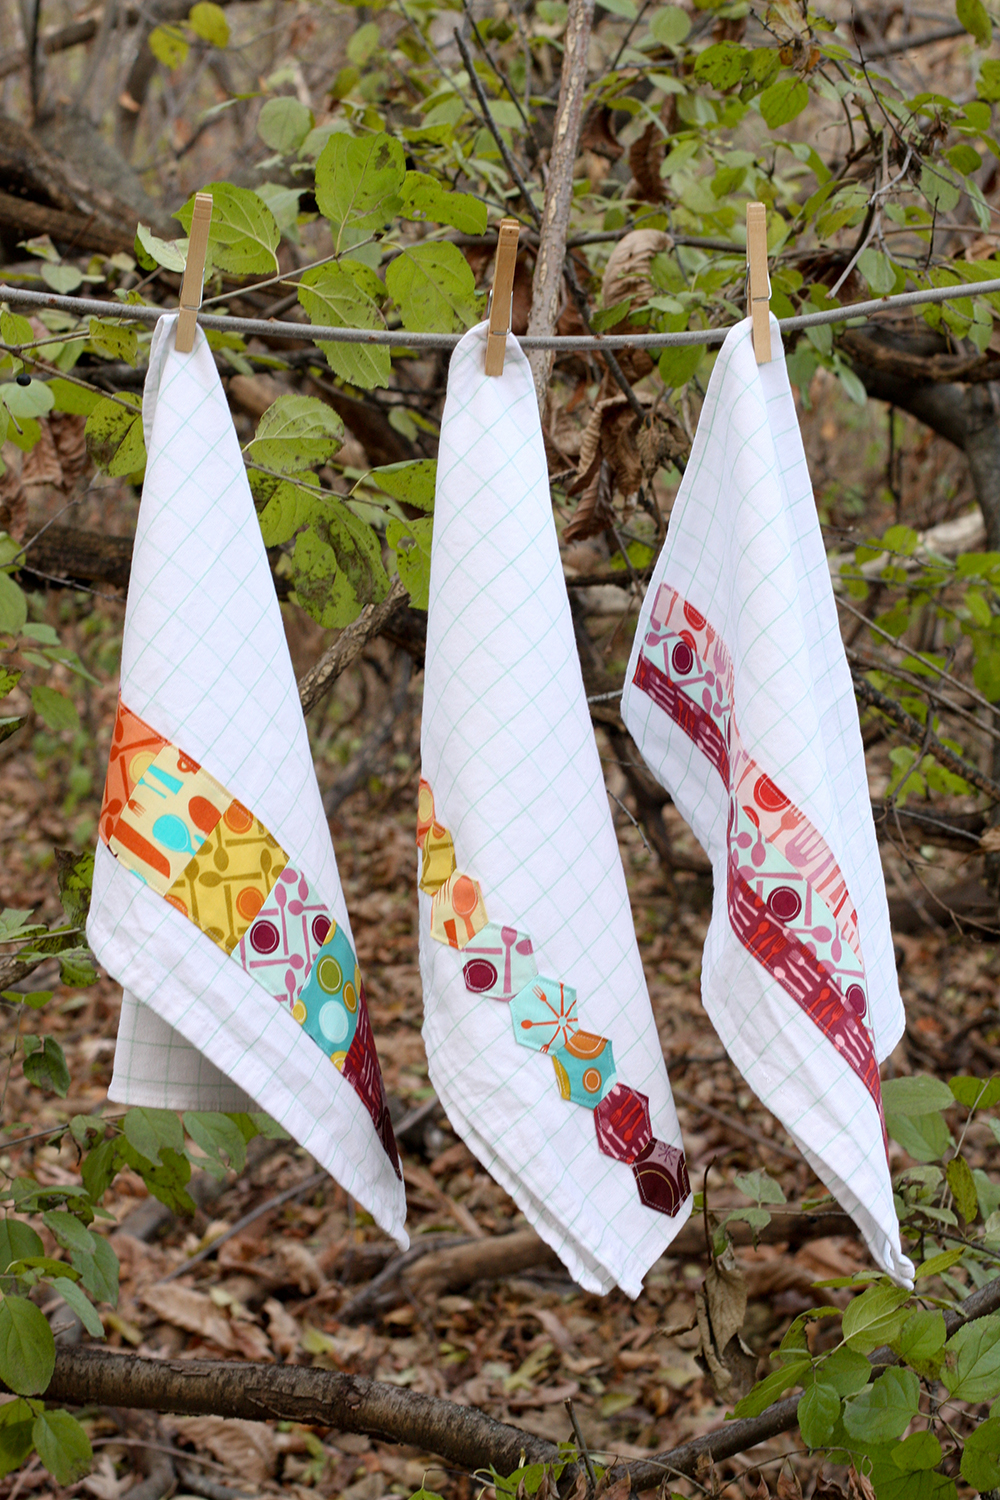

Or, make a bold and colorful dishtowel! (tutorial)

Happy Quilting!

Cricut Maker Review + Hexagon Pincushion Tutorial

Wednesday, March 7, 2018


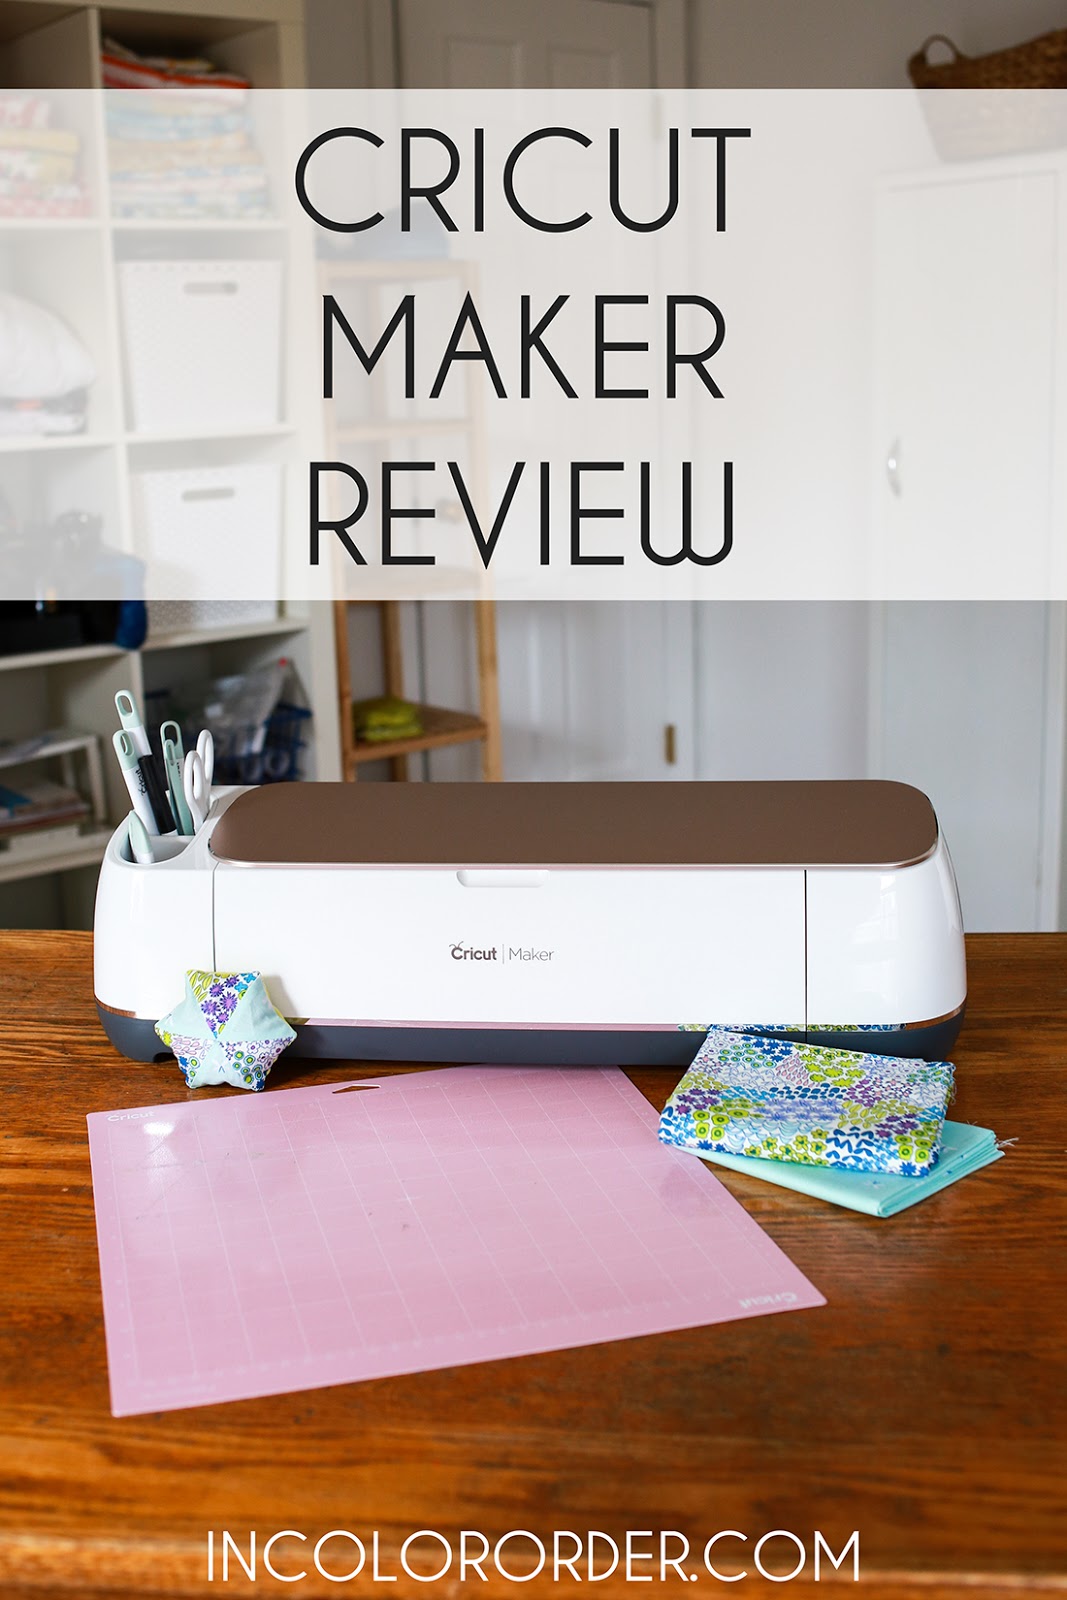
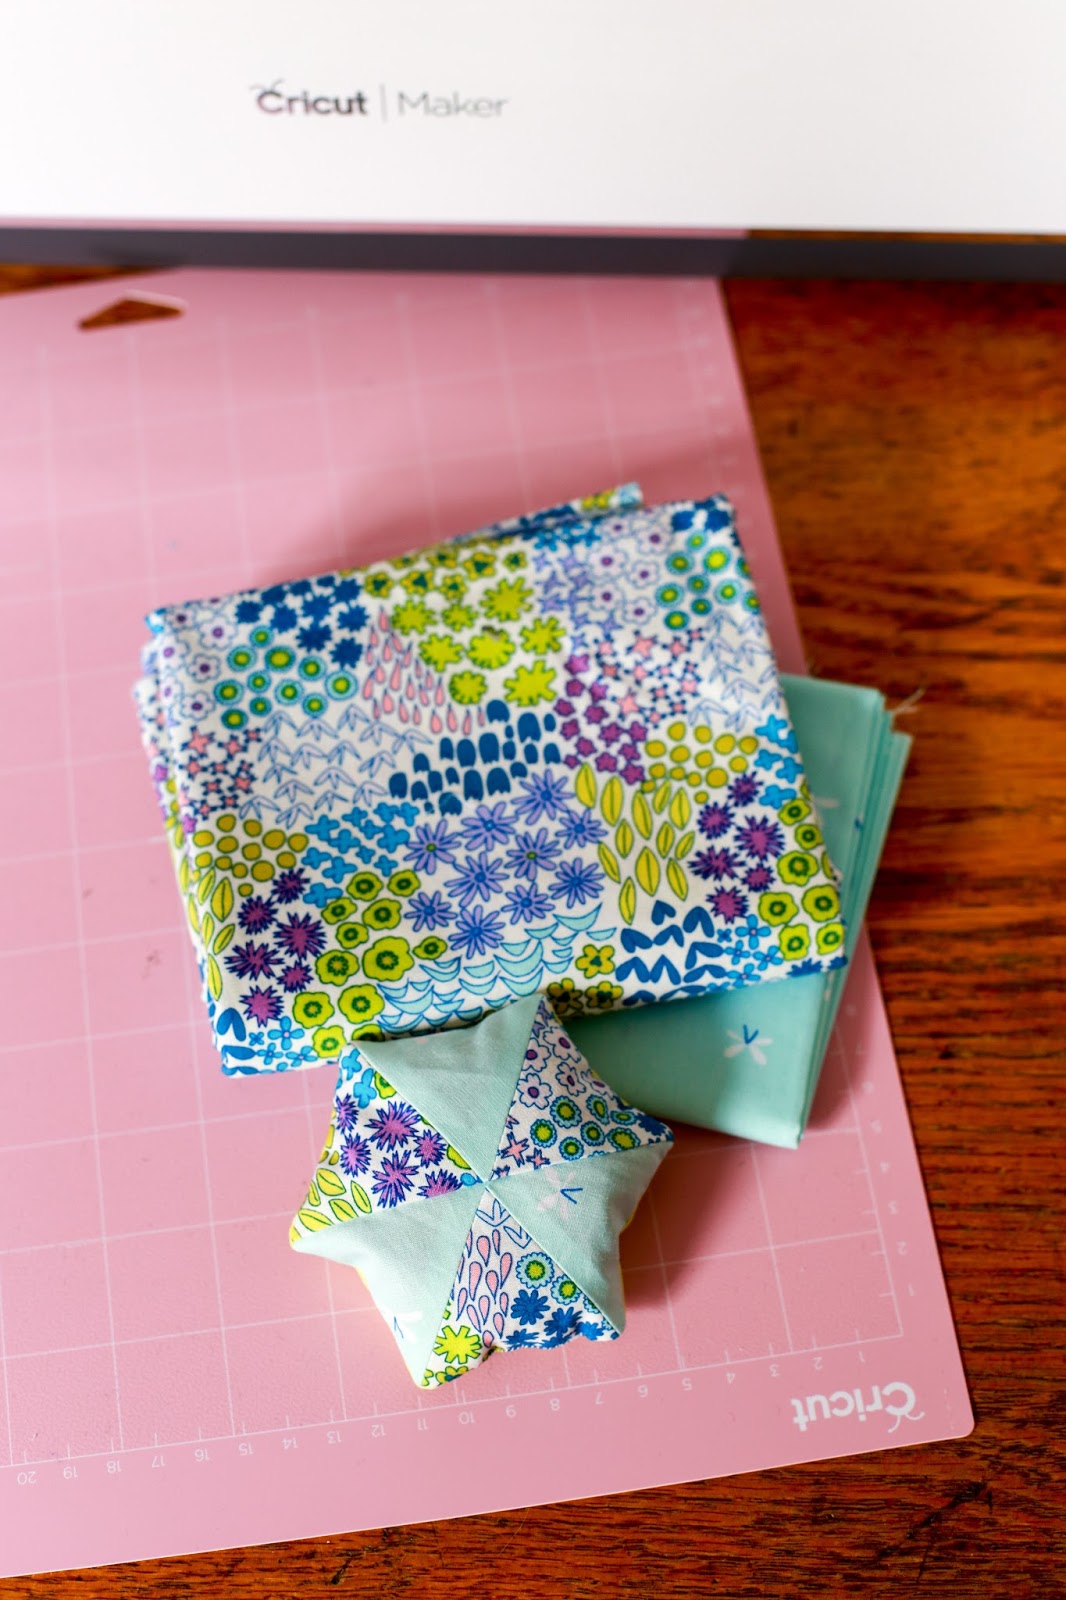
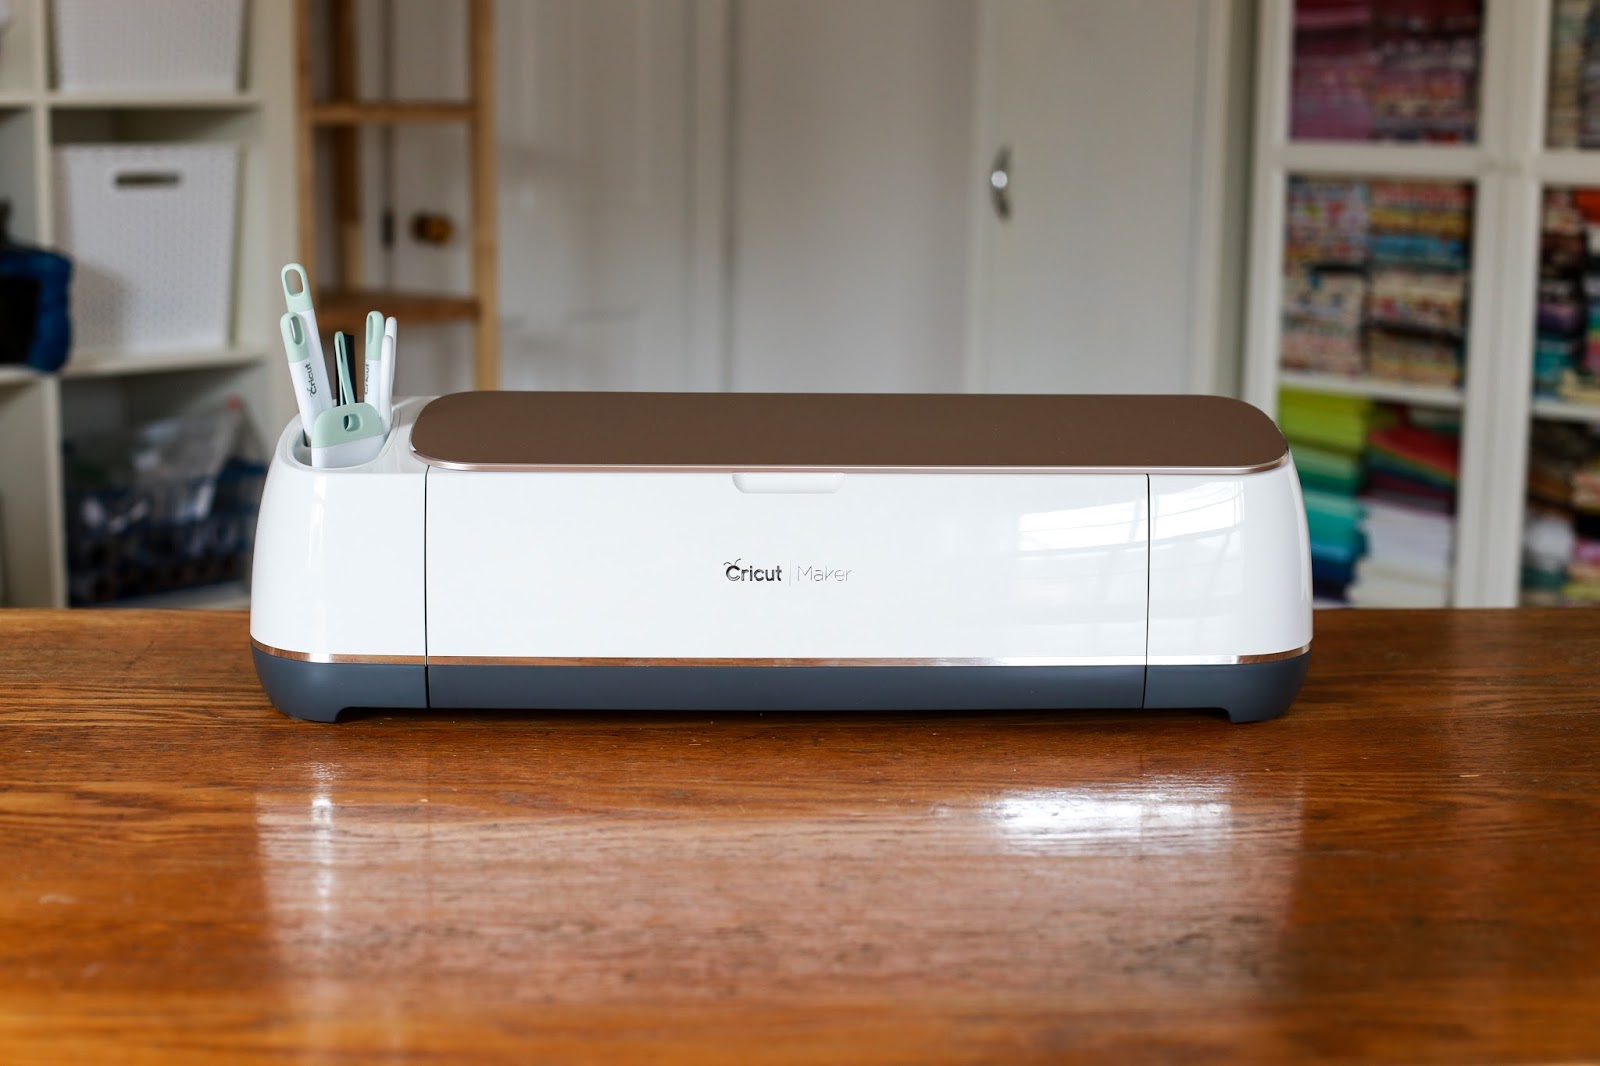
I'm excited to share my thoughts today about the new Cricut Maker* machine. You'll also find a tutorial for making this hexagon pincushion with or without the machine!

This post is sponsored by Cricut*, all opinions, images and text are my own. I've used affiliate links in this post (noted with an *), which means if you click through and buy something, I make a commission, at no extra cost to you.

I have vivid memories of walking into the craft store when I was in high school and seeing the Cricut* personal electronic cutting machines. Back then they required different cartridges to cut shapes in paper. I never got very into scrap booking, but I've always loved paper. These machines seemed so cool and fancy! I remember thinking I might save up for one, but was already spending too much of my budget on fabric.

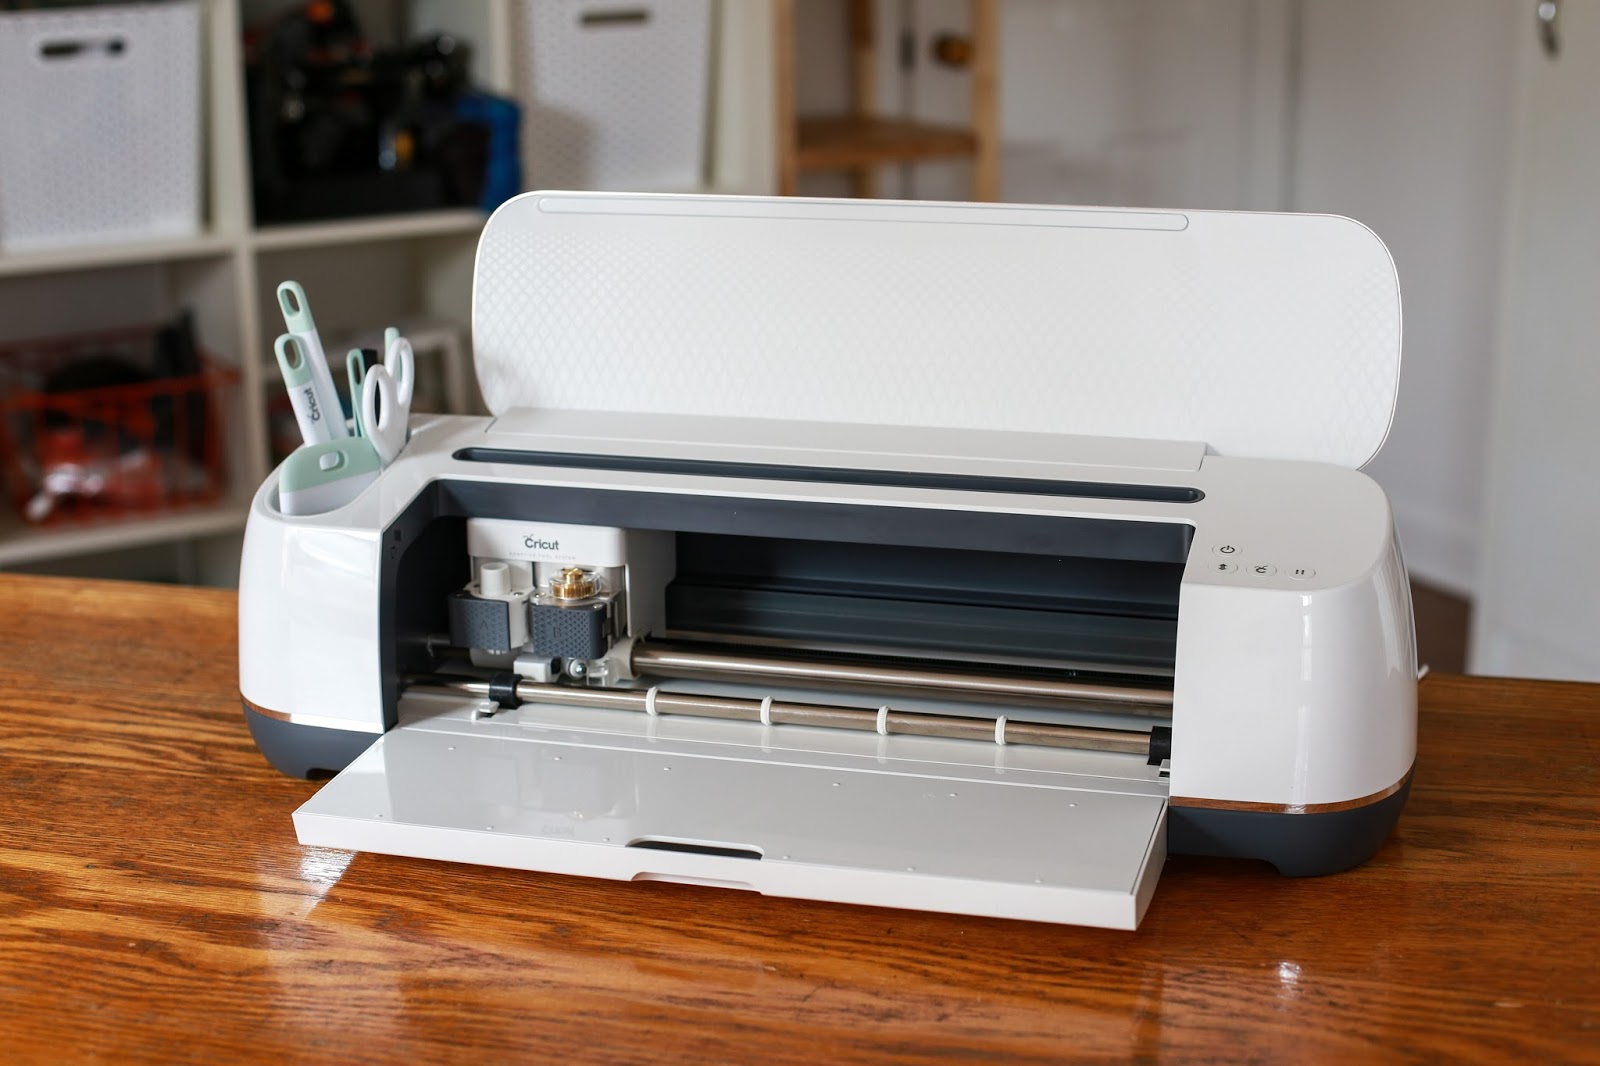
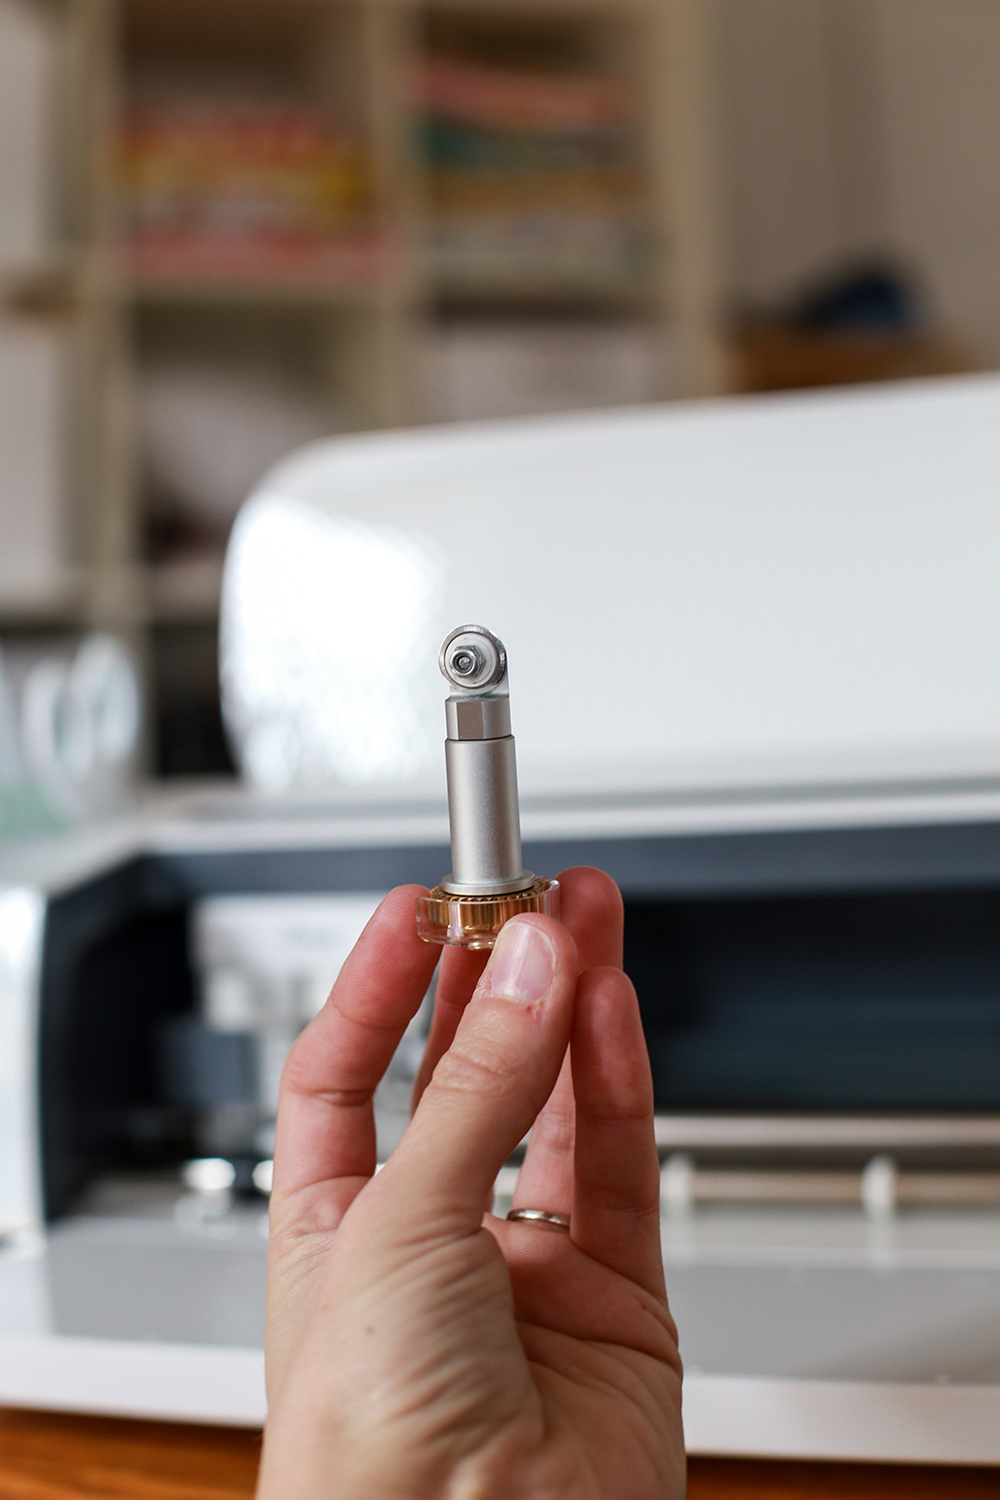
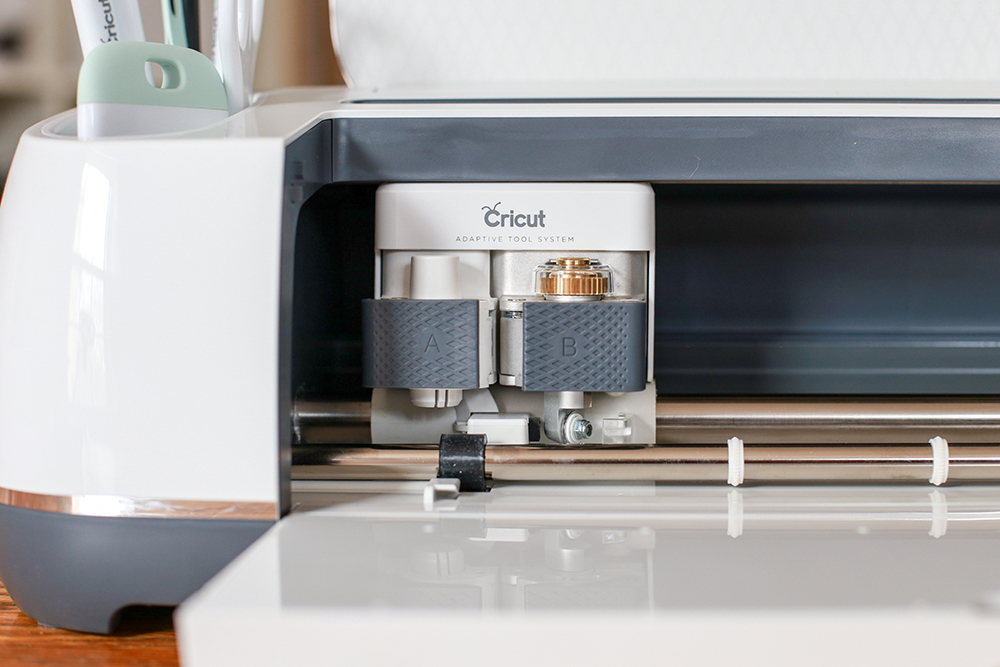
Fast forward to today, these machines have come a long way. The Cricut Maker* machine can cut paper, just like previous Cricut machines, but it can also cut through vinyl, thin balsa wood, and fabric! Some models along the way have been able to cut through fabric that's been bonded to a stabilizer (this one can too), but what sets the Maker/* apart is that it can cut unbonded fabric with a special little rotary blade. That means cutting fabric is as simple as sticking it to the mat and cutting!

I don't know about you all, but I've always been a multi-crafter. I dabble in all kinds of different crafts. I still enjoy paper crafts and I also sew, quilt, knit, weave, dye, etc. Because I like to craft in so many different mediums, it's really nice when my tools or supplies can be used across multiple crafts. That's where the Maker* fits in for me.

One of the big reasons I was interested in testing out the Maker is personal. (Let's be real, one of them is to fulfill my childhood dream of using such a fancy machine.) As you may or may not know, I have arthritis. My disease primarily affects my wrists and hands, which are pretty critical when you're making something. I've spent a lot of time figuring out how to do things in ways that minimize their impact on my body and health. In the last 5 years especially, I've had a lot of wrist problems. A task that really takes a toll on me is cutting.

Being able to use a machine to do some cutting for me is really appealing. I've used die cutting machines before, but they had to be cranked, which was still difficult. The Cricut Maker* lets you get cutting with the touch of a button. I will still cut things traditionally, but I think this machine is going to be a great asset for me in managing my activity.

I've never used a Cricut* machine before, so I decided to make a video of myself using it. Please excuse my video skills/set-up! I don't have a lot of experience shooting videos, but I felt it was the best way to show you the machine.


I was intimidated at first, but it was easier to use than I expected. I'm excited to continue to learn everything this machine can do, and really take advantage of it. In the video, I walk through cutting pieces for a simple pincushion, including creating the shapes in the Cricut Design Space*. The program allows you to create your own designs, upload images, and customize your projects. There are tons of ready made projects available too.

If you want to make a pincushion too, see the instructions below, or watch the video:

Materials:
- (2) 8.25"x10" pieces of cotton fabric
- (1) 5" piece of cotton fabric
- Pincushion filling (I used crushed walnut shells*)
- Coordinating thread

1. Start a new project in the Cricut Design Space*. Click the shape tool on the left hand side of Canvas, and click the Triangle shape. Once the shape pops up on your canvas, select it by clicking on it. Up in the top bar, change the height of the triangle to 2.5". (Or download the image of the triangle here.)

2. Using the Cricut Maker*, cut three triangles from each fabric for a total of six triangles. (Here is the tool set* I was using in the video.)

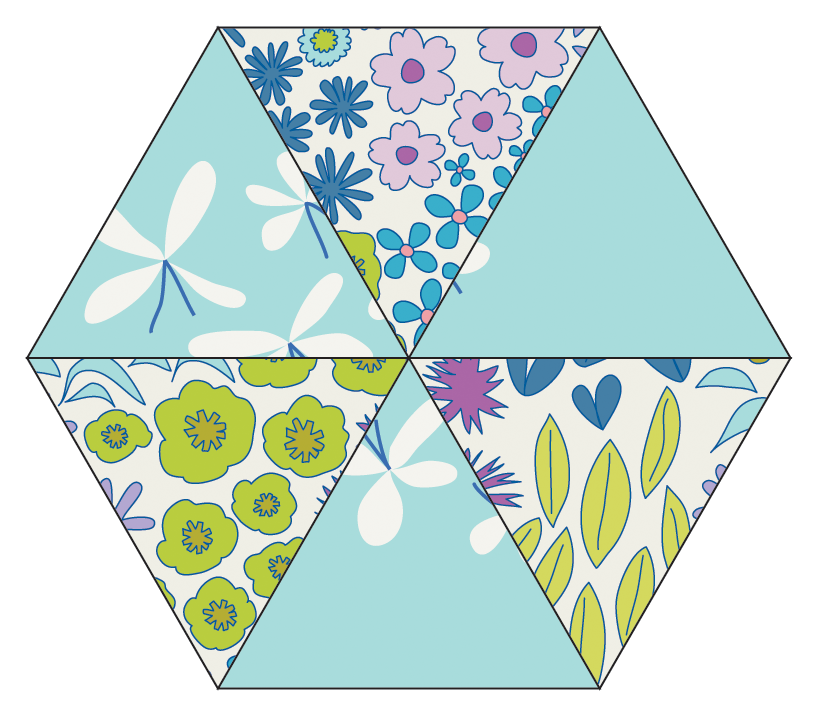
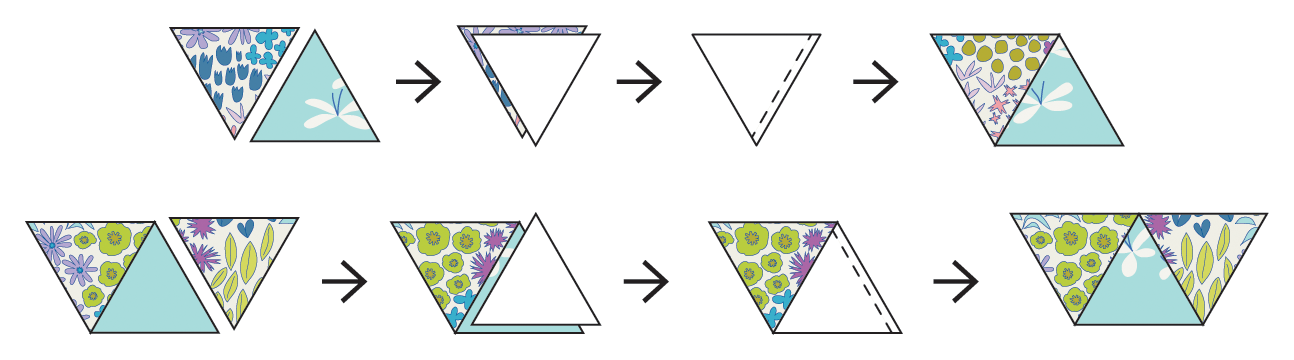
3. Arrange your triangles into two rows. Piece two triangles together in each row. Press seams open. Attach the final triangle in each row. Press seams open.

4. Place rows right sides together, lining up the seam and the row ends. Place a pin through the points to match them up. Sew rows together.

5. Use your pincushion top as a template to cut a backing for it from the 5" square.

6. Place pincushion top and backing right sides together. Sew around all sides, leaving a small opening on one side for turning. Turn pincushion right sides out. Fill your pincushion with filling of choice, hand stitch the opening closed.

Next week I'll be sharing another project made with the Cricut Maker*, so be on the look out for that!

Happy Sewing!

*Note: Any links marked with an asterisk in this post are affiliate links. This means if you click through and buy something, I make a small commission, at no extra cost to you.