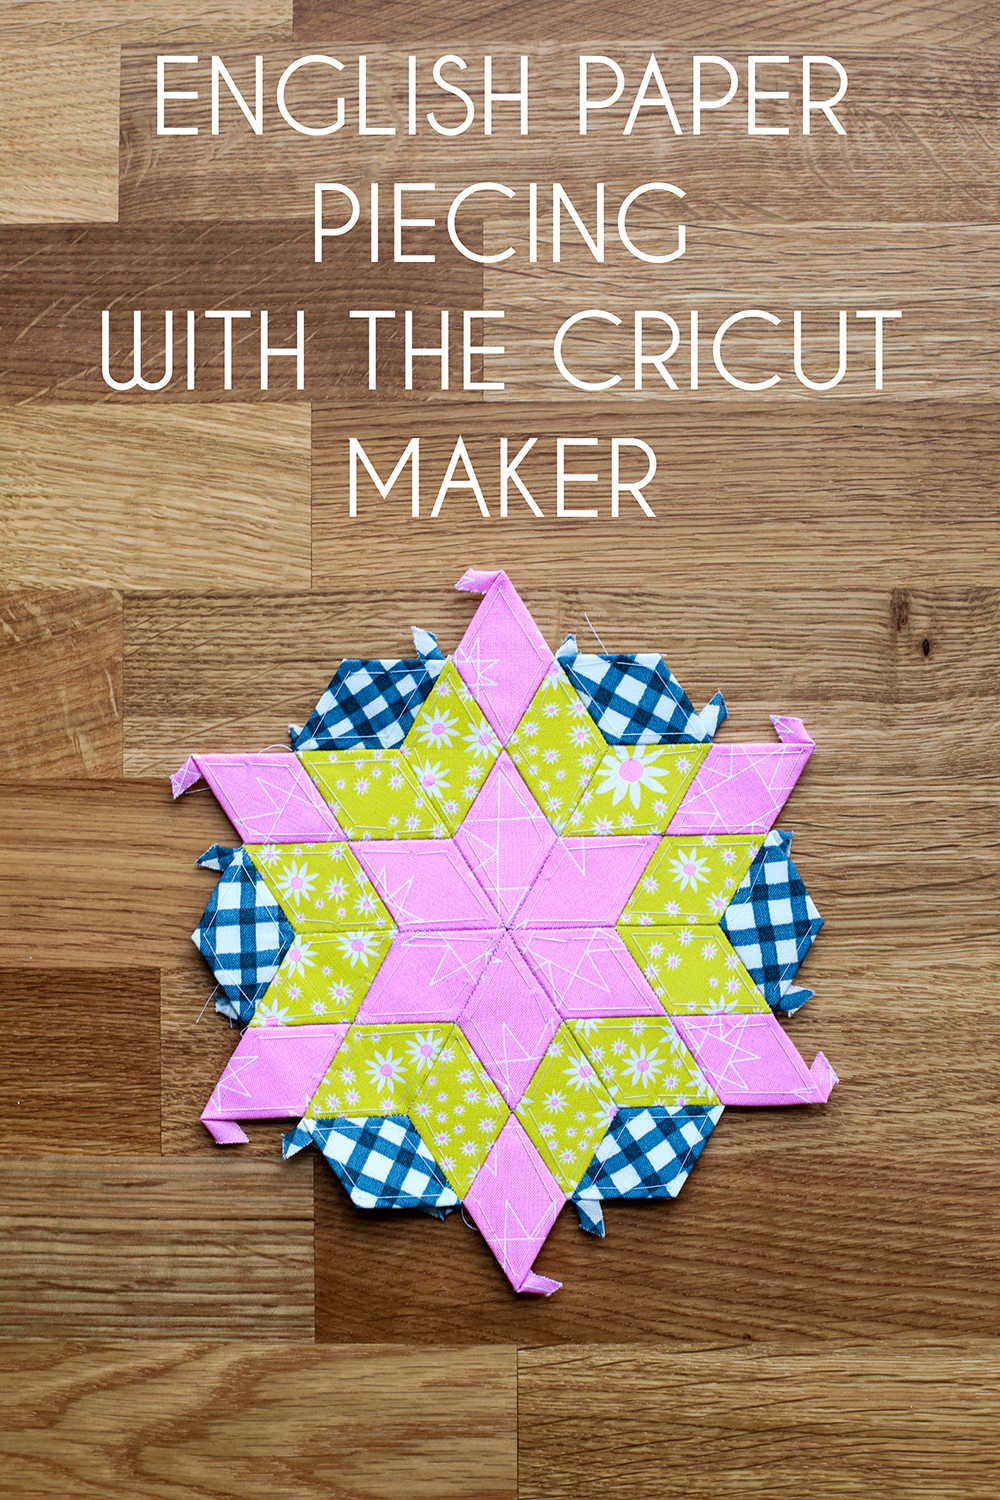
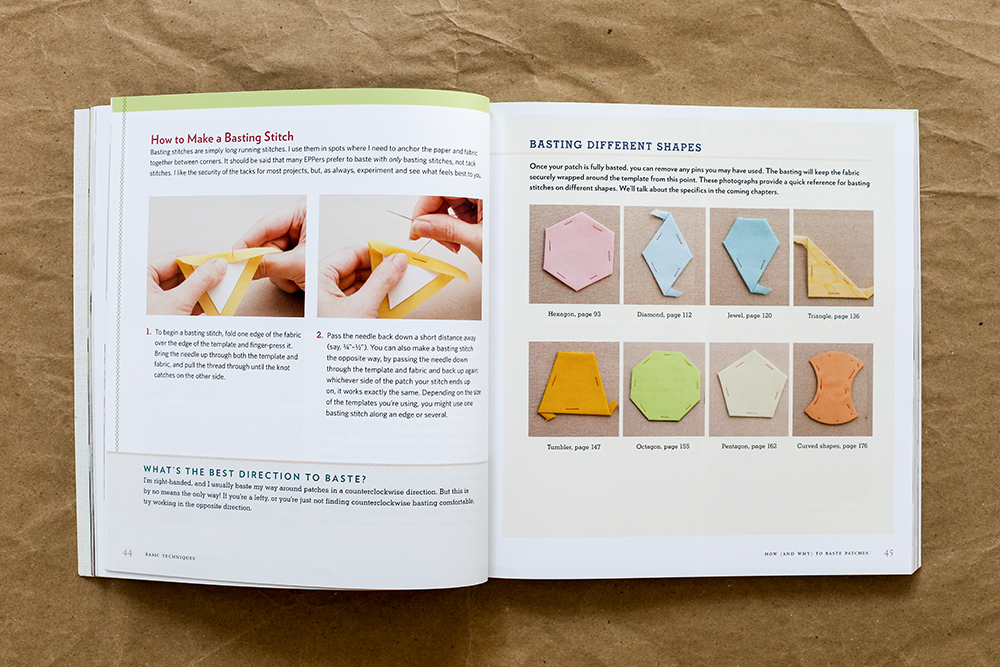
Hello! Long time no see. It's been a very busy Spring/early Summer (mostly wrangling a toddler) and I have a lot to catch you all up on! I wanted to start with something I never expected to be working on so much, english paper piecing! I've dabbled in it many different times over the years, but it just never stuck. I have very little time to sit at the sewing machine right now, so having a hand project going has become essential.
I love having this space as a documentation of what I make, so I do intend to be back more regularly. Preschool is on the horizon, which means more time for my work and life outside of being a mom coming soon!

My journey to falling in love with hand sewing actually started because we needed to have some tree work done. We spent two days in our sunroom watching the tree work unfold and I found I really wanted something to work on. I usually grab knitting, but knitting in the warmer months just isn't appealing to me. I knew I had a bunch of random english paper piecing projects that I had started and abandoned over the years, so I dug through those and found a big stack of already basted hexagons. This project started in 2010, so it was long overdue to be finished!

I had enough hexagons to make 21 flowers, but decided about halfway through the project that I wanted to make 24 instead. I managed to find some of the original fabrics I used (whoa) plus supplemented with a few newer fabrics to come up with enough colors. These are 1" hexagons.

I stored everything for this project in a small zipper pouch, which worked okay! As I worked on other projects however, I realized I need something with a bit more room and organizing potential.

I am currently at the stage of this project where I'm putting the blocks together into a small quilt! I love how it's turning out, and I'm going with a very maximalist approach in terms of the colors and fabrics. I'll leave it here for now and share more once I've finished the quilt.

After I finished stitching that first set of hexagons, I found another small group that I had received in a swap with my friend Jess on Flickr, also from 2010! I was a few shy of being able to make four hexagons, so I basted a couple more and started stitching. These are 1" hexagons.

I am stitching these to a piece of ice-dyed fabric and making some drawstring bags. They're currently stitched down and waiting for me to choose lining and accent fabrics!

My current project is brand new! I'm not sure what I'm making, I'm just going to keep making hexie flowers until I get tired of making them. So far I've only cut from my scrap bins, which is fun. I'm using low-volume prints for the petals and gold/mustard yellow prints for the centers so they look like little white flowers. I love how they're turning out. For these ones I am glue basting. I am conflicted on whether I like glue or thread basting better, but it's hard to argue with the speed of glue basting so that is winning for now! These are 3/4" hexagons.

For this project I quickly outgrew the zipper pouch I was using and upgraded to this tackle box! It's a vintage caboodles/plano tackle box I thrifted a few years ago (or last year?). It's been working great! I can keep all the stitching and basting stuff all in one place and can easily move it around the house with me to stitch wherever I want. And it's so cute, which is a nice bonus.

I'm really enjoying this project and I am excited to see what all these flowers eventually become. I'm so glad I gave english paper piecing another chance. It's allowing me to sew when I otherwise wouldn't be able to sew much. It is giving me to the same meditative experience as knitting does, and I certainly need that!
I hope to be back soon with some other kind of update, maybe on the garden? See you later!