Happy Friday! It's time for another Friday Favorites post! Catch up on previous posts here: Friday Favorites Archives
- The beauty bush is in full bloom right now, so as usual I've taken a million photos of it! Been spending so much time outside lately, which is making me happy.
- Speaking of being outside, this SPF lip balm* was a lifesaver last summer. Have already needed it this year!
- Loving the new Austin Dress Pattern from Grainline Studio. I don't love sewing buttons/buttonholes but the adorable button detail down the side of this dress makes me want to make an exception!
- This indigo quilt top by Ashley Brown Durand is so dreamy! Would be perfect for all the indigo scraps I've collected.
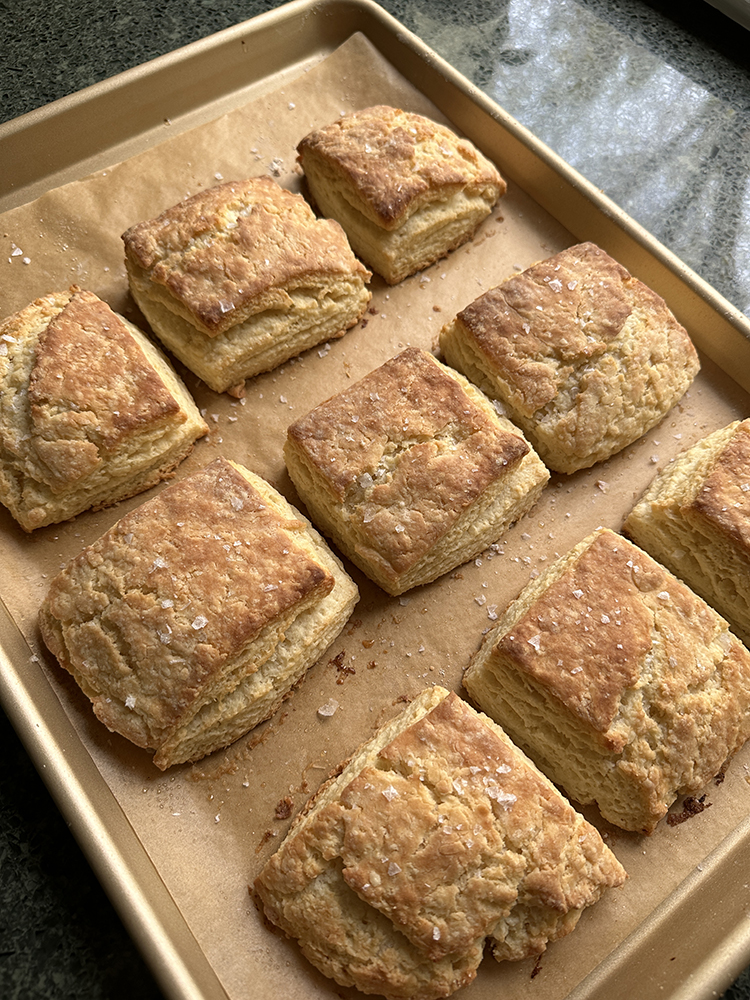
- I recently baked these sweet buttermilk biscuits using this recipe from Briana Holt. They were fun to make and really tasty!
- Another recipe I tried this week was these smashed chicken meatball sliders. I really liked them and ended up freezing down some of the meatballs for future meals!
- One of my favorite youtube channels to watch lately has been Claire Saffitz's Dessert Person channel. She has a large back catalog of videos so there is a lot of watch.
- Very happy that a new game in my favorite series (Legend of Zelda) came out last week! This video made by another fan of the games made me smile.
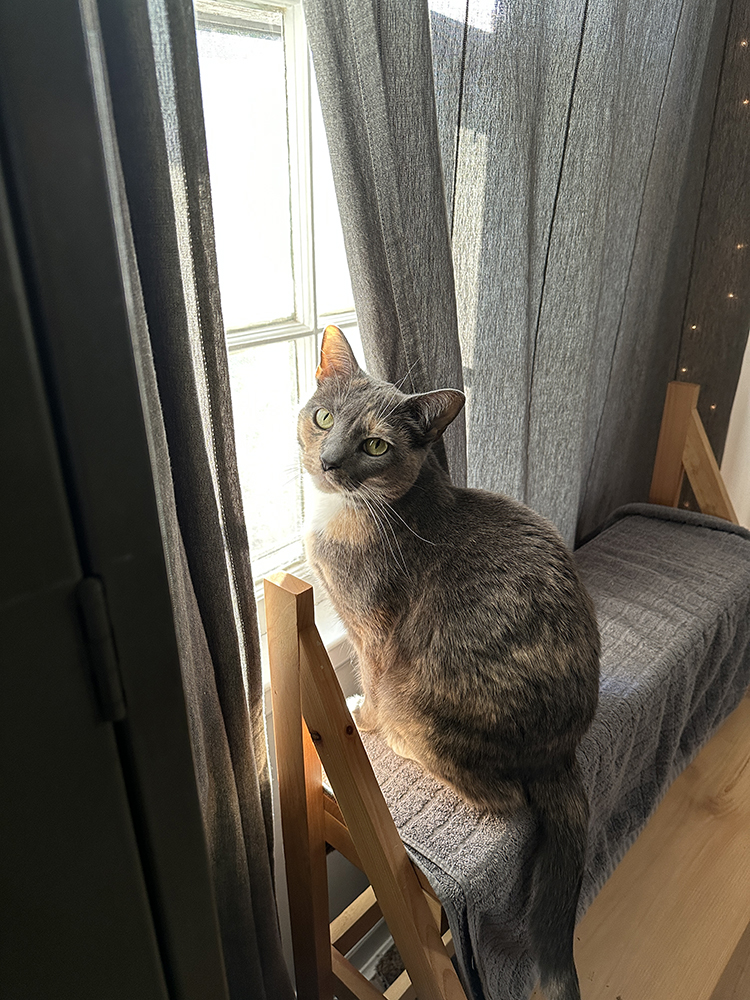
- Dusty kitten looking all cute as she keeps an eye on the neighborhood.
Have a Great Weekend!
*Note: Any links marked with an asterisk in this post are affiliate links. This means if you click through and buy something, I make a small commission, at no extra cost to you.
Happy Wednesday! Today I have a new grow bag tutorial to share, just in time for garden season!
In 2020, I published a fabric grow bag tutorial that used landscape fabric. It was at the very beginning of the pandemic, and it's the material I had on hand. It was very much a "make do with what you have" project. As I've explained in that post, they worked great for a single season, but did not last. Each year since then, I've tried out different materials to come up with a DIY solution and I think I've finally done it!
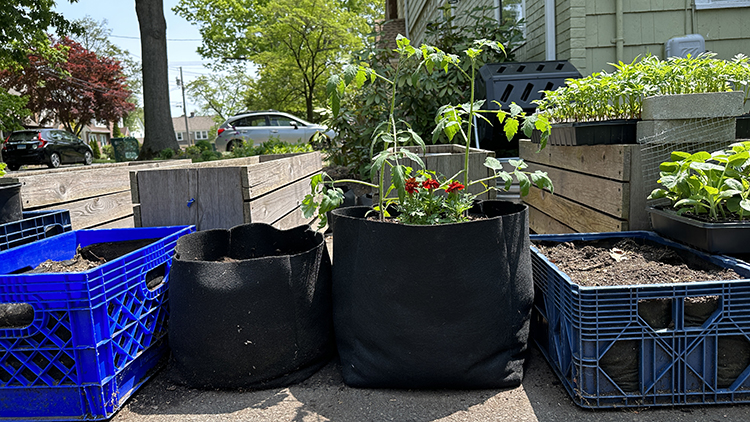
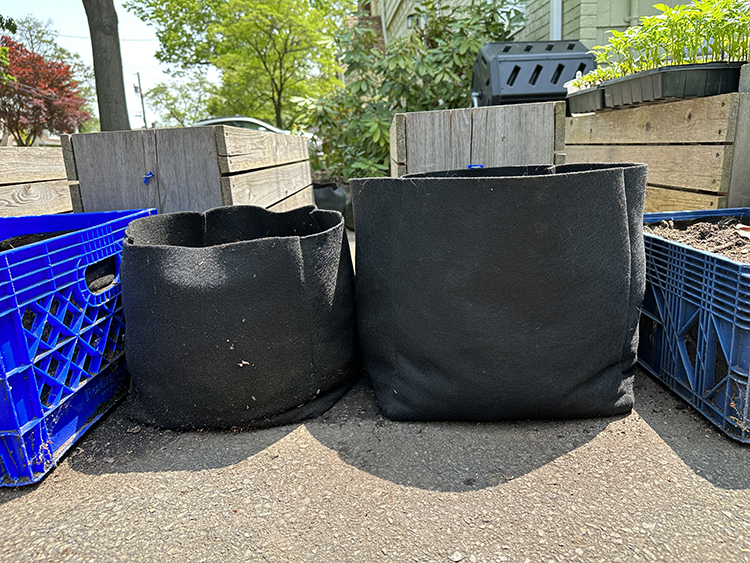
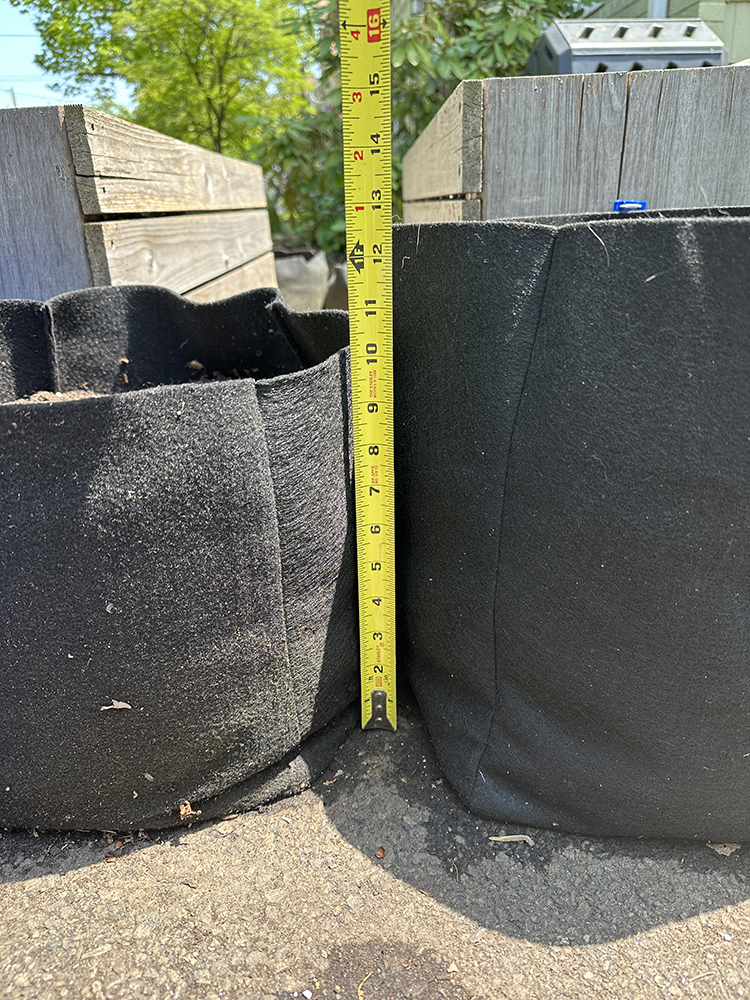
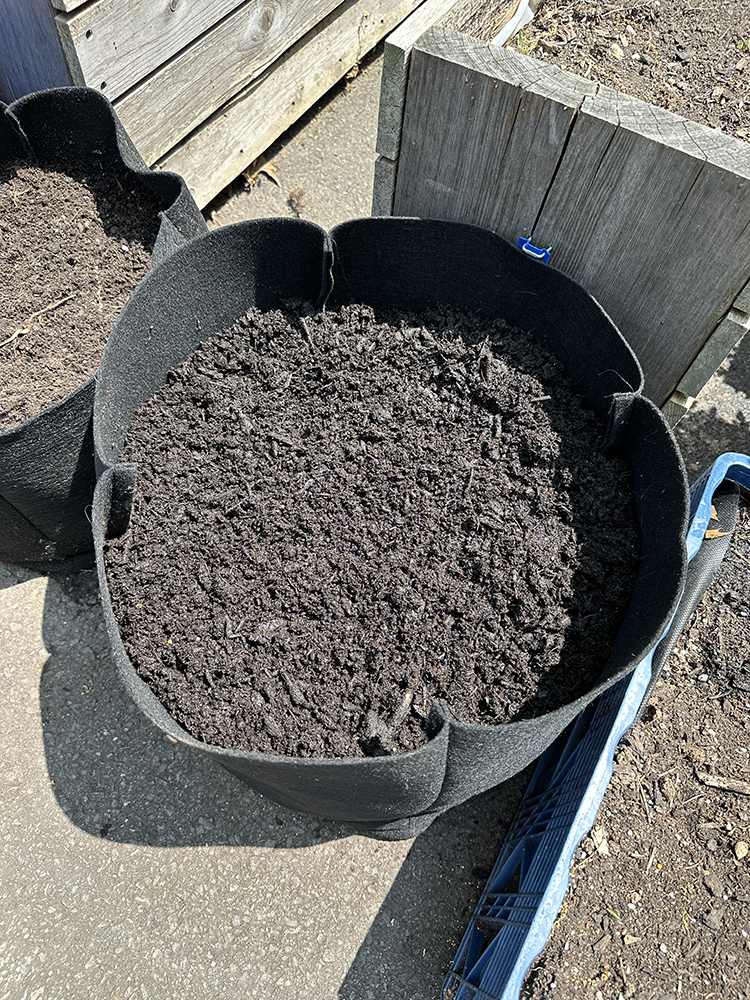
Last year's grow bag on the left, this year's grow bag on the right
Most nurseries and even some big box stores carry ready-made grow bags (we have some of these and love them too!), so I wanted to be sure that this DIY option was budget friendly and didn't require any hard to source materials. I also wanted to be sure that these bags performed well, so I actually made two last year and tested them for an entire season. Beyond using them for the growing season, I left them outside filled with dirt over the winter to really get a good idea of how they would hold up. I can now confidently share this design and material choice with you!
Felt Grow Bag Experiment
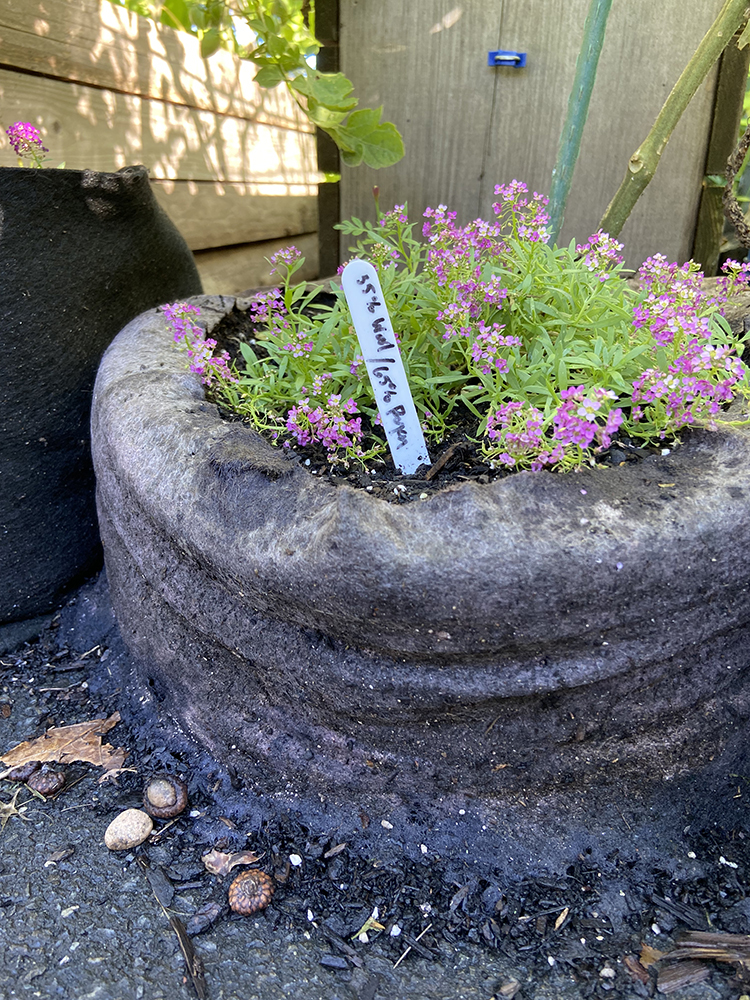
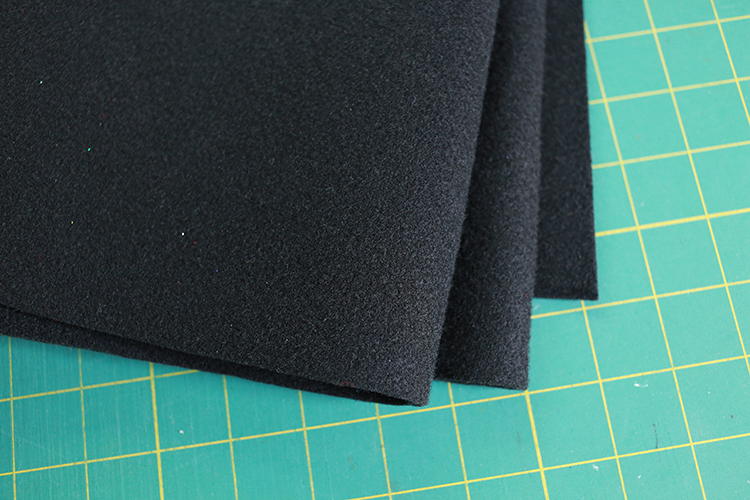
For the material experiment I purchased two different felts from JoAnn Fabrics. As I mentioned, I wanted the material to be easy to source, which is why I chose to shop at JoAnn's. The first was 100% polyester premium craft felt. This wasn't the cheapest felt they carry, it's a couple dollars more per yard and a little thicker. The second was a 35% wool/65% rayon felt. I chose this felt because it was what they had the most of that wasn't polyester.
I made the bags the same size (I used 12" squares for the test bags) and planted a single cherry tomato plant in each bag. The good news is that both grow bags worked great during the growing season! They both drained easily, the tomatoes thrived and there was no difference in plant performance that I could see.
By the end of the season however, the second grow bag (35% wool/65% rayon felt) was already in super rough shape. It continued to disintegrate over the winter, and is now just a pile of dirt!
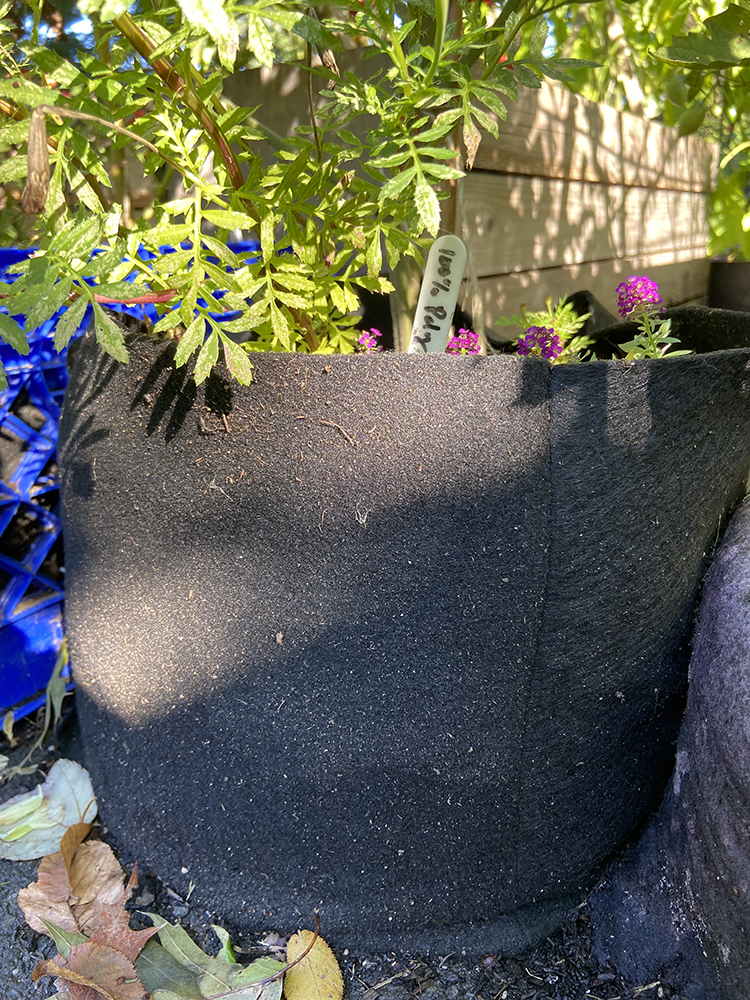
The first grow bag (100% polyester premium craft felt) on the other hand is still going strong! It has some light wear, but is otherwise good to go for another season. I was able to move it around, the bottom also stayed intact. So, the 100% polyester premium craft felt is my official recommendation for DIY felt grow bags. At the time of writing this post, this felt is regular price $10.99/yard at JoAnn Fabrics. That means the material for this grow bag is around $5, which feels pretty afforable considering the size! With a coupon or a sale, you could make these for even less!
These bags are constructed completely differently than my original fabric grow bag tutorial. For these bags we are creating an unlined "box" made of felt. So the bag will have four sides and a flat bottom.
Custom Sizing:
This design is really easy to customize. All the pieces are square, and the same size. If you use 1/2" seams for the construction as recommended, your bag will be 1" smaller than the squares you cut. So if you want a finished grow bag that is approximately 10" square, you'll cut (5) 11" squares!
The 100% polyester felt grow bag from last year's experiment (shown on the left) is an 11" grow bag. For this tutorial I made a 13" grow bag. This is the largest size you can make with a single 1/2 yard cut of the 72" wide felt since you can get cut all five squares from one strip. Here's how to determine how much fabric you'll need for other sizes:
If your cut square size is 14" or smaller, you'll need one 72" strip of felt.
For example: 9" cut squares = (1) 9"x72" strip of felt or 1/4 yard.
If your cut square size is 15-24", you'll need two 72" strips of felt.
For example: 16" cut squares = (2) 16"x72" strips of felt or just under 1 yard.
DIY Felt Grow Bag Video Tutorial:
In addition to the written instructions below, I also filmed a short video tutorial. In the video I make a mini version so that it is easier to see each step of the process. All the steps are the same, regardless of the size bag you make! Find the video tutorial here: DIY Felt Grow Bag Video Tutorial
DIY Felt Grow Bags Written Tutorial: Finished size: Approximately 13" wide, 13.5" tall, 13" deep
Materials:
- 1/2 yard of 72" Premium Craft Felt (100% polyester)
- Coordinating Polyester thread (or heavy duty thread)
- Chalk or pencil
- Clips or pins
Cutting:
Cut fabric into (5) 14"x14" squares.
Instructions: Use 1/2" seam allowances unless otherwise noted.
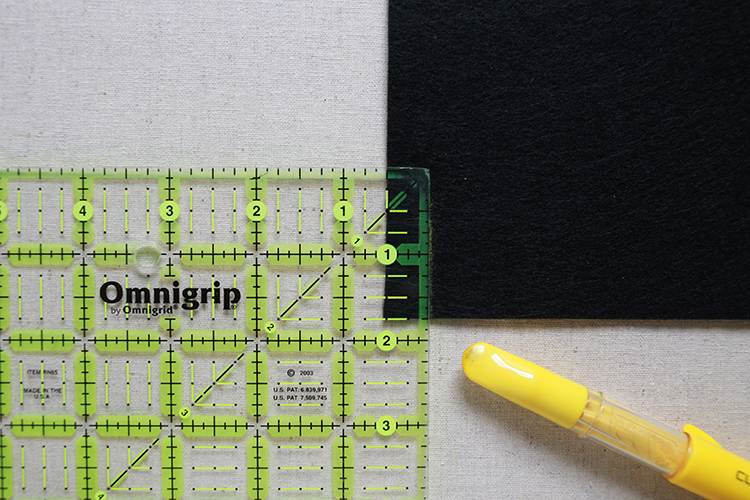
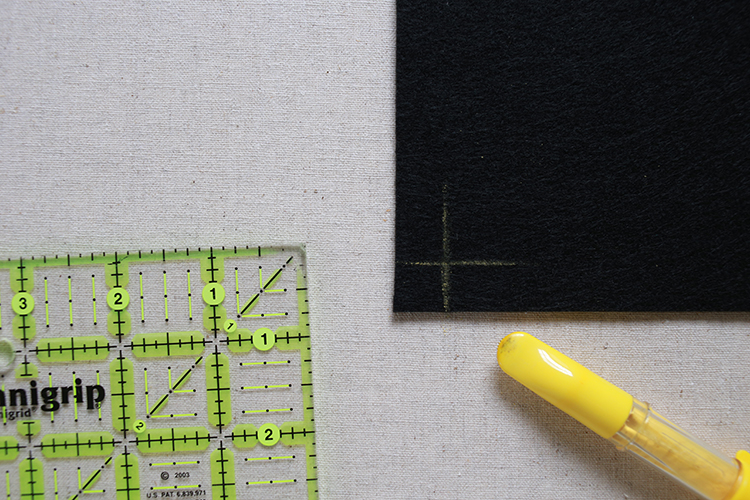
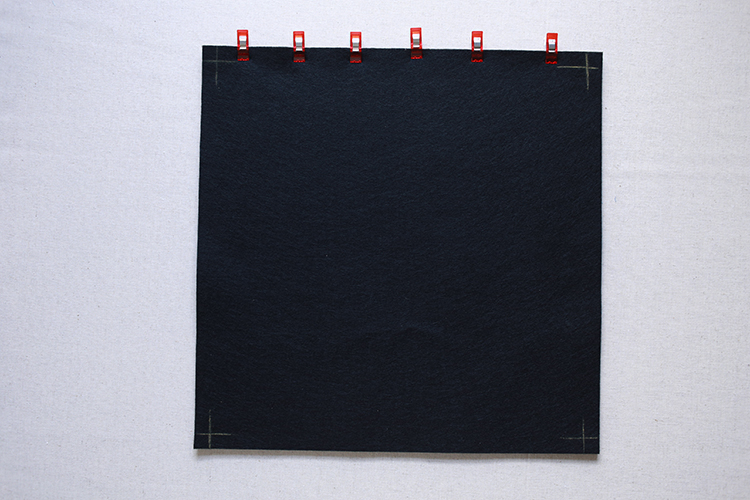
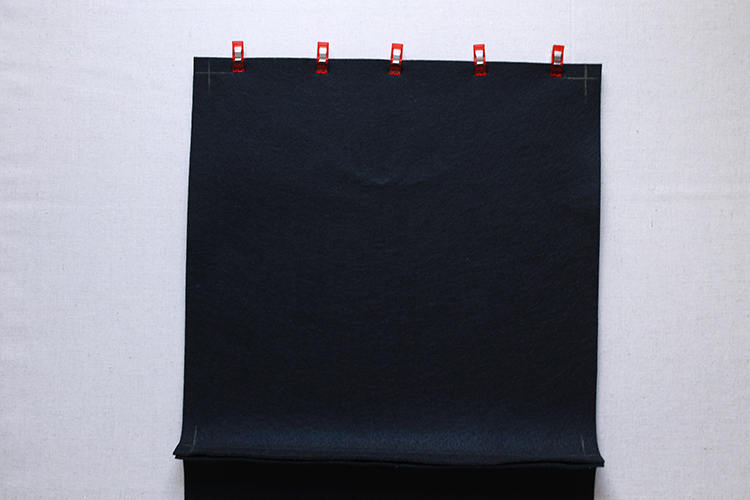
1. Choose one 14" square to be the bottom of your grow bag. Using chalk or a pencil, mark a short line 1/2" from the edge of each corner (in both directions), so that you have a small "+" at each corner. Do this on the wrong side of the felt (what will end up being the interior of the grow bag). We'll be using these "+" marks as sewing guides in the next few steps.
2. Put one of the 14" square side panels right sides together with the 14" bottom panel. Sew pieces together along one edge, leaving 1/2" unsewn at each corner, using the marks made in step 1 as a guide. Be sure to backstitch when you start and finish stitching.
Repeat this step with the side piece that will be attaching to the opposite side of the bottom.
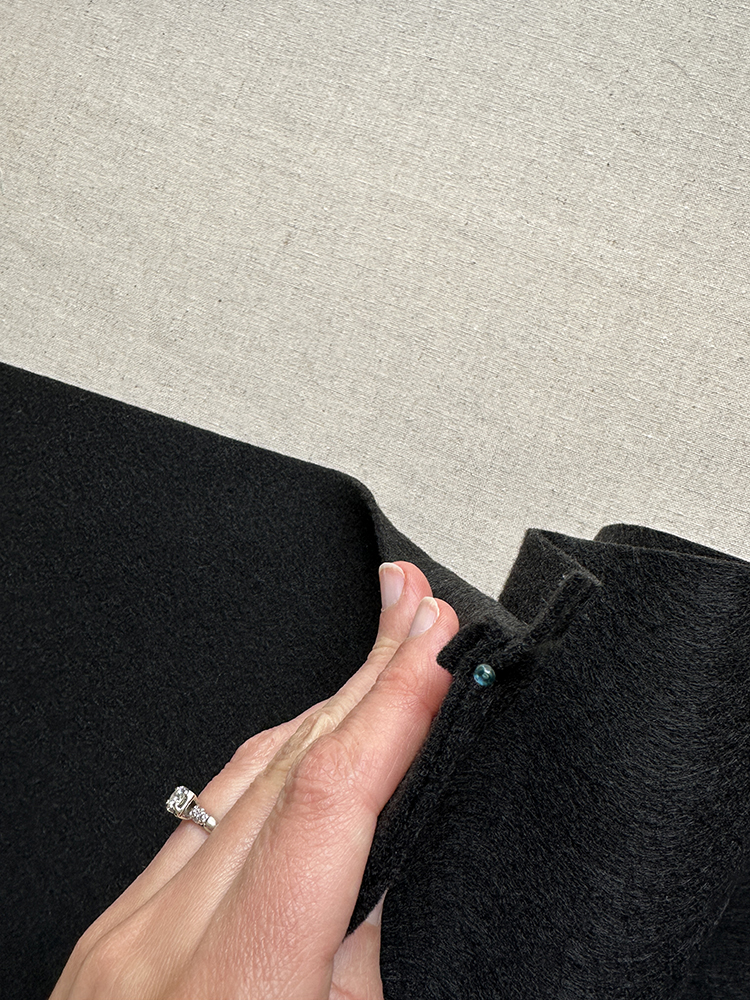
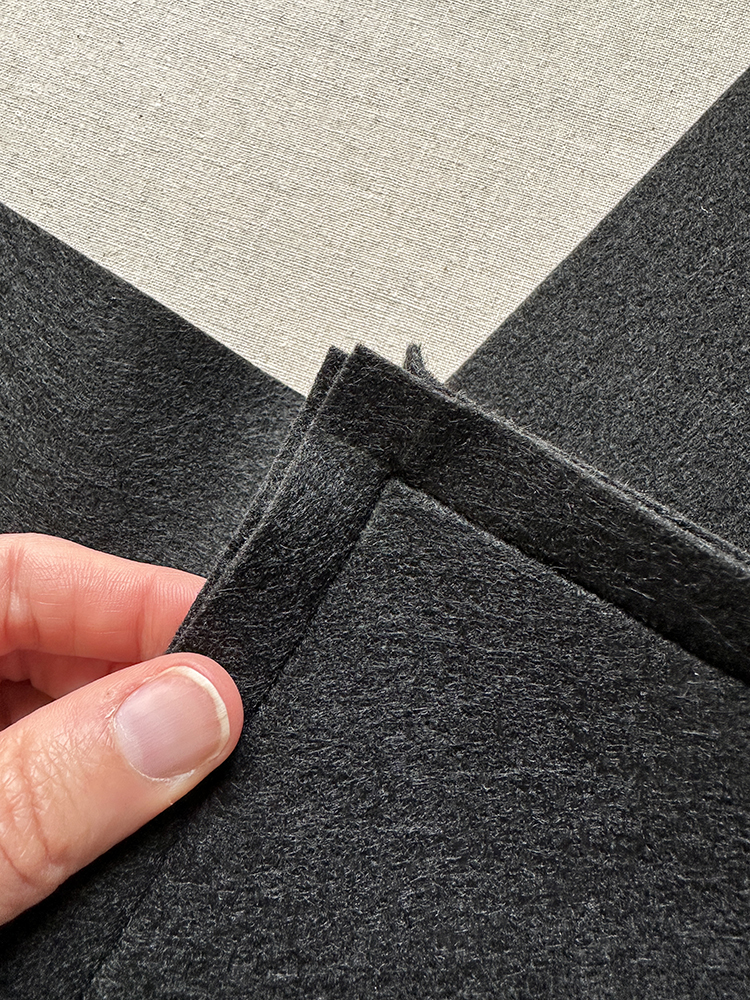
3. Before attaching the two remaining side panels to the bottom panel, it can be helpful to fold the seam allowance from the first two sides out of the way at each corner. I secured these with a pin.
Attach the remaining side pieces to the bottom in the same way as in step 2. Remove any pins or clips you may have used.
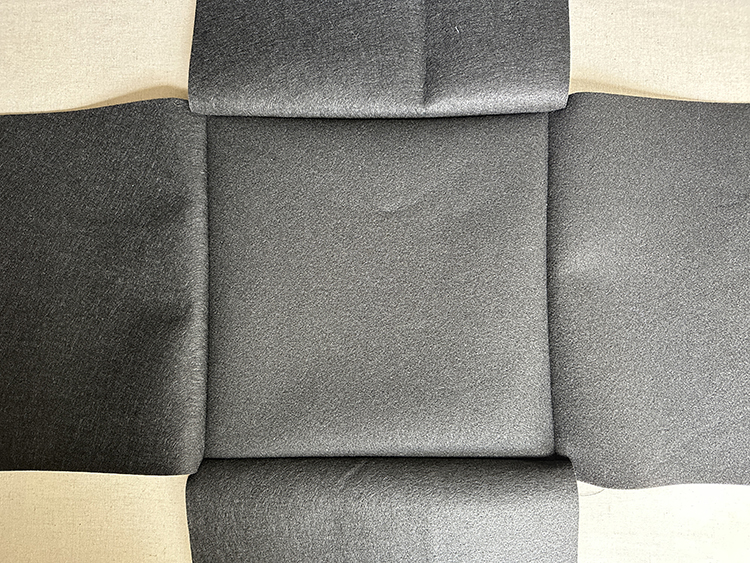
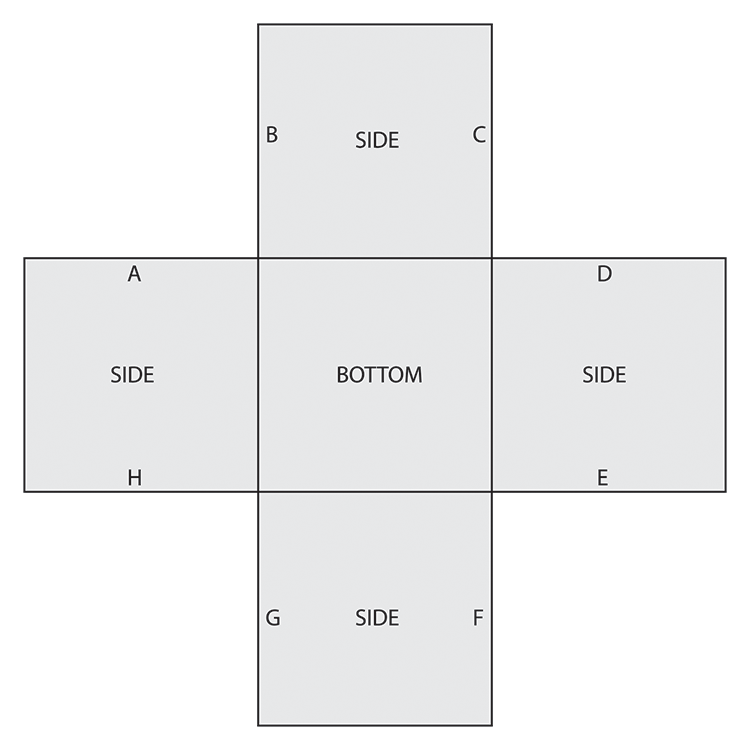
All four of the side pieces should now be attached along one edge to the bottom piece. When laid out, your piece should look like a big plus sign!
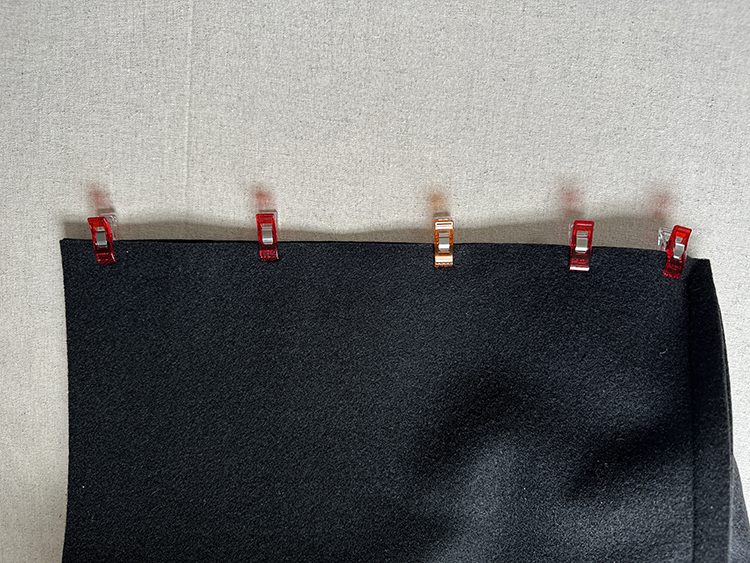
4. Now it's time to connect the side panels to each other. Match up each side edge with it's neighbor and clip/pin in place. In the above diagram I've labeled each side's edges with a letter. You'll clip/pin together edge A with edge B, C with D, E with F, and G with H. As you join the edges the "box" will take shape!
Sew pieces together along these edges. I find it easiest to start from the top (open) end and sew down towards the corner. Stitch until you're around 1/2" from the bottom, meeting up with your stitching where the side panel meets the bottom panel.
5. Turn bag right sides out and it's ready to be filled with dirt! No need to finish the seams since felt doesn't fray.
Feel free to add simple felt or webbing handles to the top of two sides if you want!
How I like to fill my grow bags:
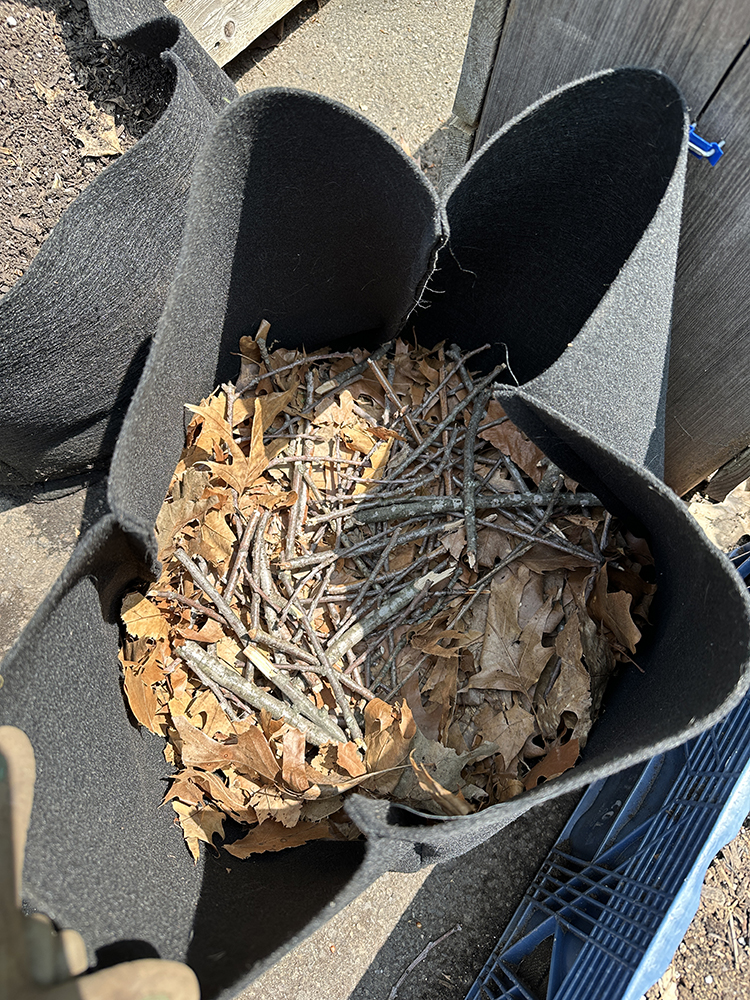
1. I start by filling the bottom few inches of my grow bag with old leaves and small sticks. This helps fill some of the space, so that I don't need quite as much dirt. It will also break down over the season, providing some organic material to improve the soil.
2. Next I typically layer in some spent potting soil, again to reduce the amount of good dirt I need to fill my bag!
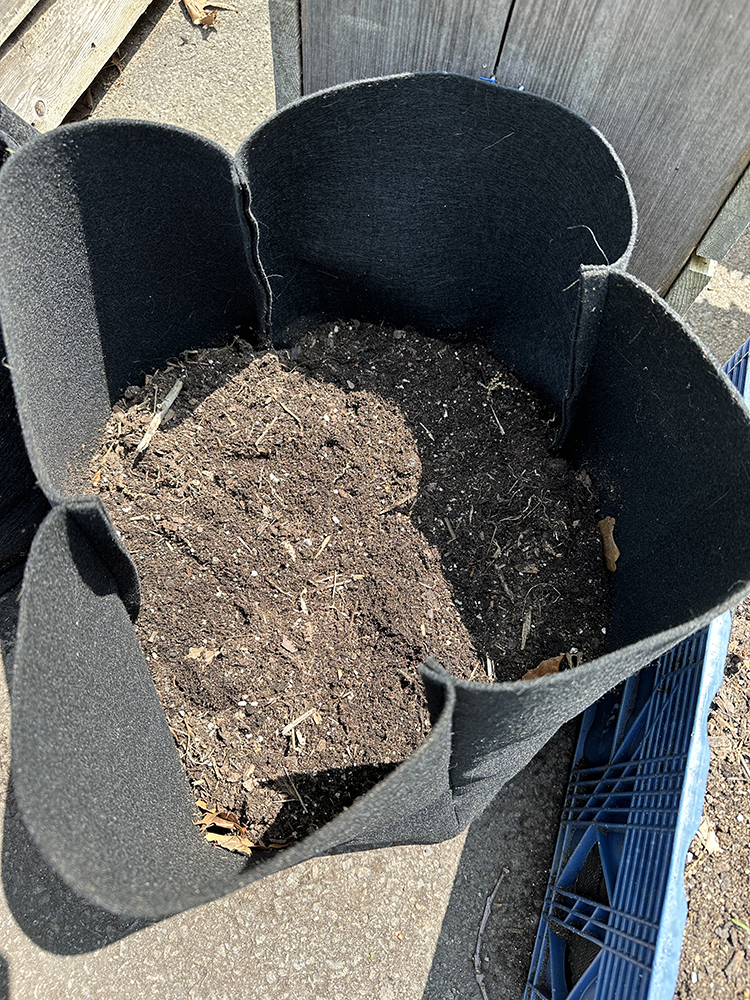
3. Finally I finish filling my bag with a mix of good quality soil and compost. Now it's ready for plants!
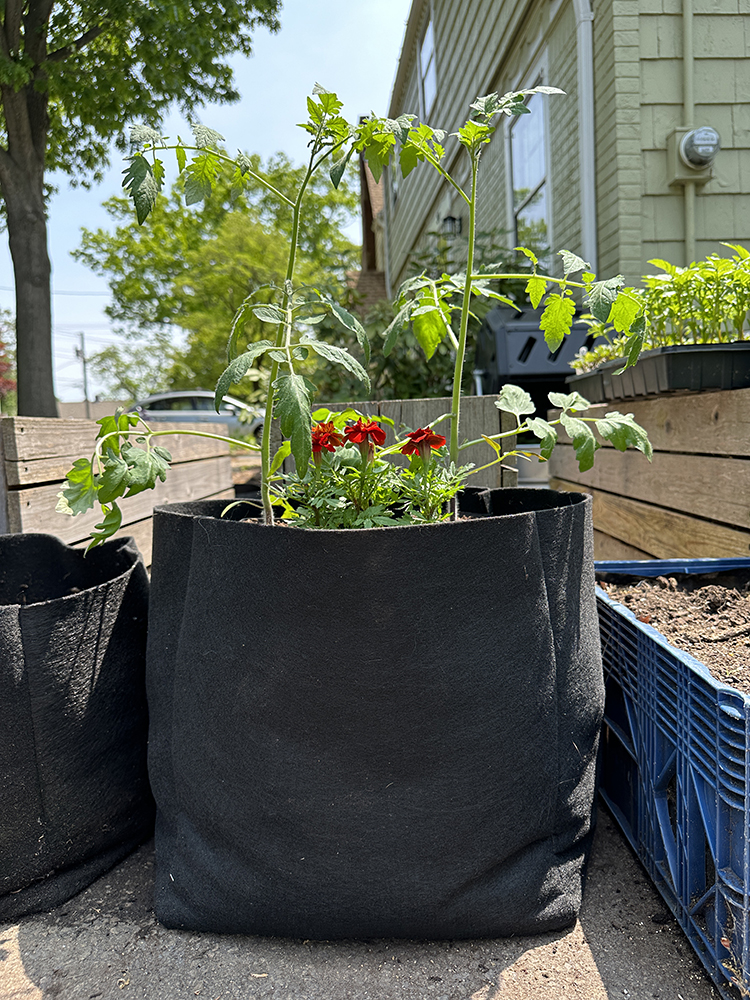
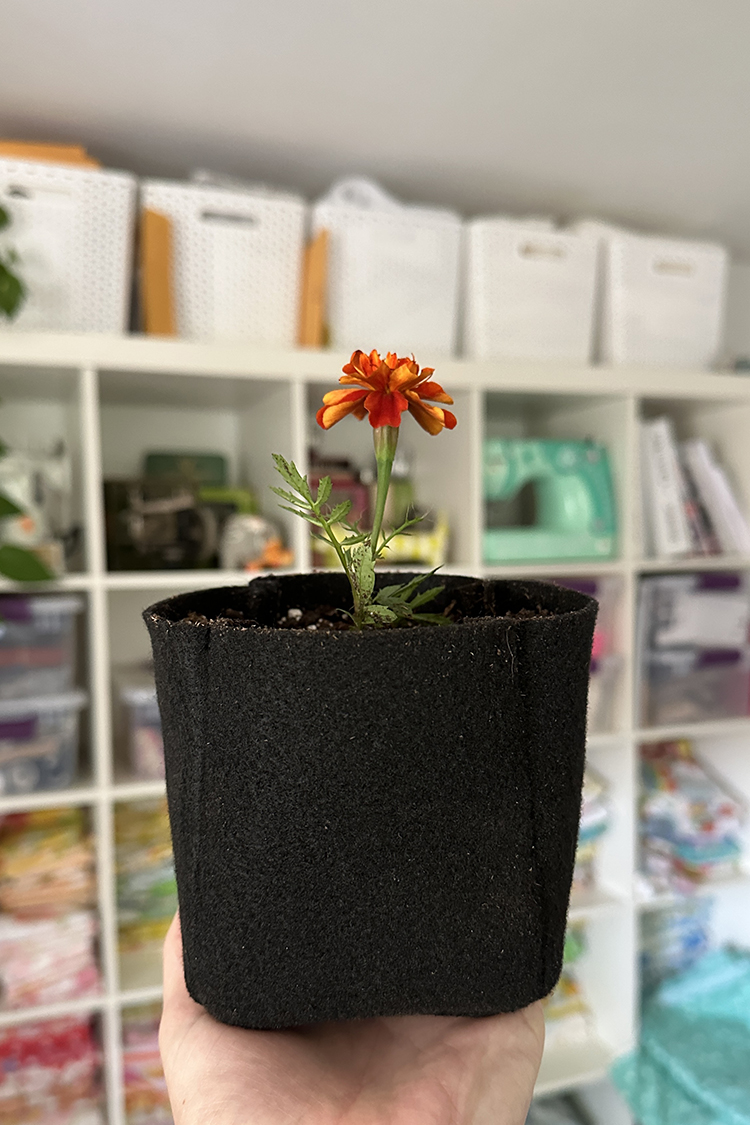
I ended up planting a marigold in the mini grow bag that I made in the video tutorial. Look how cute!!
If you're interested in using up extra landscape fabric to make grow bags, check out the original grow bag tutorial I posted in 2020: DIY Fabric Grow Bags
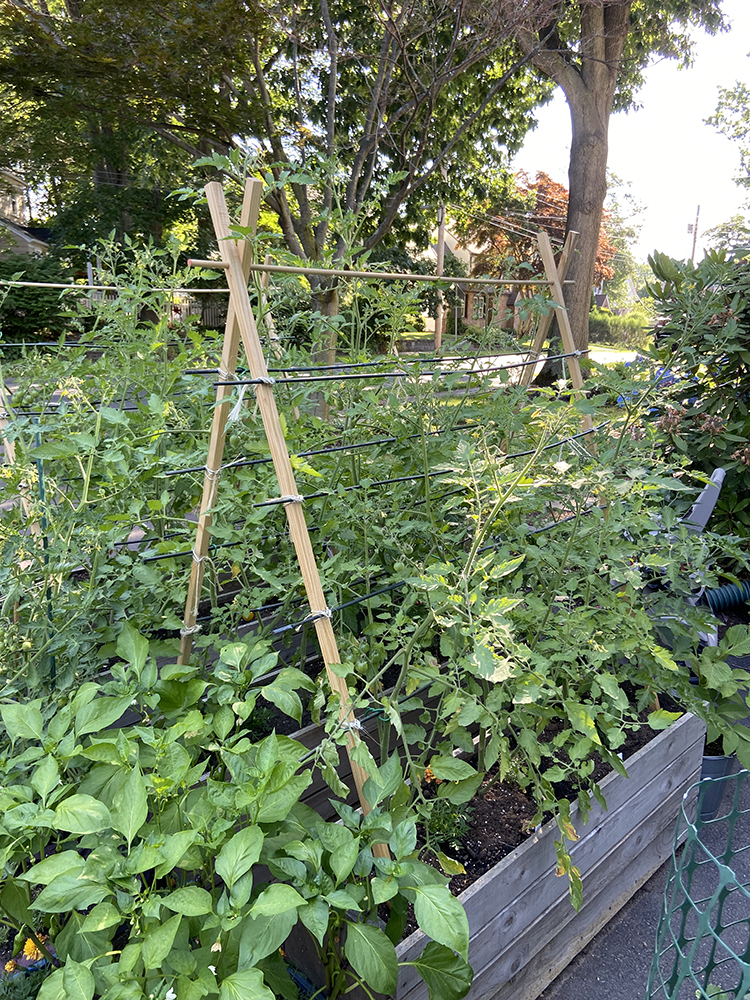
Last year I shared a tutorial for a simple, budget friendly tomato trellis and I'm excited to use those again this year. Find that tutorial here: DIY Budget Wooden Tomato Trellis
I hope you've enjoyed this tutorial! I have lots of other tutorials for everything from quilts, pillows, bags, and holiday items to informational series and techniques. Find all my tutorials here: Tutorials. My online shop is filled with patterns for quilts and bags. Find my patterns here: Jeni Baker Patterns
If you make something using one of my tutorials or patterns, I hope you'll tag me @jenib320 and use my hashtag #jenibaker on instagram!
Happy Friday! It's time for another Friday Favorites post! Catch up on previous posts here: Friday Favorites Archives
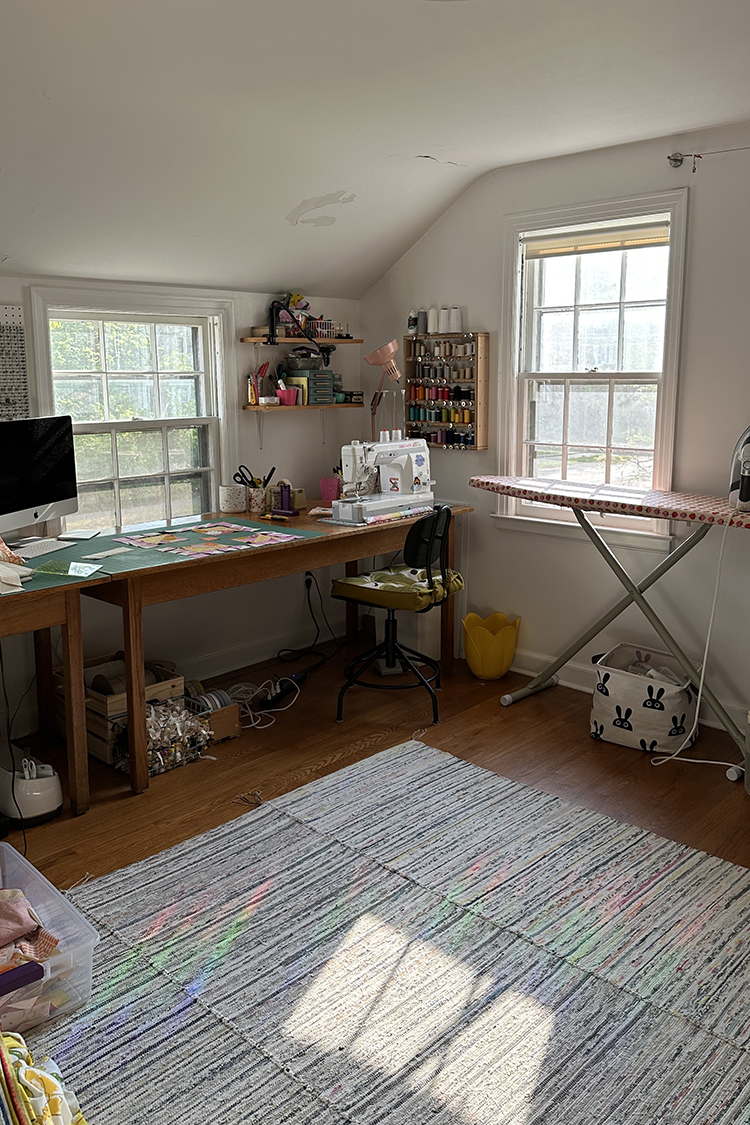
- I slid my ironing board down a few feet so that it's in front of the window and it has made ironing a much more enjoyable task! Funny how such a small change can make a difference.
- Radha of Sewing Through Fog has put together a great resource of Secondhand Fabric Stores! There are interactive maps for US/Canada and Global, plus a directory of online secondhand fabric stores.
- Krebsbachhuber Crafts makes these really neat reusable glue stick precision tips that turn a regular glue stick into into a precision stick that looks like it would be perfect for english paper piecing.
- Over the weekend we picked up a new-to-us perennial, Geum. It's a member of the rose family, and is adding a sweet pop of orange to our front yard perennial flower garden!
- Recently discovered Remark Glass, a company based in Philadelphia that creates home goods from post-consumer bottle glass in partnership with their non-profit Bottle Underground.
- Rashida Coleman Hale has released a collection of beautiful handmade pincushions, and there are still a few left!
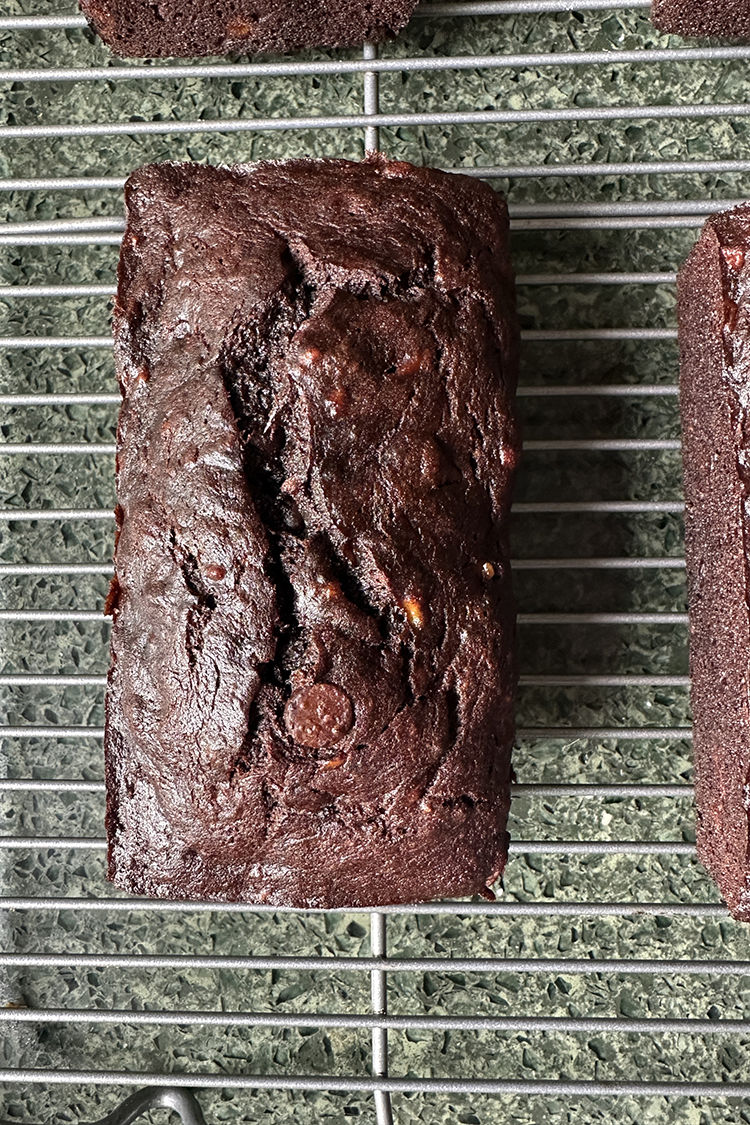
- Revisited another favorite recipe and made some double chocolate banana bread. I'm not sure I've made a non-chocolate banana bread recipe since finding this one years ago! It's so good. This time I baked it in four mini loaf pans so I could give some away!
- Steffi Troy has a fun new pattern for pieced key FOBs called What the FOB!?.
- Dusty has really been into sleeping on the back of the couch lately. It gets about an hour of sun in the morning, which is of course irresistible.
Have a Great Weekend!
*Note: Any links marked with an asterisk in this post are affiliate links. This means if you click through and buy something, I make a small commission, at no extra cost to you.
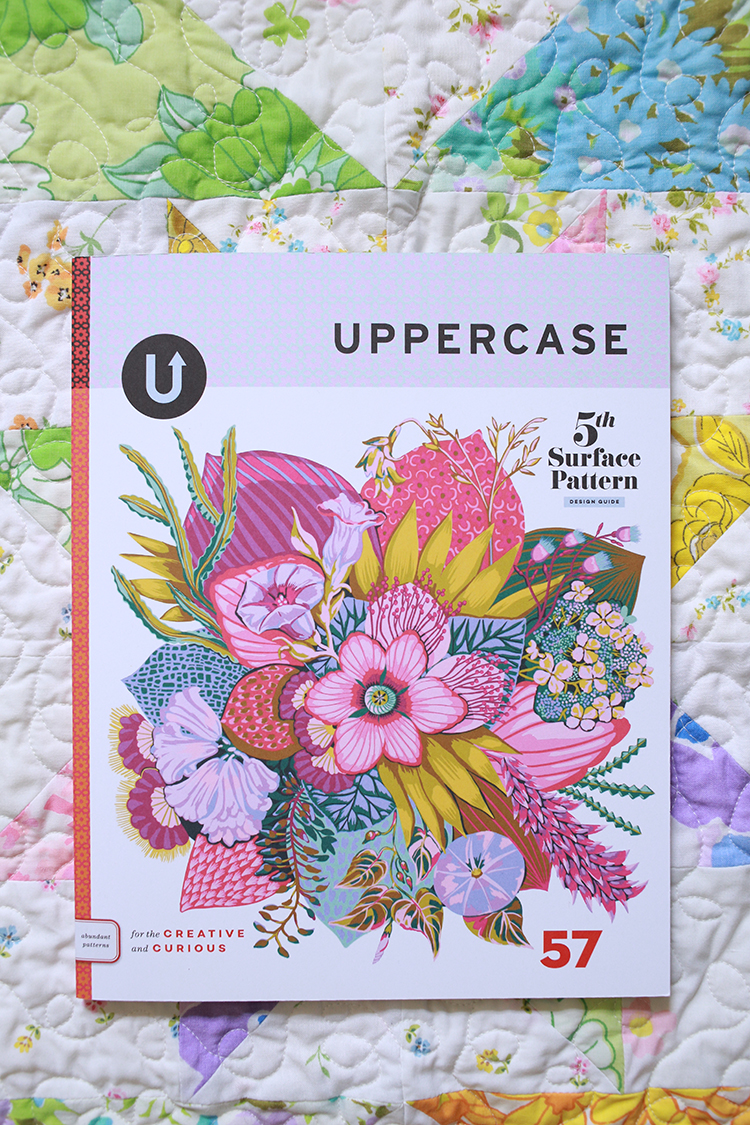
I'm excited to share today that I was interviewed for an article that appears in the current issue of UPPERCASE Magazine. The issue is #57, their 5th Surface Pattern Design Guide!
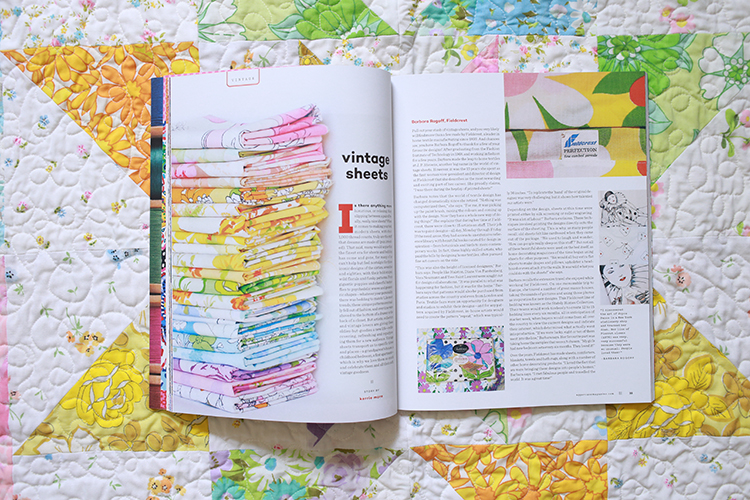
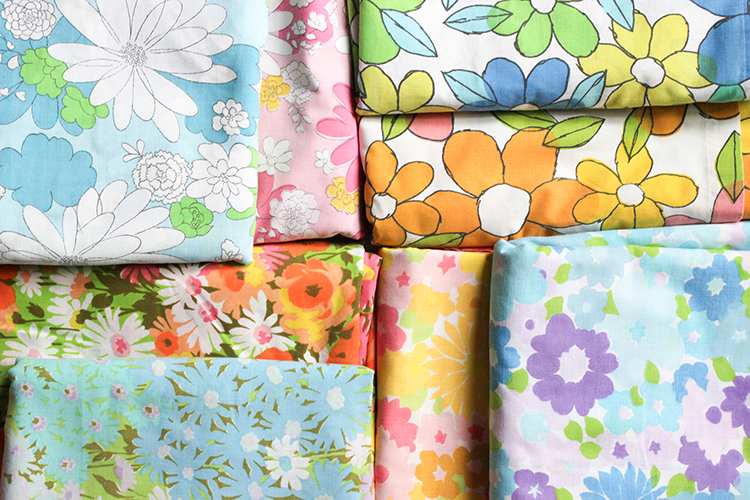
Kerrie More reached out last year about an article she was writing all about vintage sheets for this issue! I love to talk vintage sheets, and we spent some time one evening in December chatting all about them. At the time, I didn't know too much about what the rest of the article would include.
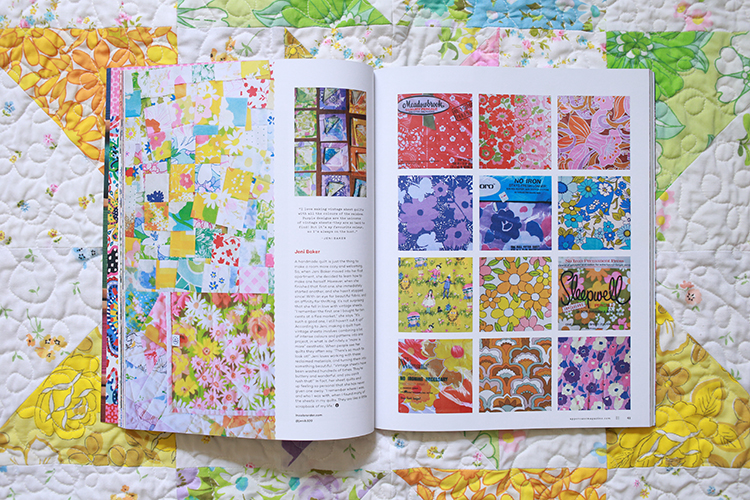
I was tickled that a number of my photographs appear in the article, alongside my interview. There are also interviews from other creatives who collect/use vintage sheets as well as profiles on different vintage sheet designers/companies! If you're at all interested in vintage sheets I recommend checking out the full article, it's really cool!
Just a few weeks ago I shared my big blog post with all my vintage sheet projects in one place. I'm linking that here again for reference: Projects Made with Vintage Sheets
See a video preview of the issue or order a copy here: UPPERCASE #57. There may also be a shop near you that stocks UPPERCASE, see their stockist list here: UPPERCASE Stockists. A big thanks to Kerrie and the UPPERCASE team for including me in this article.