
It's time for another post in my Sewing Room Organization Series. Today we're talking all about tips for keeping your sewing space neat and tidy. I highly recommend checking out the other posts from this series if you haven't already, we've covered a lot of topics over the last few years!

Start by Assessing Your Messes
It's important to start any cleaning/organization project by determining the problem areas. Everyone is messy in their own unique way, so take some time to think about where you're struggling the most. Where are the messes and what are they? Spend some time looking around your space and notice all the messes you see and where they are concentrated. They could be your work surface, the floor, in hidden storage like a drawer or bin. Is your mess unfolded fabric, projects in progress, or clutter from other rooms/hobbies?
I think the key to keeping your sewing space clean is to come up with a system that works for your unique space and your natural habits. We want it to be as easy as possible for our spaces to get cleaned up and stay clean! I recommend making a list of your messes so that it's easy to tackle each one specifically.
Use a Return Basket (or two!)
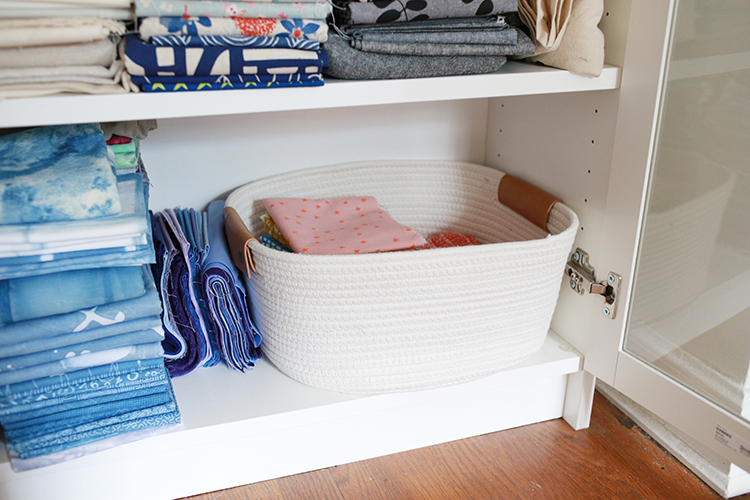
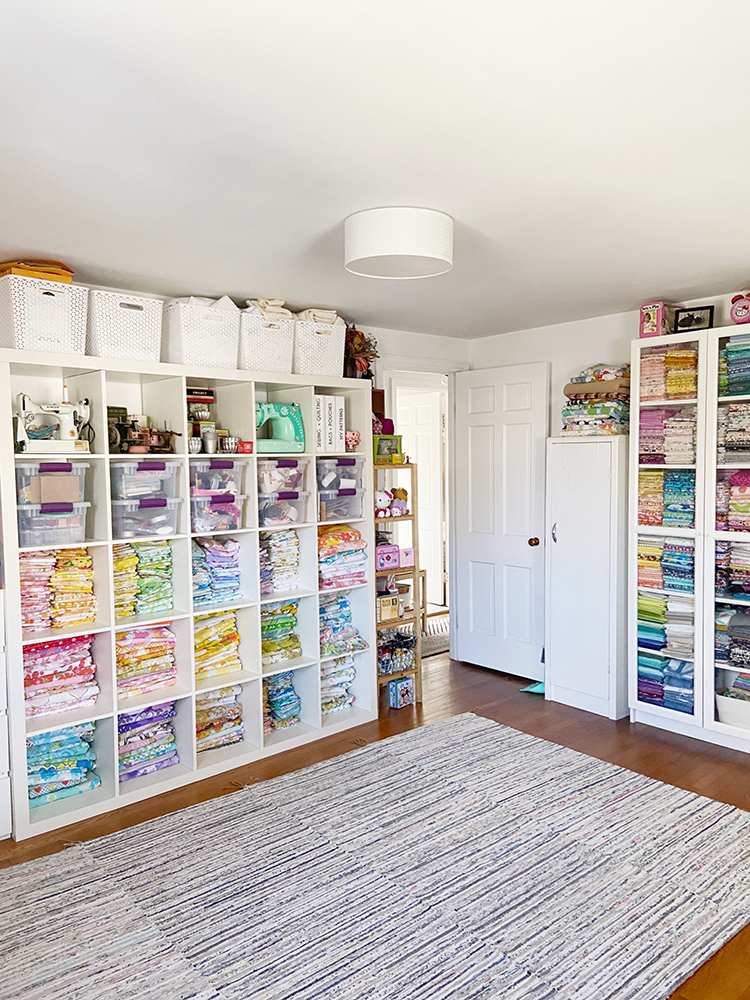
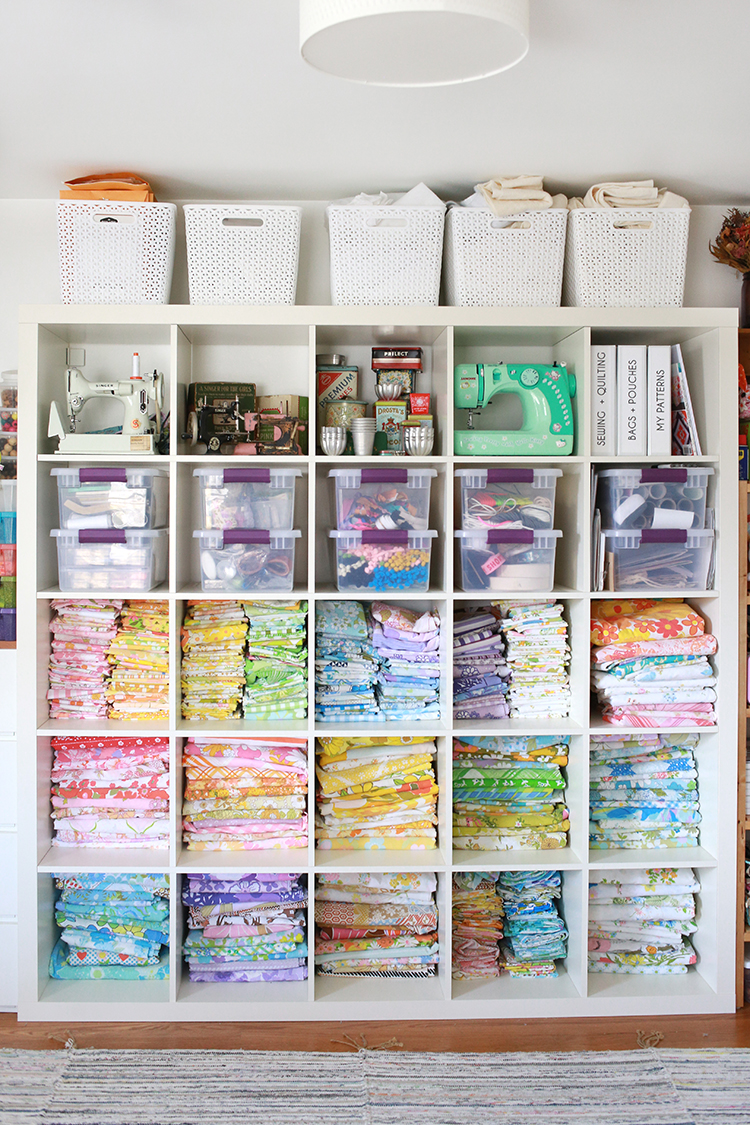
One of my personal problem areas has been fabrics I've just used that need to go back into my storage cabinet. They tend to pile up on my sewing table, especially if I've pulled a large number of prints for a quilt. Sometimes I don't have time to put each fabric back in the proper spot in my cabinet, so I added a return basket to the bottom shelf. I can quickly put fabrics in that basket so that they are off my cutting table. Then when I have time I can put the fabrics away properly. If I'm really on the ball the fabrics go straight from my table to the cabinet, skipping the basket, but I know that won't always happen. Having an in between spot works well for me!

Similarly I have a return basket for my scraps. I keep my scraps organized by color, but I don't always want to stop mid-project to put my scraps away in their designated bins. Instead, I keep a basket/bin near my sewing machine where I can quickly toss scraps as I'm working. When it fills up, I take time to organize them.
Have a Place for Everything to Go

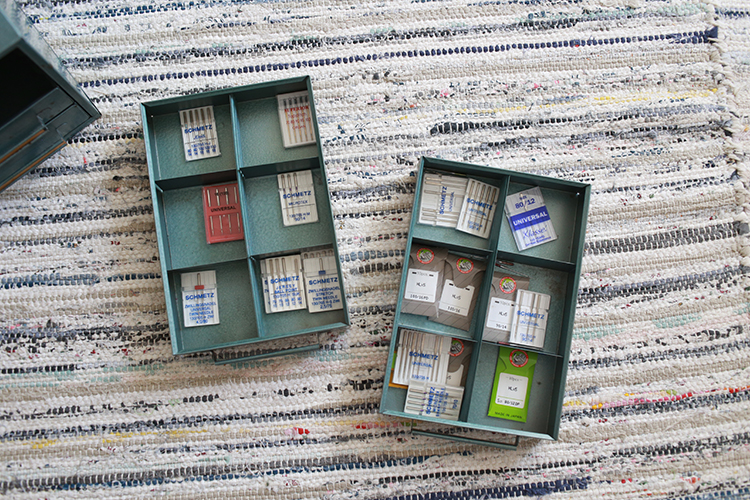
This might seem like a no-brainer but it is so important. If you don't have a designated space for something to go, it's difficult to put it away! These tend to be items that perpetually clutter your space. For a long time this was machine needles for me. I didn't have a dedicated spot for them, so they were everywhere! Not only were they cluttering my sewing table, I often couldn't find the ones I wanted when I needed them. Carving out a spot for them means I can quickly and easily find them, and my space is neater.
Single Layer Storage
When possible, it is ideal to have things stored in a single layer. What I mean is that you don't need to move one or more boxes/bins to get to something. As someone who has previously sewn in small spaces, I know this isn't always possible. My general advice is simply to prioritize based on how often you use something. If you use a tool every time you sew, it should be the easiest thing to get to/put back. Save the storage spaces that are harder to access for things that you use less often. This can apply to everything from notions and tools to fabric and patterns.
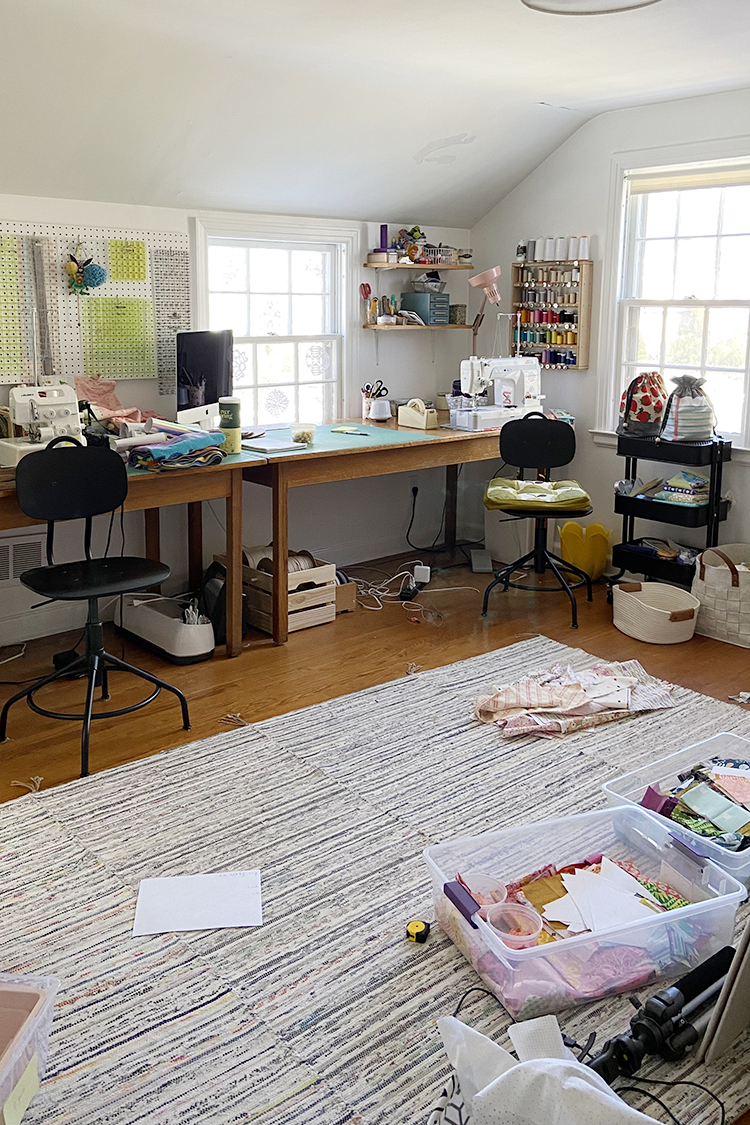
Take Advantage of Wall Space

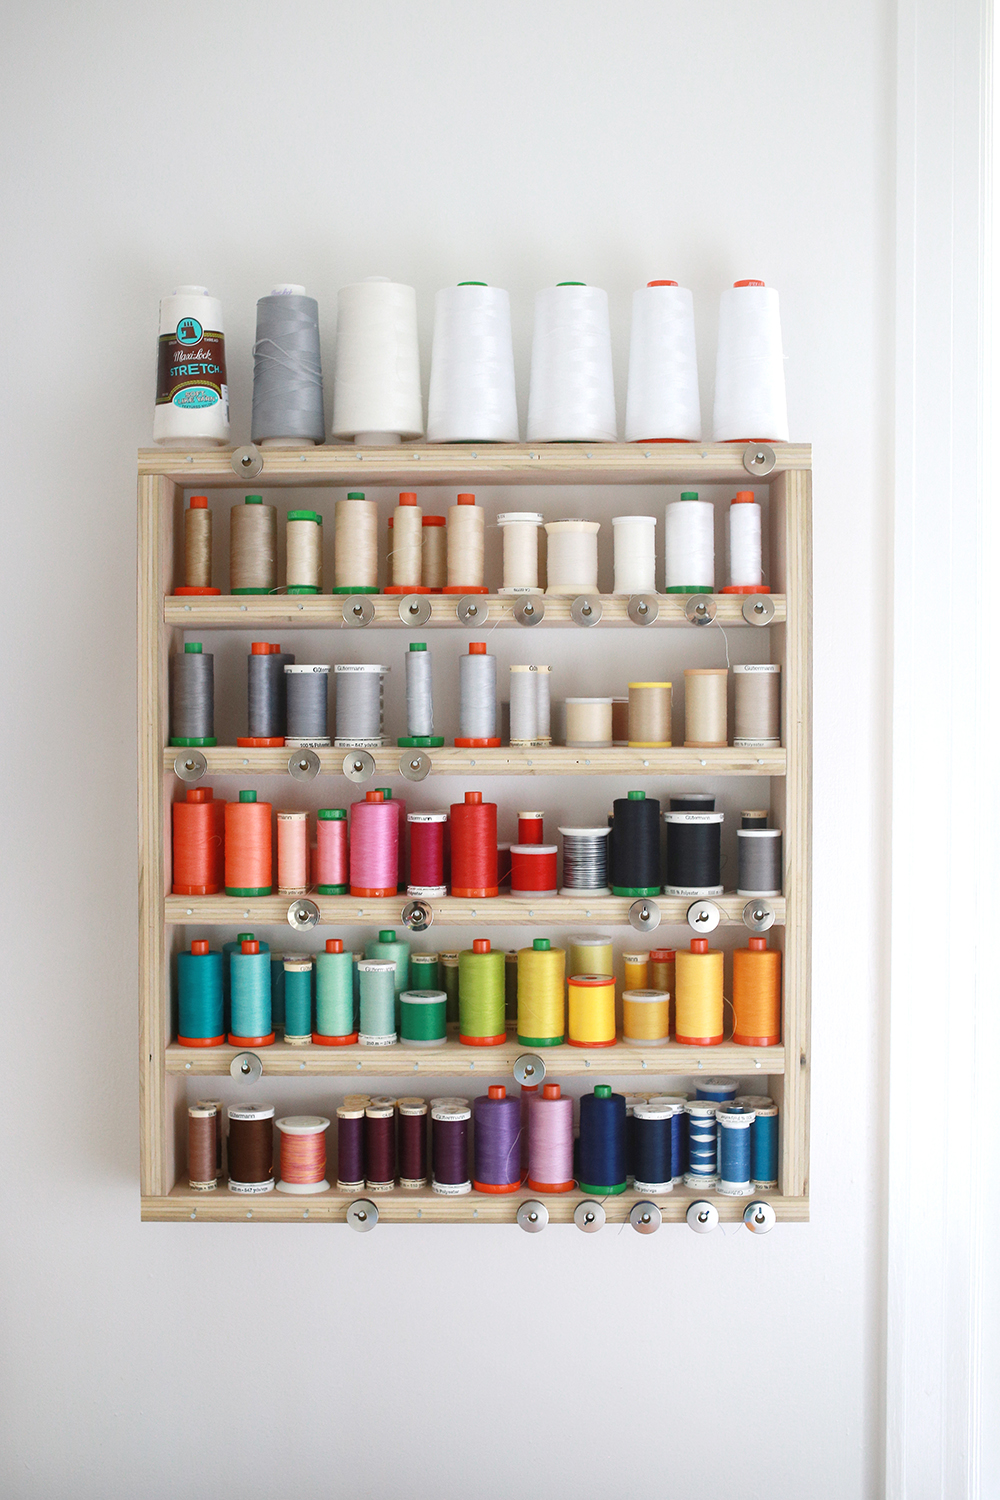
This is probably the thing that has helped me the most in my space. An easy way to keep items off your sewing table is to hang them. This is particularly great for acrylic rulers, which can be difficult to store. You could take advantage of a pegboard or bulletin board, or keep it simple with a few nails or screws! I love having my thread storage on the wall too because I can easily reach what I need, but also see everything I have. In my space I went a step further and hung a few small shelves above my machine so hold my most used tools and notions.
Leave Empty Space
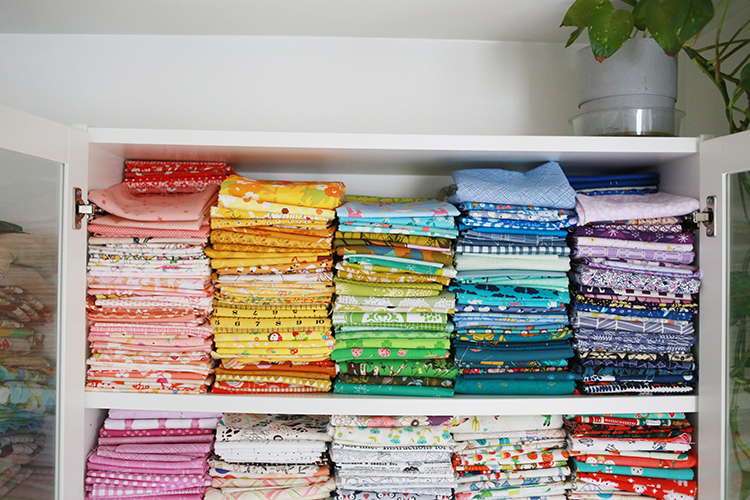
When you're working on storage for items like fabric or thread, you want to be able to expand into them without having to start over. This means leaving some empty space. For example, when storing fabric, I leave a few inches at the top of each stack so that I can add more fabric over time without having to shuffle all the fabric to make room. Making that space in advance makes the whole process easier to keep neat.
For a full tutorial on how I fold fabric, see this post: Fabric Folding Video Tutorial
Schedule Regular Maintenance

Just like everywhere else in your home, you'll need to spend time maintaining your space. Once you have systems that work for you set up, you should be able to spend less time cleaning overall, but it is still necessary! Depending on how much you sew, you may need to set aside time once a week or once a month. Take time to empty those return bins, or refresh your folded fabrics. These small tasks will help keep everything running smoothly and hopefully stop messes from getting out of control.
I think this is a great thing to do alongside cleaning your sewing machine!
Adapt Your Systems
When you set up a new way to organize or store something, it's important to circle back a few weeks or months later to check in. Decide whether or not that organizational system is working for you. Perhaps a small adjustment could make it work even better for you! Or maybe you need to try something totally different. You'll know if things aren't working if you've ended up with a big mess again!
Want to make your own thread shelf? Check out this post: My DIY Thread Storage Shelf

I hope this post has given you some ideas for keeping your sewing space tidy. If you have any tips to add I'd love to hear them in the comments!
Happy Sewing!
I love your sewing space and your collection of vintage sheets is to die for! Thanks for the tips!!
ReplyDeleteThanks Jeni, always good to refresh your own ideas with others. Can always pick up a little tidbit and is really nice to see your creativity room. (-:
ReplyDeleteI like the little cabinet you store your needles in. That's pretty neat looking. I'm guessing it was a vintage find. :o)
ReplyDeleteKathleen - kakingsbury at verizon dot net
I love having my rulers at the ready, hanging on a wall. That's the best tip! But I'll add that it's really easy to hang rulers using adhesive-backed 3M hooks. No need to buy pegboard and figure out how to mount it a little bit from the wall. The 14 hooks I have on my wall have been holding up rulers for at least seven years.
ReplyDelete