
In the last couple of weeks I've completely disassembled my vintage pyrex and vintage enamelware displays in our dining room for cleaning. Since the shelves are open, they collect a good amount of dust and need to be completely dusted about once a year. I like to spread out the work over a few weekends since it's a bit of a time commitment. To be honest I had been putting this task off, but I'm so happy with the clean and tidy displays I've got now. I took photos as I was working this time and thought I'd share a few tips for how I dust and display my vintage dish collections. These tips would apply to any displayed dishes though, not just vintage!


First of all, with any deep clean I'd highly recommend moving everything off the shelf (or wherever your display is) that you're working on. This makes it so much easier to clean the surface. You'll need some space to work, I usually do this task either on the floor or on our dining room table.
My Dry and Wet Dusting Method
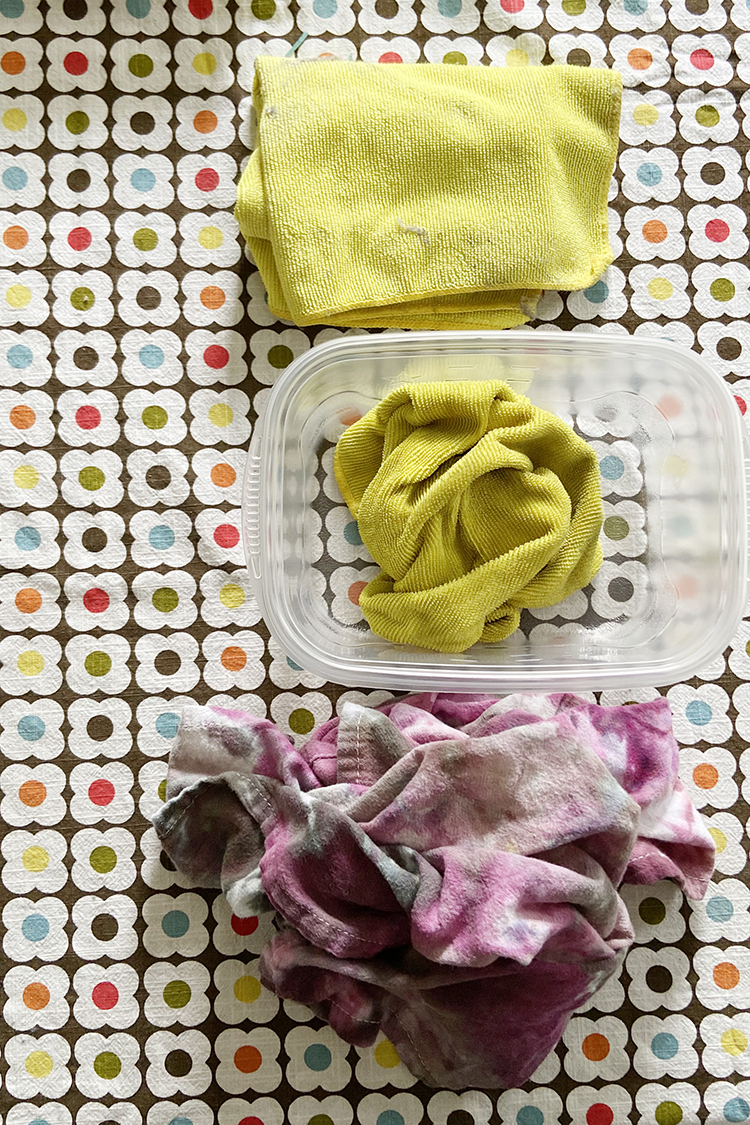
You don't need a lot of supplies, they main thing you'll need is a stack of microfiber cloths and an all purpose cleaning spray.
For the display surface I designate one cloth to remain dry and one wet. I first dust the surface with the dry cloth to remove the bulk of the dust. Then I spray the surface (of the display) with an all purpose cleaner and wipe it clean with a second cloth.
For the dishes themselves I do the same initial steps. I use a dry cloth to wipe away the bulk of the dust. I don't use any cleaning products on the dishes when I dust. Instead I wet a second cloth and keep it in a plastic container as I work. I wipe down the dish with the wet cloth, and then wipe it dry with a dry cotton towel to avoid any water marks on the surface.
Oil Wood Handles
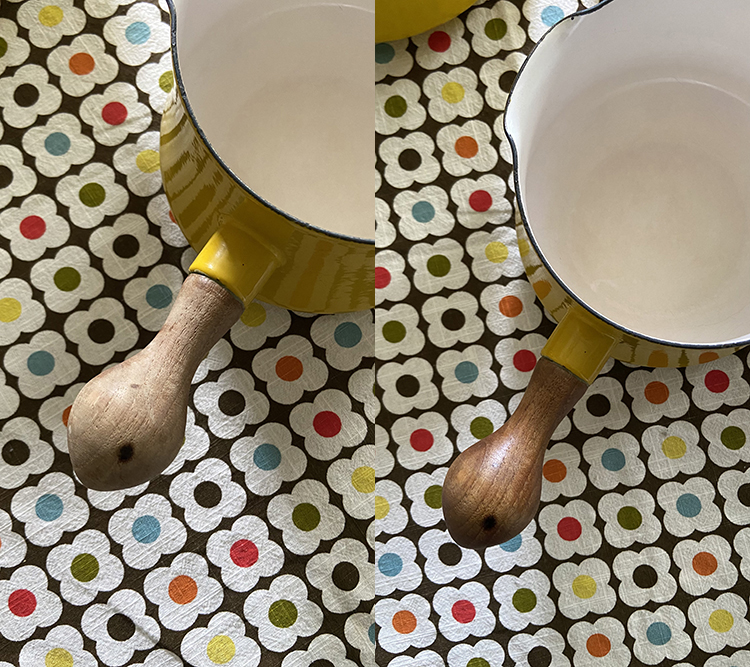
I take this opportunity to treat any wood pieces too. After dusting, I apply a food safe wood oil (I use this one*) with a soft rag. After I few minutes I wipe it down with a clean rag to remove any excess oil, or reapply if it's really soaked in and needs more!
Remove any Price Stickers

I also found a few price stickers that I never removed so I went ahead and did that too. I like to use adhesive remove (I prefer this brand*) and a plastic scraper. I avoid using a razor blade because it can leave scratches or metal marks.
Once everything is wiped down and clean, it's time to put the displays back together! Here are a few tricks I've learned for making my displays look nice.
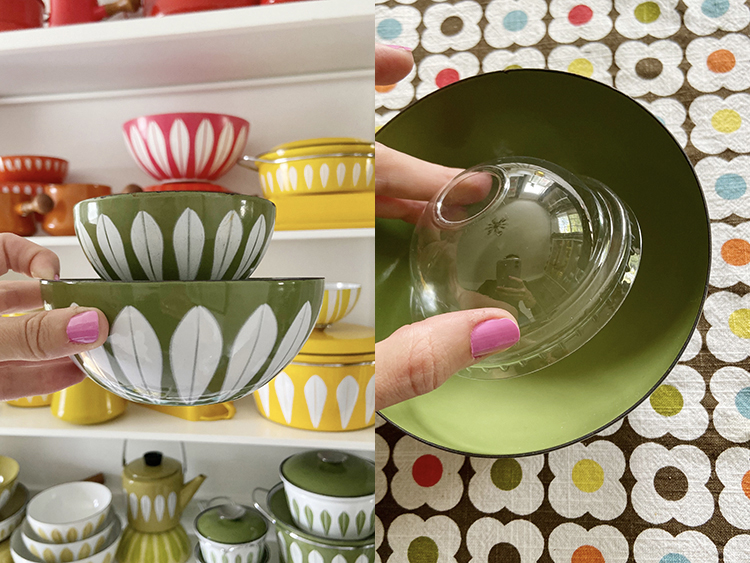
Tips for Stacking Dishes
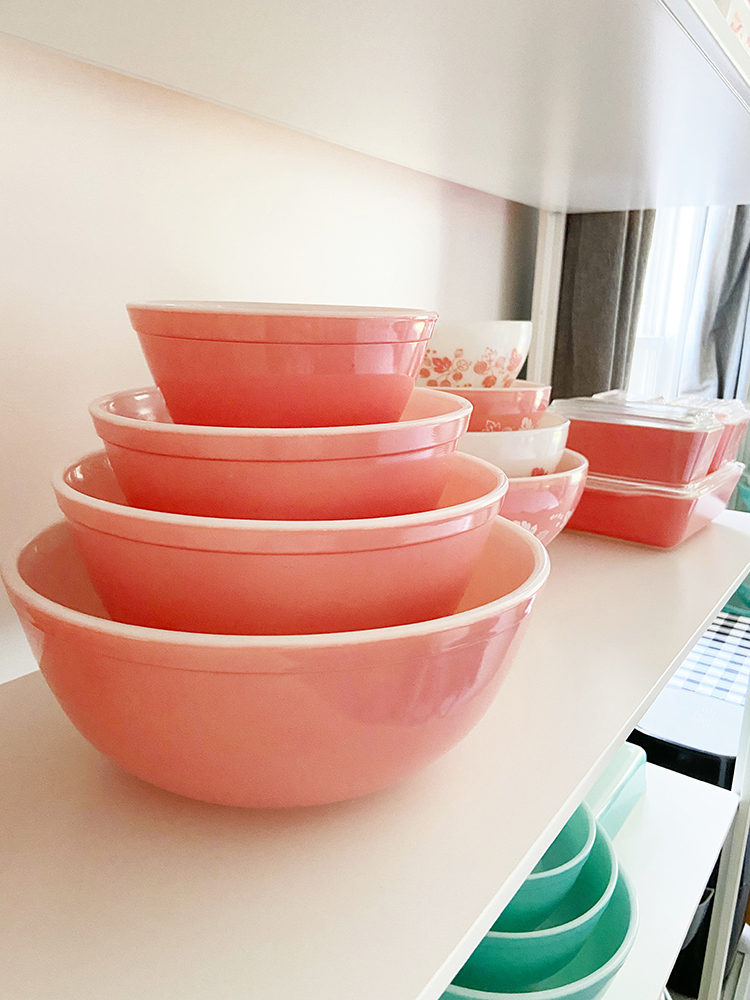
To arrange stacking bowl sets so that you can see each bowl, I use small plastic deli containers* (we've gotten most of ours from takeout food!) in between each bowl. For the bottom bowls I set the container with the top facing up, as if I was about to fill the container with something. For the top bowl I place the container upside down. For me, I find this feels the most secure and looks good too!
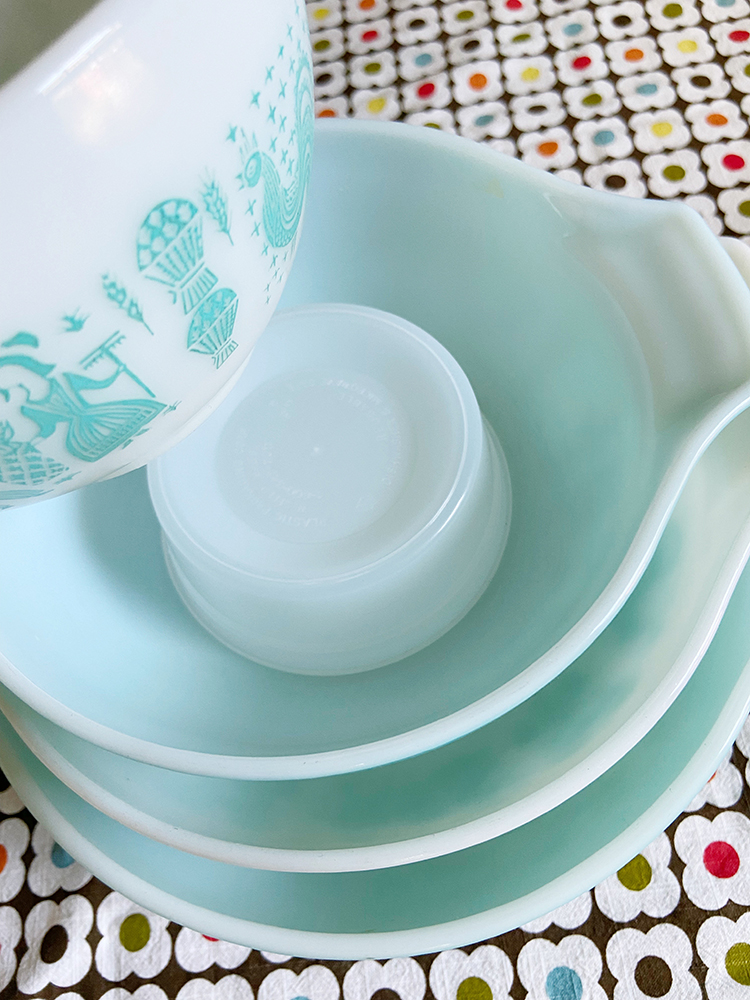
For smaller bowl stacks I'll use whatever clear plastic I can find that's destined for the recycling bin. For this little bowl stack I used a dome lid that we got on a small container of soup!
Whenever I'm stacking pieces like these vintage pyrex casserole dishes that have lids, I make sure to flip the bottom lids upside down before stacking the next pieces, so that they're a little extra stable. You'll want to be careful anytime you stack things, since they'll be more prone to tipping over.

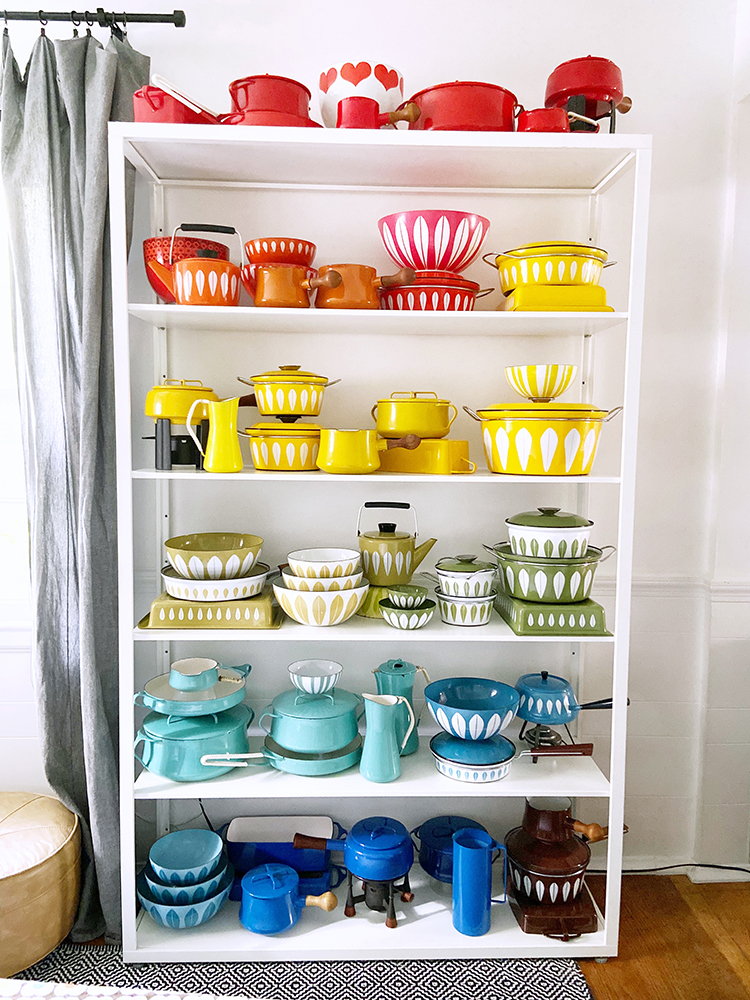
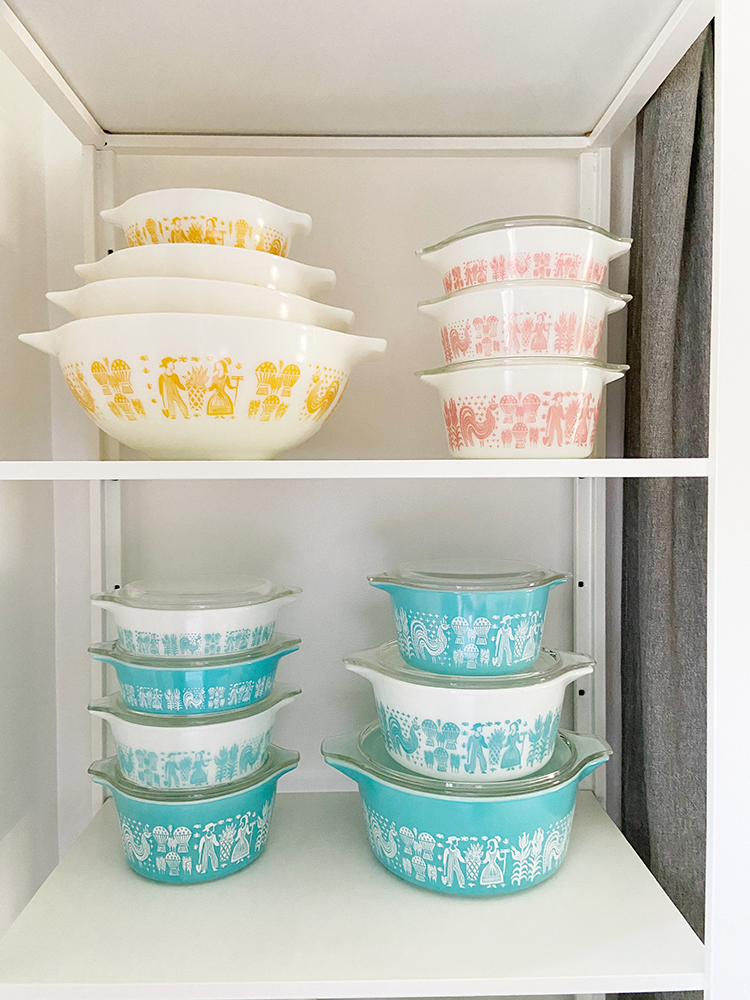
That's it! Pretty simple. I love having my vintage dish collections on display. I don't find a ton of pieces anymore, but I still love these collections so much. I two shelves dedicated to colored vintage pyrex. The display at the top of this post is most of my vintage enamelware collection, which includes Cathrineholm*, Dansk Kobenstyle* and Arabia Finel* pieces. Did you know you can actually buy new Dansk Kobenstyle* now? It even comes in new colors that they never previously made like pink and purple. I'd be super tempted it my shelves weren't already bursting!!
I hope you've enjoyed this tutorial, or at the very least enjoyed the photos of my collections! I have lots of other tutorials for everything from quilts, pillows, bags, and holiday items to informational series and techniques. Find all my tutorials here: Tutorials. My online shop is filled with patterns for quilts and bags. Find my patterns here: Jeni Baker Patterns
Have a Great Day
*Note: Any links marked with an asterisk in this post are affiliate links. This means if you click through and buy something, I make a small commission, at no extra cost to you.
Always love to see your Pyrex collection. And your photography is great. You made 3 cleaning cloths look like art. I enjoyed going through your list of tutorials. All the quilts are so beautiful.
ReplyDeleteThanks for an enjoyable read. Happy Fall.
Marilyn
I love seeing a picture of my mother's pink and white vintage pyrex...well it wasn't vintage when she received it and sadly she got rid of it without telling us...I would have scooped it up!!! I am telling myself the set went to you ;)
ReplyDeleteBeautiful collection!
ReplyDeleteYour collection is so pretty! And I love that Food52 has "rescued" Dansk Kobenstyle. I wonder if they'll be producing any other Dansk products ... There was some flatware I loved ...
ReplyDeleteoh jeni, what a lovely posting. your collection of the lovelies are so endearing and a work of art. thanks for sharing.
ReplyDeletePretty collection. Love the way you have it arranged by color.
ReplyDelete