
Happy Wednesday! Today I have a new grow bag tutorial to share, just in time for garden season!

In 2020, I published a fabric grow bag tutorial that used landscape fabric. It was at the very beginning of the pandemic, and it's the material I had on hand. It was very much a "make do with what you have" project. As I've explained in that post, they worked great for a single season, but did not last. Each year since then, I've tried out different materials to come up with a DIY solution and I think I've finally done it!
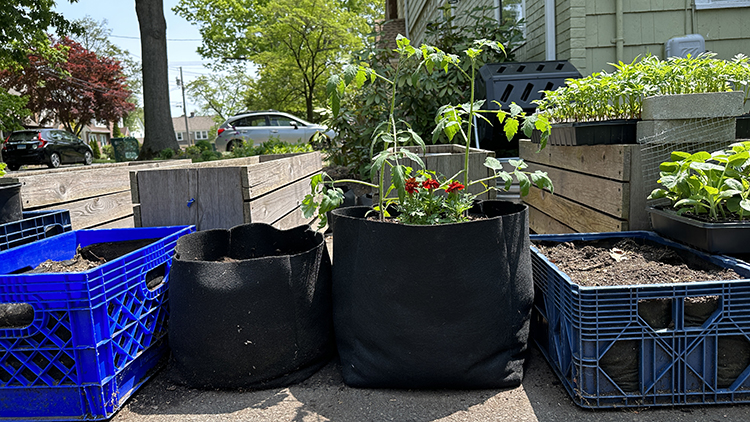
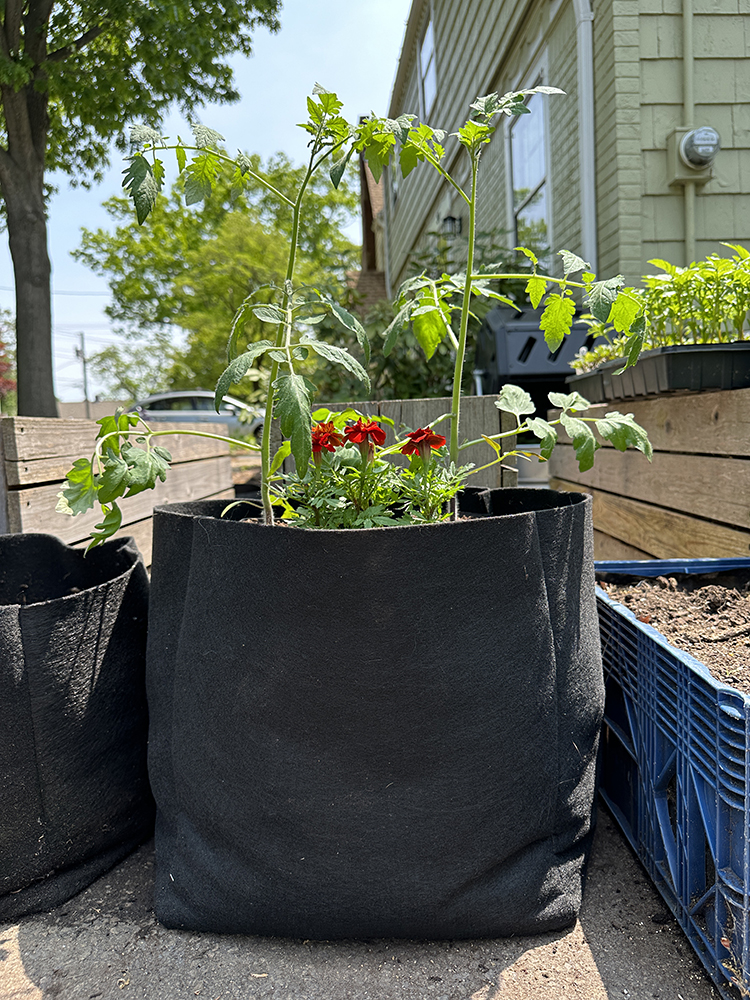
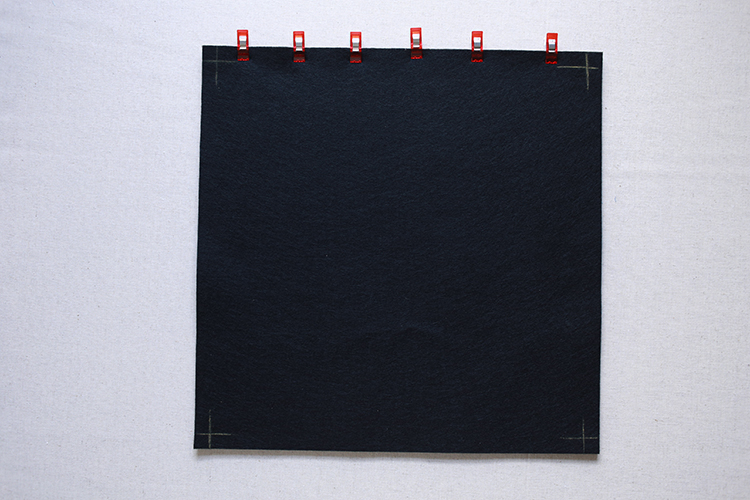
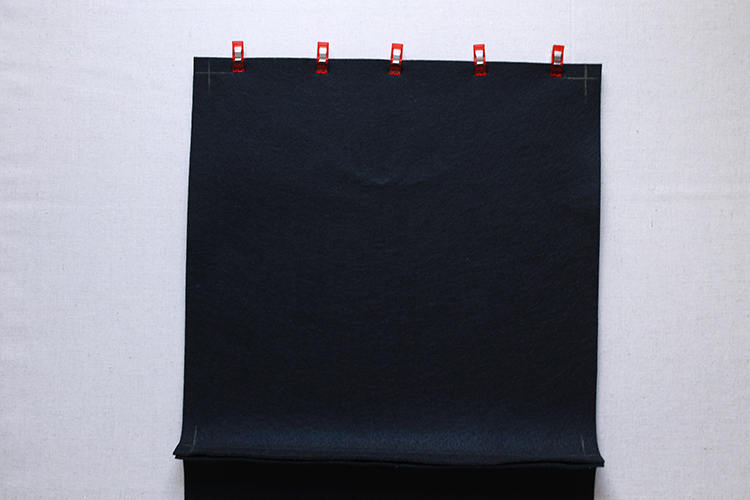
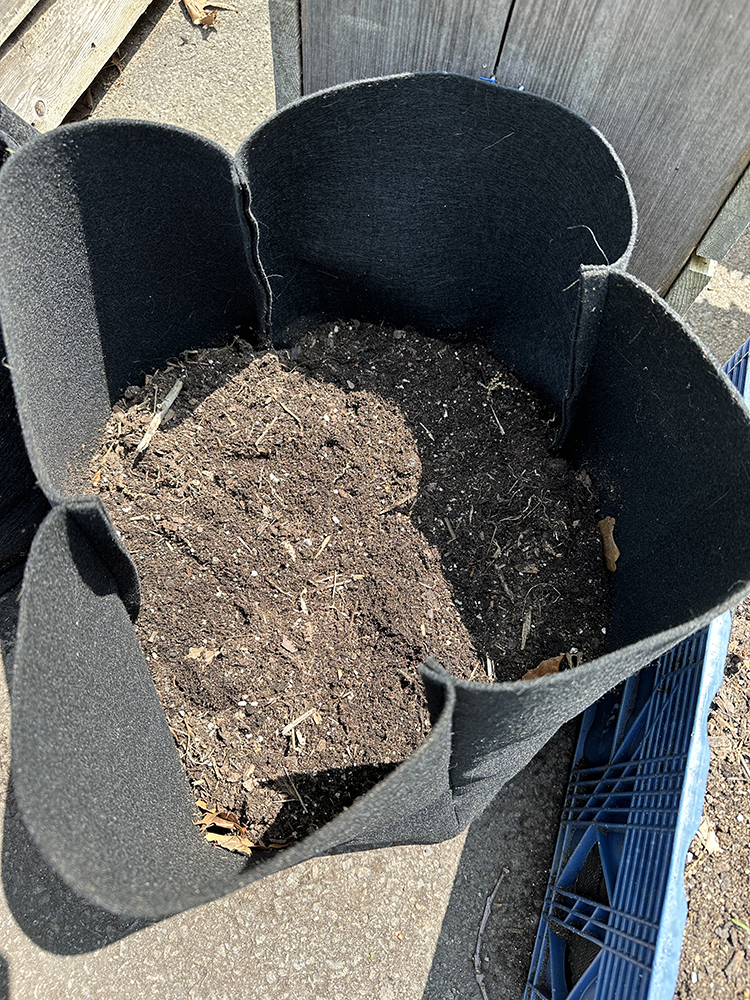
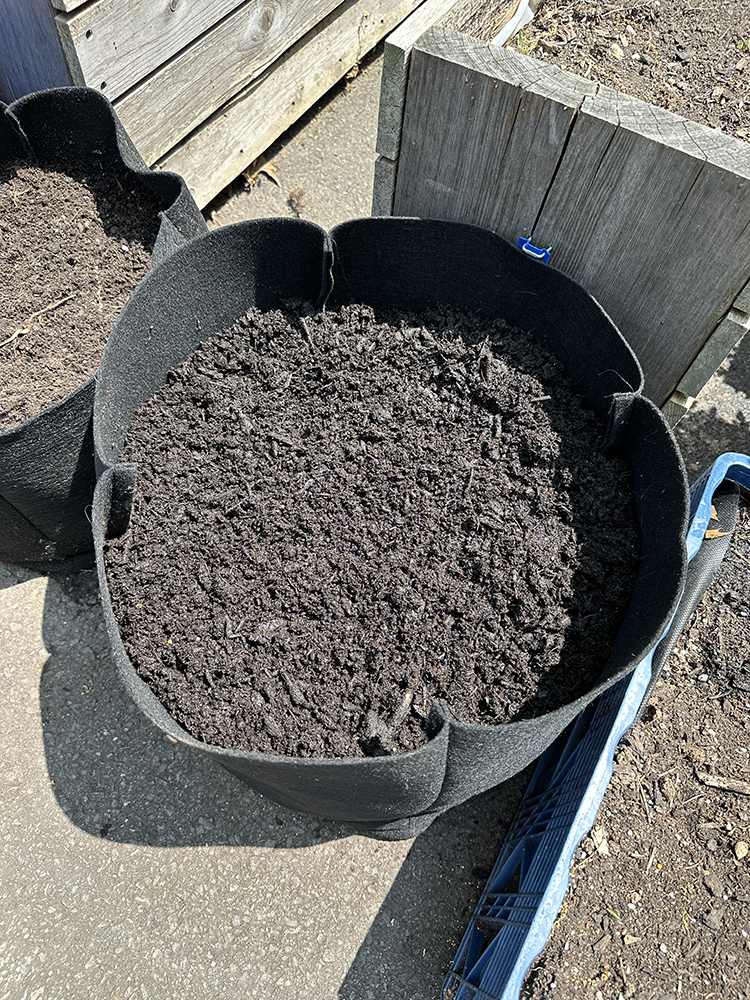
Last year's grow bag on the left, this year's grow bag on the right
Most nurseries and even some big box stores carry ready-made grow bags (we have some of these and love them too!), so I wanted to be sure that this DIY option was budget friendly and didn't require any hard to source materials. I also wanted to be sure that these bags performed well, so I actually made two last year and tested them for an entire season. Beyond using them for the growing season, I left them outside filled with dirt over the winter to really get a good idea of how they would hold up. I can now confidently share this design and material choice with you!
Felt Grow Bag Experiment
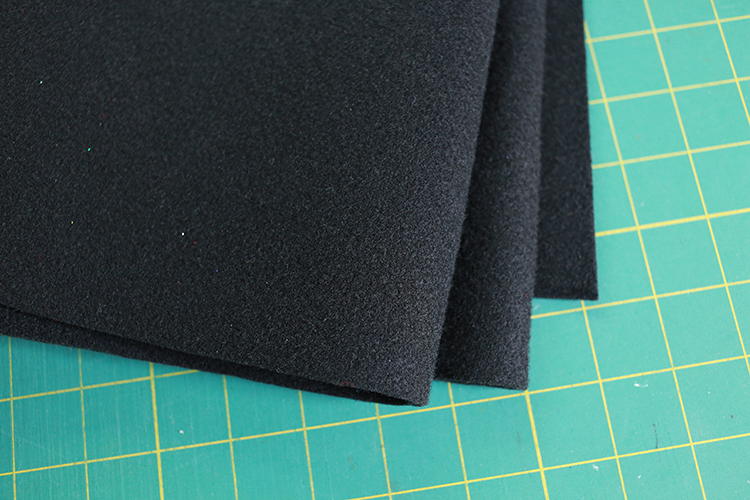
For the material experiment I purchased two different felts from JoAnn Fabrics. As I mentioned, I wanted the material to be easy to source, which is why I chose to shop at JoAnn's. The first was 100% polyester premium craft felt. This wasn't the cheapest felt they carry, it's a couple dollars more per yard and a little thicker. The second was a 35% wool/65% rayon felt. I chose this felt because it was what they had the most of that wasn't polyester.
I made the bags the same size (I used 12" squares for the test bags) and planted a single cherry tomato plant in each bag. The good news is that both grow bags worked great during the growing season! They both drained easily, the tomatoes thrived and there was no difference in plant performance that I could see.
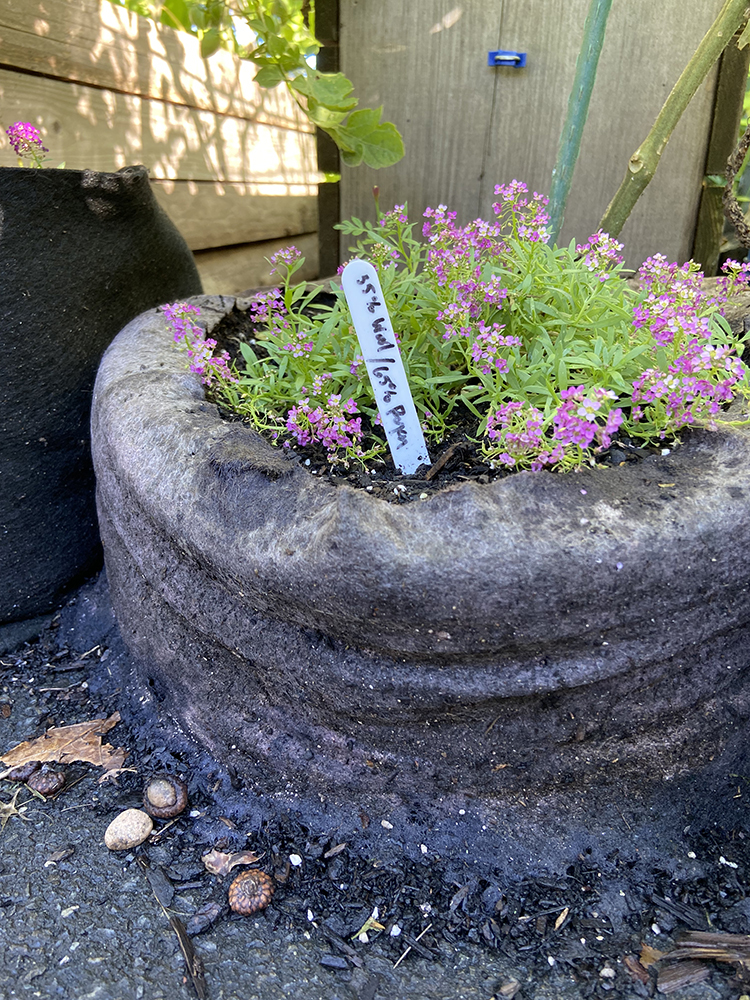
By the end of the season however, the second grow bag (35% wool/65% rayon felt) was already in super rough shape. It continued to disintegrate over the winter, and is now just a pile of dirt!
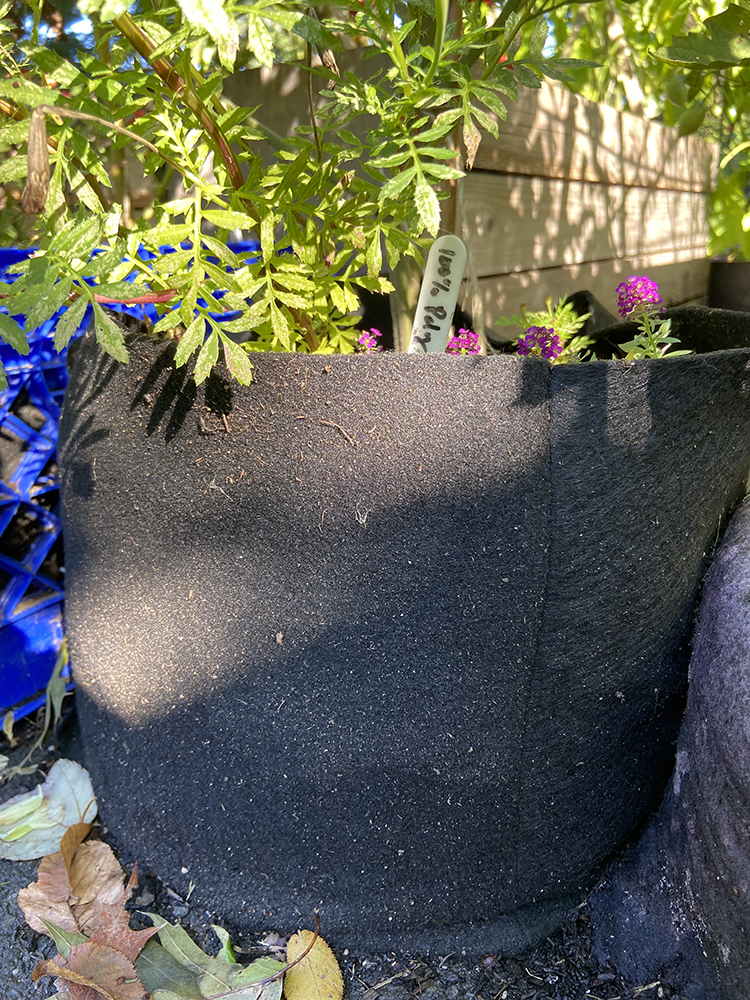
The first grow bag (100% polyester premium craft felt) on the other hand is still going strong! It has some light wear, but is otherwise good to go for another season. I was able to move it around, the bottom also stayed intact. So, the 100% polyester premium craft felt is my official recommendation for DIY felt grow bags. At the time of writing this post, this felt is regular price $10.99/yard at JoAnn Fabrics. That means the material for this grow bag is around $5, which feels pretty afforable considering the size! With a coupon or a sale, you could make these for even less!
These bags are constructed completely differently than my original fabric grow bag tutorial. For these bags we are creating an unlined "box" made of felt. So the bag will have four sides and a flat bottom.
Custom Sizing:
This design is really easy to customize. All the pieces are square, and the same size. If you use 1/2" seams for the construction as recommended, your bag will be 1" smaller than the squares you cut. So if you want a finished grow bag that is approximately 10" square, you'll cut (5) 11" squares!
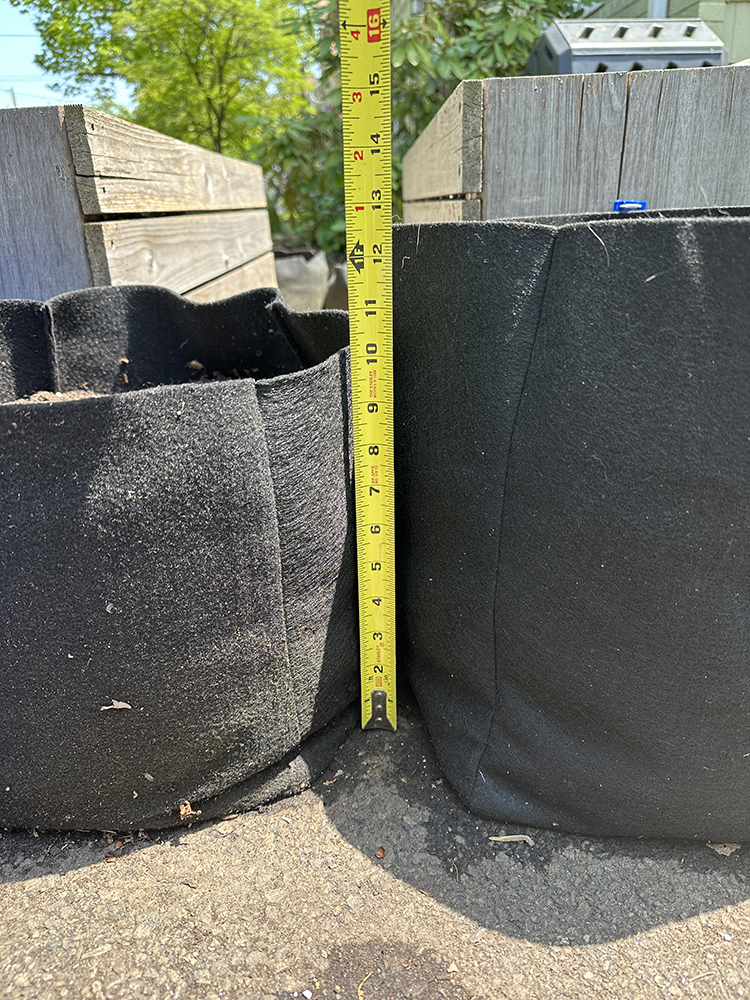
The 100% polyester felt grow bag from last year's experiment (shown on the left) is an 11" grow bag. For this tutorial I made a 13" grow bag. This is the largest size you can make with a single 1/2 yard cut of the 72" wide felt since you can get cut all five squares from one strip. Here's how to determine how much fabric you'll need for other sizes:
If your cut square size is 14" or smaller, you'll need one 72" strip of felt.
For example: 9" cut squares = (1) 9"x72" strip of felt or 1/4 yard.
If your cut square size is 15-24", you'll need two 72" strips of felt.
For example: 16" cut squares = (2) 16"x72" strips of felt or just under 1 yard.
DIY Felt Grow Bag Video Tutorial:
In addition to the written instructions below, I also filmed a short video tutorial. In the video I make a mini version so that it is easier to see each step of the process. All the steps are the same, regardless of the size bag you make! Find the video tutorial here: DIY Felt Grow Bag Video Tutorial
DIY Felt Grow Bags Written Tutorial:
 Finished size: Approximately 13" wide, 13.5" tall, 13" deep
Materials:
- 1/2 yard of 72" Premium Craft Felt (100% polyester)
- Coordinating Polyester thread (or heavy duty thread)
- Chalk or pencil
- Clips or pins
Cutting:
Cut fabric into (5) 14"x14" squares.
Instructions:
Use 1/2" seam allowances unless otherwise noted.
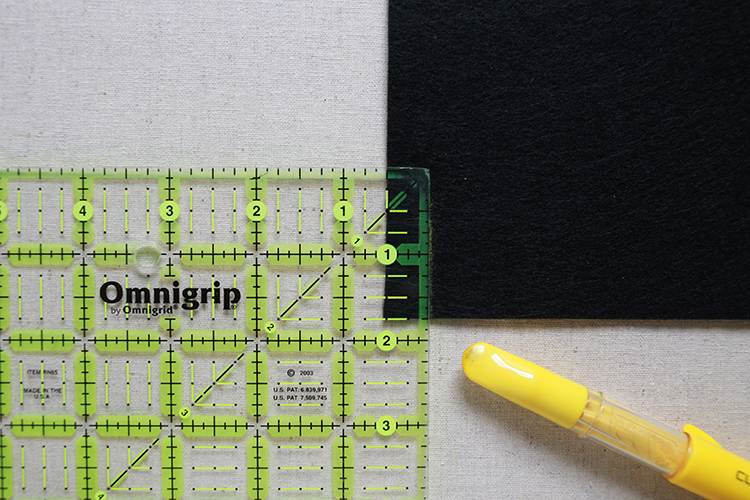

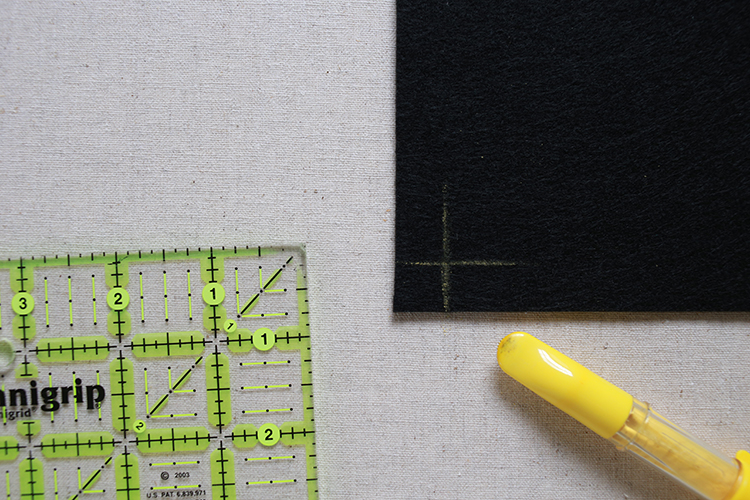
1. Choose one 14" square to be the bottom of your grow bag. Using chalk or a pencil, mark a short line 1/2" from the edge of each corner (in both directions), so that you have a small "+" at each corner. Do this on the wrong side of the felt (what will end up being the interior of the grow bag). We'll be using these "+" marks as sewing guides in the next few steps.

2. Put one of the 14" square side panels right sides together with the 14" bottom panel. Sew pieces together along one edge, leaving 1/2" unsewn at each corner, using the marks made in step 1 as a guide. Be sure to backstitch when you start and finish stitching.
Repeat this step with the side piece that will be attaching to the opposite side of the bottom.
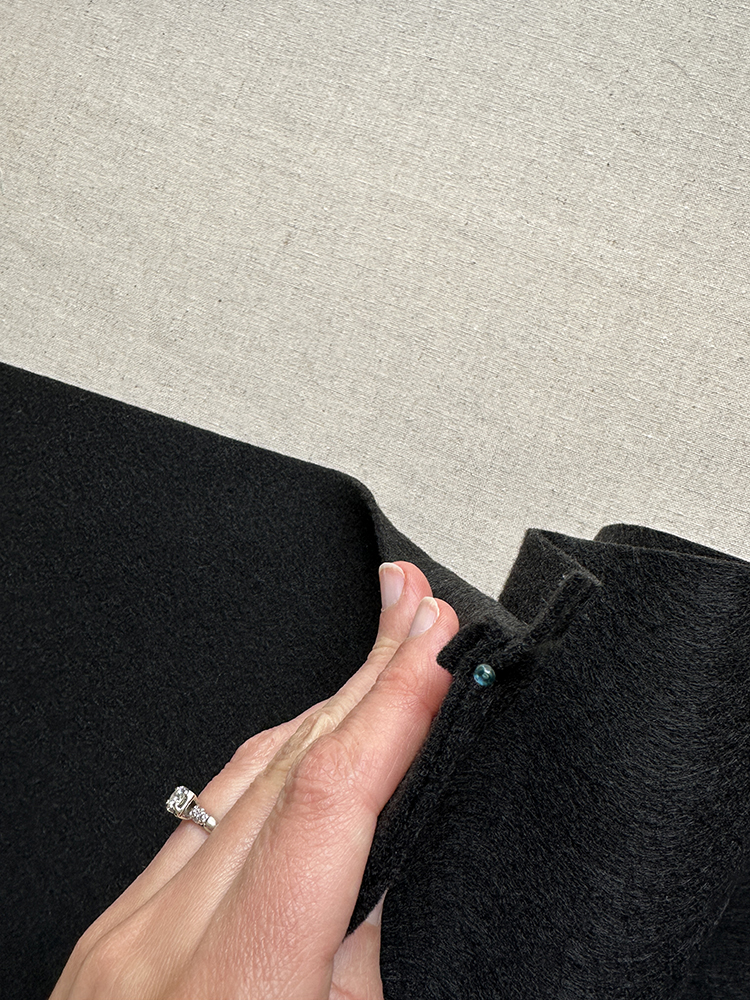
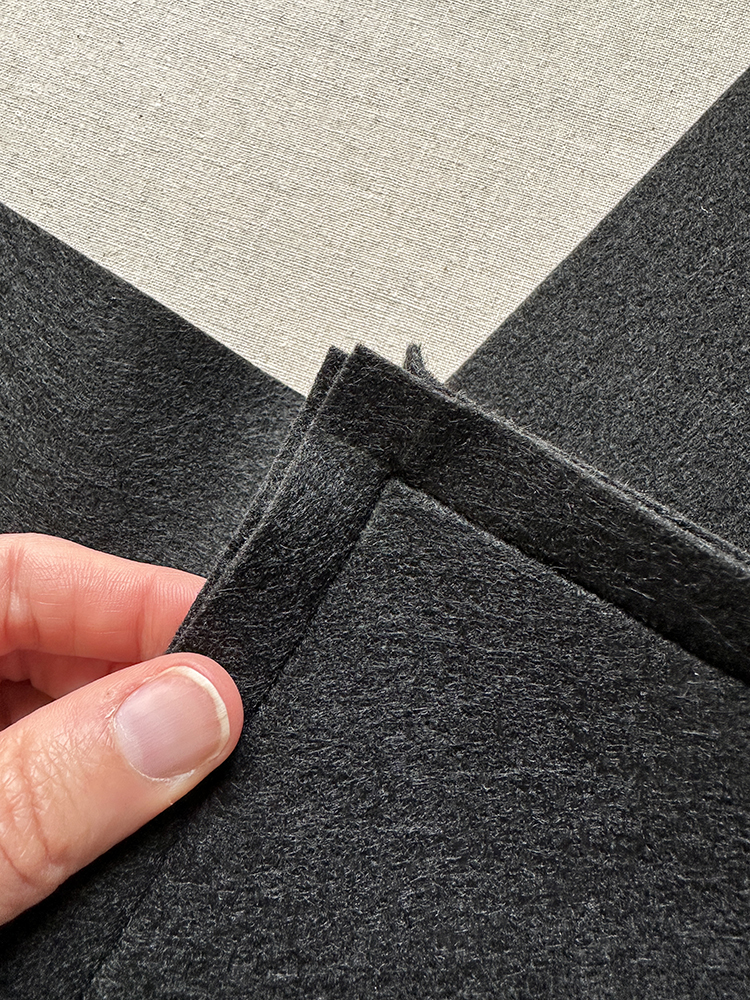
3. Before attaching the two remaining side panels to the bottom panel, it can be helpful to fold the seam allowance from the first two sides out of the way at each corner. I secured these with a pin.
Attach the remaining side pieces to the bottom in the same way as in step 2. Remove any pins or clips you may have used.
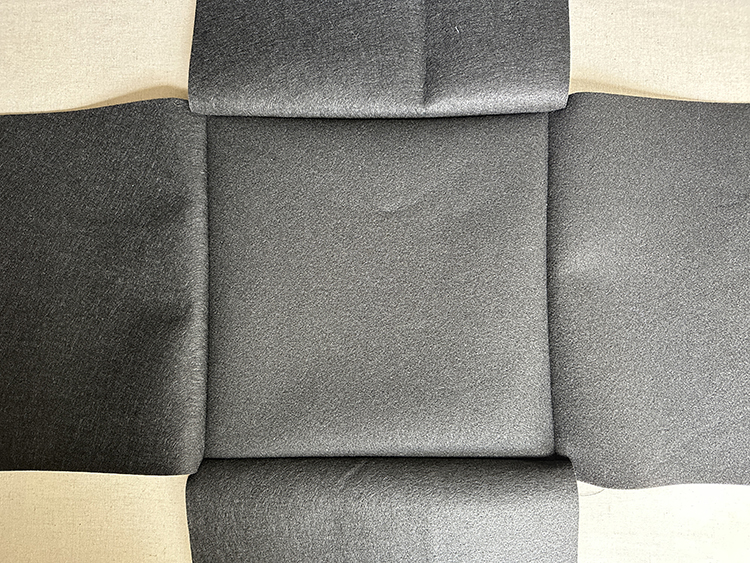
All four of the side pieces should now be attached along one edge to the bottom piece. When laid out, your piece should look like a big plus sign!
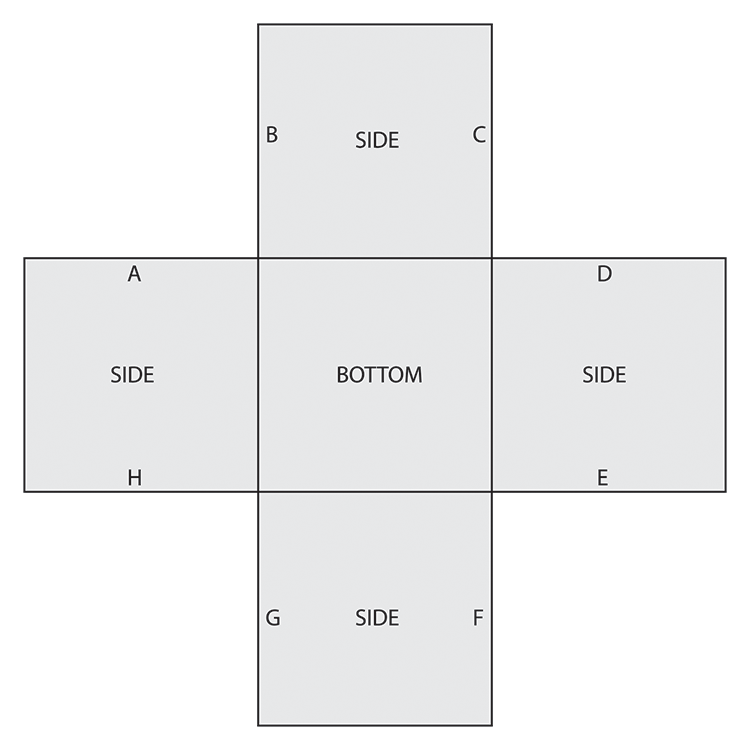
4. Now it's time to connect the side panels to each other. Match up each side edge with it's neighbor and clip/pin in place. In the above diagram I've labeled each side's edges with a letter. You'll clip/pin together edge A with edge B, C with D, E with F, and G with H. As you join the edges the "box" will take shape!
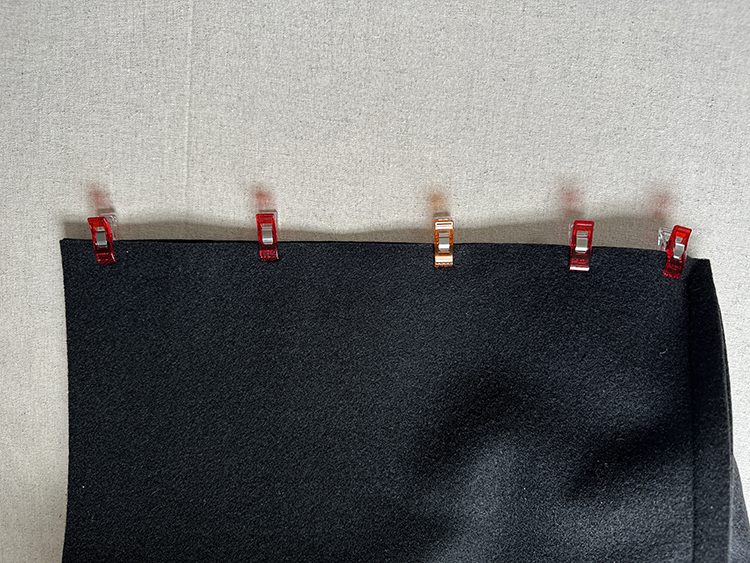
Sew pieces together along these edges. I find it easiest to start from the top (open) end and sew down towards the corner. Stitch until you're around 1/2" from the bottom, meeting up with your stitching where the side panel meets the bottom panel.
5. Turn bag right sides out and it's ready to be filled with dirt! No need to finish the seams since felt doesn't fray.
Feel free to add simple felt or webbing handles to the top of two sides if you want!
How I like to fill my grow bags:
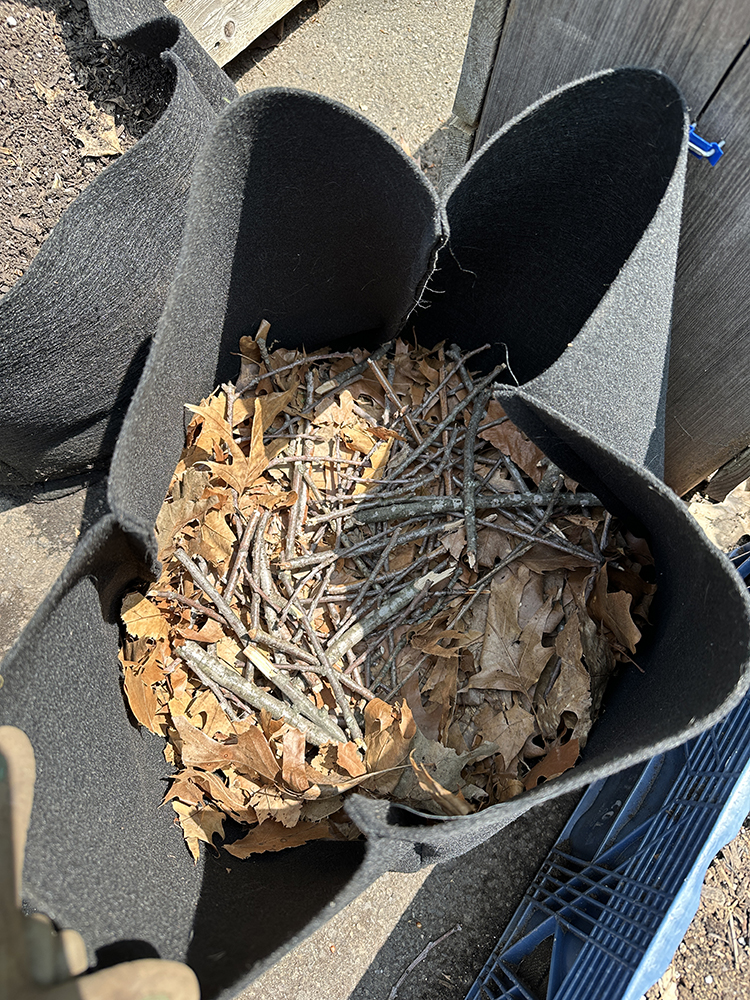
1. I start by filling the bottom few inches of my grow bag with old leaves and small sticks. This helps fill some of the space, so that I don't need quite as much dirt. It will also break down over the season, providing some organic material to improve the soil.
2. Next I typically layer in some spent potting soil, again to reduce the amount of good dirt I need to fill my bag!
3. Finally I finish filling my bag with a mix of good quality soil and compost. Now it's ready for plants!
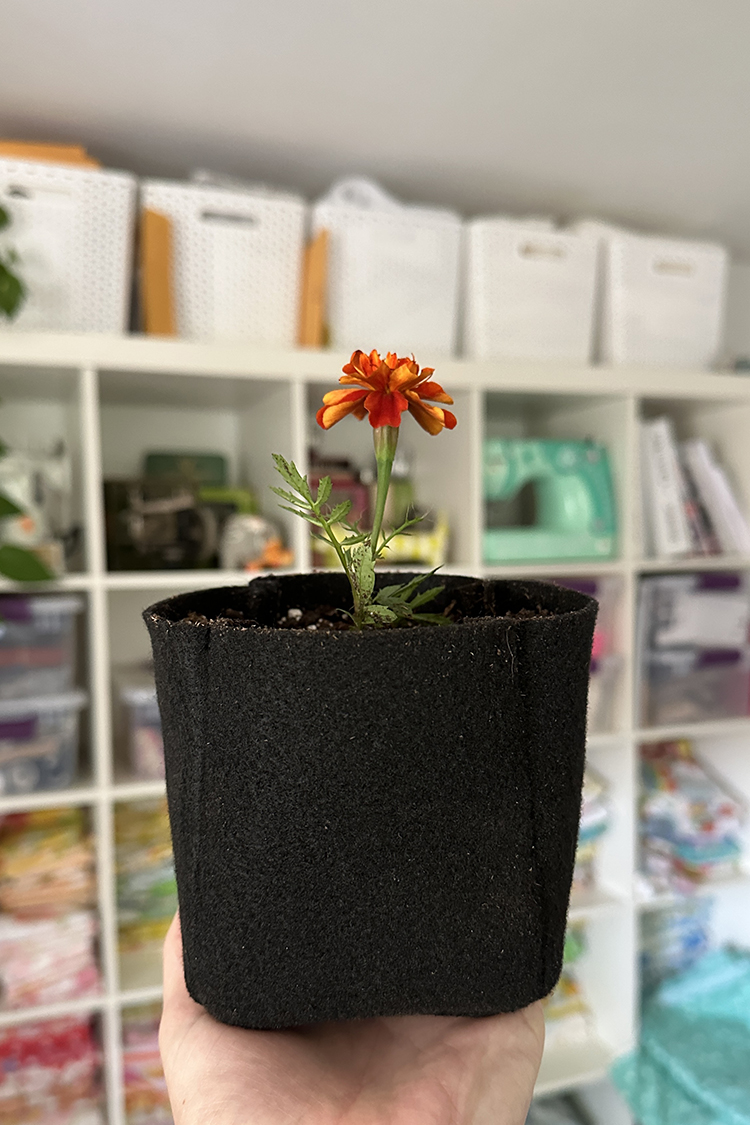
I ended up planting a marigold in the mini grow bag that I made in the video tutorial. Look how cute!!

If you're interested in using up extra landscape fabric to make grow bags, check out the original grow bag tutorial I posted in 2020: DIY Fabric Grow Bags
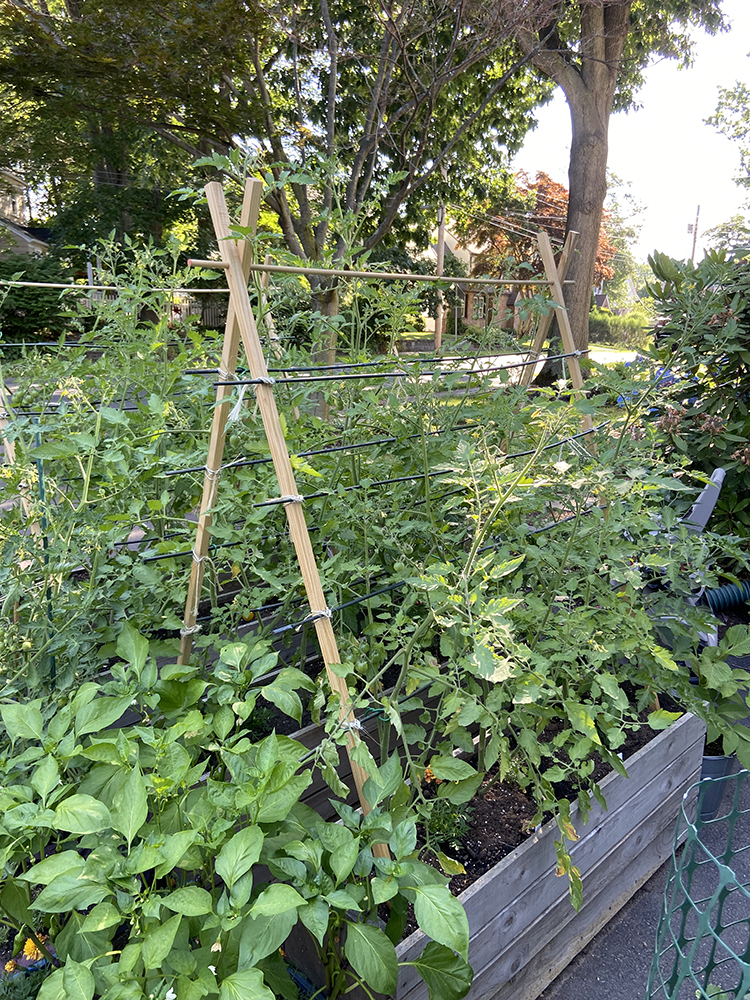
Last year I shared a tutorial for a simple, budget friendly tomato trellis and I'm excited to use those again this year. Find that tutorial here: DIY Budget Wooden Tomato Trellis
I hope you've enjoyed this tutorial! I have lots of other tutorials for everything from quilts, pillows, bags, and holiday items to informational series and techniques. Find all my tutorials here: Tutorials. My online shop is filled with patterns for quilts and bags. Find my patterns here: Jeni Baker Patterns
If you make something using one of my tutorials or patterns, I hope you'll tag me @jenib320 and use my hashtag #jenibaker on instagram!
Happy Gardening!
thanks jeni. what a great post and inspirational also. love your garden and looking forward to watching in the future. enjoy your day!
ReplyDeleteAfter looking at many YouTube videos, I couldn’t find a video that had an easy layout for someone who does not have sewing experience. This looks very doable.
ReplyDeleteAfter a visit to my sister and her hubby in June, I came back with the bug to grow "stuff". Actually, I've found seed packets from 2015, so it's been years of interest without any action, lol. I'm now retired and our weather in north Texas is finally bearable, so I've purchased some 5 gallon grow bags and am forging ahead with planting plants and flowers I've researched as strong enough for Texas heat and cold. You've actually been a stimulus in this area (although sewing and fabric are how I originally found you in Moda Bake Shop a decade or more ago!) and it's time to add a new addiction/hobby to my life!
ReplyDeleteLooking forward to seeing what you've been growing/building/sewing over the summer!
Does this material allow for good air flow?
ReplyDeleteI felt it did!
DeleteDid you felt the wool first? II’m inspired to try some ugly wool jackets from the thrift store now. If they melt into the dirt that’s ok too. I got a few poly grow bags for free from some leftover nor cal farming operation and well I’m just really trying to get away from any polys. Im going to try to felt some ugly old wool clothes and then make grow bags from them. Thanks for the inspo!
ReplyDeleteI did not felt the wool first!
DeleteLooks great! But why not keep the bottom and two opposite sides as one solid piece of felt? Then you could just attach the remaining two sides. You'd need two fewer seams.
ReplyDeleteYou could definitely do it that way if you'd like! There are lots of ways to achieve the same result, this is just one.
DeleteI have been following you since the pandemic and 1) I love your resourcefulness 2) found this particular page because I have an accidental abundance of felt staring at me (needed 1” for a stuffed animal, ended up with a few yards…oops). I don’t have the premium, I have the regular which is also 100% polyester. I’ll let you know how it holds up next year. Thanks for teaching us how to create more abundance out of resourcefulness. You made this budget gardener feel happy today with the prospect of more growing space without spending a dime.
ReplyDelete2-ply (sewn back to back) craft felt works too. Rain made it a little floppy last night but it looks pretty nice! Like I said, I will report back next year with my findings. Even if it works for a season, I will be thrilled!
DeleteThanks for this, I've tried a different way to make grow bags and am dissatisfied with it so going to try this one this year - I already have canvas so I'll use that but I'm on the lookout for felt.
ReplyDelete